Assembly

last modified: October 23, 2025

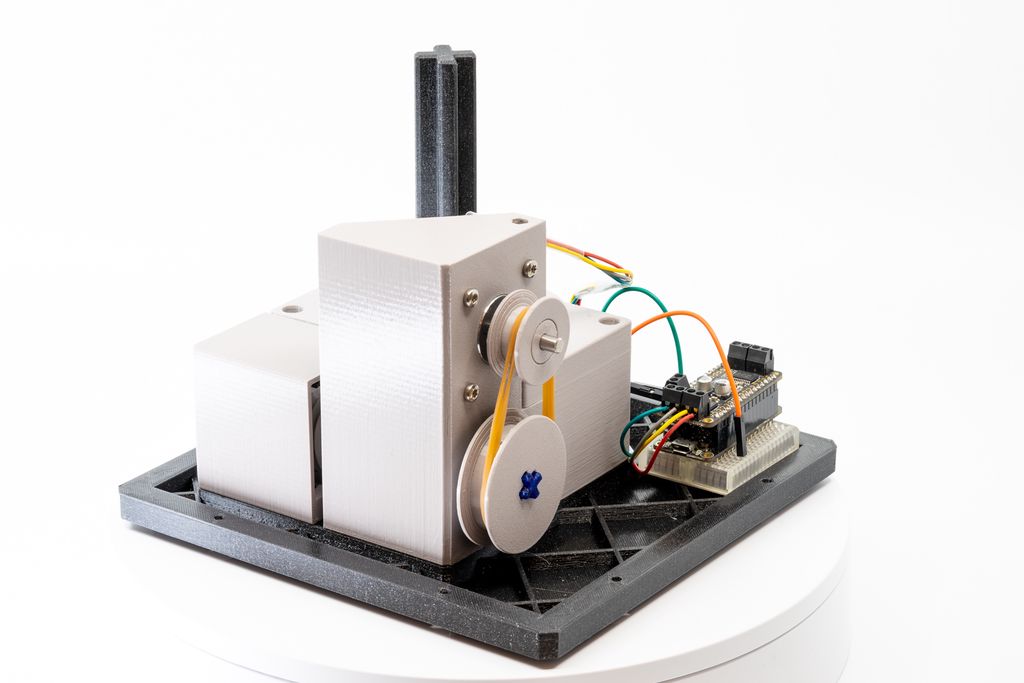
Let's Print a Cat/Pet Feeding Device

Posted on 2021-01-08

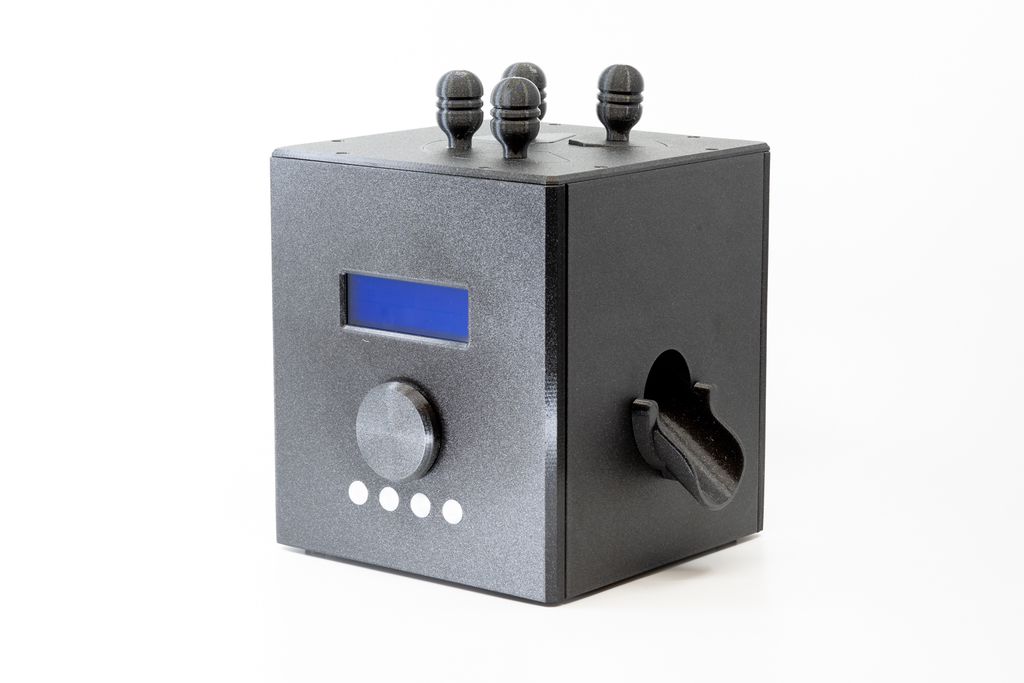
I built a 3D-printed cat/pet feeder and documented every step across seven posts: printing the gearbox, assembling parts, crafting the enclosure, and adding electronics and a sensor board. If you want to follow the process or reproduce the device, read the full build series for parts, tips, and notes.
Read this post

Let’s Print a Cat/Pet Feeding Device (Part 2)

Posted on 2021-01-05— 3D Printing, Projects

I walk you through assembling the gearbox for my 3D-printed cat feeder, step by step. I cover inserting insets, bearings, grub screws, and fitting the NEMA17 motor so the turntable runs smoothly. If you printed the parts from Part 1, follow along — read the full post for photos and testing tips.

Read this post

Snowflake Component Side

Posted on 2017-11-14— Projects

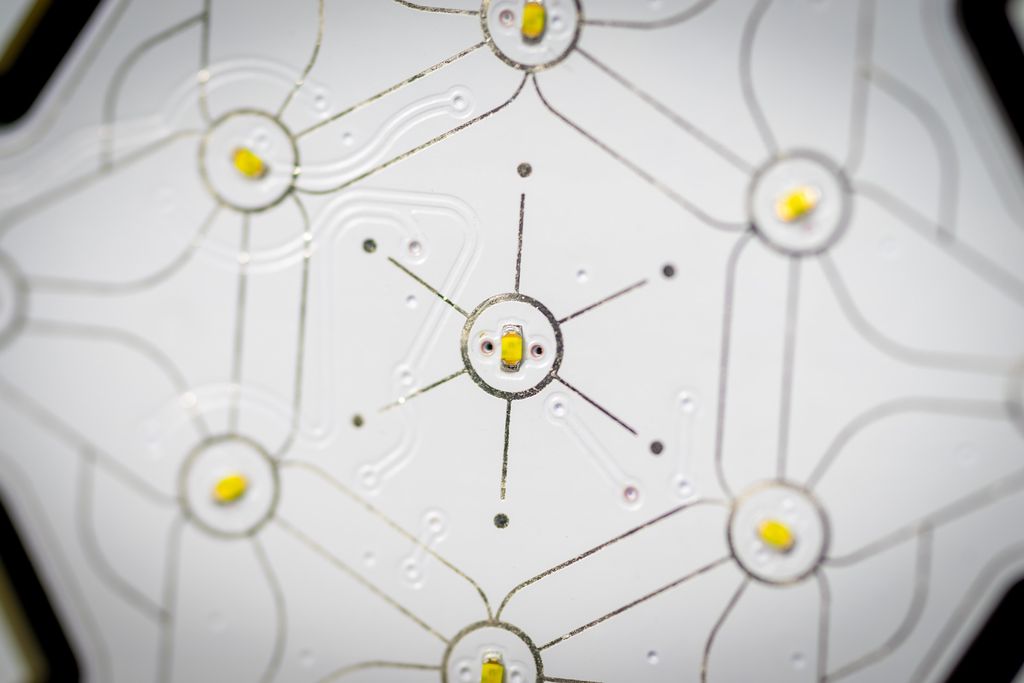
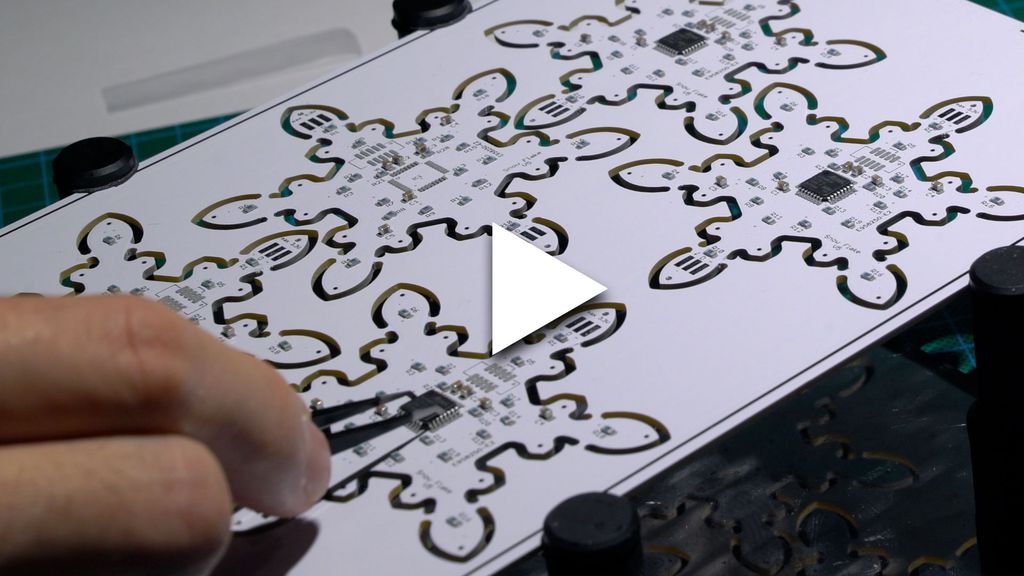
I walk through assembling the component side of my snowflake panel, showing stencil-applied solder paste, placement of 105 resistors, capacitors, headers and chips, and sped-up hot-air soldering. I test the LEDs at the end — please read/watch the full post if you'd like the complete build and tips.

Read this post

Snowflake Assembly Video

Posted on 2017-11-12— Common

I share a quick video of the snowflake assembly, showing the LED-side assembly with hot-air soldering. The build went smoothly overall, though some excess solder left a few LEDs slightly raised. If you're curious about the process and tips, I invite you to watch the full post and video.

Read this post

How to Design a Cheap Plant Watering Sensor (Part 3)

Posted on 2017-03-03— How and Why

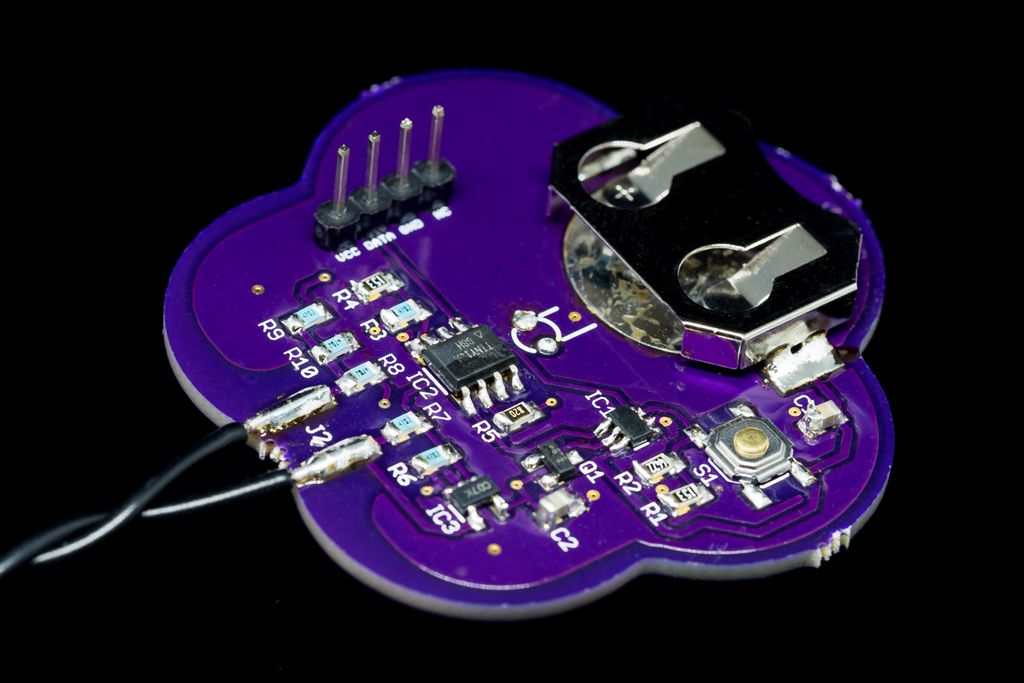
In part three I assemble and test the prototype PCB, set ATtiny13A fuses, and refine user interaction and firmware plans. I cover LED display choices, power measurements and a modular firmware approach. If you’re building a low-cost plant sensor, read the full post for practical steps and diagrams.

Read this post

Video: Assembling Final Outmoded Sequencer PCB

Posted on 2016-09-17— Projects

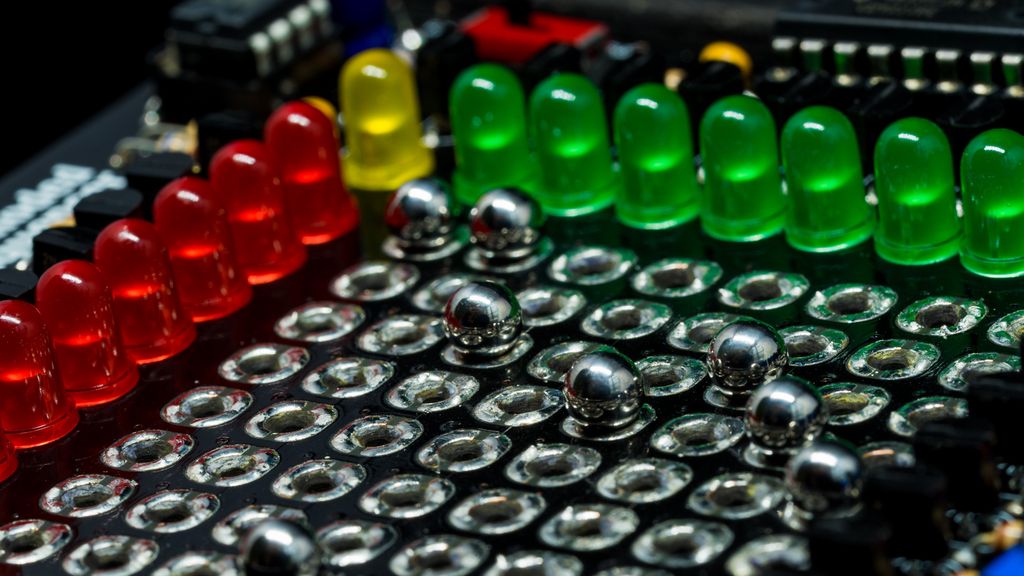
I recently assembled the final Outmoded Sequencer PCB and documented the soldering in a short video. I accidentally cut a bottom trace and repaired it with a jumper wire; the magnet matrix now secures the steel balls. I'll finish tone tuning and add four resistors — please watch the video and read on for details.

Read this post