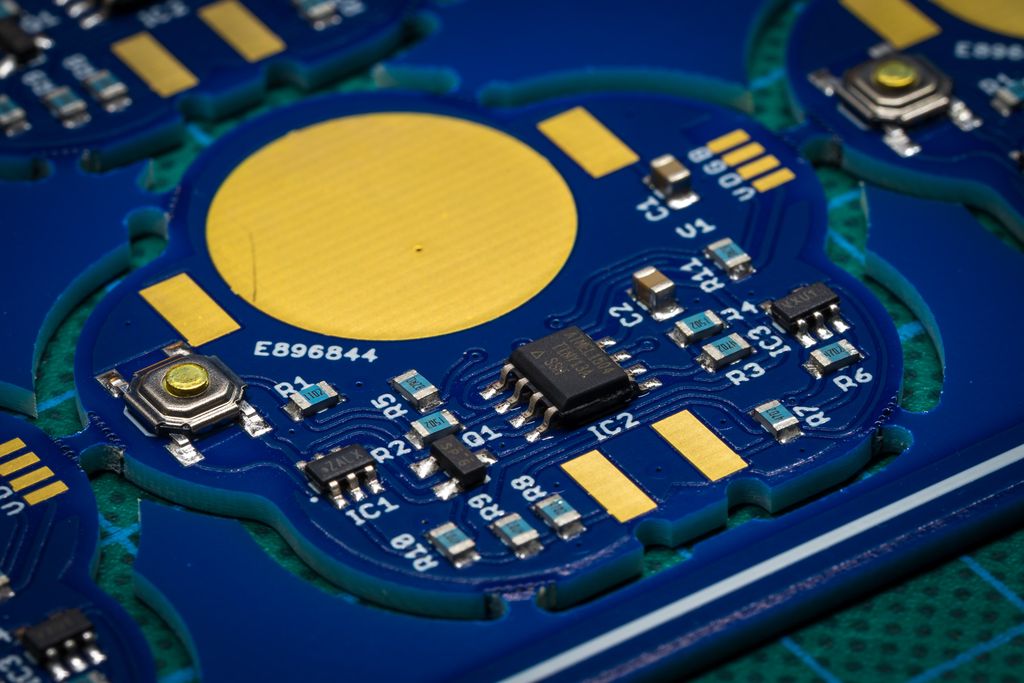
Projects

last modified: October 23, 2025

How to Design a Cheap Plant Watering Sensor (Part 6)

Posted on 2017-04-29— Projects

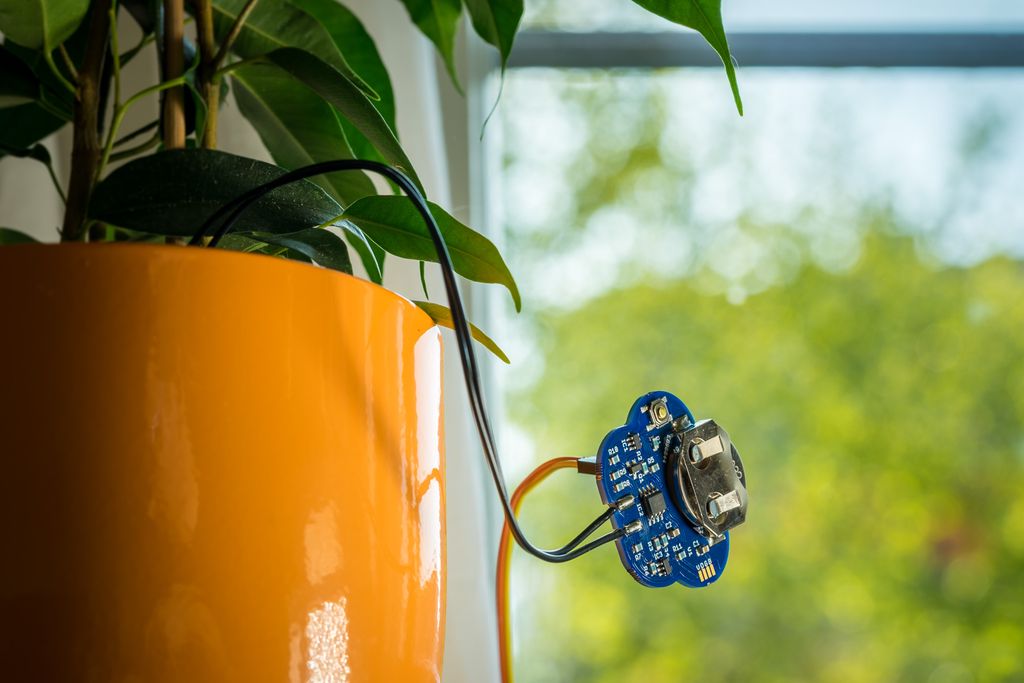
I describe making a small alpha batch of my low-cost plant-watering sensor: ordering parts, prepping and soldering wires, testing PCB assembly with stencils, and solving sealing with epoxy. If you’re interested in practical prototyping tips and lessons learned, please read the full post for photos and detailed steps.
Read this post

Successful Measurements

Posted on 2017-04-22— Projects

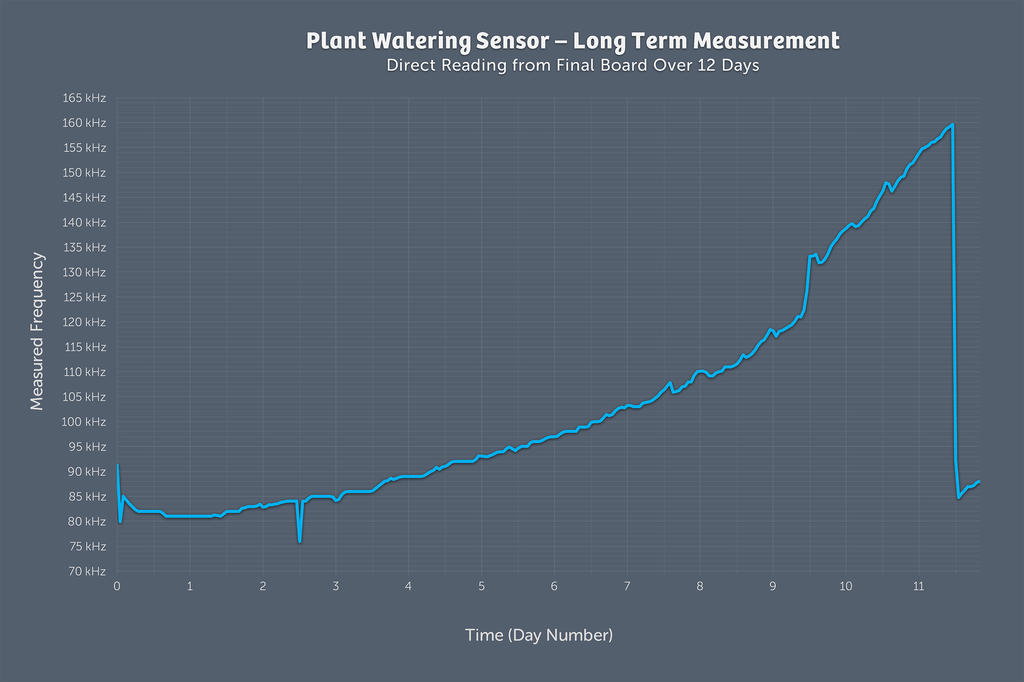
I describe how the new measurement method let me collect reliable, long-term soil sensor data after a single watering. I discuss a brief power-loss artifact, weather effects on drying, and testing epoxy seals for the sensor. Read the full post to see the measurements, results, and my next steps.

Read this post

Plant Watering Sensor – Long Term Tests Take #2

Posted on 2017-04-12— Projects

I began a second long-term test of my plant watering sensor to confirm it tracks moisture cycles after watering and drying. I'm focusing on logging and sealing the sensor's foot for repeatable readings. If you're curious about methods and results, please read the full post and share feedback.

Read this post

Plastic Cup Meltdown - Working with Epoxy

Posted on 2017-04-04— Common, Projects

I tried mixing epoxy in a plastic cup and caused a small meltdown — a useful reminder about heat, cure times, and containment. I share what went wrong, safety and cleanup tips, and practical fixes to help you avoid the same mistakes. Read the full post for step-by-step guidance.

Read this post

Plant Watering Sensor Foot Parts from Eurocircuits

Posted on 2017-03-28— Projects

I received the foot parts for my plant watering sensor from Eurocircuits and I’m pleased with their consistent quality. They removed the PCB bridges cleanly so the boards match my design, saving finishing work and improving the look. Read on to see photos and my impressions.

Read this post

No Success with First Long Term Measurement

Posted on 2017-03-26— Projects

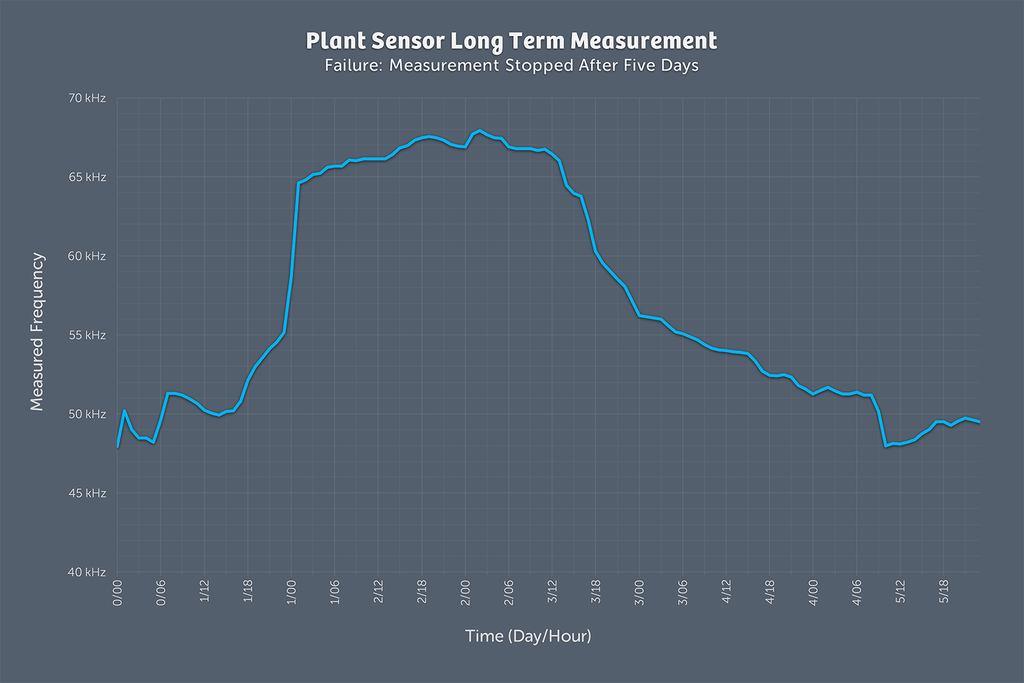
I ran a five-day long test of my plant watering sensor and the results were confusing, so I started a new, more insulated setup using an Adafruit Feather M0, an optocoupler, and pulse-length encoded signals with interrupts. If you’re interested in the hardware and code details, read the full write-up.

Read this post

Plant Watering Sensor – Long Term Logging

Posted on 2017-03-14— Projects

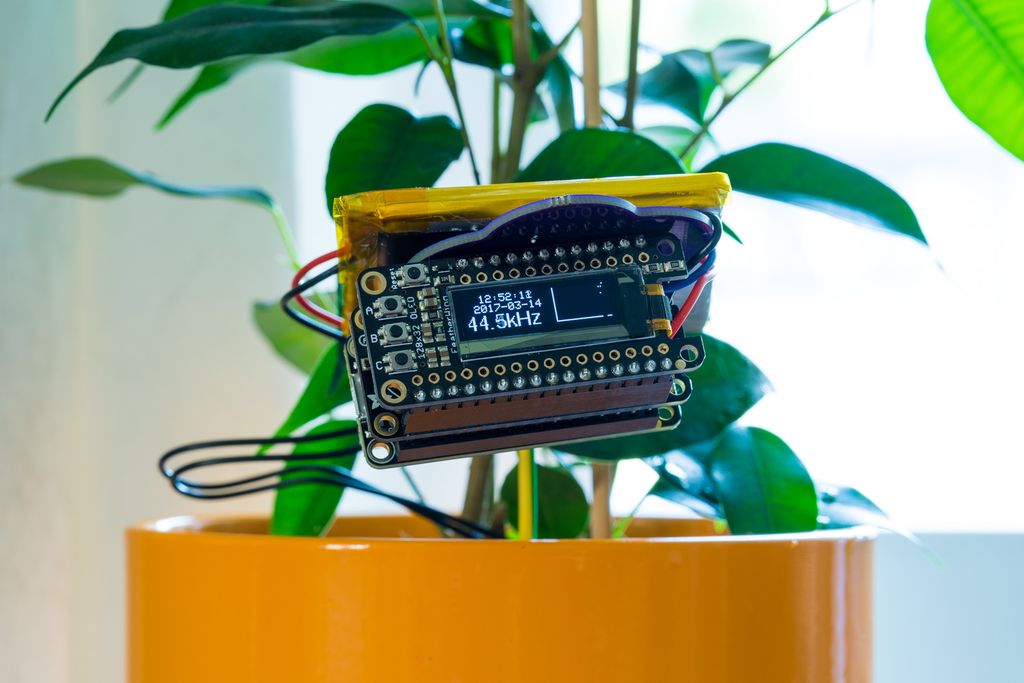
I built a compact logger to collect long-term capacitive readings from my plant watering sensor. Using a Feather M0, RTC/SD FeatherWing and a tiny OLED, it logs averaged frequency to CSV every minute so I can study watering-to-dry cycles. Read on for parts and details.

Read this post

A Versatile ATtiny Programming Adapter

Posted on 2017-02-25— Projects

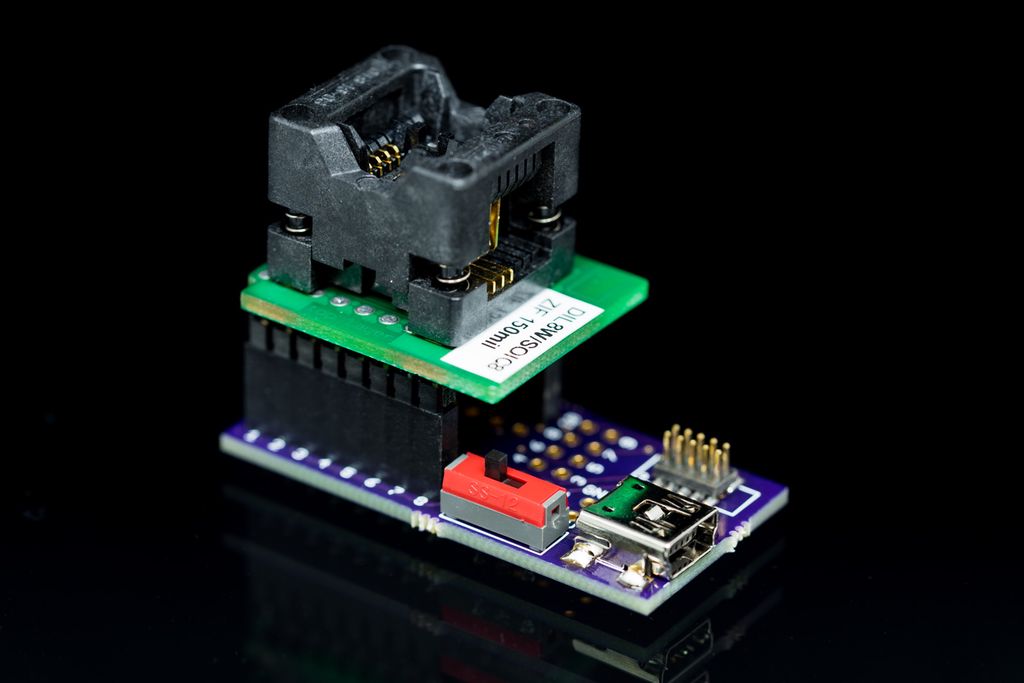
I built a compact ATtiny programming adapter to pre-program ATtiny13A chips before soldering, with a 50mil JTAG header, USB power, LED, and jumper options for other packages. I share EAGLE files, PCB ordering info and usage notes — read the post for photos, GitHub links and details.

Read this post

Plant Watering Sensor - Precise Current Measurement

Posted on 2017-02-23— Projects

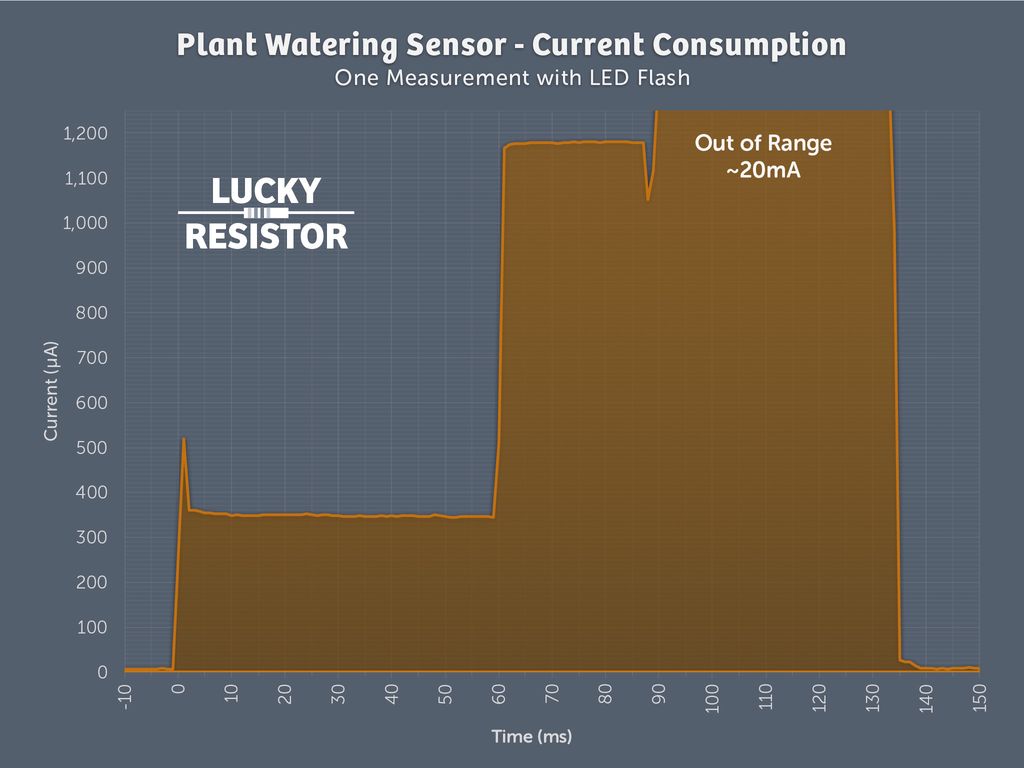
I struggled to measure microamp currents for my plant watering sensor until I tried the µCurrent Gold. In this post I show oscilloscope traces, energy estimates with and without LED flashes, and explain how the µCurrent converts current to voltage. Read on for measurements and upcoming PCB prototype details.

Read this post

SMD LEDs Tests

Posted on 2017-02-16— Fun, Projects

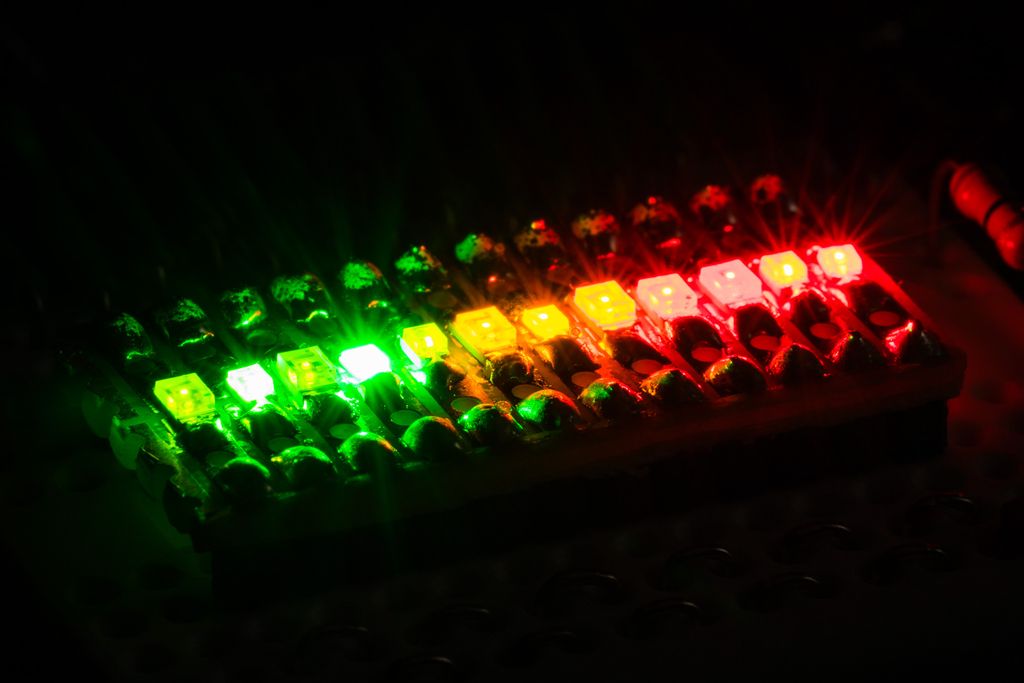
I tested 13 SMD LEDs for my plant-watering sensor project, soldering them to a small board and driving them from an Arduino Zero Pro to compare brightness and flash styles. I share photos, part numbers and a short demo video — read on if you’d like the full results and notes.

Read this post

The Fan Controller Wrapped Up

Posted on 2017-02-12— Projects

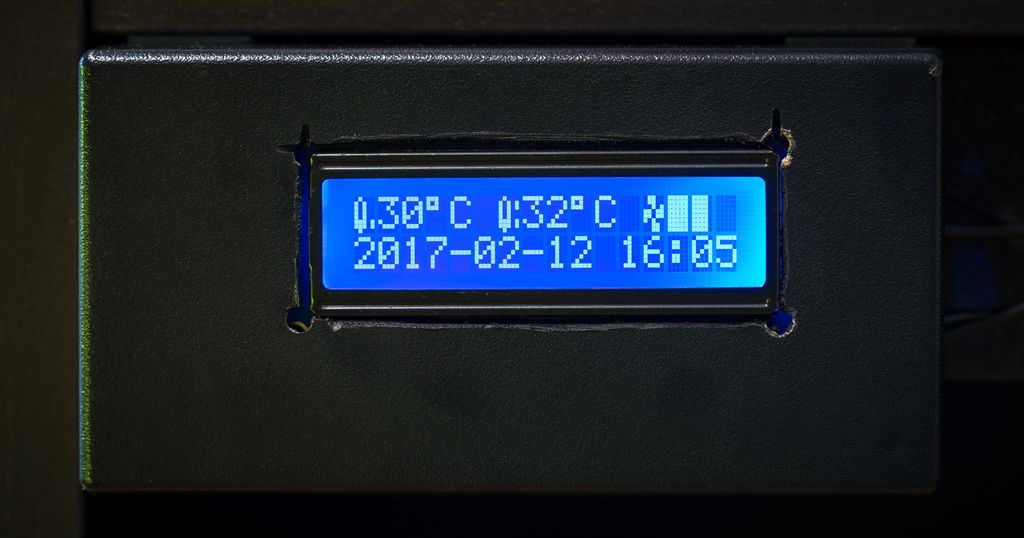
I finally put the fan controller into a cheap plastic case, drilled holes, mounted the Arduino with spacers, and aligned the display using double-sided tape. I cut the panel with a Dremel and it fit better than I expected — read on for photos and simple tips.

Read this post

The Five Light Spheres Project

Posted on 2016-11-14— Projects

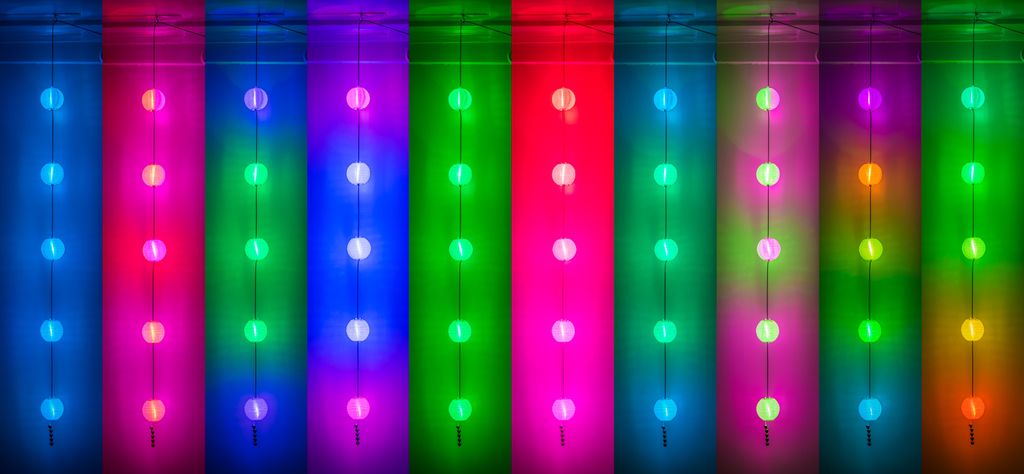
I've published a guide for the Five Light Spheres project — a quiet, artful winter decoration built with NeoPixels that blends colors across five spheres. I walk through materials, assembly, and code so you can recreate it at home. Read the full project page for details and photos.

Read this post

Fan Controller Project

Posted on 2016-10-24— Projects

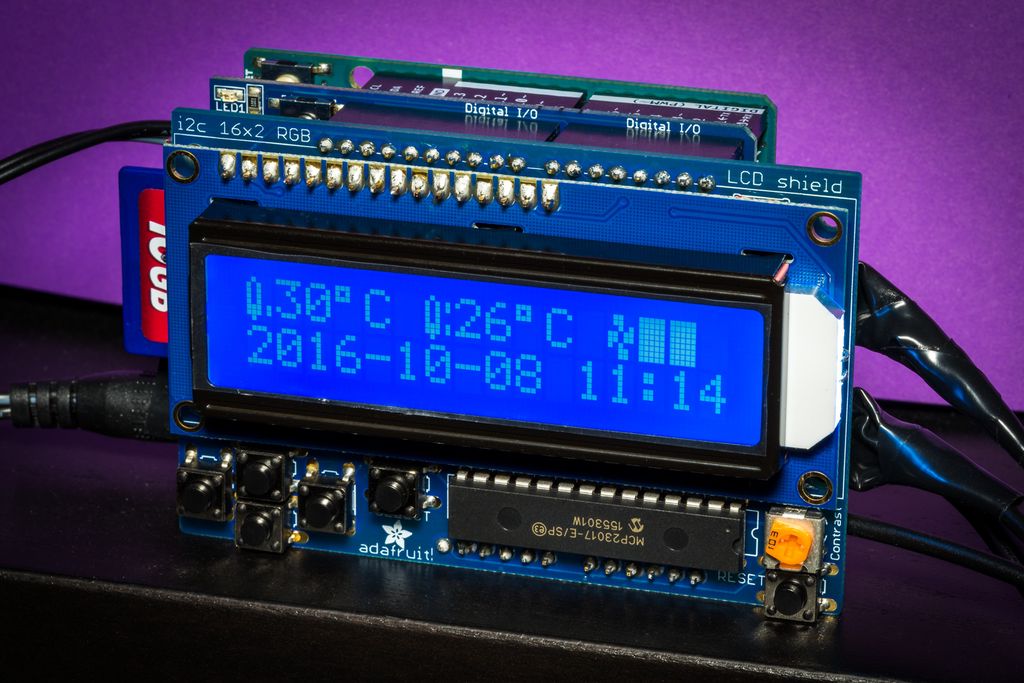
I built a simple, tweakable fan controller after my server rack's components started overheating. I wanted quiet, reliable cooling I could adjust, so I designed a controller with PWM, PID tuning and an LCD. If you’re curious about the steps and ideas, read the full project page to learn more.

Read this post

Outmoded Sequencer Part 2 Ready

Posted on 2016-10-09— Projects

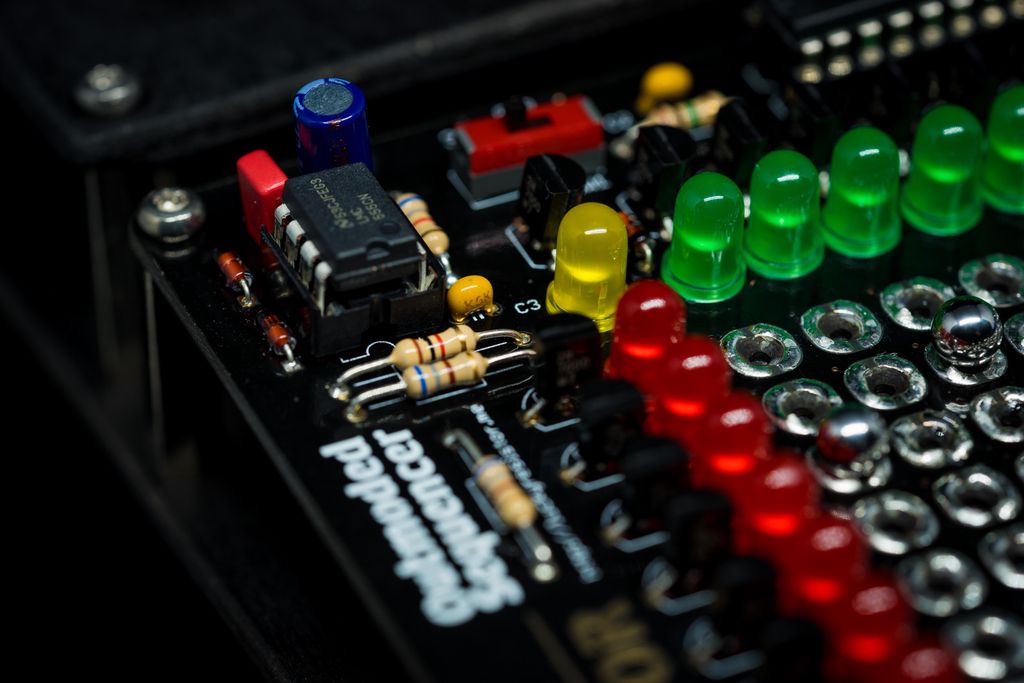
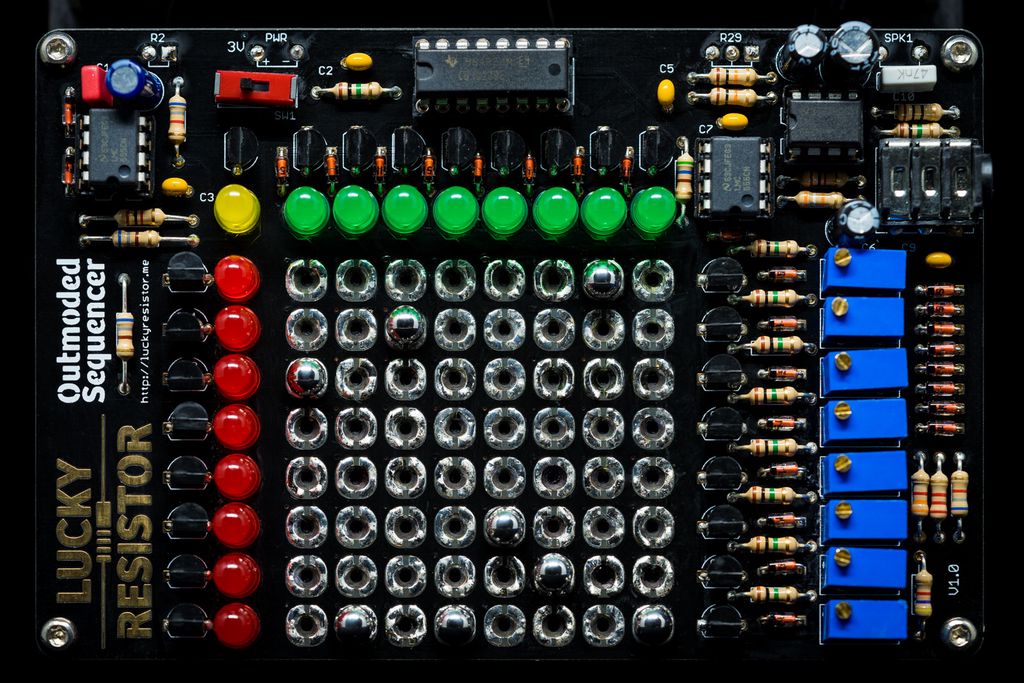
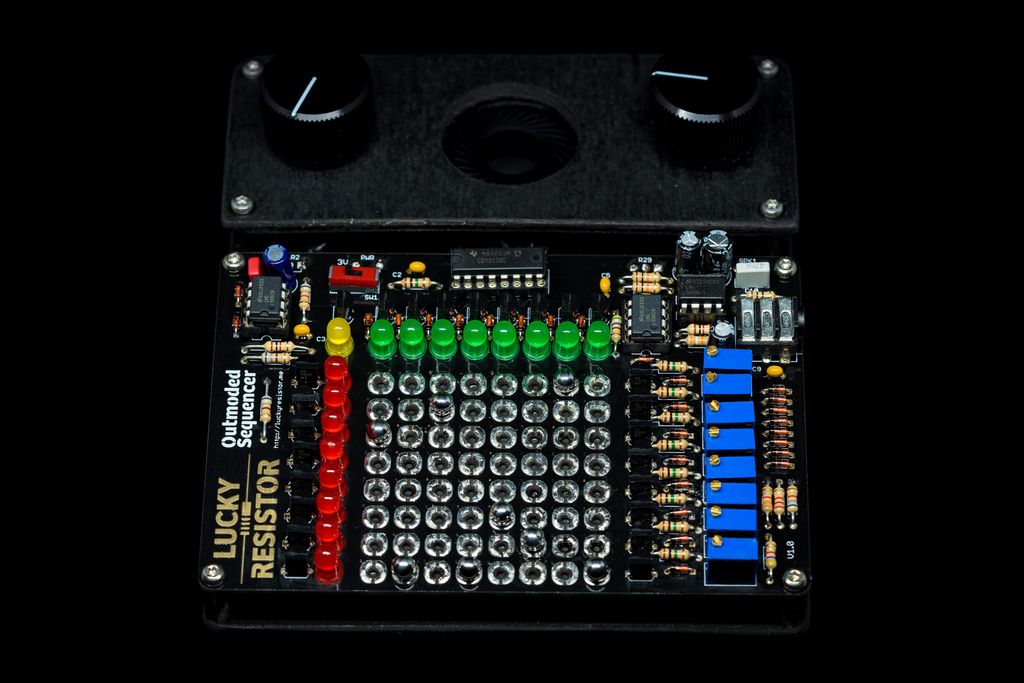
I've just finished Part 2 of the Outmoded Sequencer project, sharing the journey from prototype to final device. I explain the custom PCB work, lessons learned (including unreliable steel-ball matrix switches), and practical recommendations. If you're curious, please read the full post for build tips and cautions.

Read this post

Outmoded Sequencer Live Demo Video

Posted on 2016-09-18— Projects

I made a short live demo of the Outmoded Sequencer and added some audio effects at the end so you can hear its real sound. The video shows occasional connection quirks (a brief tap usually fixes them). I’d love your thoughts — watch the demo and stay tuned for part two.

Read this post

Outmoded Sequencer Finished!

Posted on 2016-09-17— Projects

I just finished the final Outmoded Sequencer and I'm pleased with how quickly tuning went using a new method. The device plays well, though the steel-ball contacts are only okay in spots. Read on for photos, my planned demo video, filter chain tests, and PCB giveaway details.

Read this post

Video: Assembling Final Outmoded Sequencer PCB

Posted on 2016-09-17— Projects

I recently assembled the final Outmoded Sequencer PCB and documented the soldering in a short video. I accidentally cut a bottom trace and repaired it with a jumper wire; the magnet matrix now secures the steel balls. I'll finish tone tuning and add four resistors — please watch the video and read on for details.

Read this post

Building a Magnet Matrix

Posted on 2016-09-08— Projects

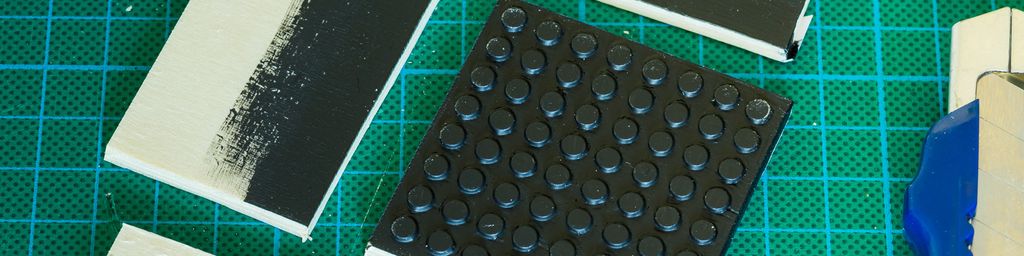
I built an 8×8 neodymium magnet matrix to keep steel-ball switches in place under a PCB for my Outmoded Sequencer. I walk through marking and drilling 64 holes, gluing each magnet, and sealing with acrylic paint. If you're curious to try this practical approach, read the full post for step-by-step tips.

Read this post

The Final Outmoded Sequencer PCB

Posted on 2016-09-05— Projects

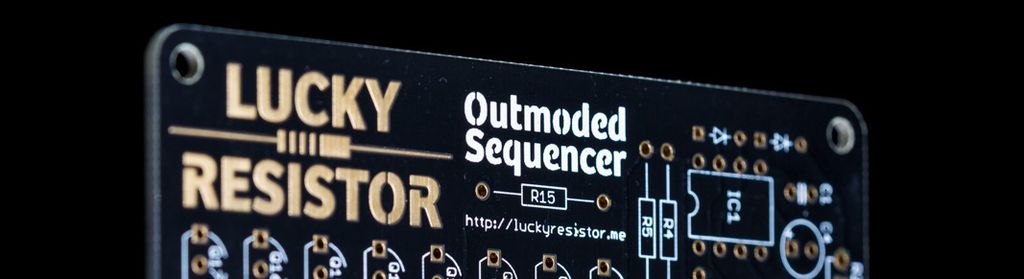
I received the final black-and-gold PCBs for the Outmoded Sequencer and I’m pleased with the glossy finish, strong solder-mask contrast, and simplified routing after rearranging components. I cover the size changes, routing choices, and manufacturing details—please read on if you’d like the full build and photos.

Read this post

Steel Balls Arrived

Posted on 2016-09-02— Projects

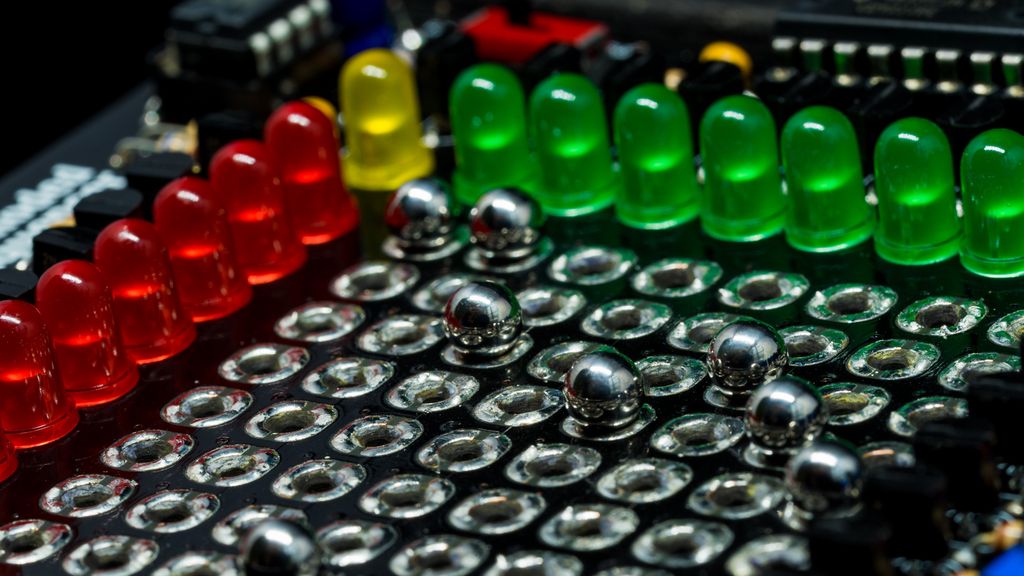
The steel balls for my Outmoded Sequencer arrived today and they look great. I’ll use them to program the sequencer matrix, with small magnets underneath so each ball clicks into place. I’m excited to test this first version — read on if you’d like to see how it comes together.

Read this post