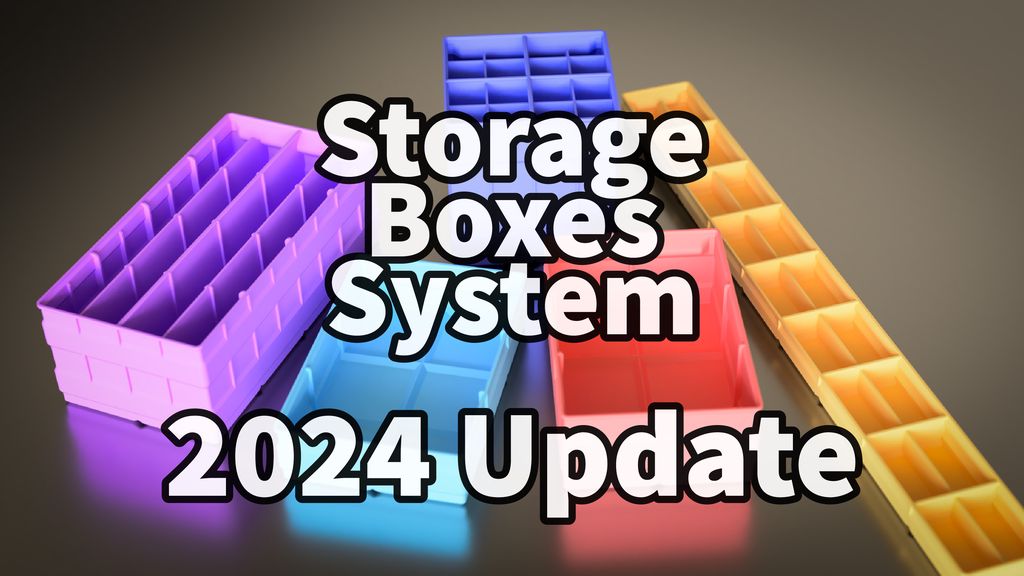
Thank you all for your feedback and support! When I started designing the storage boxes, I never imagined how many people would eventually download and use them. What began as a small project with a few model files has grown into a large system. Your feedback has been invaluable in identifying flaws and inspiring new variants. Your input is always welcome and much appreciated.
Why Did It Take So Long?
The primary reason for the delay in this update was the optimization of geometries. I started with the basic storage box and incorporated changes based on your feedback. I found several small flaws affecting most storage boxes, which led me to systematically address them by creating new revisions for all series.
I aimed to ensure that these changes improved the storage boxes and maintained compatibility with older revisions. This required multiple iterations, printing boxes, and adjusting details until I achieved the desired results.
The process was further slowed by bugs and flaws in Fusion, the software I use. Generating the model files took more time than expected. For example, generating 81 models for a series took between two to five hours. Given the number of series involved, this was a lengthy and tedious process. Even with powerful computers, Fusion only uses one CPU, causing delays.
Additionally, if you’ve worked with complex designs in Fusion, you may know that small changes in a “Sketch” can sometimes disrupt the entire timeline, forcing you to rebuild the design from scratch. This happened several times, significantly slowing down the process.
Despite these challenges, I’m pleased to present the updated storage boxes system and hope you find the improvements beneficial.
Improved Geometries for All Boxes
The new revision D storage boxes feature several significant improvements.
Stabilized Rail-Grid Groove
When I initially designed the storage boxes, I lacked confidence in bridging during the FFF process and tried to avoid it whenever possible. However, after producing thousands of prints, I’ve gained a better understanding of the technology and its limitations.
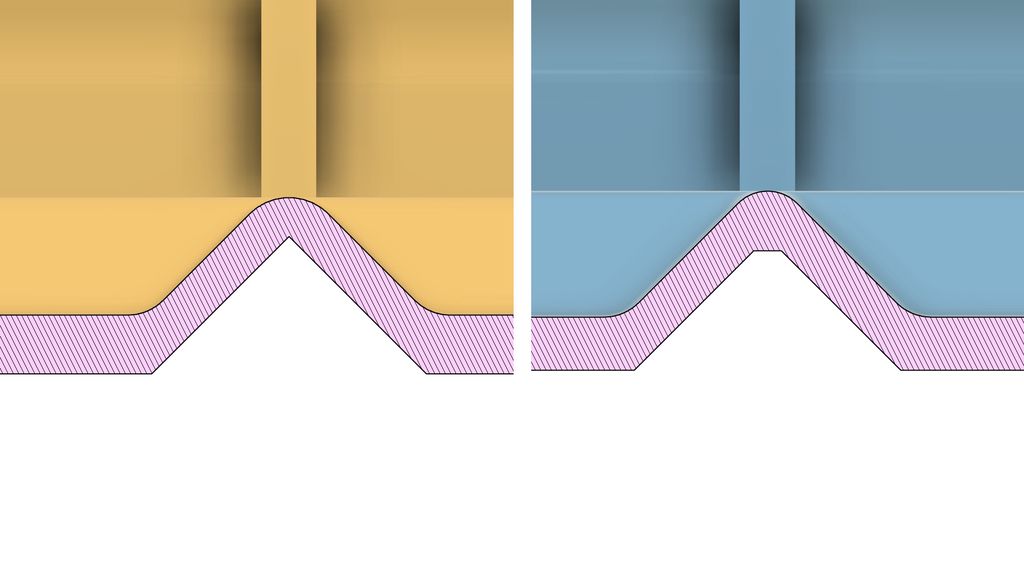
In the illustration below, you can see a comparison between the rail-grid groove of revision C on the left and the new rail-grid groove of revision D on the right.
In revision C, the geometry is only 1.2mm thick at its weakest point. The improved geometry in revision D is 1.8mm thick and, instead of a single 90º angle, the forces are distributed over an approximately 0.85mm wide area.
This change results in a much more rigid rail-grid groove that is less prone to breaking. The bridged gap is only about 0.85mm, which can be achieved with any filament.
Groove Crossings
Lowering the bridged area led to the issue where the slicer sometimes created a continuous bridged area, either closing the gap at a 45º angle or, worse, creating a bridging patch where the lines run parallel to the gap. I resolved this by introducing a small step between the bridged area along the groove and the center of the crossing.
In the illustration below, you can see the comparison of the crossing between revision C on the left and revision D on the right.
An additional benefit of this change is the ability to apply the same profile to the sides of the storage boxes, making the radius uniform across all layers.
Optimized Sides of the Label Area
The sides of the label area had two main issues. First, the 90º angle slowed down the printing speed in the top area of the storage box. I didn’t notice this issue until I got a faster printer, where the slowdown became apparent and affected the print quality.
Second, there was a non-uniform arc where the wall thickness of the box was slightly reduced. This caused the filament to be extruded unevenly, leading to artifacts.
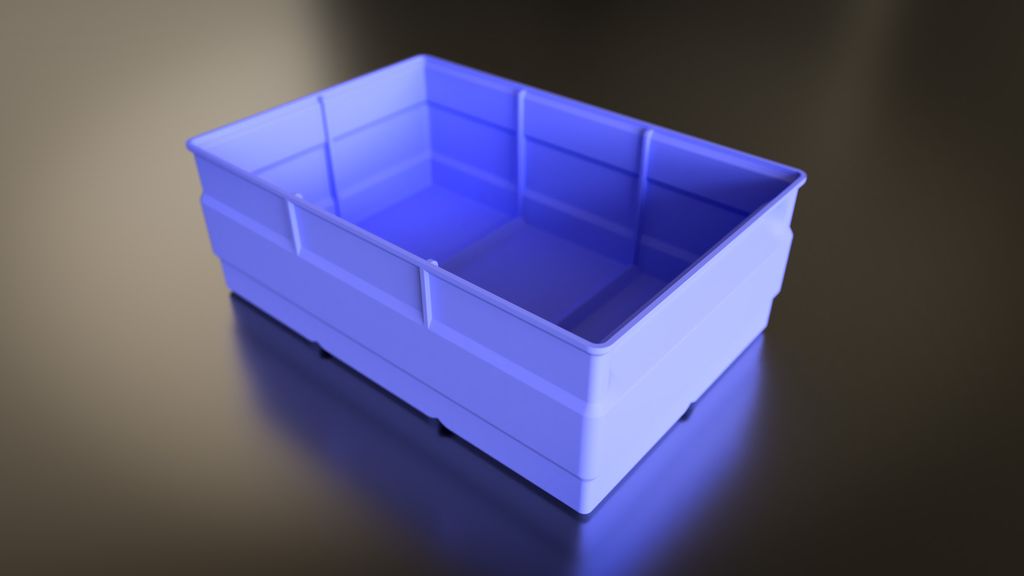
In the illustration below, you can see the comparison of these areas between revision C on the left and revision D on the right.
The smoother transitions in revision D improve print quality and speed. However, this comes at the cost of slightly reducing the label area for one-unit-wide storage boxes.
Ribs Under the Label Area
Some boxes lacked ribs below the label area, which wasn’t an issue for most PLA prints and smaller boxes but could cause problems with larger prints or prints made from PETG and other high-temperature materials.
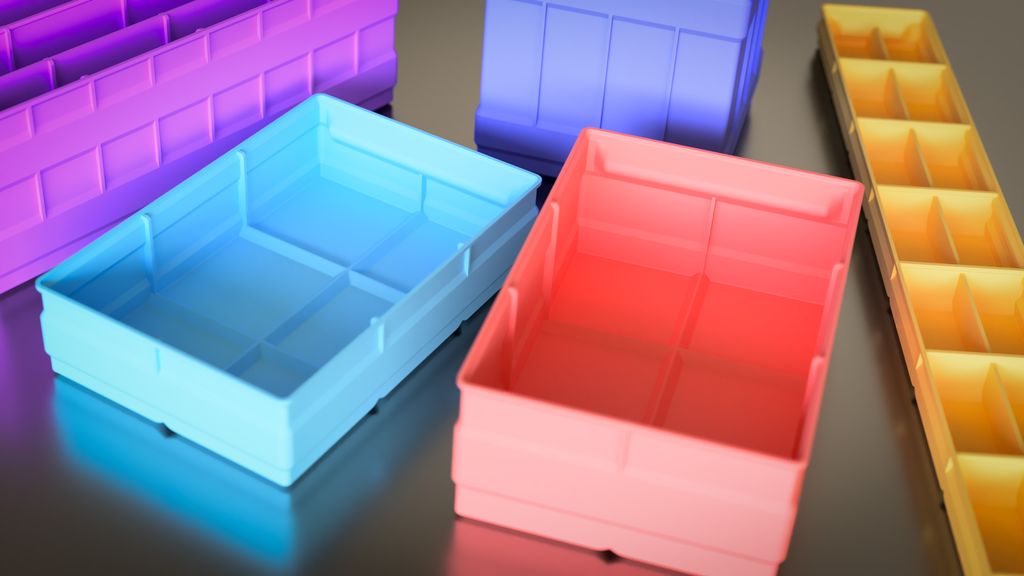
All new storage boxes now feature the same amount of ribs below the label area as they do on all other sides. This enhancement increases the stability of the box and reduces contraction forces that could lead to bulging.
Tighter Fit on Rail Grids
In this revision, I addressed a discrepancy in the spacing between the boxes and the rail grid. In revision C, the distance to the rail grid at the sides of the box was about 0.37mm, while at the center it was 0.5mm. In revision D, this spacing is now uniformly set at 0.37mm.
Improved Wall Layout for Extended Boxes
The wall layout of the extended boxes (600 Series) was suboptimal. The wall profile in revision C was based on the dimensions of the regular height boxes and lacked ribs below the label area, making these boxes particularly susceptible to bulging.
In revision D, the wall profile is now more uniform with smoother transitions into the label area. Additionally, I added the missing ribs below the label area. These changes resolved the printing issues reported by some users and which I was able to reproduce.
More Boxes with Dividers
While the 100 and 200 series always had at least six divider layouts, the taller boxes did not. Initially, I thought these layouts were unnecessary, as I designed the boxes primarily for storing small items. However, I received substantial feedback about using the boxes to store drills, long screws, and other items vertically, utilizing the small grids in that manner.
Therefore, this update includes at least six divider layouts for the 100, 200, 300, 500, and 1400 series. You may have noticed that layouts 4-6 for the 600 series are missing. These models weren’t ready yet but will be added later.
Removed the PDF Catalogs
When I initially started the storage boxes system, the PDF catalogs provided a quick way to find models among the smaller number of variants available at the time. However, creating these catalogs is a time-consuming process, adding an extra step to the already complex process of generating storage boxes.
With the new download area, I offer an easily accessible model catalog with search functionality, allowing everyone to quickly find the right model. Since introducing the download portal, the download counts for the PDF catalogs have been negligible.
Part Numbers on the Side
All models in revision D now have part labels on the side instead of the front. I found this placement more suitable for future designs I have planned. Additionally, the part numbers now extrude just 0.2mm from the side, minimizing printing issues.
Variants with part numbers at the bottom are still available for most series. Here, I have also reduced the extrusion depth and, in some cases, the size of the text for better printing results.
Removed the STL Format
Previously, I provided models in both 3MF and STL formats. Although both are mesh-based, the 3MF format is far superior as it stores metadata and compresses its contents. Nowadays, almost all slicers support the 3MF format, eliminating the need for the older STL format.
To save disk space and reduce redundancies, I will now only provide new models in the compressed 3MF format (and STEP). If you require the model file in STL format, you can easily convert 3MF to STL. This conversion is straightforward, and the resulting STL file maintains the same quality as the 3MF.
Added the STEP Format for New Models
In addition to the 3MF format, I now also provide all model files in STEP format. Unlike the mesh-based 3MF format, the STEP format supports curved surfaces. This is beneficial if you want to modify an existing storage box model, as you can easily import it into your CAD software. Additionally, some slicers can extract exact arcs from the STEP format, improving the quality of the sliced results.
More Free Creative Commons Models
With this update, I am releasing all new revision D storage box models of each series, up to 3×3 units, under the Creative Commons license. Rail grids are available up to 3×4 units. This update brings the total to over 600 free storage box models available for download from the Printables website.
I believe this is a fair set of free models that will cover most private use cases. Additionally, you can purchase a license at a very affordable price. This one-time payment grants you lifelong access to the current set of storage boxes, including all future updates and extensions.
Conclusion
With this update, you can now choose from over 7,000 model files, covering a vast range of sizes and divider layouts. If you reported any issues, I hope this update has resolved them.
As always, your feedback is invaluable! I offer several ways for you to reach out:
Mastodon: Send feedback and follow me for regular updates. Send feedback and follow me for regular updates.
Printables: Use direct messages on Printables. Use direct messages on Printables.
Contact Form: Utilize the contact form on my website. Utilize the contact form on my website.
{{}}: Use the email address displayed in the download area (available for paid users). Use the email address displayed in the download area (available for paid users).
If you don’t receive a response within a few days, there might be a technical issue. Please try another channel. I strive to respond to every request.
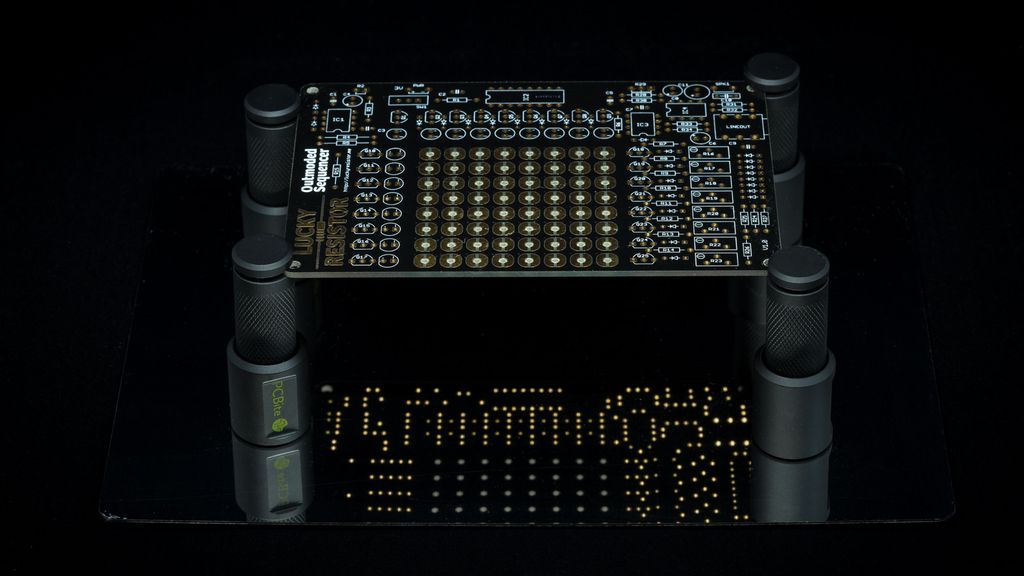
I recently tried PCBite, a compact magnetic PCB holder with a mirrored base and adjustable posts. It makes soldering and inspection easier than my old helping-hands. I share close-up photos, usage notes, and where to buy a set—please read on if you’re curious about a simple, solid solution.
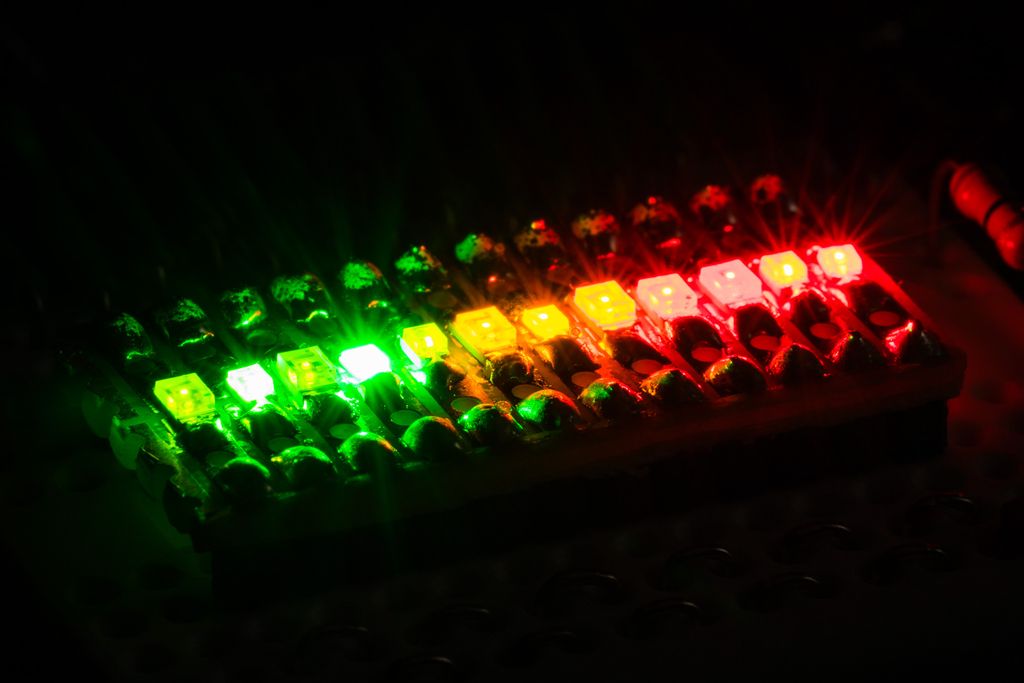
I tested 13 SMD LEDs for my plant-watering sensor project, soldering them to a small board and driving them from an Arduino Zero Pro to compare brightness and flash styles. I share photos, part numbers and a short demo video — read on if you’d like the full results and notes.
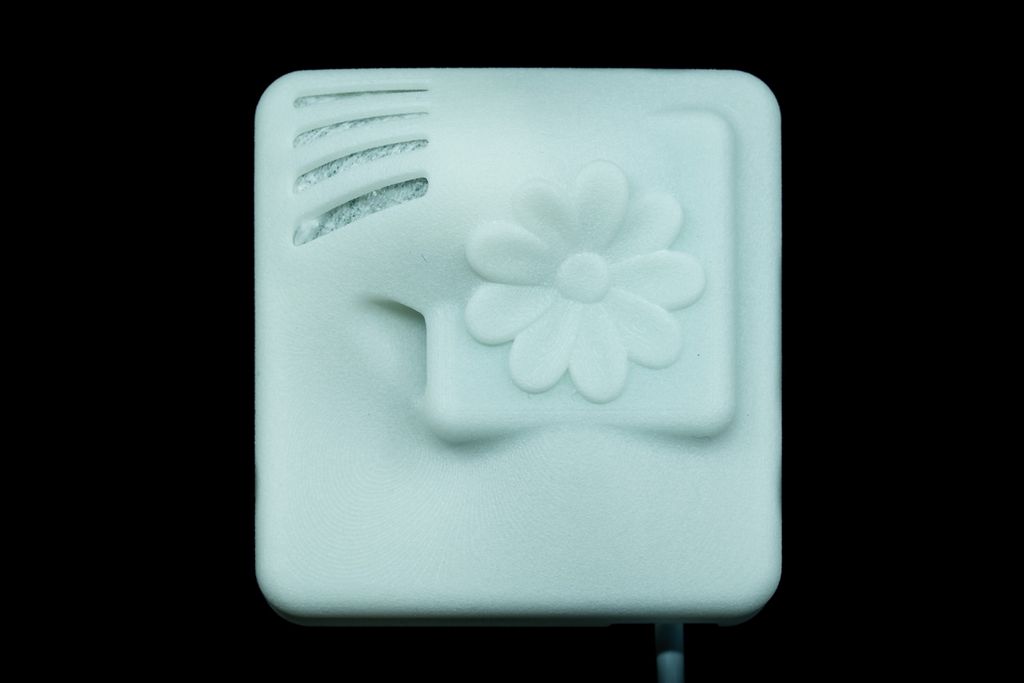
I guide you through building a compact particle sensor node using a Raspberry Pi Zero W and a minimal custom shield, with published Gerbers, STL files and example code. I keep the design simple and extendable—if you'd like to build your own networked air-quality node, read the full post for parts, assembly and setup.
I published a small command-line tool to read the Sensirion SGP30 air-quality sensor on a Raspberry Pi. I explain usage, options, and how to build and install the C tool so you can get JSON CO2/TVOC output. If it helps, please read the full post for details.
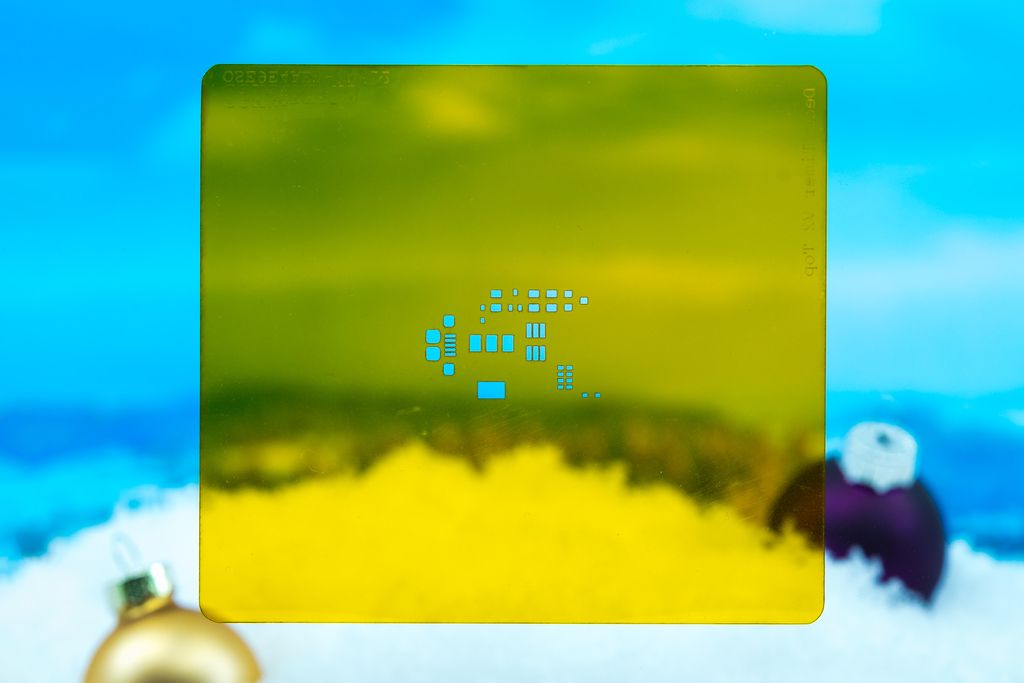
I received 3mil polyimide stencils from OSH Stencils for my Swiss precision timer project. They feel flimsy compared to the steel stencils I usually use, but cost much less. I’ll test solder paste application and the first prototype in the coming weeks — please read the full post for results.
Posted on 2019-07-13— C++, Improve your Code, Learn
I explain why I prefer #pragma once over macro header guards and how it prevents subtle build errors and wasted debugging time. I’ll show examples, common pitfalls, and practical steps to replace guards in existing projects — read on if you want a simple, low-risk improvement.