Stronger 3D Printed Parts with Vertical Perimeter Linking
published: February 2, 2023 —
last modified: October 23, 2025
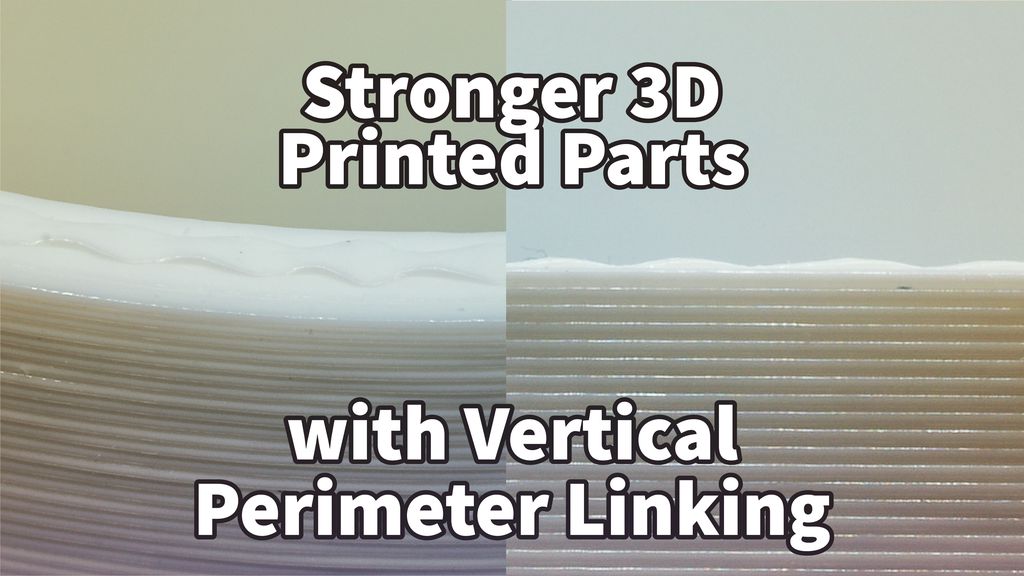
One issue with fused filament fabrication is the weakness introduced into the parts at the layer boundaries. I had this simple idea of how especially straight sections of 3D prints could be improved on regular printers. Now I found time to test my idea.
Table of Contents
Linking Two Layers at the Perimeter
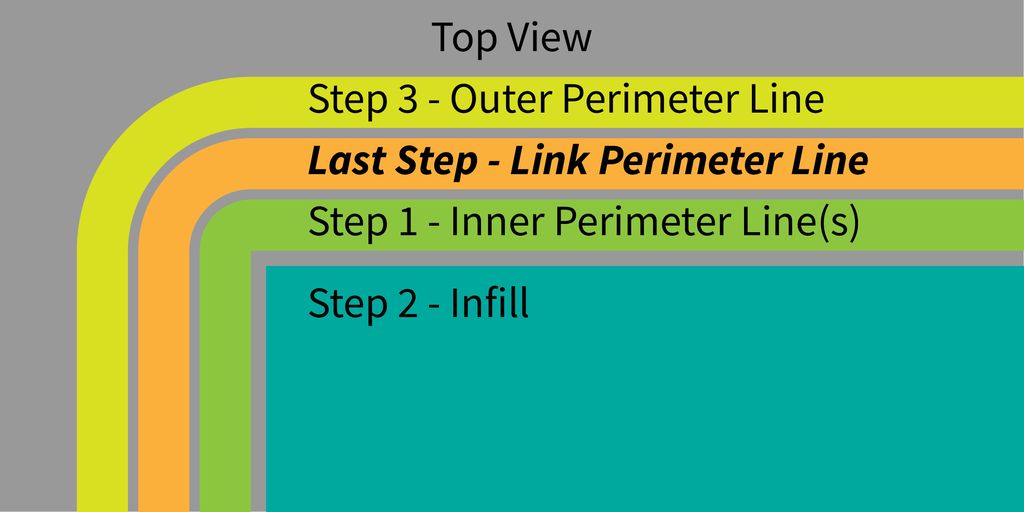
The principle is simple. A gap is kept open after a few layers between the outer and inner perimeter line(s). The line in this gap is printed as the last operation before the layer change.
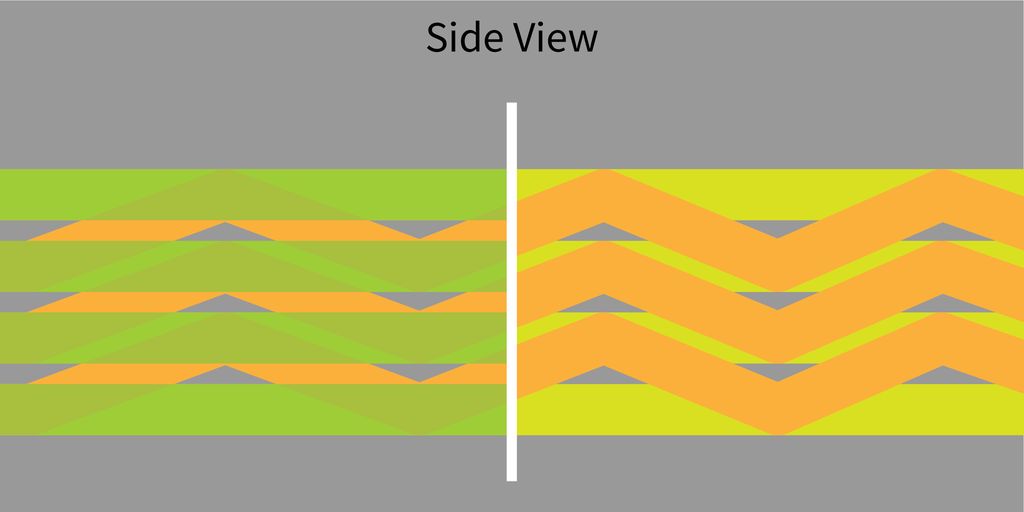
The line is split into small, equal-sized sections printed in a zig-zag pattern on the Z-axis. This pattern rises from the current layer height to the next layer height (e.g. 0.2mm).
The illustration above shows how this special link perimeter line is embedded between the outer and inner perimeter lines.
Photos
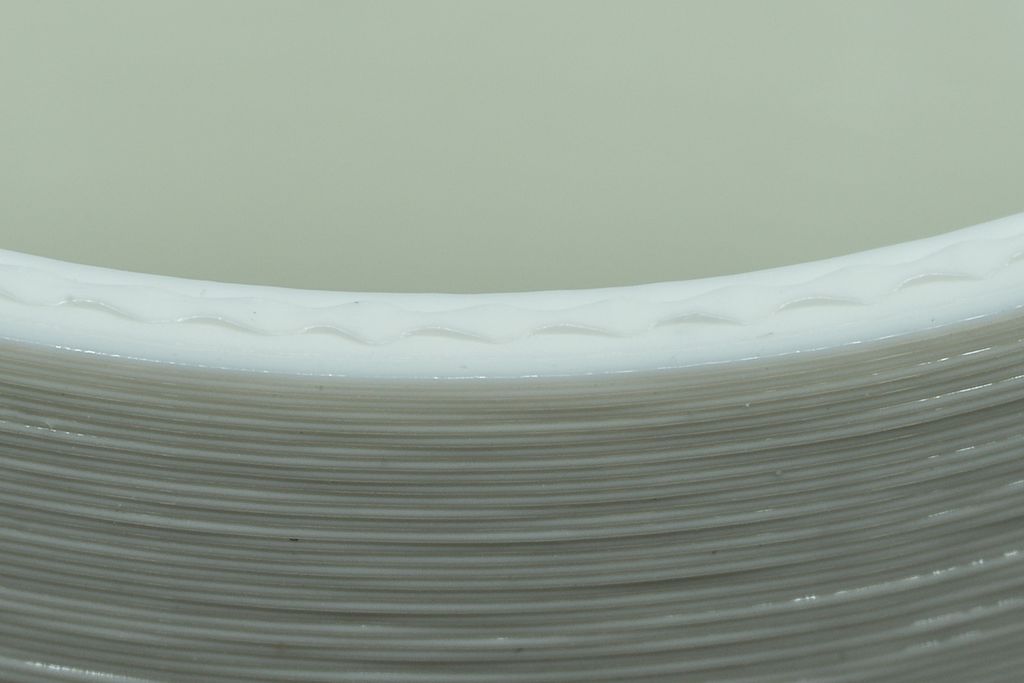
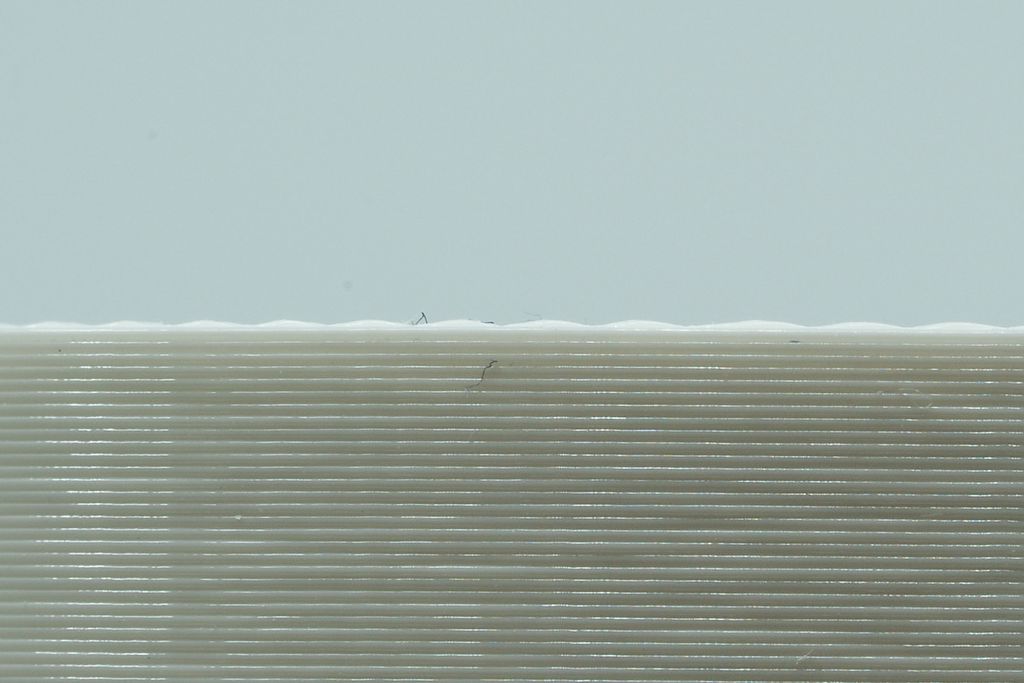
The link perimeter line has peaks, one layer height higher than the current layer height. In the photo, you can see how the flat area of the printer nozzle shapes this line.
The peaks of the lines are merged with the next layer and bond these layers vertically.
Limitations
Nozzle Movement
As the printer nozzle ends in a flat area around the opening, the length of the segments needs to be large enough to allow the filament to reach that height before it gets pressed down from the edge of the printer nozzle. I found a section length of 2-3mm works well with a 0.4mm printer nozzle.
Outer Wall Angles
The slicer needs to know the position of the link perimeter line on the next layer to move the Z-axis and the printer head into the spot where this line will be. This is only possible up to a certain angle; other strategies must be used.
Pattern Alignment
As the link perimeter line pattern has to be aligned with the next layer, it makes sense to use an absolute height pattern with the same offset for all layers of the part. This ensures that a peak in the line always matches the shape of the line in the next layer.
Demonstration GCode
I prepared demo gcode files for PLA on a Prusa i3 MK3S+ printer.
The file pipe.gcode is a regular print, and the file pipe_vc.gcode is modified with a link perimeter line. Test these prints on your printer at your own risk.
This demo gcode was created by processing a suitable gcode with a simple Python script, adding movements in the Z axis to existing commands. This feature would need to be integrated into slicer software to use the technique universally. Yet, I do not have the required knowledge for full implementation.
Conclusion
Even when the printed zig-zag pattern is crude and imperfect, it breaks the uniformity of the layers. This makes it harder for a crack to propagate into the part along the layer line.
If you have questions, missed any information, or wish to provide feedback, add a comment below or send me a message.
I guide you through building a compact particle sensor node using a Raspberry Pi Zero W and a minimal custom shield, with published Gerbers, STL files and example code. I keep the design simple and extendable—if you'd like to build your own networked air-quality node, read the full post for parts, assembly and setup.
I recently tried PCBite, a compact magnetic PCB holder with a mirrored base and adjustable posts. It makes soldering and inspection easier than my old helping-hands. I share close-up photos, usage notes, and where to buy a set—please read on if you’re curious about a simple, solid solution.
I built a small compiled command-line tool to read SHT31 temperature and humidity over I2C on a Raspberry Pi. It emits simple JSON for easy parsing in scripts. If you're using an SHT31 sensor or automating reads, read the full post for usage, build and install steps.
I've released a small update to my LR2052 storage boxes: new split models (LR2052-300C-S), an extensive clickable PDF catalogue, more free models on Printables, and a new download area for buyers. I invite you to read the post for full details and download links if these designs help you.
I designed a modular 19th‑century‑style lantern you can 3D print as a candlelight or expand into an LED street‑lamp stand. Read on for my glue‑free assembly, colour‑layer printing tips, and stand options — or jump to the Printables page for downloads and print instructions.
I explain how C++ namespaces prevent name conflicts and why they matter, especially in Arduino projects. I walk through practical patterns—prefixing, selective using-declarations, and importing a namespace—with class and global examples. Read the full post for simple, pragmatic examples to keep your code clearer and conflict-free.