Rail Grid Alternatives and More Interesting Updates
published: December 8, 2022 —
last modified: October 23, 2025
I published another large update to the storage boxes project in the last two weeks. All buyers who subscribed to update emails already got a summary of the changes. If you read the email, you can skip this post unless you are interested in even more detail.
The new and updated models are downloadable from the usual location, and I also added more free models for download from the Printables page. In short, there were these changes to the project:
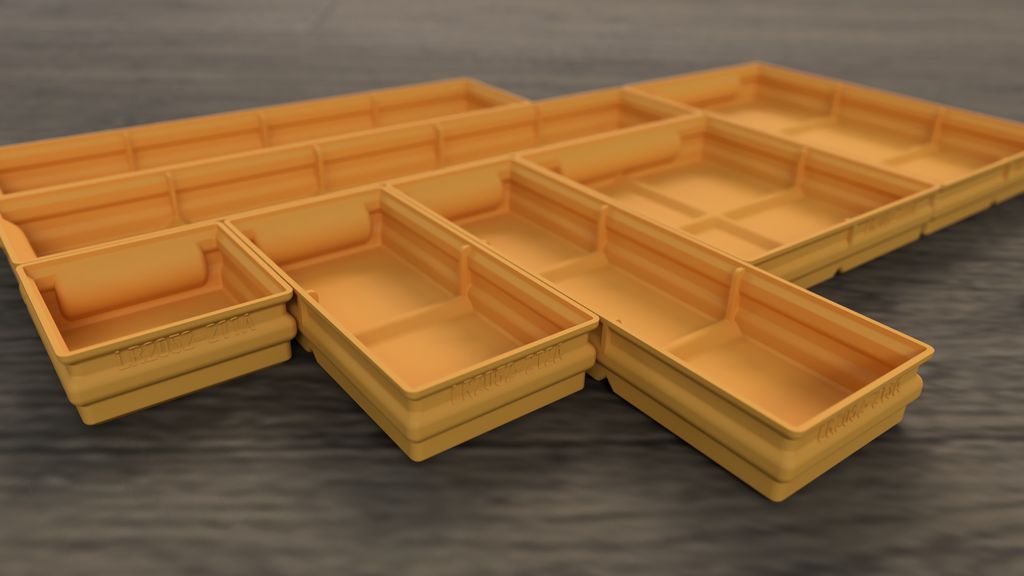
There are new alternative rail grids: 1600A, 1700A, 1800A, and 1900A.
I added more sizes, up to 9×9 for most models.
Now, many models have a version with alternative part number placement.
The PDF catalogue has further improved, and there are now a few drawings illustrating key dimensions.
I added the missing archive directory with old revisions.
In this post, I will describe the changes in more detail.
Table of Contents
New Rail Grids
I found no common solution to create an improved revision of the current rail grids based on the feedback I got about the current ones. Also, new revisions must be perfectly compatible with printed parts from older revisions.
The main issues I addressed from all collected feedback were:
The rail grids are too loose.
The boxes do not sit flat on the surface.
The rail grids use too much material to print.
My Reasoning Behind the Old Design
When I experimented with the original design and tested existing solutions, I found two issues I tried to avoid with my design: First, if the rail grids matched the boxes too closely, and if I didn’t place them very carefully on the grid, the rough surface would often get stuck. I don’t care if the boxes are perfectly aligned if I can throw them in the drawer and they automatically slide into place.
Second, in a workshop, dust and grime collect easily, and also in drawers under the boxes. If the boxes sit directly on the surface of the drawer, this dust sticks at the bottom. So I like to have a little space below each box, where dust can be collected and easily removed with a vacuum cleaner.
This led to the rail grid series LR2052-700C, which has now a new revision D, and the title “Classic Rail Grids”. I assigned a new revision “D” because the models are generated from a different design, yet, the resulting geometry should be unchanged.
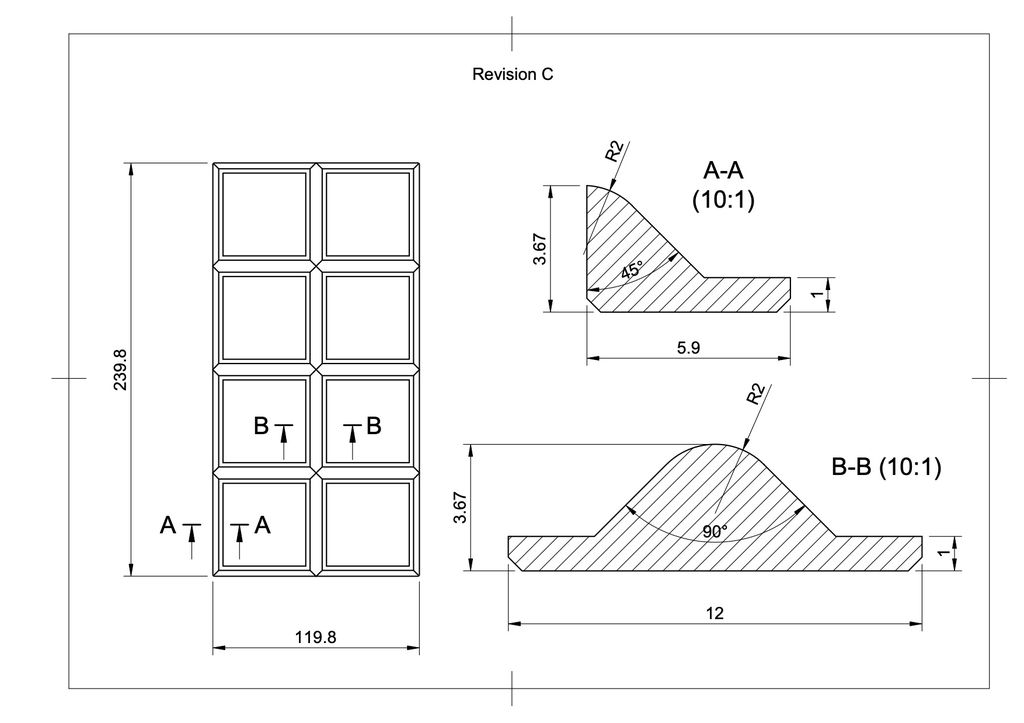
The design uses a base with a width of 12mm and a height of 1mm. The actual rail is on top of this base with a round top that avoids sharp corners.
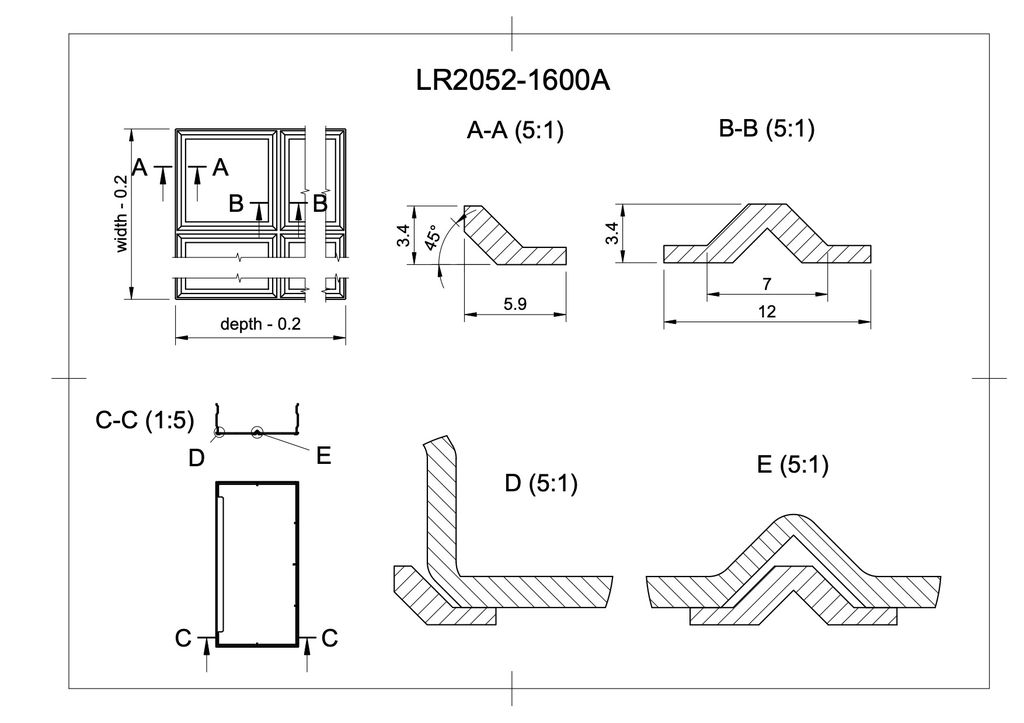
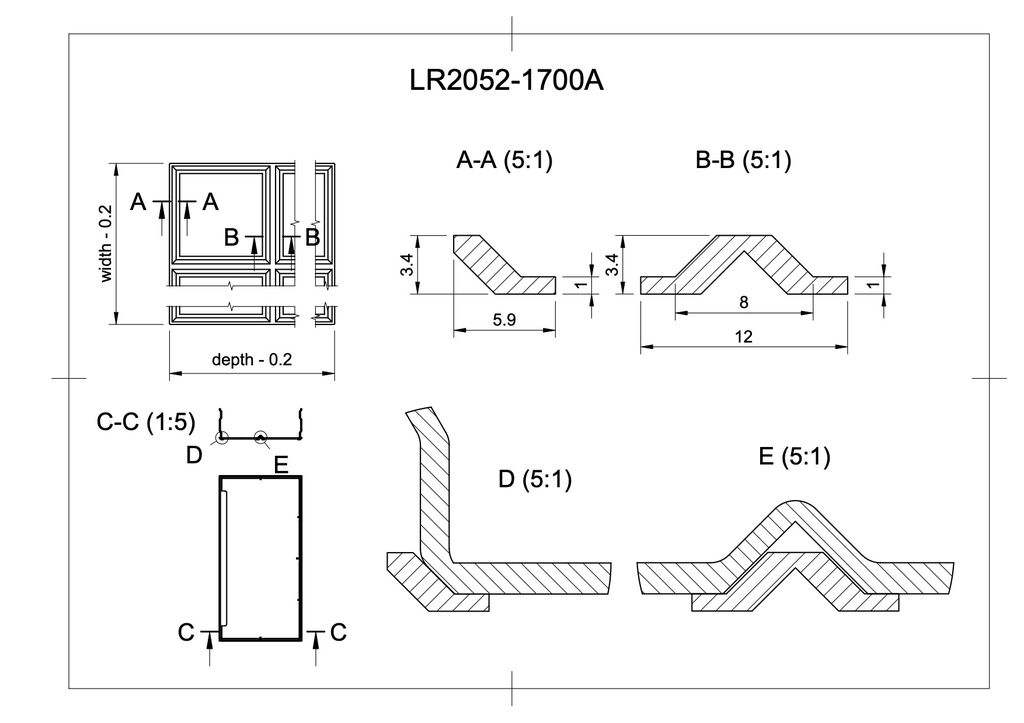
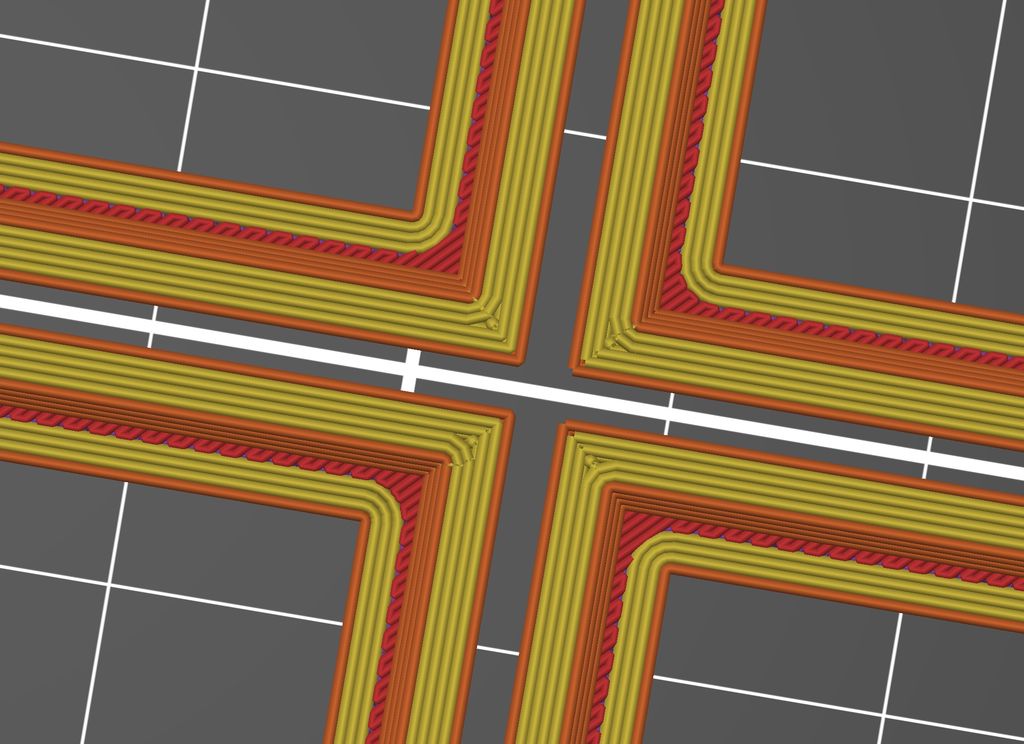
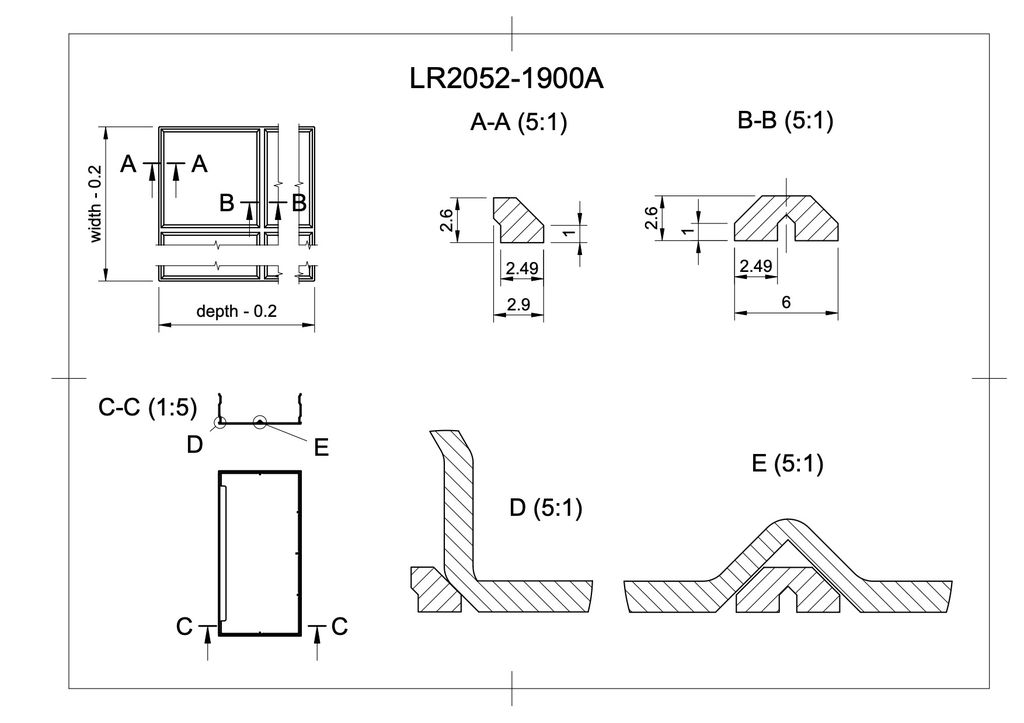
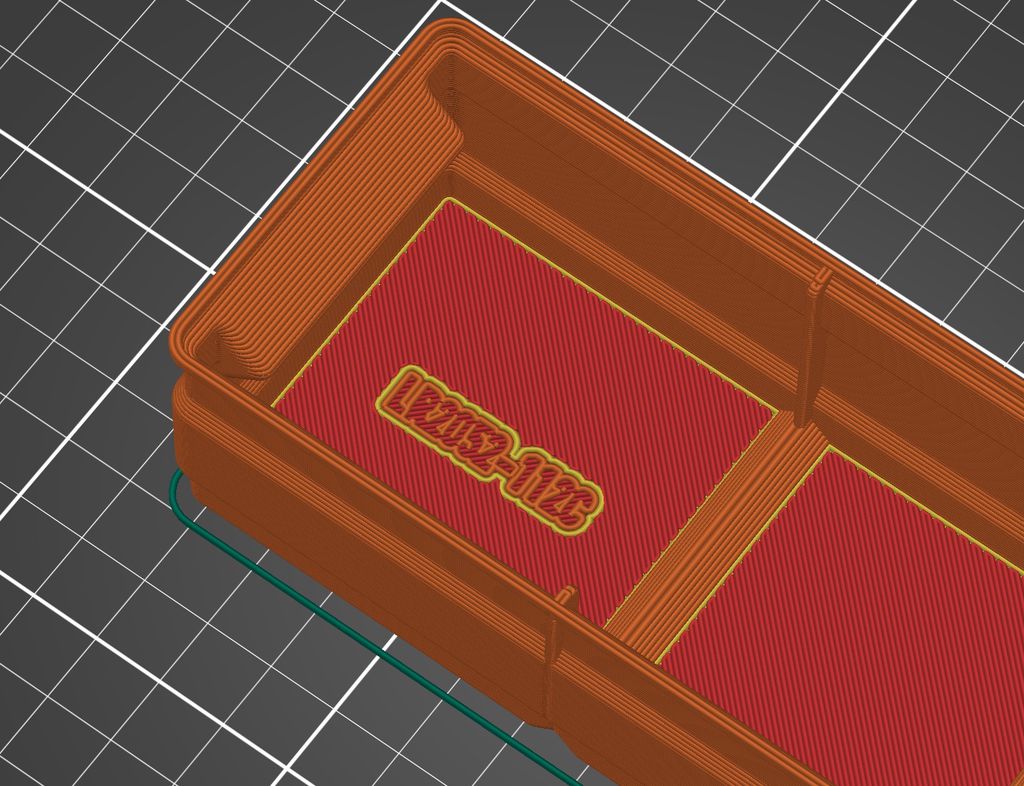
The two “minimal” rail grid variants reduce the amount of material and, therefore, also the print time. They are very similar and compatible with the classic grid, where the boxes sit on a 1mm frame.
The only difference between series 1600A and 1700A is the spacing between the rail and the boxes. While the first series has the same amount of slack as the classic grids, the second series tightly aligns with the boxes and lock them securely in position.
Printing 1723A with four perimeters in draft mode with a 0.4mm nozzle, takes about 51 minutes. The classic grid requires about ten minutes longer for the same print. Printing the same grid with a 0.8mm nozzle can be done in 21 minutes.
The Two Flat Rail Grid Series
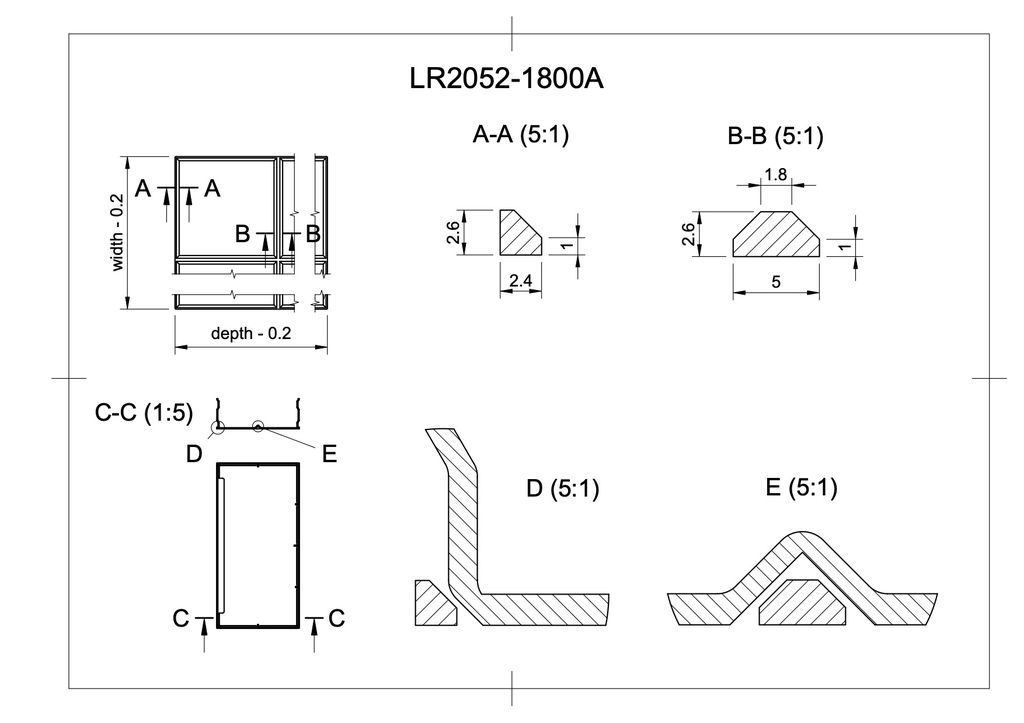
The two “flat” rail grid variants do not have a base below the rails. The box sits flat on the surface and the rail only ensures the position. These grids have only a small glue surface of around ~5mm at the bottom. If you like to glue these into a drawer, it may be more difficult than using the “minimal” ones.
Similar to the “minimal” rail grids, both variants are available in a “loose” and “tight” version. The loose version has the same spacing as the classic grids, with around 0.4mm spacing between the box and the rail grid. The tight versions have almost no spacing, so with the 45º angle of the grid, the box will lock into place with no room for movement.
Printing 1823A in draft mode with a 0.4mm nozzle takes about 31 minutes – which is 20 minutes faster than the minimal version due to the missing base. Using a 0.8mm nozzle takes 12 minutes for the same grid to print.
Additional Box Sizes up to 9×9 Units
I am no 3D printing expert, so I was unaware of how common large printers are in the industry. And obviously, it makes no sense to print a split box when it would fit on your printer bed in one piece.
So, starting from this update, I will provide all storage boxes from all series up to 9×9 units. The largest boxes, rail grids and lids are, therefore, about 540×540 mm.
I did not update the split boxes, as they target people with small printers. There is also no need for an update, as by repeating the existing elements, you can create a box of any size.
To get a detailed overview, look at the catalogues, where all sizes of all models are listed.
Models with Alternative Part Number Placement
Quite a common topic in the feedback was the placement of the part number.
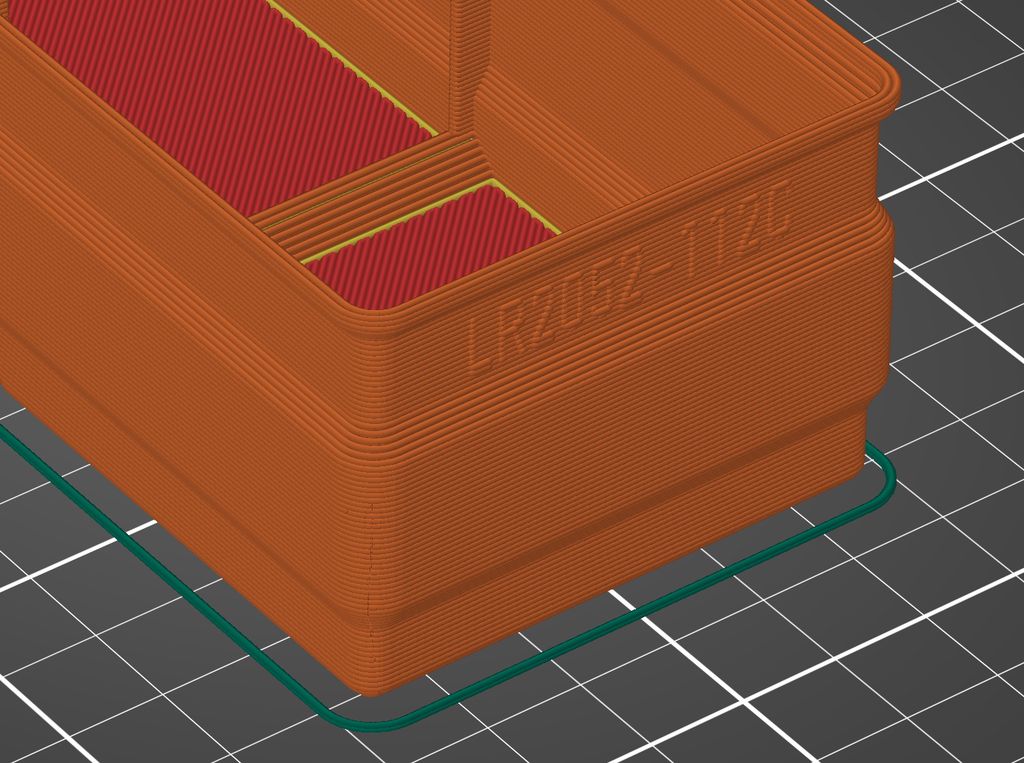
Depending on the slicer and printer, the result may not be optimal if the boxes are printed with larger nozzle sizes. While I couldn’t reproduce these effects with Prusa printers, I saw photos of the result. So using the part number placement is meant to either slow down the print or risk a lot of failures.
For most models, there is now an alternative version with the suffix -spn for “small part number”. This part number is smaller and at the bottom of the boxes. As this way, only one or two layers are affected, this version causes fewer problems – especially with large nozzle sizes. It allows, therefore, faster print speeds.
Please note, if you had no problems with the normal part numbers, there is not automatically a speed-up if you use the alternate version. The print speeds are more or less the same with both versions.
This alternative part number version is not available for all boxes. The ones with grids 4, 5 and 6 have no alternative, as it is too complicated to place the part number between the dividers.
Further Improvements of the PDF Catalog
I am still improving the PDF catalogue. This time I added unit sizes to the tables in the catalogue and changed the formatting for the properties below each model entry.
Also, I added a new “Dimensions” section, where I will add more drawings of the models with a few key dimensions. I hope these will help you to verify your prints and/or design your projects that are compatible with the boxes.
The Missing Archive Directory
In the download area, I created a directory called “Archive”. In this directory, you will find a copy of all old revisions of the models.
Even if I make only technical changes and the model geometry stays unchanged, I will place a copy of the old packages and models in the archive. For now, I added the suffix “-y⟨year⟩” to these copies. Yet, I will not archive the catalogues; at some point, I will only provide packages for old models, not individual files.
New Image Format
I switched from JPG images to JPG2000 images to keep the packages small. It is a well-established format, although it is not widely used. I also reduced the size of the images from 3000x2000 to 1600x1067 pixels, trying to limit the maximum size of an image to around 500kb.
For all updated packages, you will now find two images per model. One with overlay texts and an image with the suffix “-plain”, without overlays.
This is an intermediate step, and I will try to improve this further. For many processes, I use the webp format, as it provides an even superior compression to JPEG2000.
Removal of the Full Package
Until now, I provided a ZIP file that contained all model files. The previous full package already created issues for many people, exceeding 4 GB.
Now, with the latest extension, the project has over 3400 models, each with an image and a separate catalogue. A ZIP file containing all files exceeds 10 GB, which makes it impractical for me to host it.
Conclusion
I hope you found this update about the storage boxes project informative. If you have questions, missed any information, or wish to provide feedback, add a comment below or send me a message. 😄
I developed a small application that generates randomized circle patterns inside a defined rectangle, letting you tweak width, height, precision, spacing and item counts. Results export to SVG and the latest version is available for download. Read the full post for interface details and usage tips.
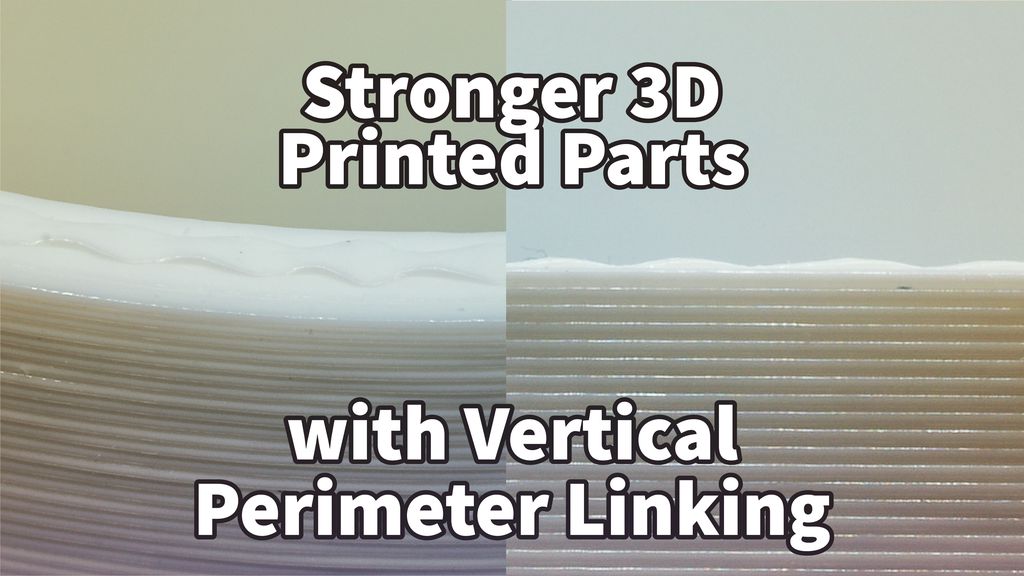
I tested a simple technique to strengthen FFF prints by adding a zig-zag vertical link between the outer and inner perimeter. My demo gcode and findings show how peaks fuse layers and slow crack propagation. If you print regularly, read the full post to see my method and limitations.
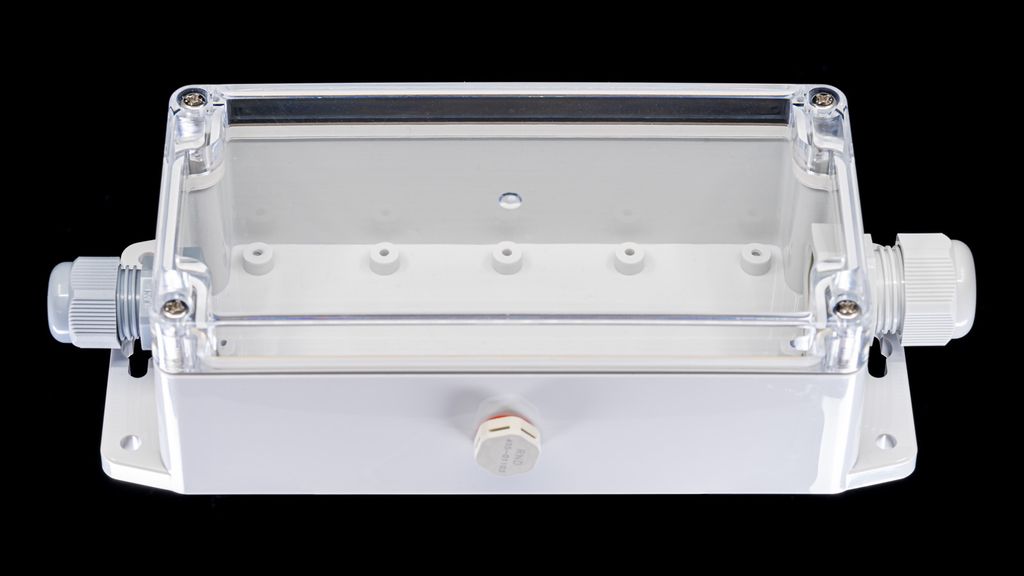
I share why I’ve grown to trust Distrelec’s RND enclosures for hobby and professional projects — sturdy IP65 cases, clear lids, pressure plugs, and 3D models, all at low cost and fast delivery. If you’re choosing a case, read the full post for sizes, examples and tips.
Posted on 2019-07-14— C++, Improve your Code, Learn
I wrote a concise guide for embedded developers to refactor Arduino/C++ firmware into clean, modular components. I walk you through creating Display, Buttons, and Animation modules, testing and committing small changes, and improving maintainability. If you'd like practical steps and examples, please read the full article.
I've finished testing a flat storage box set for 3D printing and adjusted the label profile so they stack neatly with regular boxes. I designed them to save drawer space for rarely used parts. Read the full post for stacking details, label geometry, print settings, and download links if you'd like to try them.
I wanted my winter decoration to switch on at dusk without constant adjustments, so I built a simple low-voltage controller using a P-channel MOSFET, a microcontroller and an ambient light sensor. I walk through my design choices, sealing for outdoor use and programming tips—read on if you'd like to build one too.