published: September 20, 2022 —
last modified: October 23, 2025
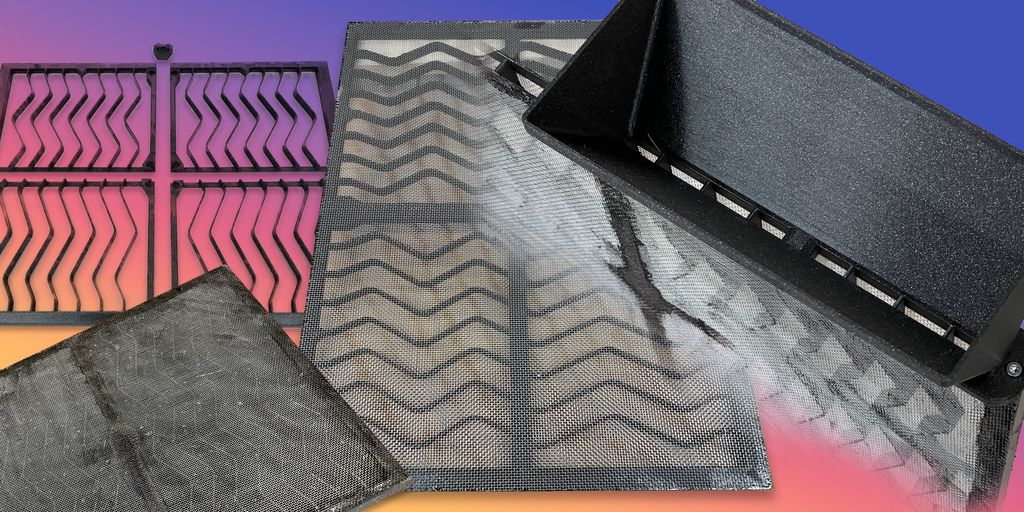
If you ever used air filters to keep smells, fumes and dust at a low level in your workshop, you for sure came in contact with these expensive throwaway active coal filters. While throwing-away the used active coal seems to be unavoidable, all the thrown away plastic and packaging of the filter can easily be avoided with a smarter design.
In this post, I will show you how to build a refillable replacement for the Philips FY3432 active coal filter. Once built, you can replace the active coal in this filter regularly while keeping the frame.
Table of Contents
Required Materials
3D Printer / PLA Filament
All the plastic parts of the frame are printed using an FFF 3D printer and PLA filament. I use PLA in my design because the opening on one side bridges large gaps. That’s only possible using PLA.
Rampa M3 × 8 × AD6mm insets or compatible
To fasten the lids to the frame, you need insets for M3 screws. The model is designed for insets with an outer diameter of 6mm and a length of up to 10mm.
Both sides of the frame are closed with a fine net:
This net should be as permeable to air as possible. to air as possible.
The mesh should be smaller than 3mm to keep the active coal securely inside.
It should be inelastic so it does not bulge after the coal is filled in the cells. so it does not bulge after the coal is filled in the cells.
Ideally, the material should be easily cuttable. I would not recommend a net made of stainless steel, but rather aluminium or one made of glass-fibre-enforced plastic.
I used an aluminium net made to protect light shafts from insects. You can get these nets everywhere cheap.
A strong, fast-curing glue
You need a strong glue to fasten the net on both sides of the frame.
I used 10-minute epoxy glue, which creates an excellent bond between the aluminium net and the PLA frame. The honey-like consistency of the glue I used made it simple to applicate it evenly using a roller. You need experience with that type of epoxy, as you have to work fast and efficient.
There is also 1-hour epoxy glue, which gives you more time to work with. Yet, its viscosity is often too low to apply evenly with a roller.
Separating foil (PET, Mylar, …)
To glue the net evenly to the frame, you need a separating foil that does not bind to the glue you use. The foil must be large enough to cover the size of the frame.
I used a piece of Mylar A350 foil made of PET I already had lying around in my workshop. There are for sure cheaper solutions. Ensure you test beforehand if the used glue does not stick to it after curing.
The Replaced Filter
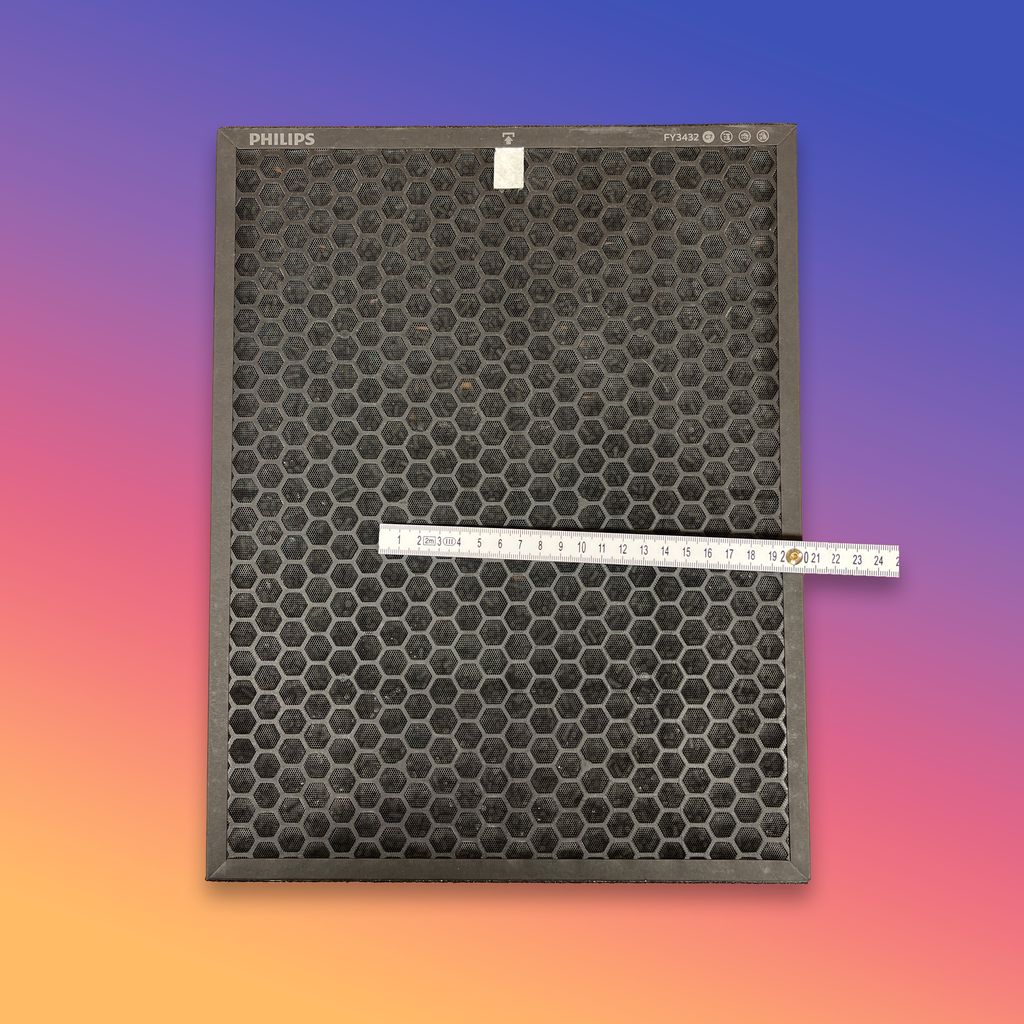
The filter I replace is a Philips FY3432 active coal filter:
The dimensions are:
Width: 292mm
Height: 372mm
Depth: 10mm
Printing the Frame
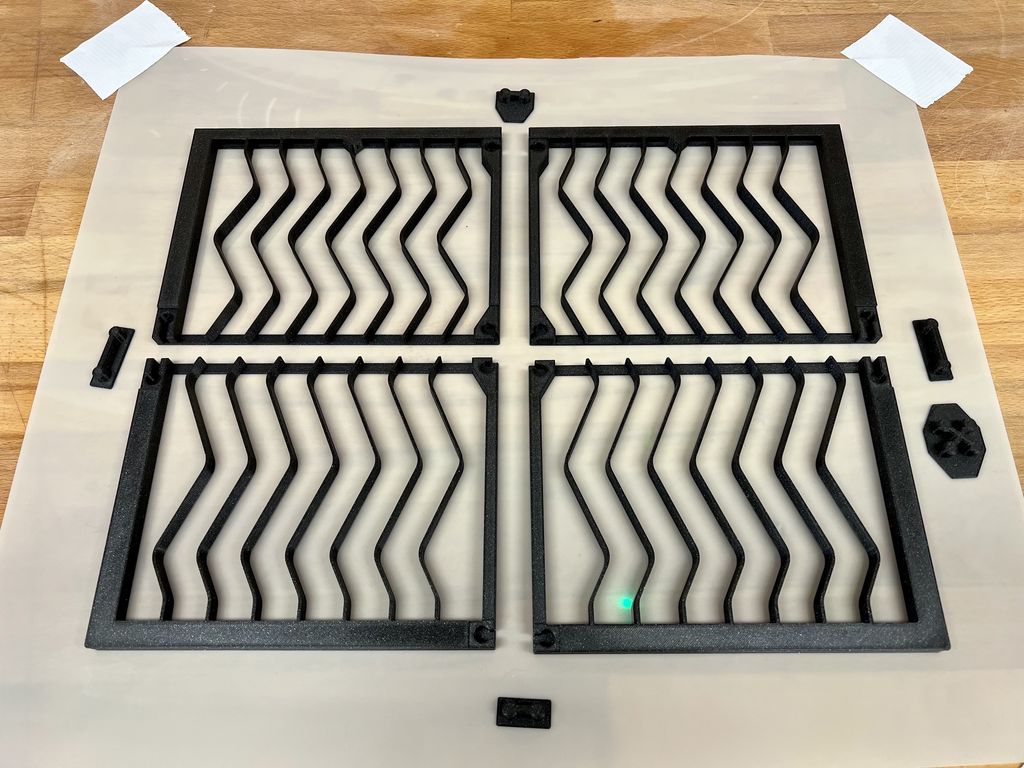
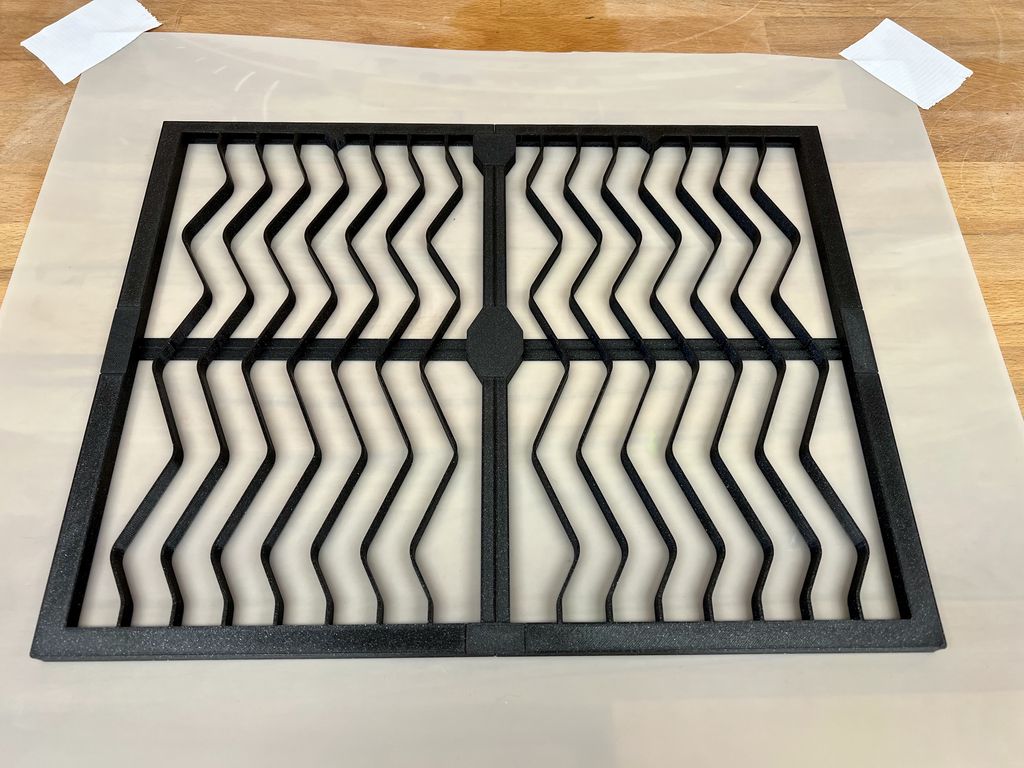
Because of its size, I designed to print this filter in four sections. All sections are keyed and can be precisely connected using a set of connectors. You find all required model files for the print on the Printables page:
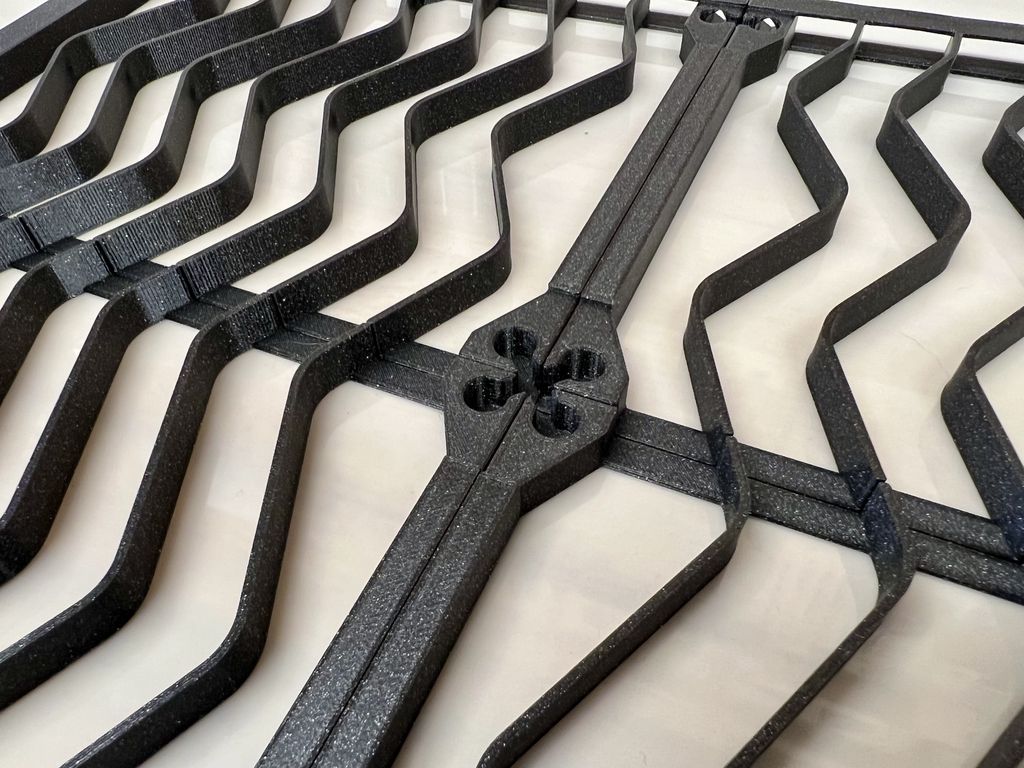
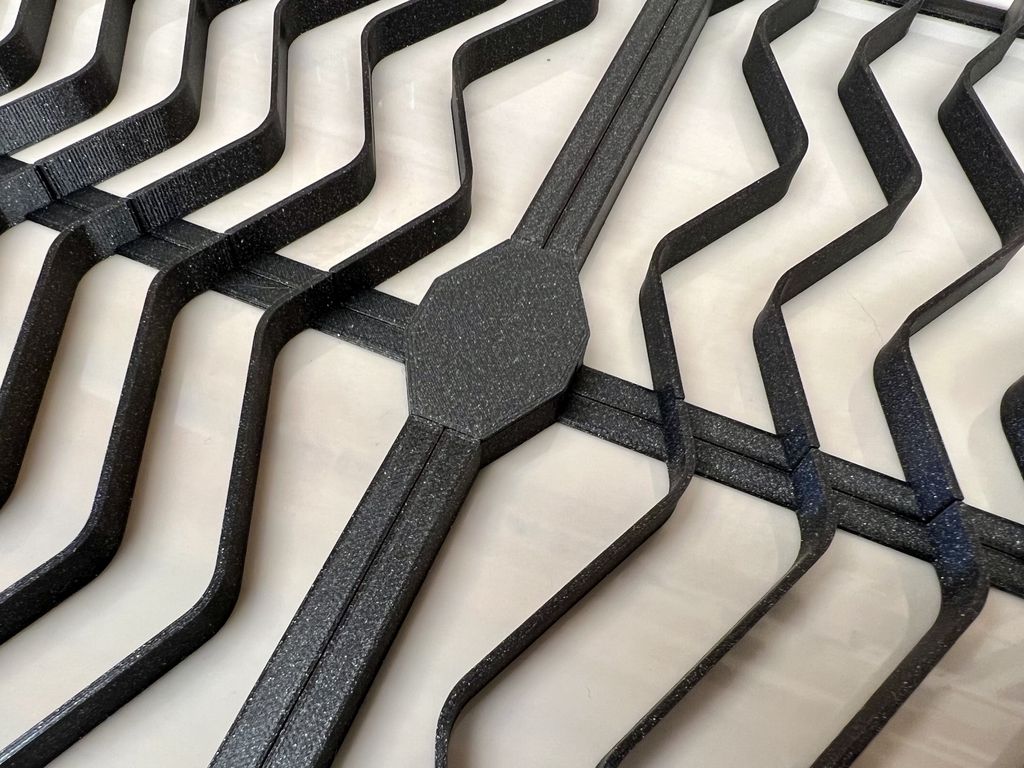
In the first step, I align all frame parts and connect them with the small connectors:
You can already use glue at this step to permanently fasten the parts. It is not strictly necessary, as the net will glue everything in place eventually.
Precut the Net
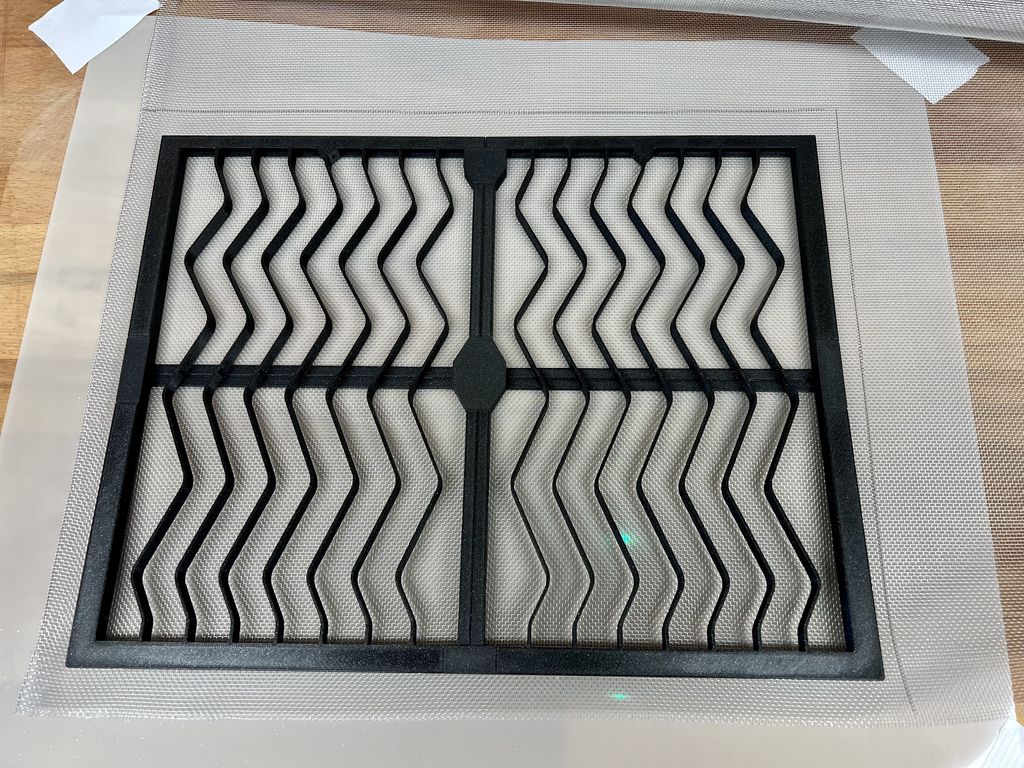
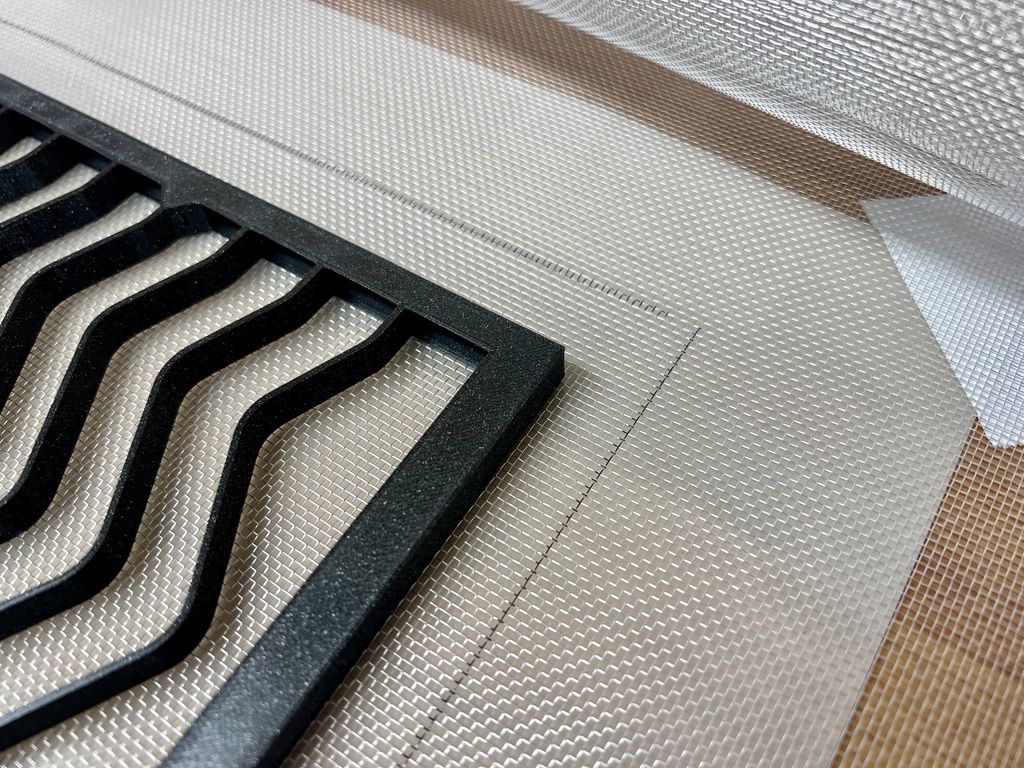
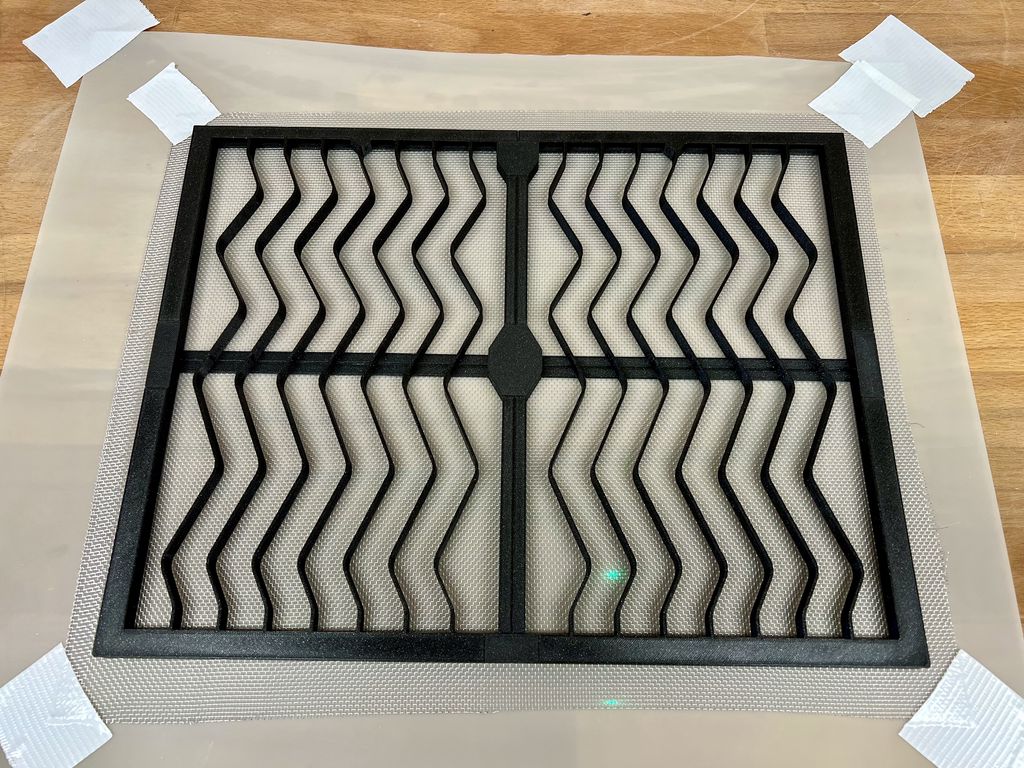
Next, I placed the assembled frame on the net and roughly marked the desired pre-cut size. Marking it beforehand is important, as the net distorts as soon you remove the frame. With the line, you will still cut a more or less straight line and do not waste material in the process.
Fasten the Net to the Separating Foil
Fastening the net to the separating foil was necessary in my case, as the aluminium net kept curling up.
Glue the Frame to the Net
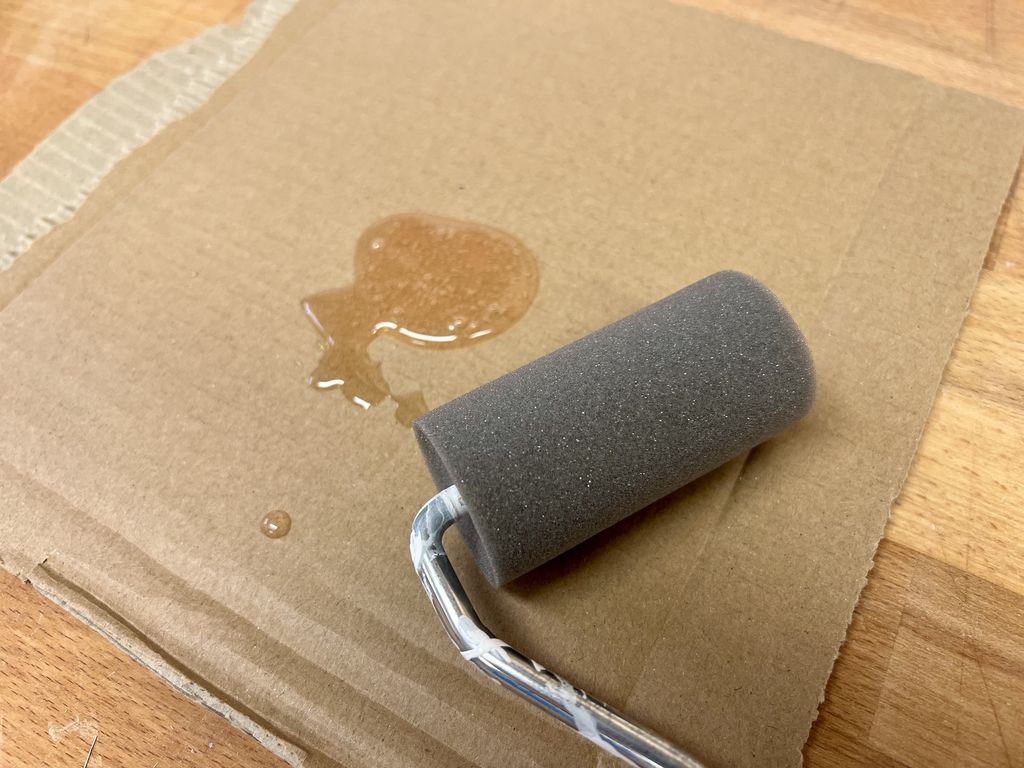
I mixed a larger amount of 10-minute epoxy (20g) and used a foam roller to apply it to the frame evenly.
You need to apply a thick layer of glue, as it has to enclose the net wires. The amount in the photo above is at the lower end. More glue would be better. Also, make sure all the ribs have enough glue on them.
With 10-minute epoxy, you have to work fast and efficient. Use a slower curing clue if you aren’t used to working with materials like this.
If the glue is applied evenly, flip the frame and place it on the net (on the separating foil!). Put weights on it to press the frame to the net. Do not overdo with the weights! As the frame is printed with PLA, it easily deforms permanently if you apply too much pressure to it.
Trim the Net
If the glue has cured, trim the net along the edge of the frame. If you use an aluminium net, this can be easily done using a knife.
Repeat for the Other Side
Repeat the steps above to glue a net to the other side.
Done
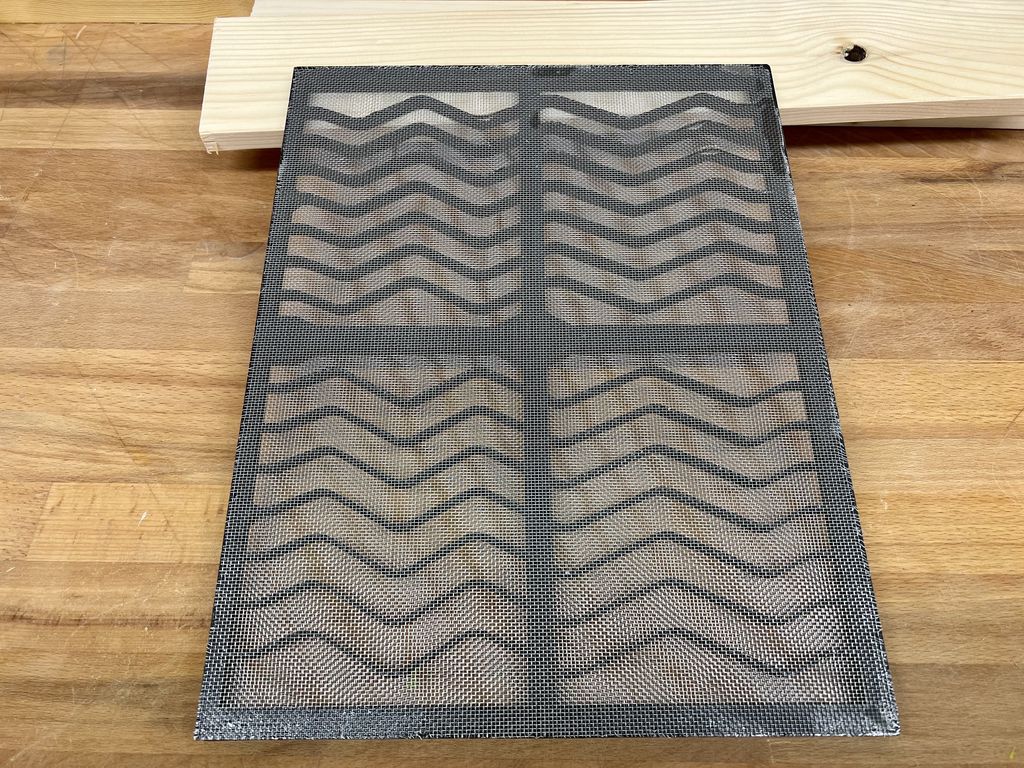
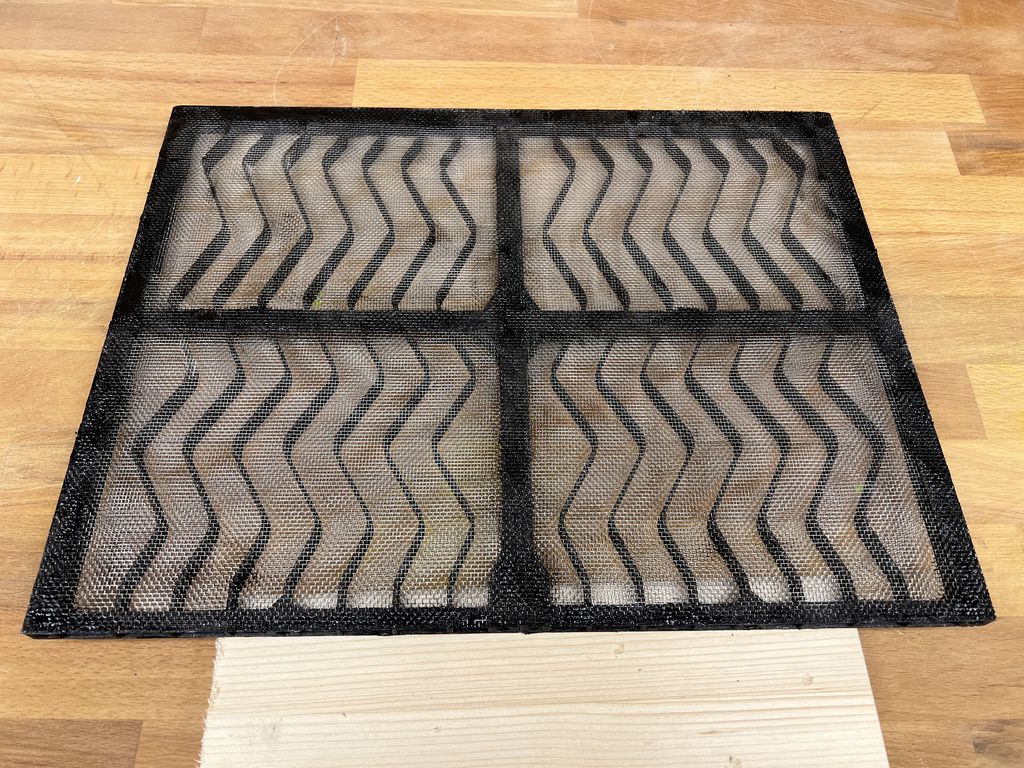
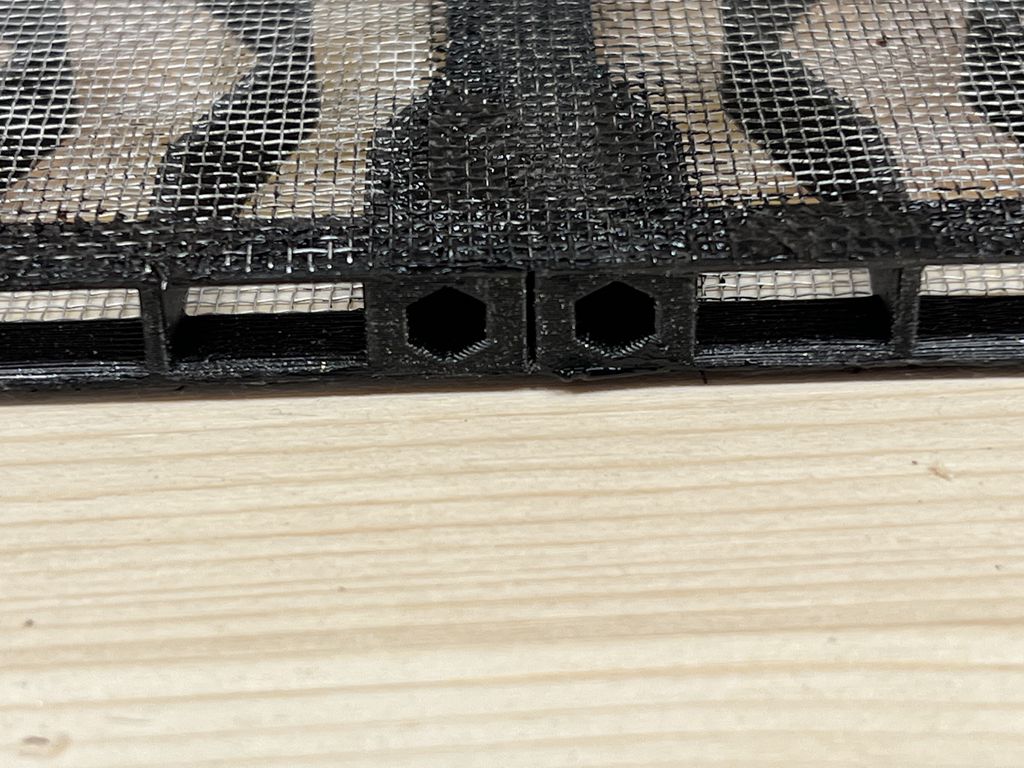
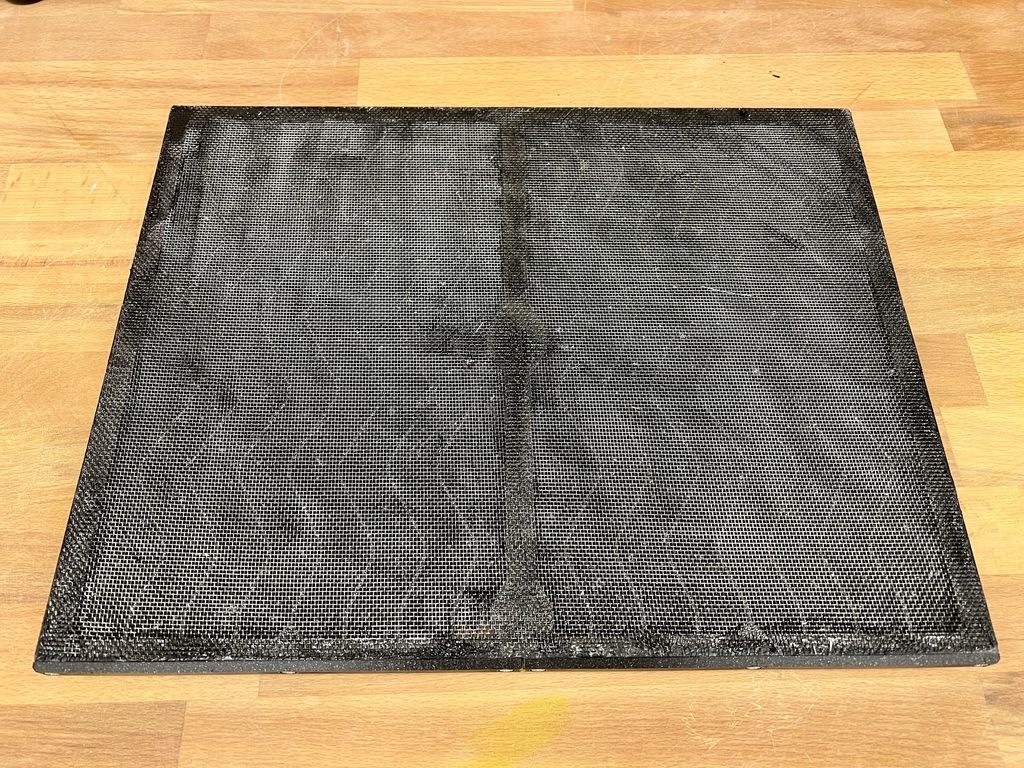
After gluing the two nets to the frame, it looks like this:
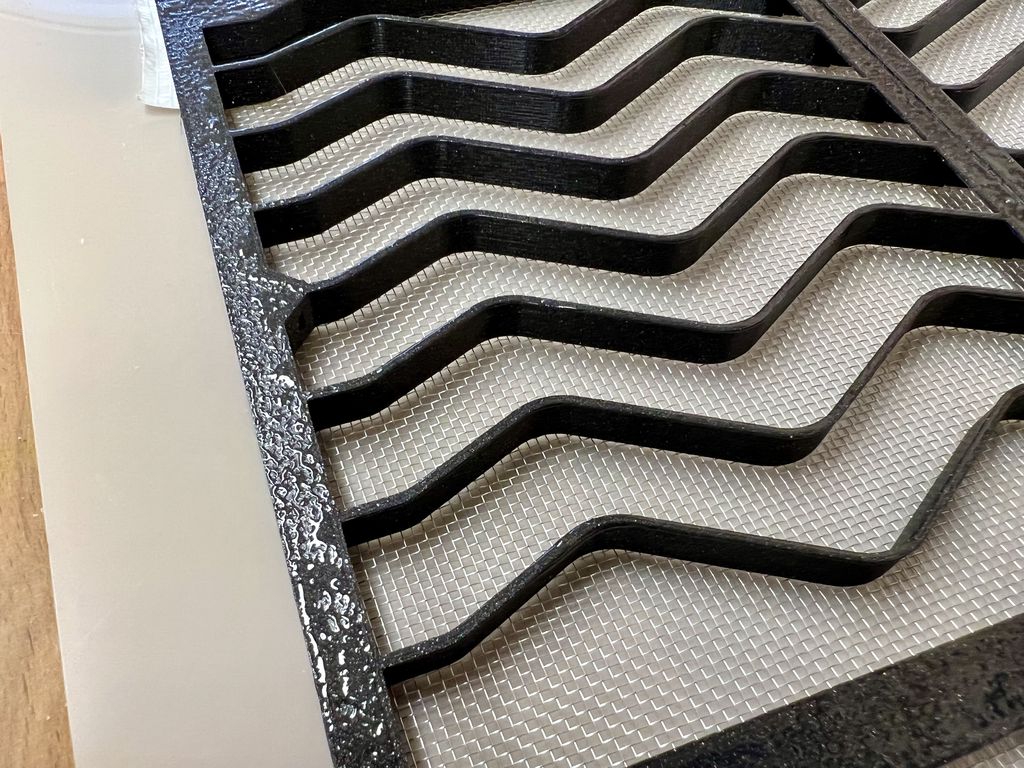
For additional protection, I used a thick layer of black acrylic paint on the frame. As the epoxy glue I used can be brittle in thin layers, adding a softer top layer (acrylic medium) prevents wear over time.
Depending on the glue you use, this step is optional.
Insert the Insets for the Screws
Next, I inserted the insets into the six screw holes on the side with the opening. I wrote detailed instructions on how to do that on the following page under the section “How to Inset the Insets”:
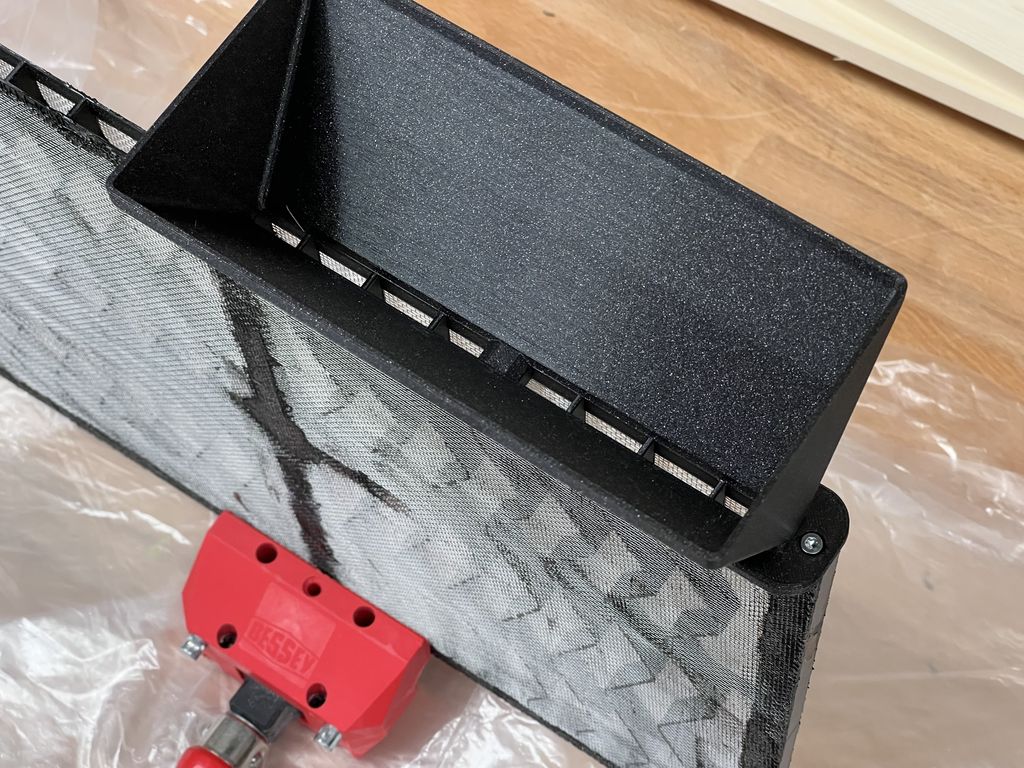
The frame is now ready to be filled with active coal. To fill the frame, screw the funnel to one side. Make sure you screw it on in the right orientation, as the middle rib isn’t centred.
The frame works with a wide range of active coal types. Make sure not to pack the active coal particles too dense. The best is to leave a 20mm air gap at the top.
After filling the active coal particles into the frame, screw the two lids to the side to close it. Now, shake it gently to distribute the particles evenly in the frame - it is not necessary they cover every single space.
Conclusion
It is a shame that manufacturers either try to maximize their revenue by selling overpriced expendable items or just do not find sustainable easy solutions like the one shown here.
I hope you found this small build documentation useful, if either case if you own a compatible air filter or not. As you see, if you own a 3D printer, creating your own active coal filters is not a big deal. Not only you get a more sustainable solution, but you also can use more ecological active coal - like some made from coconut shells.
If you have questions, missed any information, or simply wish to provide feedback, simply add a comment below or send me a message.
Posted on 2019-07-11— C++, Improve your Code, Learn
I show how I avoid unit mistakes in C++ by creating a templated Duration type and user-defined literals like 100_ms. I explain declaring Seconds/Milliseconds/Nanoseconds, adding conversions, and how the compiler catches unit mismatches with no runtime cost. Read the full article for code examples and the GitHub repo.
I built a small compiled command-line tool to read SHT31 temperature and humidity over I2C on a Raspberry Pi. It emits simple JSON for easy parsing in scripts. If you're using an SHT31 sensor or automating reads, read the full post for usage, build and install steps.
I added a stable Hitachi LCD driver to the HAL layer, using an MCP23008 backend to cut wiring and simplify hardware. This post walks through parts, firmware repositories, and how to run the demo via serial shell. Read the full article for setup steps, code links, and usage tips.
I walked through designing and 3D-printing a 70 cm PETG planter for my deep-rooted Ctenanthe. I share the tests, design choices, and practical fixes for warping, filament, split parts, and assembly. If you’re curious about large-scale prints or want the model files and tips, please read the full post.
Posted on 2019-07-27— C++, Improve your Code, Learn
I continue exploring C++ templates for embedded systems, showing template classes, pin abstraction, and combining Sender and Pin examples to reduce firmware size and improve code clarity. I explain static methods, type aliases, and trade-offs between runtime flexibility and efficiency. Read the full post to see code and assembly comparisons.
I present a symmetric logic-gate circuit that implements a well-known function. Try to identify the function; hints are provided if you get stuck. If you enjoy this kind of puzzle, read the full post for images, tips, and the solution - I'd love your feedback and suggestions for more puzzles.