Bottle Opener for Elderly People or with Disabilities
published: April 25, 2021 —
last modified: October 23, 2025
Older people often have troubles opening plastic bottles. Also, people with gout or other disabilities lack the required strength to turn the small caps independently. The reason is the small diameter of the caps, which requires a strong grip with just two fingers.
There exist a variety of helper tools, assisting this task by increasing the leverage. A common problem with these tools is the static design. So if the manufacturer changes the size of the bottle cap, they do not grip properly anymore.
Table of Contents
My Design
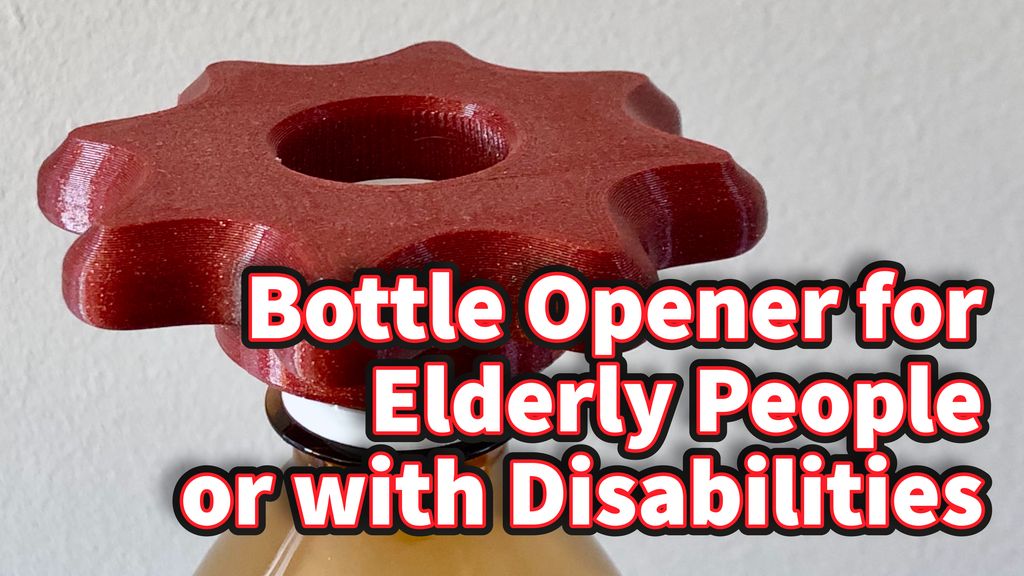
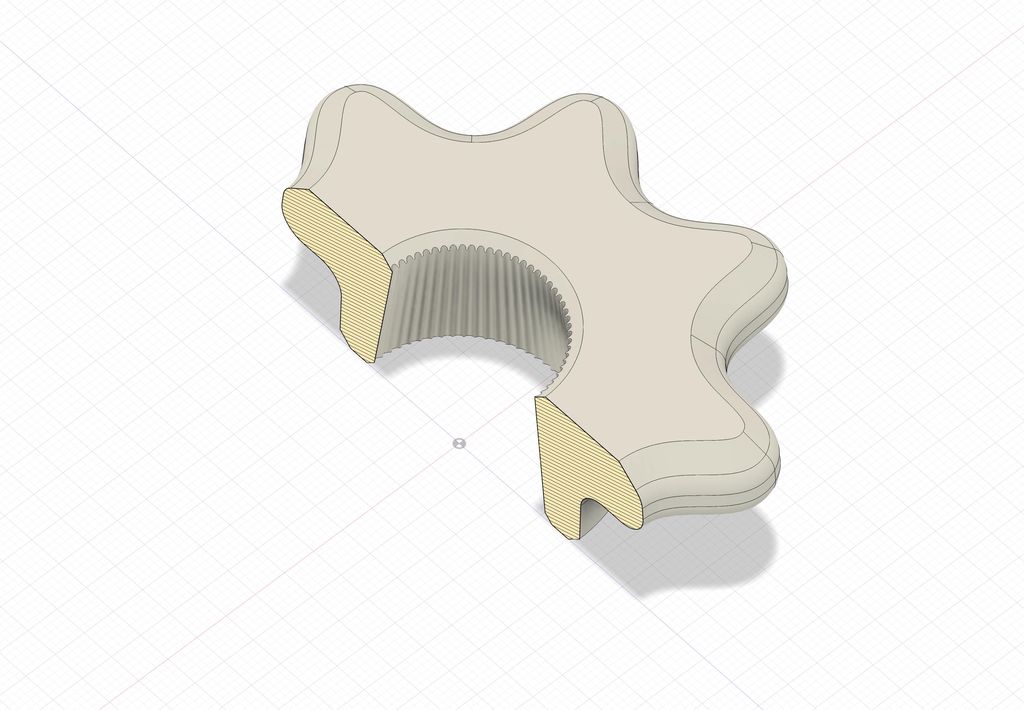
My design uses a tapered hole with 72 teeth. This hole slides over the cap and, with no or little pressure, grips the cap securely. The taper will allow a capsize variation of ±1mm.
At the outside, I added eight round notches, so the fingers of one hand can securely grab the tool.
I created STL files for three different cap sizes: 26, 28 and 30mm diameter caps.
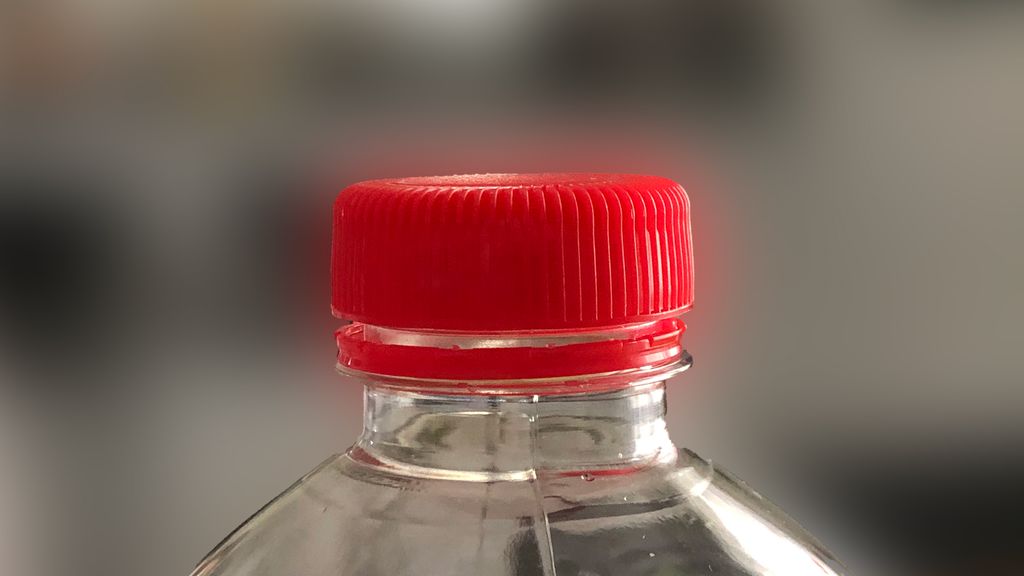
The design was made for caps like the one shown above. Most of the caps I checked had a 72 teeth design and were in the range of 26-30mm diameter.
Print Instructions
Because of the torque forces, you need to use a tough material like PETG. Print with 30% infill and four perimeter layers.
There are no supports required. Print it with the handle side on the printer bed.
The Fusion360 design is available for my Patreons.
Conclusion
I hope you find this design useful. There were a limited number of water bottles I could test, so if it doesn’t work for you, please send a closeup picture of the cap with all dimensions. I will then try to adapt the design to this cap.
If you have any questions, missed information, or simply want to provide feedback, feel free to comment below. 😄
I walk through the sensor board I designed for the pet feeder, explaining the position sensor, four fill sensors, and why component choices (like the 100kΩ resistor) matter. I keep the design simple and practical — read the full post for schematics, measurements, and ordering details.
I built a small test board for the TPS61092 to evaluate thermal performance, hand‑solderability, and layout before using it in my project. The chip stayed cool under 0.5A and the OSH Park PCB looked great. Read on for measurements, the BOM, and practical soldering tips if you want to try it.
I received prototype boards from Eurocircuits and was impressed by their outstanding build quality—sharp solder-mask edges, precise alignment, and a subtle shine on the traces. I share close-up photos and brief thoughts about vias and finishes; read on if you appreciate careful PCB craftsmanship.
Posted on 2019-08-05— C++, Improve your Code, Learn
I provide a complete event-loop firmware example for SAM‑D boards (Arduino Zero, Feather M0). I explain module design—Buttons, Display, and a support library—initialisation and polling logic, and link the source and demo. If you're curious, read the full post for code and implementation notes.
I tested SeeedStudio's Fusion PCB service for a new prototype and ordered five blue, 2-layer FR‑4 boards with lead‑free HASL. Delivery took about 10 days and the boards showed good quality for the price. Read on for details about ordering, solder mask, and tolerances.
I've been making videos of my LED snowflake decorations, but they still fall short of the live sparkle and diffraction I see. I explain the problems—blinding LED peaks and weak diffraction spikes—and invite you to read the post to watch the clips and see my plan to add digital effects.