published: April 10, 2021 —
last modified: October 23, 2025
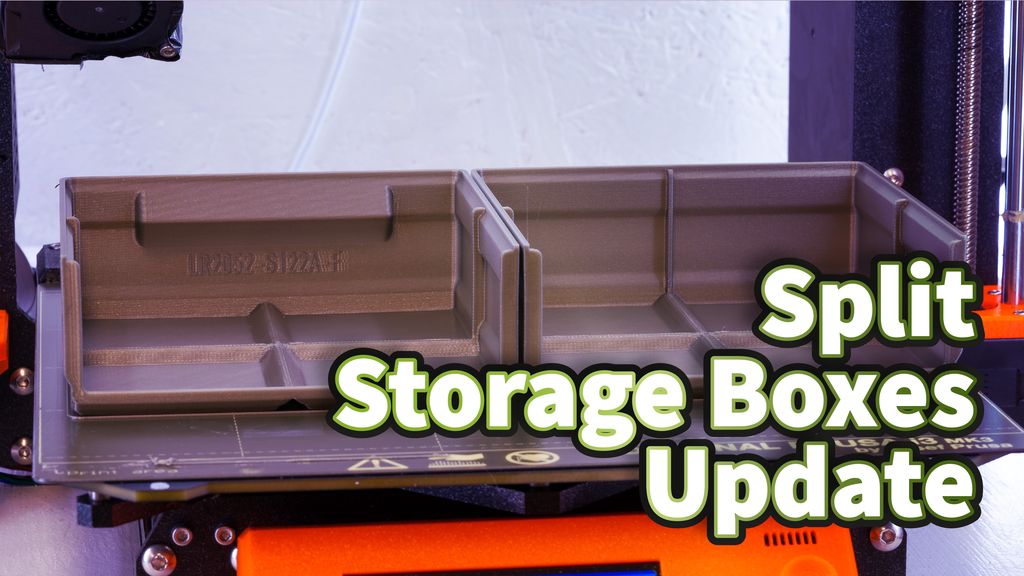
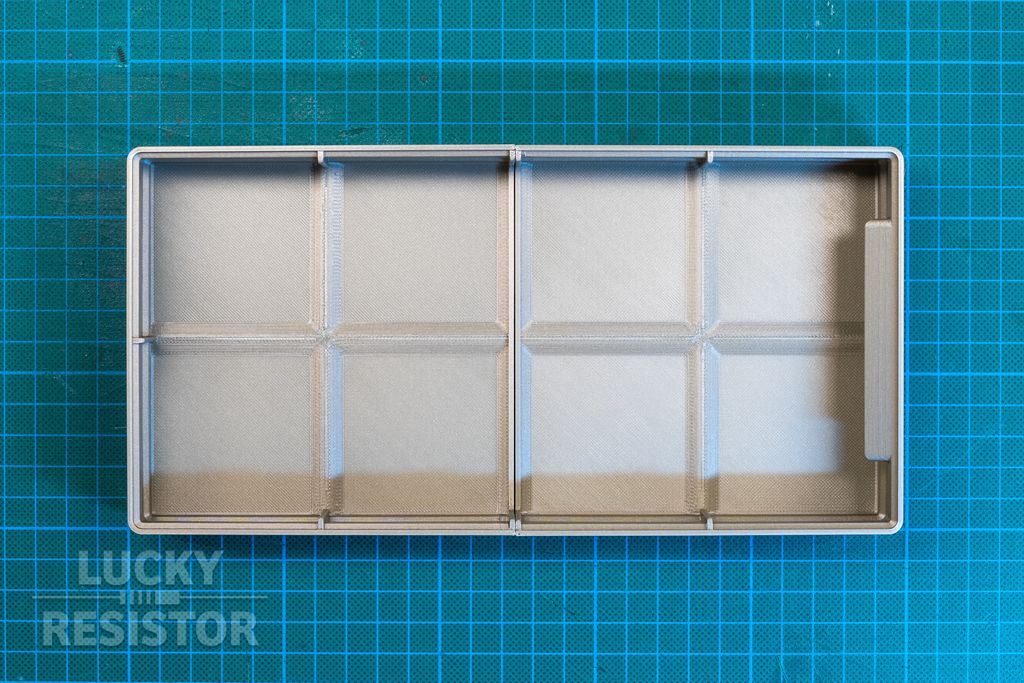
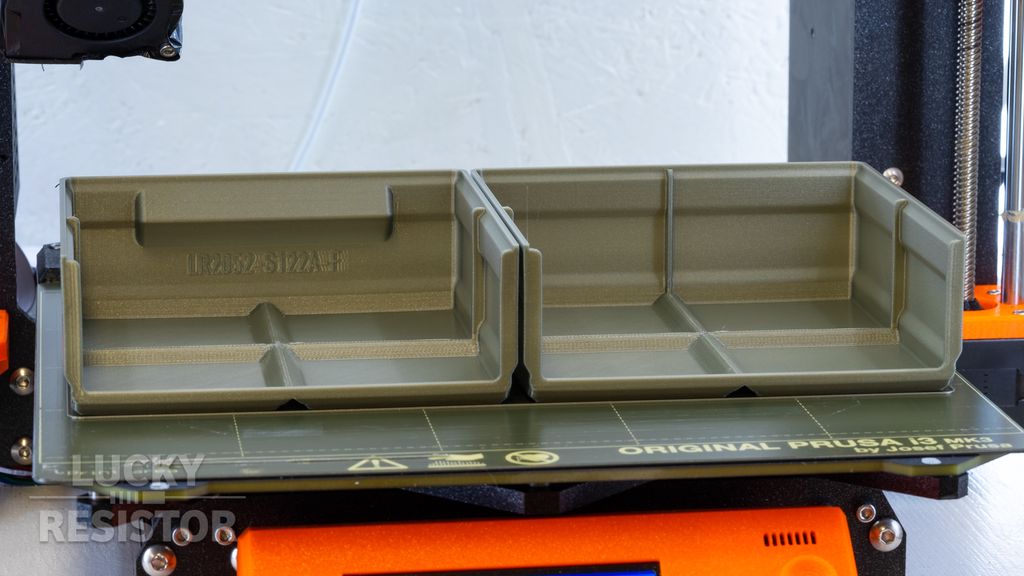
I got many requests to add split storage boxes to my system. Reasons were to print huge boxes and printing boxes on small printer beds. In the past few days, I released an update to my storage boxes system, introducing the first split boxes.
If you bought the storage boxes set from my shop, you should already got an email with the added parts. In case you didn’t, please let me know.
Background
Alexandre Chappel has an excellent storage boxes solution and provides these kinds of split boxes. Please check out his YouTube channel, where he explains his own system in detail.
Before I started developing my own storage boxes system, I had a look at various existing solutions. I made a long list of ideas I liked and things I disliked. I liked the grid idea from Alexandre’s design to prevent the boxes from moving around in drawers.
So when he, as an excellent industrial designer, introduced split boxes, I started to investigate if and how I can add this feature to my system.
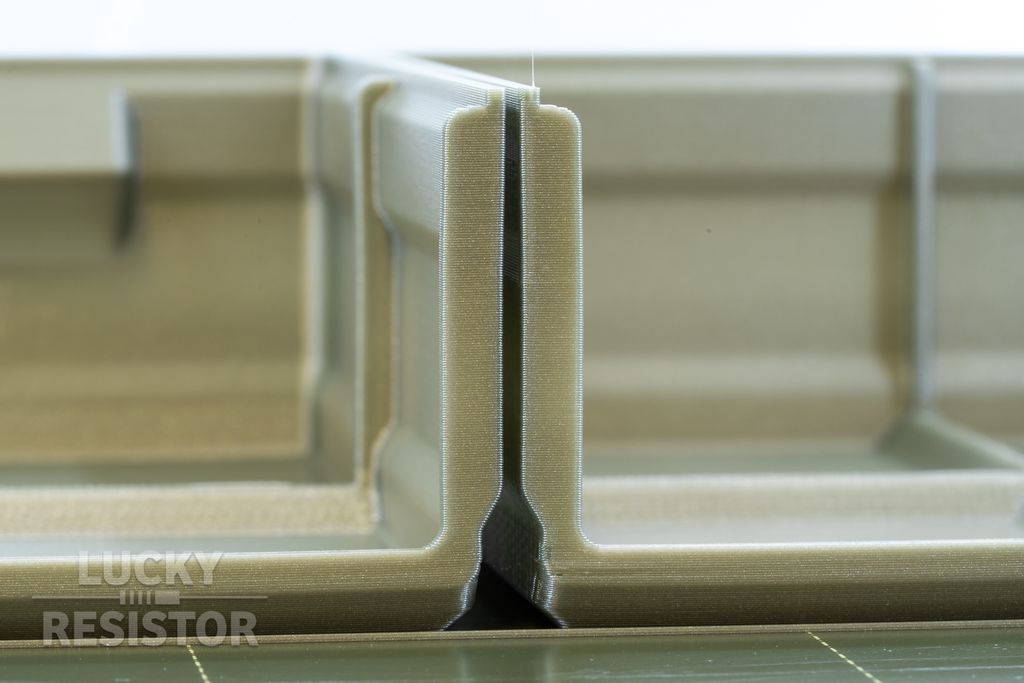
My biggest concern was the carrying capacity of the glued joints. So, I started several tests with designs printed in PLA and PETG.
It turned out, this was no problem at all. The layers of the 3d-printed objects provide an excellent surface for epoxy based glue. The test objects never broke at the glued seam.
New Parts
There are 12 new STL files with a part number like LR2052-**S**XXXA-**F** and LR2052-**S**XXXA-**B**.
The S stands for split box and the F for front and B for back. Instead of XXX, there is a part number that gives you the dimension of the halve. The number 122 stands for a regular box (1), with the dimension of 2×2 units.
By combining two halves, you can build boxes from four up to six units:
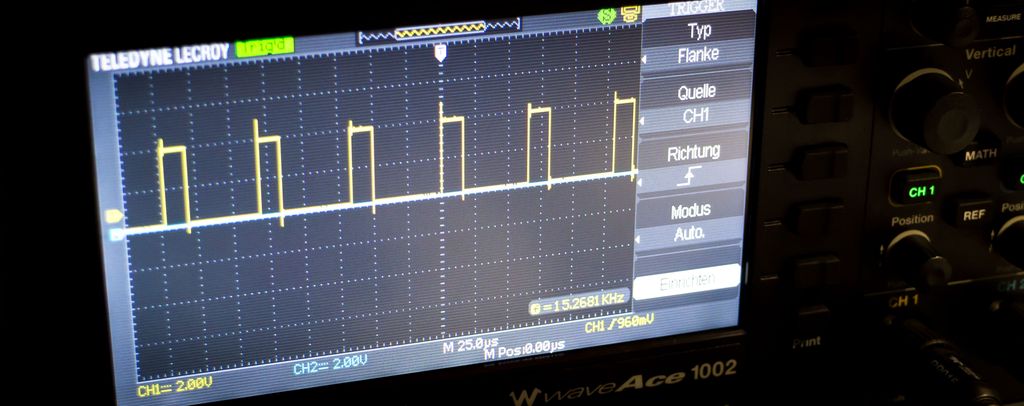
I often use a simple oscilloscope trick to debug time-critical code: toggle an I/O line before and after critical sections and observe interrupt timing and execution width. It’s low-effort and revealing — read on for practical steps, examples, and tips to measure and reason about your timing issues.
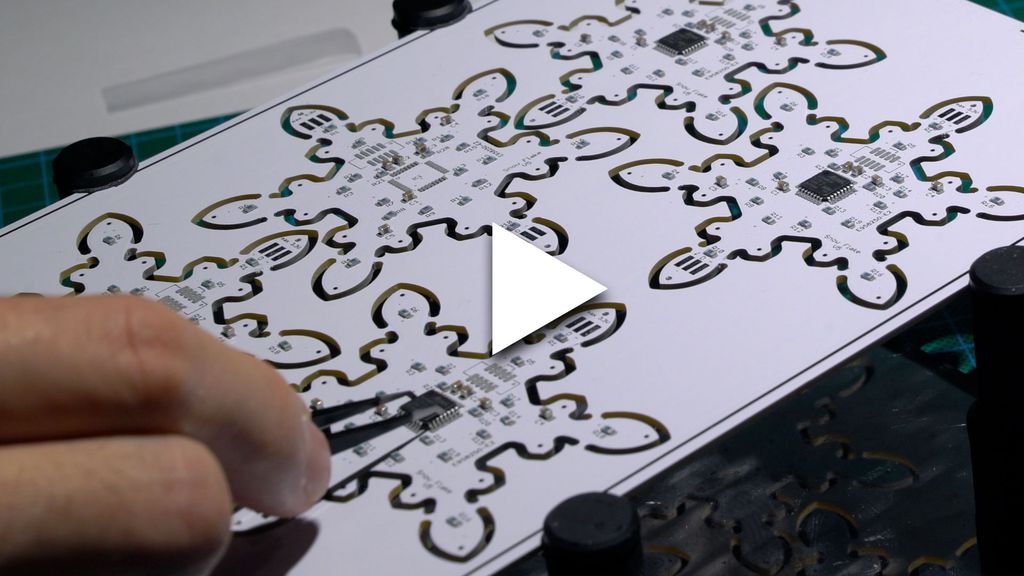
I walk through assembling the component side of my snowflake panel, showing stencil-applied solder paste, placement of 105 resistors, capacitors, headers and chips, and sped-up hot-air soldering. I test the LEDs at the end — please read/watch the full post if you'd like the complete build and tips.
Posted on 2019-08-05— C++, Improve your Code, Learn
I provide a complete event-loop firmware example for SAM‑D boards (Arduino Zero, Feather M0). I explain module design—Buttons, Display, and a support library—initialisation and polling logic, and link the source and demo. If you're curious, read the full post for code and implementation notes.
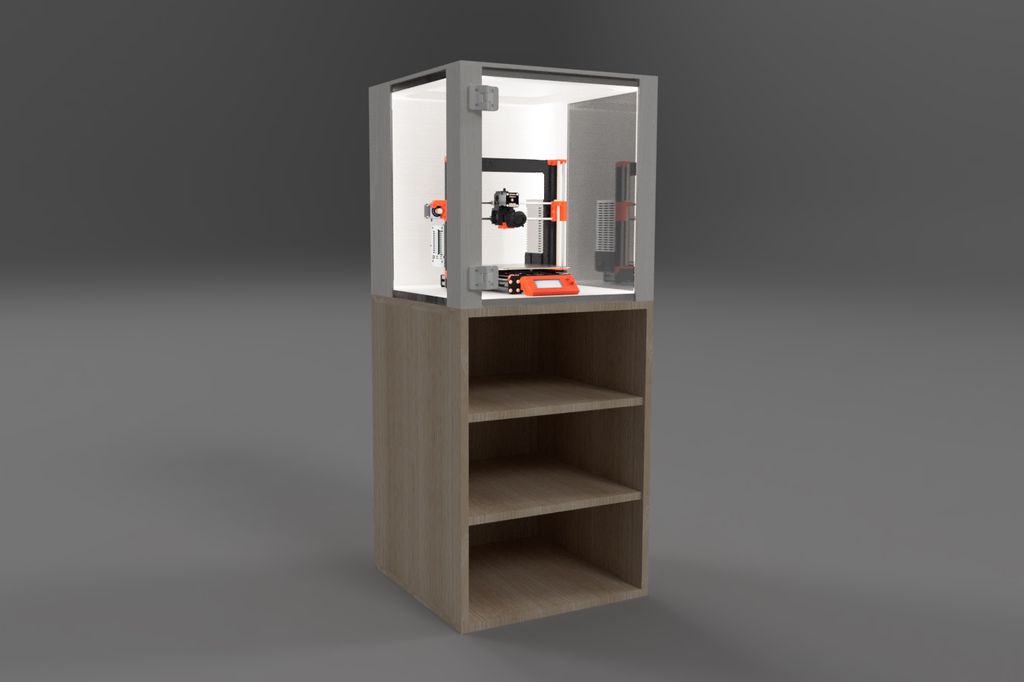
I’ll walk you through my parametric, heavy wood-and-acrylic 3D-printer enclosure — from choosing boards and adjusting the Fusion 360 model to cutting parts, assembly, and 3D-printed hinges. If you want a stable, customizable enclosure for your printer, read the full tutorial for measurements, photos, and tips.
I present a symmetric logic-gate circuit that implements a well-known function. Try to identify the function; hints are provided if you get stuck. If you enjoy this kind of puzzle, read the full post for images, tips, and the solution - I'd love your feedback and suggestions for more puzzles.
I received 3mil polyimide stencils from OSH Stencils for my Swiss precision timer project. They feel flimsy compared to the steel stencils I usually use, but cost much less. I’ll test solder paste application and the first prototype in the coming weeks — please read the full post for results.