published: April 5, 2021 —
last modified: October 23, 2025
When I wrote part 3 of the pet feeder series, I did not expect the light transmission issues of this part. Now, I have two solutions with new revisions of the part.
Table of Contents
Solution 1: Epoxy Filled Slots
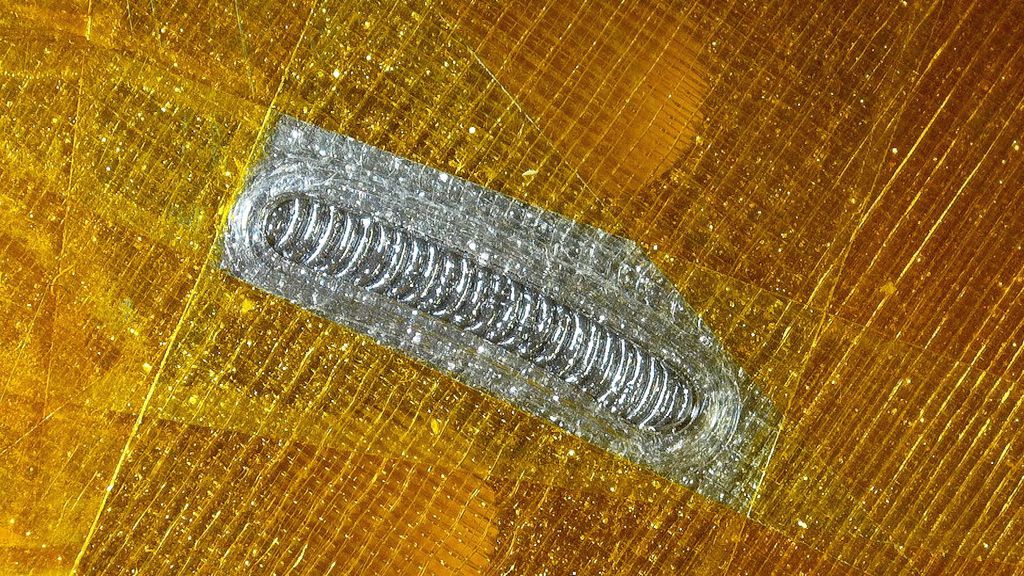
This is the superior solution with the best results, but it requires you to fill four tiny slots in the print with coloured epoxy or any other food-safe opaque material.
The Print
This is a print with two materials. The first four layers are printed in transparent PLA and the rest is printed with opaque PLA, ideally black.
File: LR2051-407B.stl
Prusa Slicer File: LR2051-407B.3mf
Materials:
up to 0.8mm: PLA Transparent (Fillamentum PLA Crystal Clear): PLA Transparent (Fillamentum PLA Crystal Clear)** **
For the transparent layers, as high as possible. E.g. 230-240ºC
Use the default temperature for the rest of the print.
Use a smaller line width for the first layer, e.g. 0.3mm.
You find a slicer file for PrusaSlicer in the GitHub repository. Look in the new directory slicer-files. This file contains a filament change command at the correct height, has adjustments for the infill but contains no temperature adjustments. Best to use the tune menu on the printer and manually increase the temperature for the first layers.
Adding Epoxy to the Slots
After the print, use Kapton tape to cover the areas around the slots. The tape shall especially protect the areas of the sensors if you accidentally spill epoxy on the surface. You can use another type of tape, but make sure epoxy does not stick on it. Cover all other surfaces with plastic foil and e.g. painters tape.
Now, put the part on some kind of socket and level the surface as good as possible. Place it in a way you can keep the part in this position until the epoxy is cured.
Mix epoxy with a low viscosity and add black colour to it. I used resin L and hardener L from R&G which is food safe. Not all combinations of epoxy are suitable for very thin layers and may not cure completely. Make sure the type of epoxy you use will cure in thin layers!
Next, use a syringe with a thin needle to fill all slots until the surface of the epoxy is perfectly flush with the surface. You can watch the following video where you see the whole process.
All pauses are cut in the video. I wait a few minutes after adding the initial amount of epoxy, then check if I have to add more.
If you are happy with the results, let it cure. Make sure no dust will fall on the epoxy. Cover the part with cardboard or a foil, but make sure it does not touch the resin.
Wait at least the duration given by the manufacturer for complete curing before you even poke it! If you poke it too early, you will get a dent in the flat shiny surface. Keep some of the used epoxy in a separate cup and poke it there first. 😄 Curing epoxy completely, in small layers like this, can take days or even weeks. Some types of epoxy can be cured in a “hot-curing” process at 40-50ºC for a couple of hours to get better results. You can use the printer-bed of your 3d-printer for this task.
Solution 2: Infill Adjustments without Slots
This solution is a compromise and will give you passable sensor results. It requires a complex 3d-print preparation, but uses no slots and requires no epoxy.
The Print
This is a print with two materials. The first four layers are printed in transparent PLA and the rest is printed with opaque PLA, ideally black.
File: LR2051-407E.stl
Prusa Slicer File: LR2051-407E.3mf
Materials:
up to 0.8mm: PLA Transparent (Fillamentum PLA Crystal Clear): PLA Transparent (Fillamentum PLA Crystal Clear)** **
For the transparent layers, as high as possible. E.g. 230-240ºC
Use the default temperature for the rest of the print.
Use a smaller line width for the first layer, e.g. 0.3mm.
Using PrusaSlicer
You find a slicer file for PrusaSlicer in the GitHub repository. Look in the new directory slicer-files. This file contains a filament change command at the correct height, has adjustments for the infill but contains no temperature adjustments. Best to use the tune menu on the printer and manually increase the temperature for the first layers.
Using Another Slicer
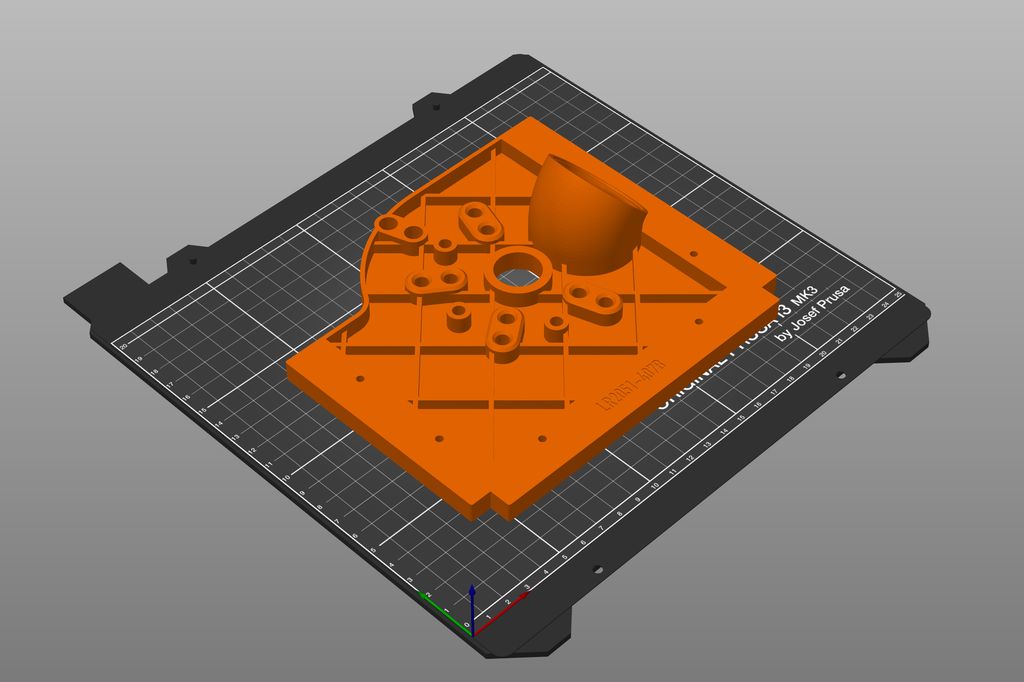
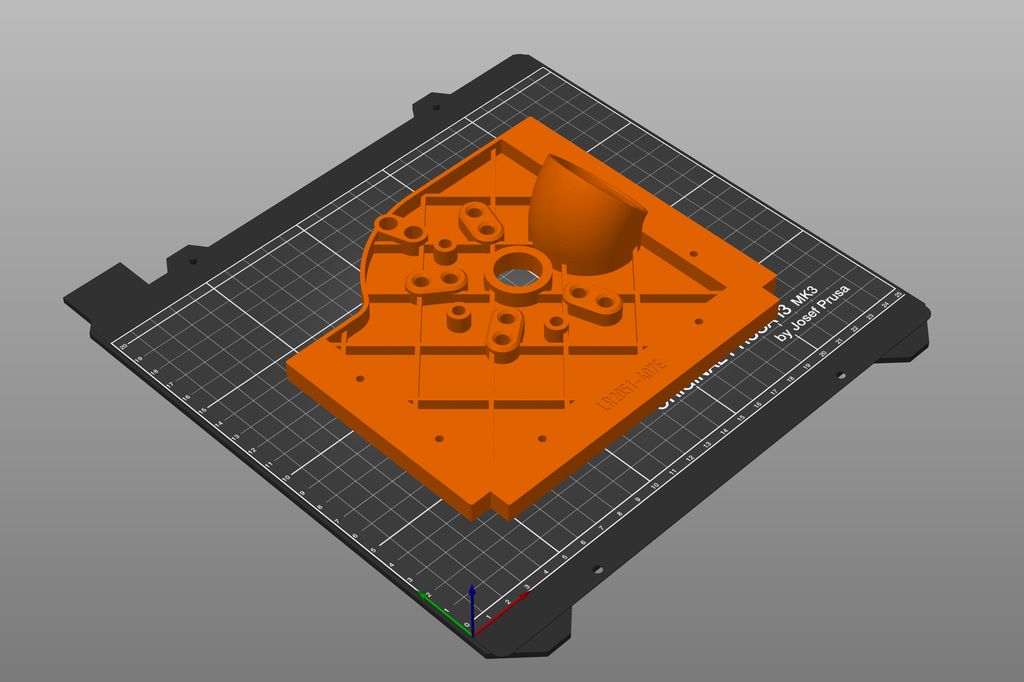
If you can not use the prepared slicer file, you have to make sure the infill orientation is set correctly around the four sensor areas in the first four transparent layers.
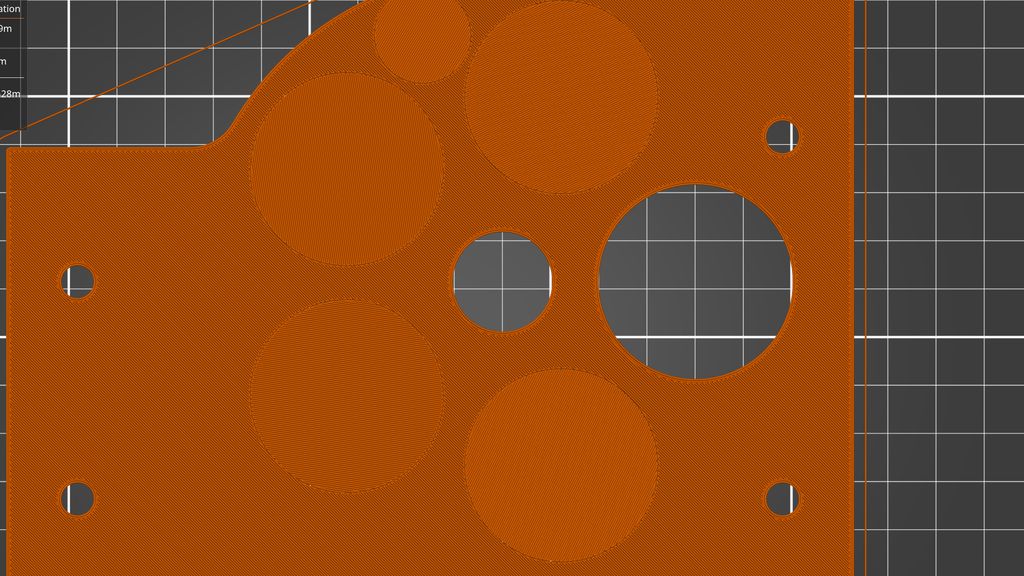
Here you can see the round patches in the second layer where the infill is printed at a different angle.
Compartment 1: 117º
Compartment 2: 189º
Compartment 3: 261º
Compartment 4: 333º
Position Sensor: 149º
In PrusaSlicer, I added four cylinders 40x40x0.8mm with the adjustments to the part. The important part is between the LED and phototransistor. The printed lines should be at a 45º angle to the line between these two elements.
Downloads
All required files are in the following GitHub repository:
Hopefully this post gave you enough information to successfully print the turntable platform. If you have any questions, missed information, or simply want to provide feedback, feel free to comment below. 😄
I built a simple, modular CMake-based toolchain for Adafruit Feather M0 boards that reuses Arduino tools while giving full build control. It’s aimed at prototype work and HAL development on macOS and Linux. If you’re curious, read the full post for setup steps and examples.
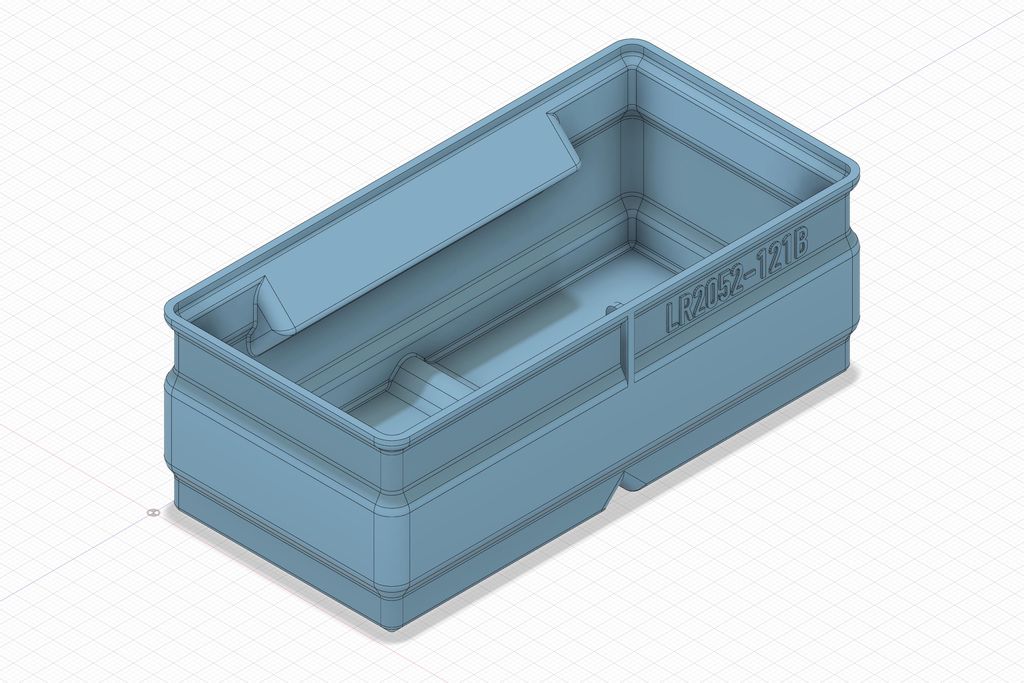
I've released several new 3D-print storage boxes with the label area moved to a different side so identical boxes can sit in a drawer with labels aligned. I explain size variants, rib adjustments, and how to download updated files. Please read the full post to see illustrations and the catalog link.
I created a logic-gate puzzle featuring a gated D latch: more artwork than optimized circuitry. I invite you to try decoding the hidden message—there are hints and links to gate and flip-flop basics in the post. I hope you enjoy the challenge; read the full article if you'd like to solve it.
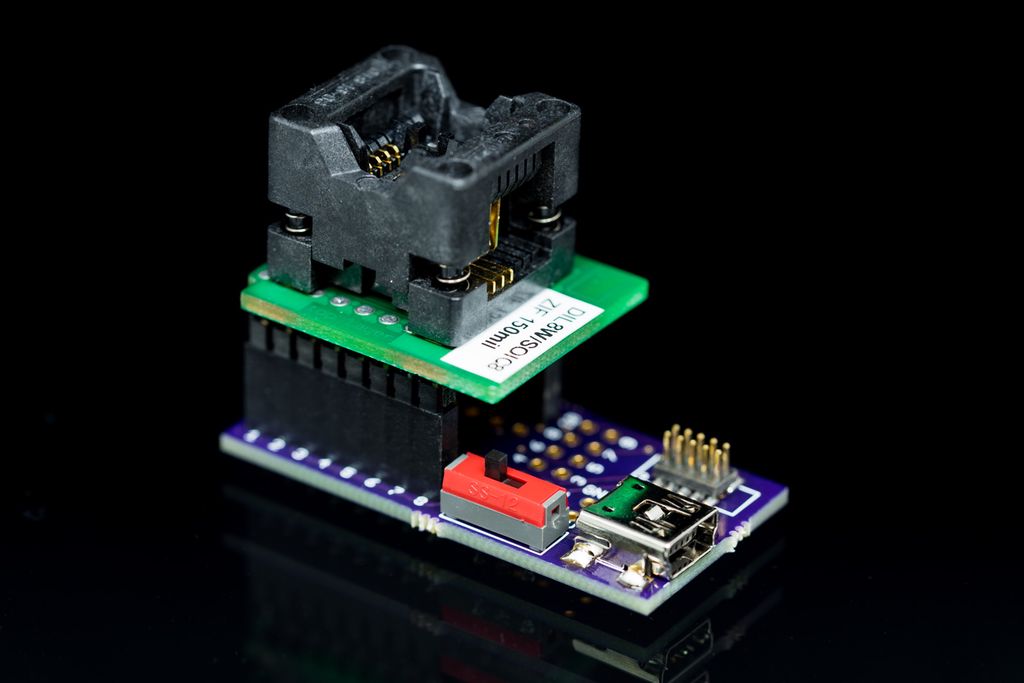
I built a compact ATtiny programming adapter to pre-program ATtiny13A chips before soldering, with a 50mil JTAG header, USB power, LED, and jumper options for other packages. I share EAGLE files, PCB ordering info and usage notes — read the post for photos, GitHub links and details.
Posted on 2018-08-31— C++, How and Why, Improve your Code
I often encounter poorly written C++ libraries, especially around hardware. In this post I outline four practical strategies—rewrite, refactor, wrap the library, or wrap the interface—to regain control, improve reliability, and reduce pain. Read on for pragmatic steps and examples you can apply to your projects.
I tested a simple technique to strengthen FFF prints by adding a zig-zag vertical link between the outer and inner perimeter. My demo gcode and findings show how peaks fuse layers and slow crack propagation. If you print regularly, read the full post to see my method and limitations.