published: April 2, 2021 —
last modified: October 23, 2025
As you read in my last post about the pet-feeding device project, there was an issue with the fill sensors. The lines from the 3d-print transferred the light directly to the sensor and made a useful measurement impossible.
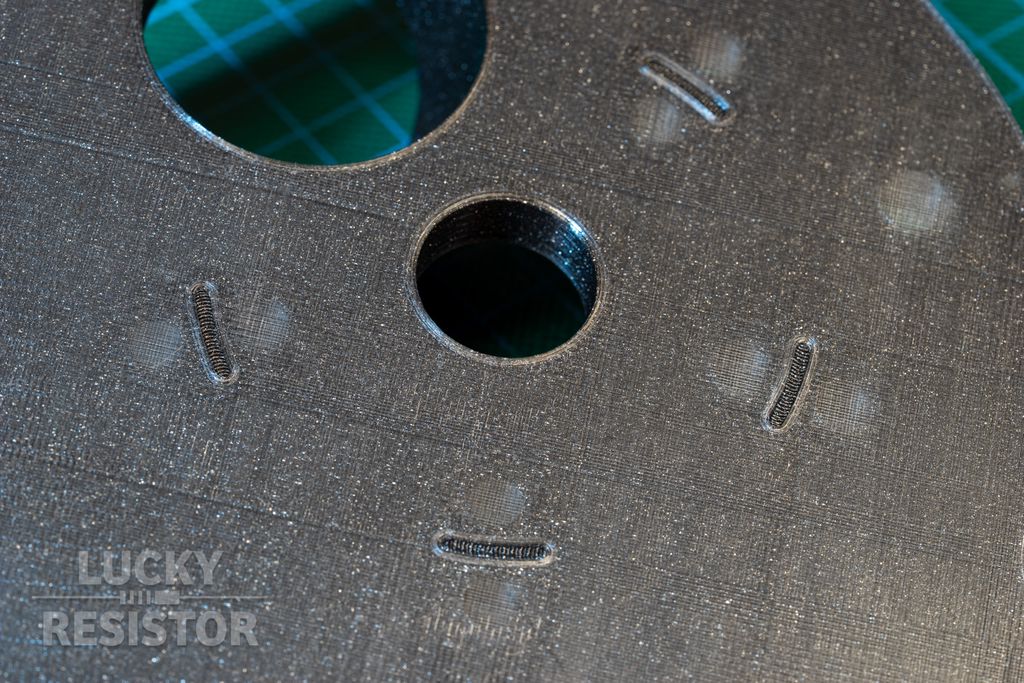
One of the solution to this problem is a small gap between the LED and the sensor.
Here you can see the slots. These already work fine, the measurement results are looking great. The only disadvantage about the slots is the mechanical one. Crumbs will fall into this slots and it makes the turntable hard to clean.
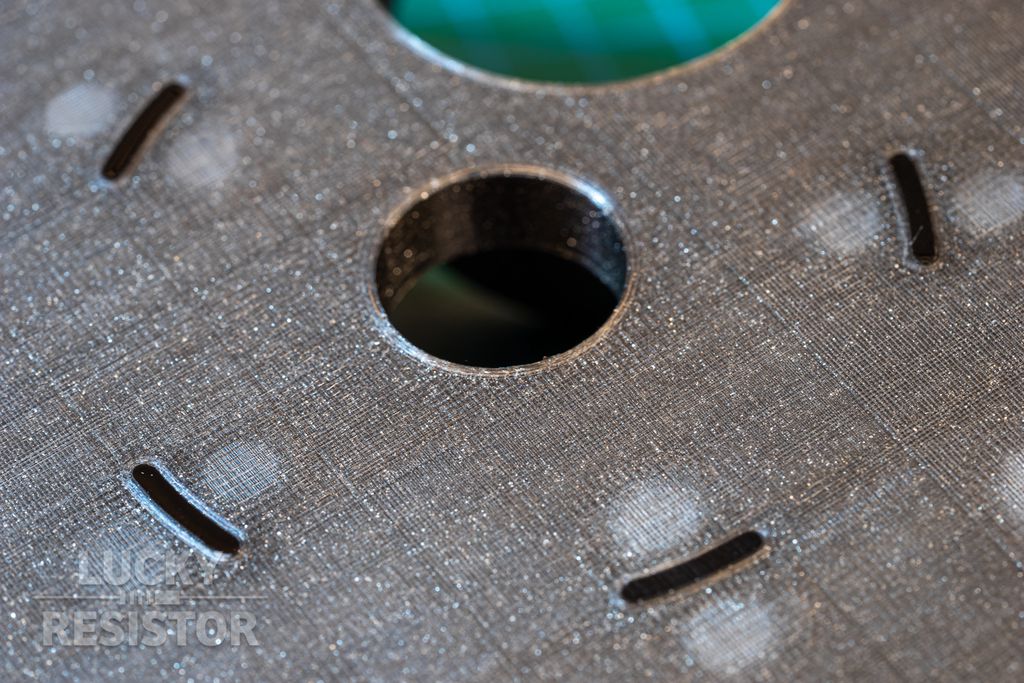
To solve this problem, I fill the slots with black epoxy. I use a syringe to be able to use tiny amounts and fill the slots flush with the surface. You can see the process in the following video:
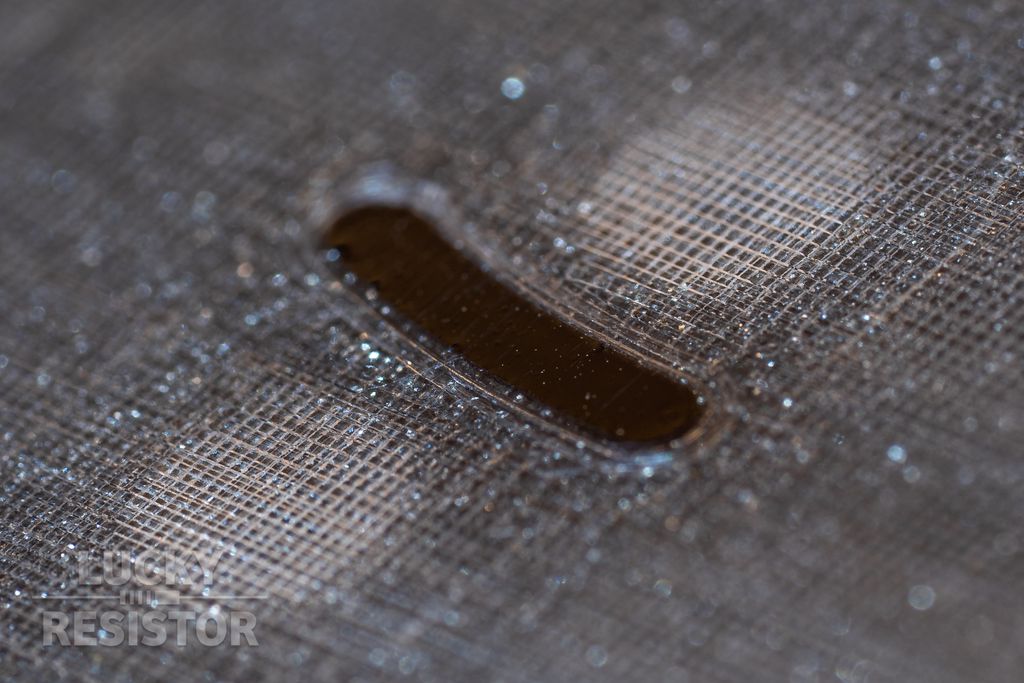
I use epoxy with a low viscosity with a drop of black colour: Epoxy resin L + hardener L from R&G. You see in the video, how the epoxy flows easily into all cracks and levels itself.
The result is an almost perfectly flat surface.
I hope you found this update interesting. Currently, I am testing the platform using different fill angles at the sensors. If you have any questions, missed information, or simply want to provide feedback, feel free to comment below. 😄
I walk you through the Snowflake v1.2 firmware's button-based configuration: short vs long presses, auto and single modes, LED indicators, and pattern durations. I explain the six-second timeout and that settings aren't saved after power loss—please read the full post for step-by-step usage and tips.
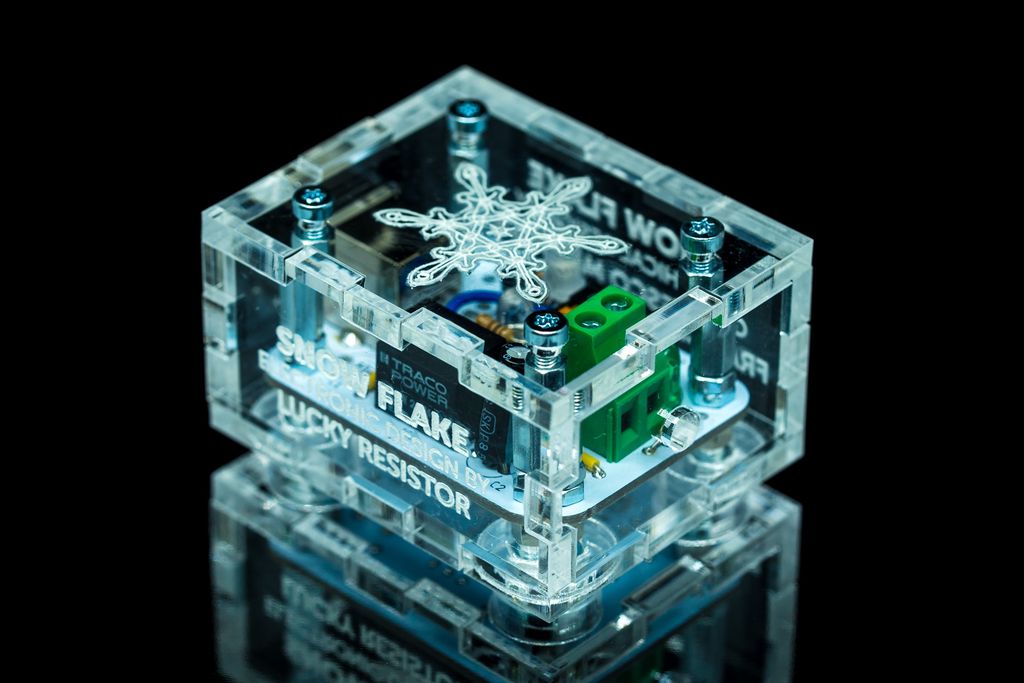
I built a simple USB-to-3.3V power converter for my snowflake decoration using a Traco TSR2-2433 and a laser-cut acrylic case with glow-in-the-dark engravings. I'll walk through the board, Fusion360/Eagle workflow, laser cutting and painting - read on if you want the files and build notes.
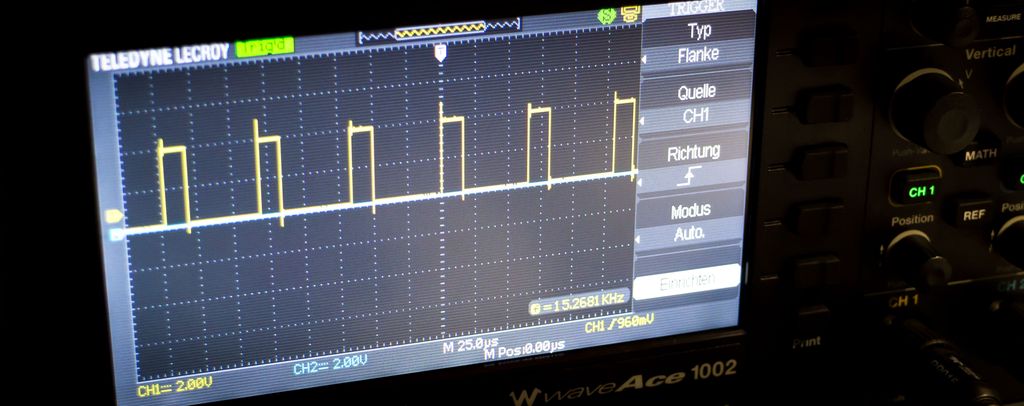
I often use a simple oscilloscope trick to debug time-critical code: toggle an I/O line before and after critical sections and observe interrupt timing and execution width. It’s low-effort and revealing — read on for practical steps, examples, and tips to measure and reason about your timing issues.
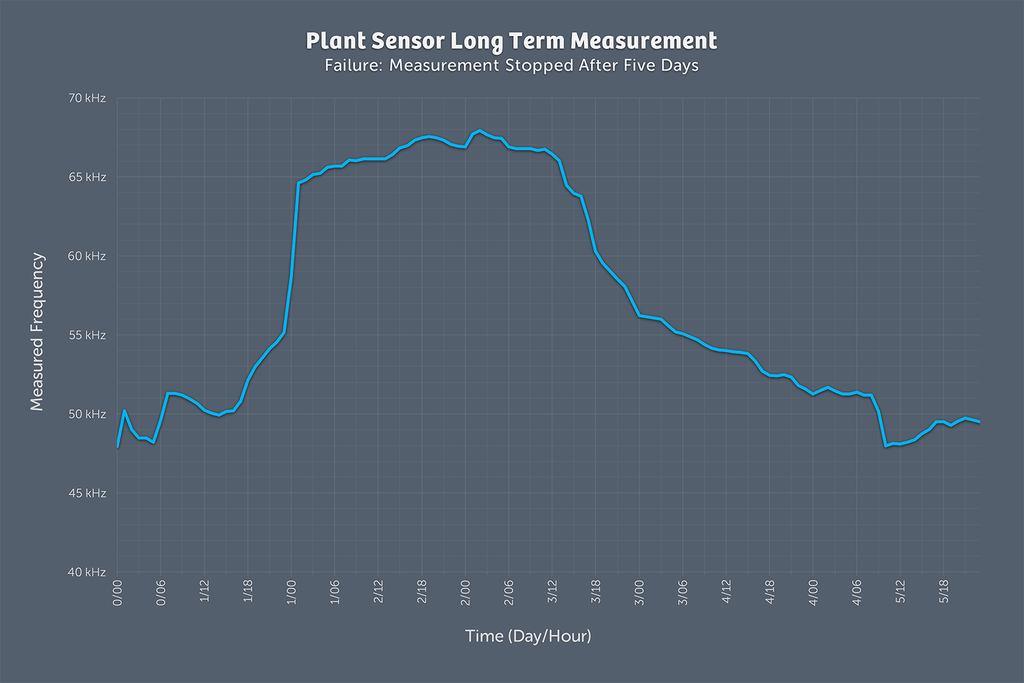
I ran a five-day long test of my plant watering sensor and the results were confusing, so I started a new, more insulated setup using an Adafruit Feather M0, an optocoupler, and pulse-length encoded signals with interrupts. If you’re interested in the hardware and code details, read the full write-up.
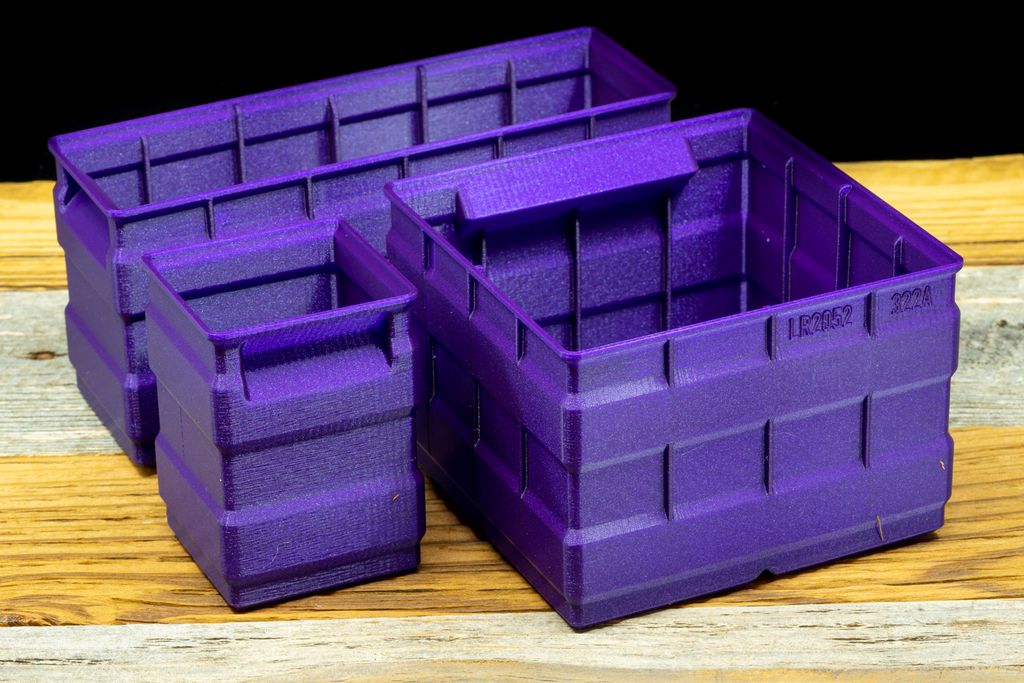
I've finished testing a new set of tall storage boxes designed for 3D printing. They're stackable with my flat and regular boxes, with reinforced walls and improved corners for cleaner prints. Download the free sample set or read the project page and catalog for full designs.
I wanted to capture the tiny, spiky corona of light from a snowflake decoration on video and found it challenging. After experiments I developed a simple effect that better conveys the sparkling as seen by the eye. Read on to see my approach, results, and how you can try it yourself.