published: March 27, 2021 —
last modified: October 23, 2025
In this short update, I will talk about the improved stepper driver for the pet-feeder device.
While working on the sensor board, to see if the fill sensors work as expected, it also involved using the stepper motor. Here, I realised, the combination of stepper motor and driver I worked with is way too noisy and unreliable.
In the following video, you can hear the sound of the stepper motor in action.
I tested various combinations of stepper driver and motors, to see which ones lead to a silent operation. Also, it would be nice to run the motor directly from the 5V supply power, without the need to convert it to a higher voltage.
After a number of iterations, I found the following combination useful:
Driver: TMC2209 SilentStepStick (Board with the TMC2209-LA chip)
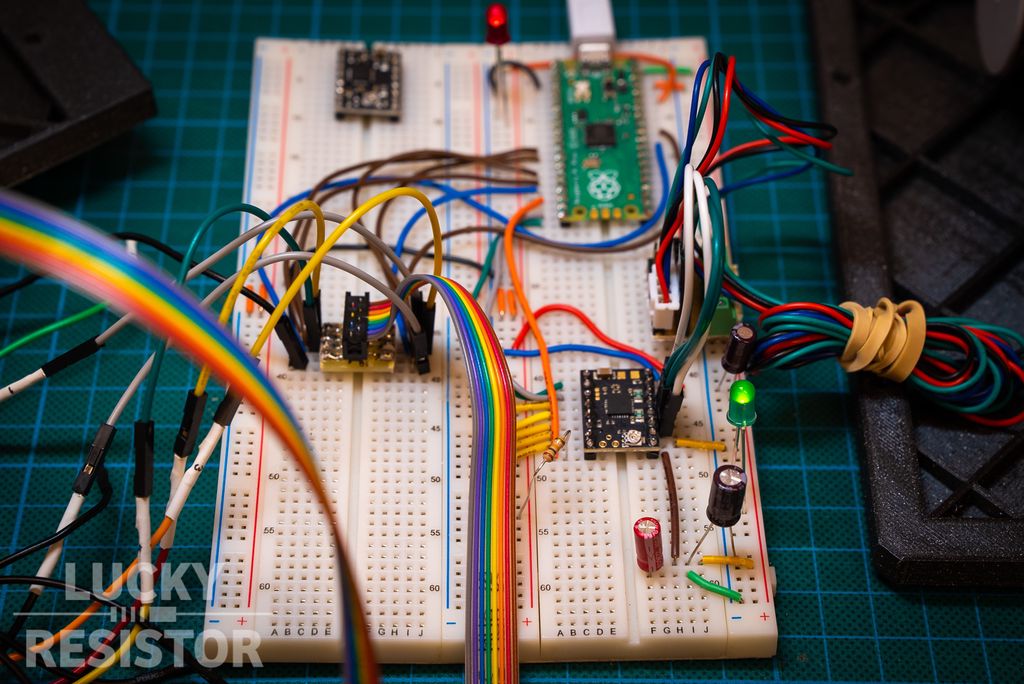
I started building the controller for the device on a breadboard. It is quite a simple circuit, with the Raspberry Pi Pico as the microcontroller. There are only little additional components to control the stepper drivers power, which aren’t added yet on the following photo.
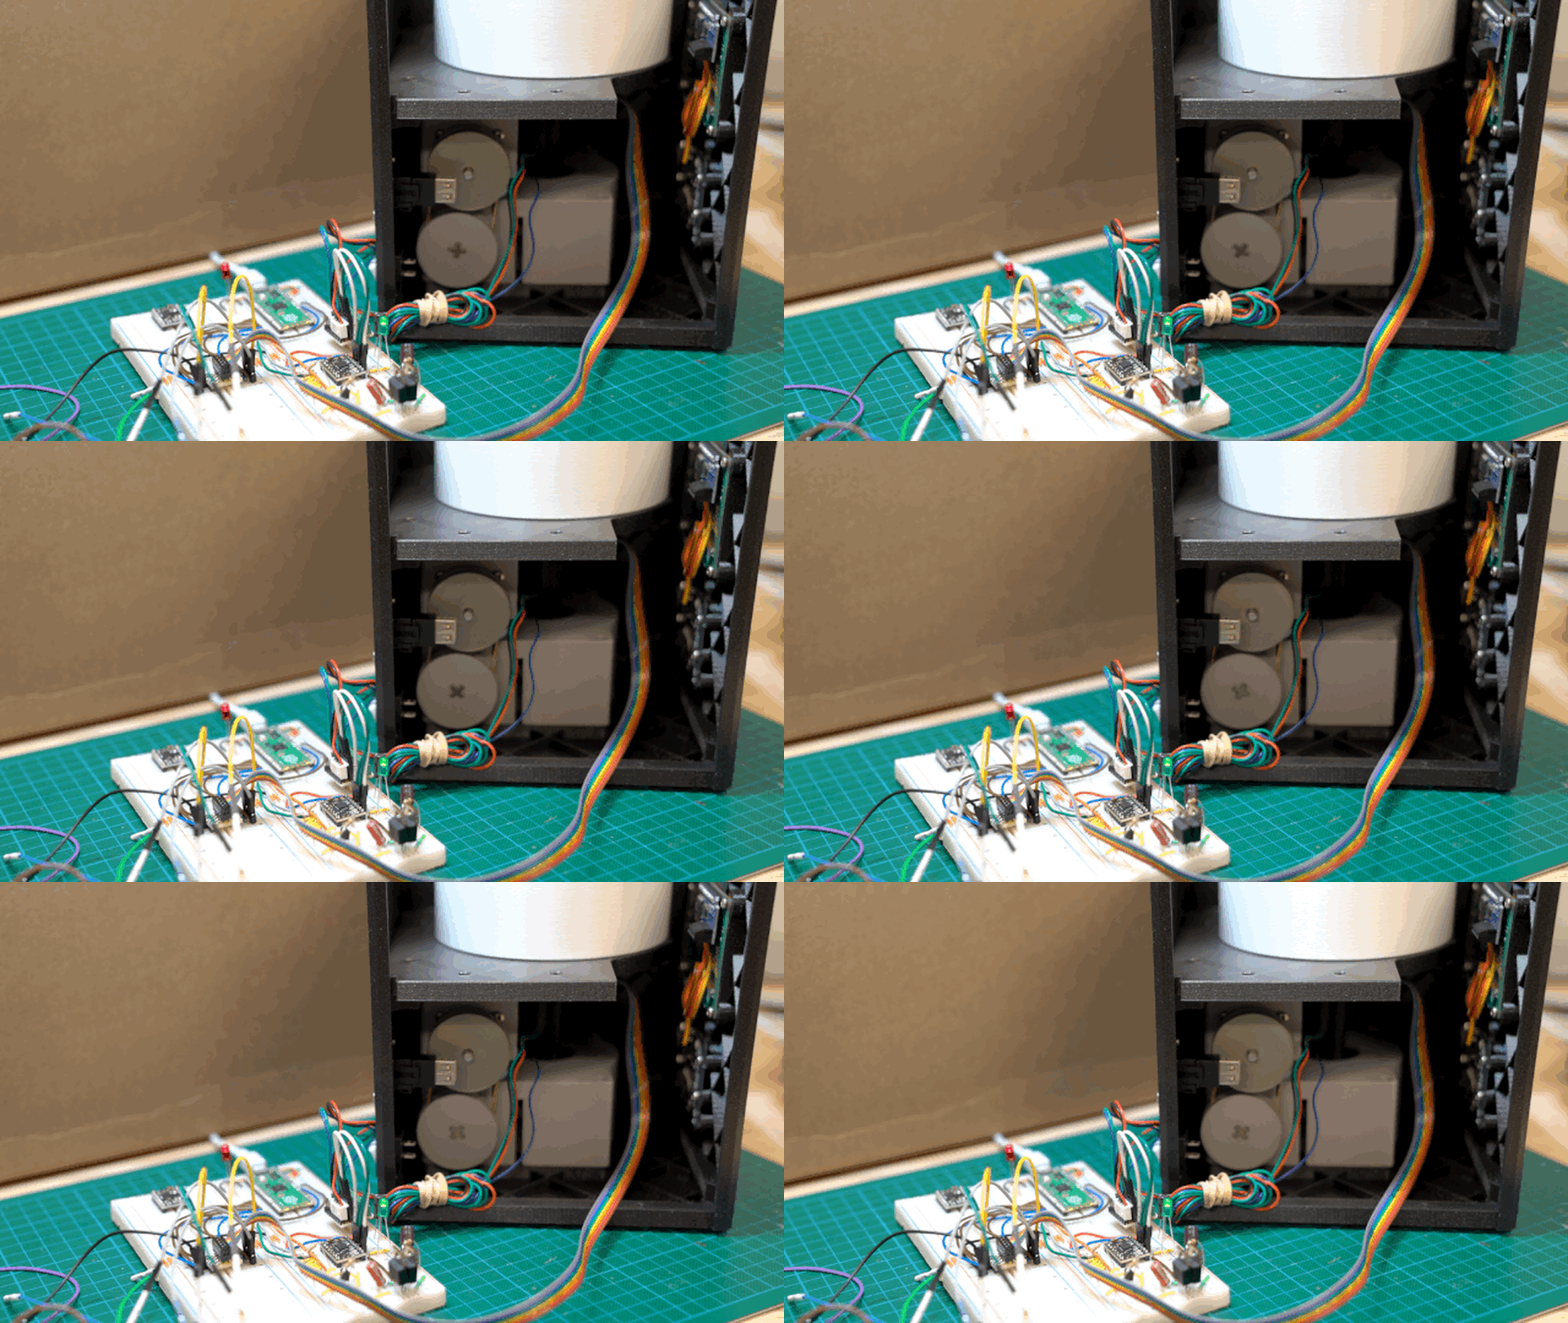
With the new driver and motor combination, you only hear the gears and the turntable sliding over the platform. The motor is almost silent.
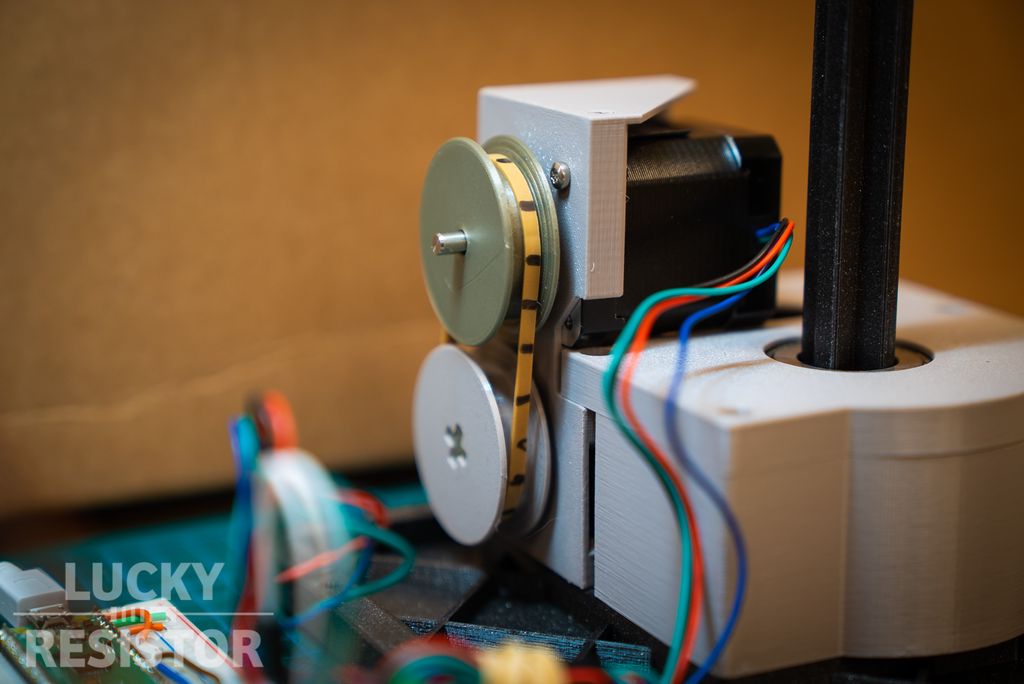
I had to address another problem: With the low current available to the device, the stepper motor’s maximum speed is quite limited. To solve this, I changed the wheel’s size on the motor to the same size as the one on the lower axis; It is now a 1:1 transmission ratio.
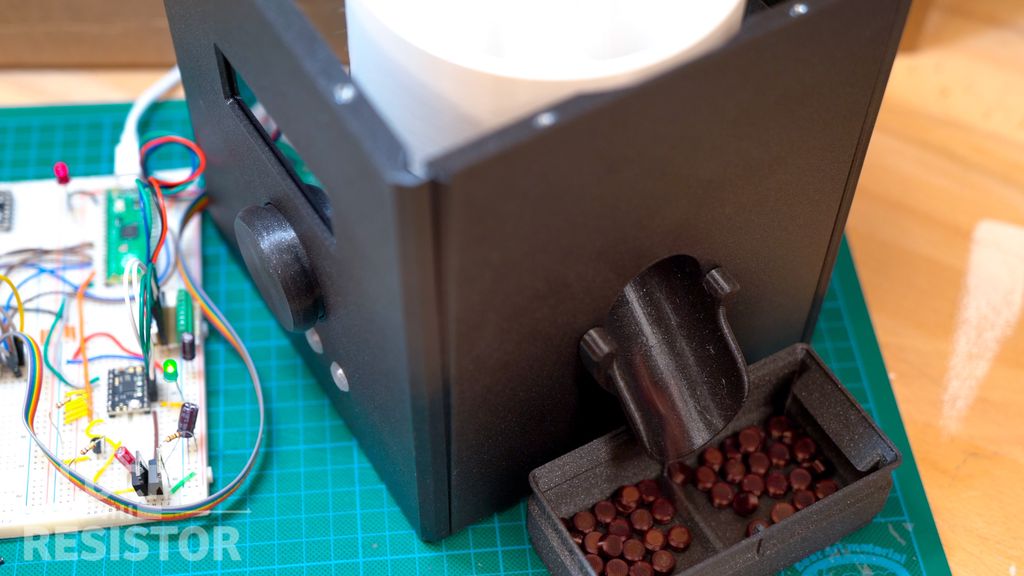
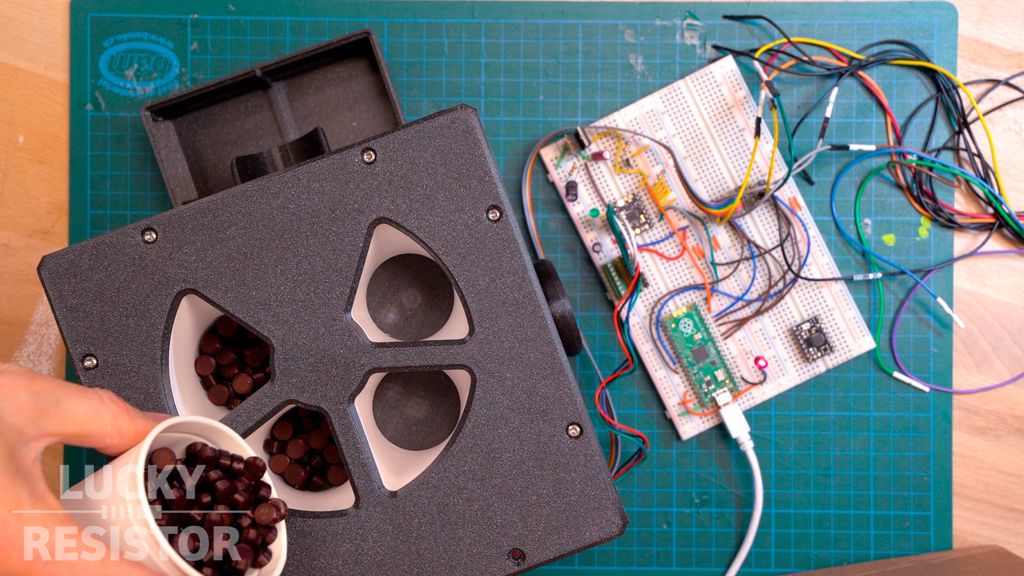
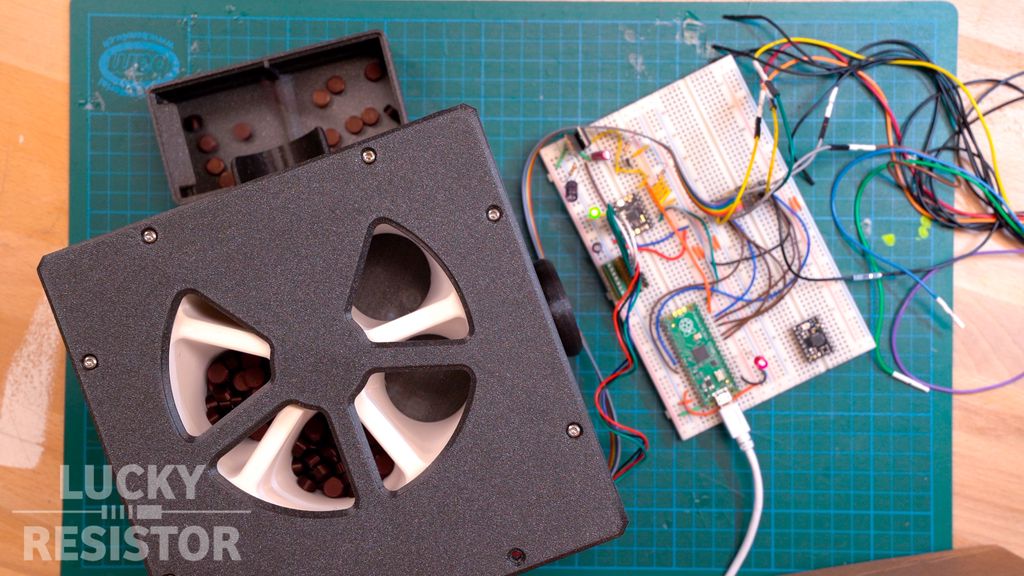
To test the turntable, I printed a substitute for dry pet food. The pieces have the same size as the real food, but they will keep the desk and drive clean while testing.
It is nice to see how well everything works. In these photos, you can see the P-Channel MOSFET which is controlling the power for the stepper motors. This is more about keeping the inrush current low than actual power saving. The stepper driver already cuts the power from the motor if it is disabled, but with the large capacitors for stabilisation, it’s better to power up this part with delay and only if really needed.
Conclusion
Now, with the stepper problems finally solved, I focus on the fill sensors. I did some tests, and the sensor readings are not as distinctive as I hoped they are. Now I investigate if there is a simple method to improve them.
I hope you found this update about the new stepper motor driver interesting. If you have any questions, missed information, or simply want to provide feedback, feel free to comment below or contact me on Twitter. 😄
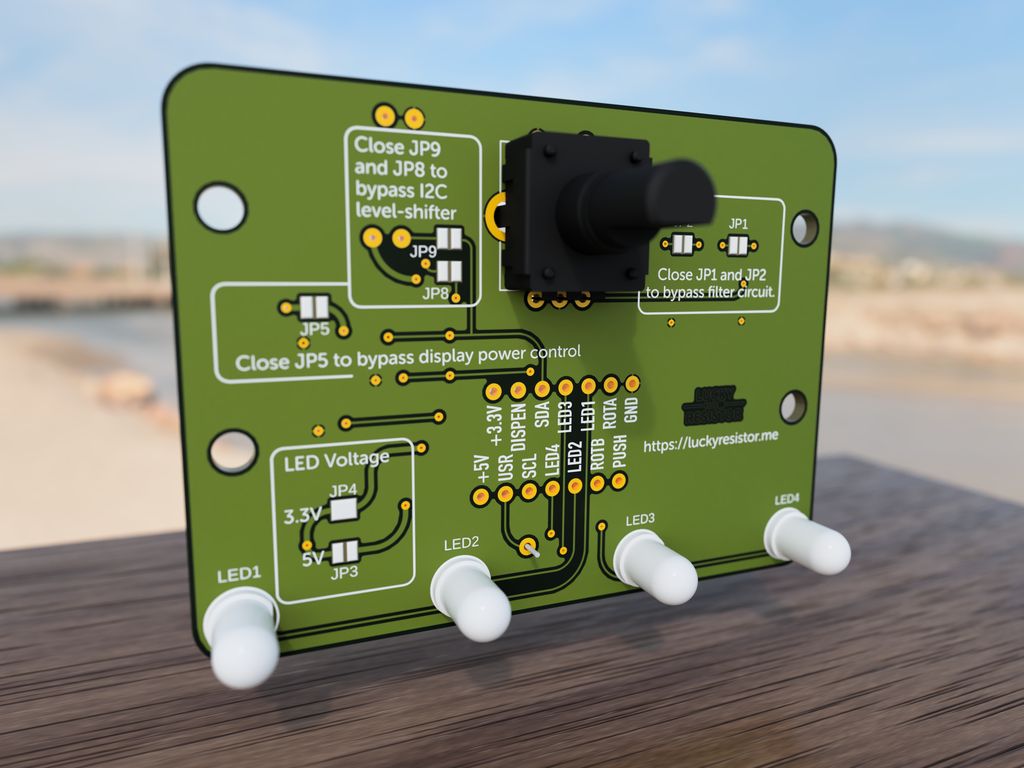
In Part 6 I walk you through the input panel for my 3D-printed pet feeder: the rotary encoder, LEDs, knob and the example PCB with wiring, filters and level shifting. I include printable files, Gerbers and ordering tips — read the full post for downloads, schematics and testing notes.
Posted on 2019-07-08— C++, Improve your Code, Learn
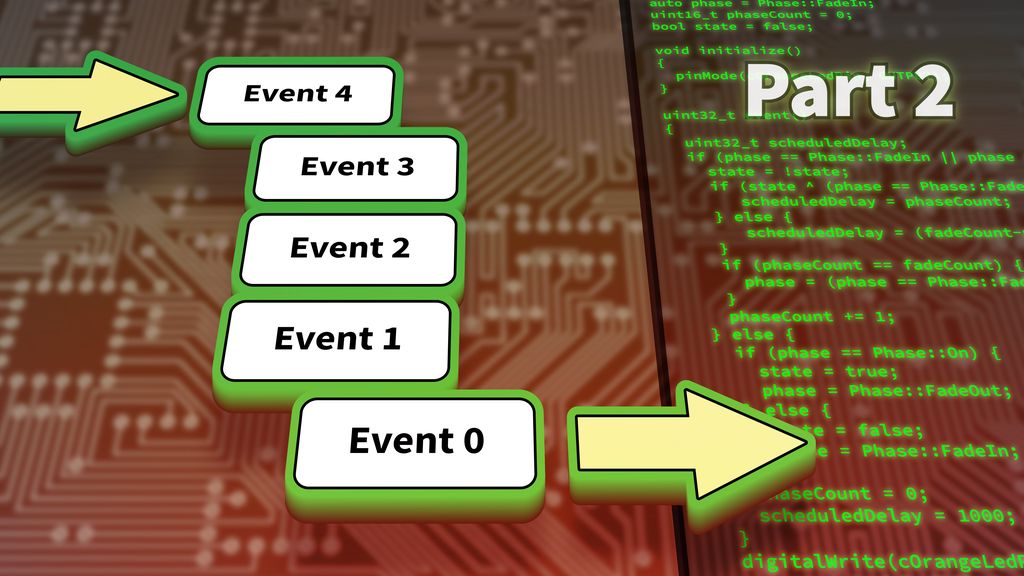
I guide you through evolving a simple Arduino blink example into a reusable event system. In Part 2 I cover function-pointer events, an EventLoop module, and practical multi-event examples. If you want cleaner, non-blocking firmware structure, read the full post for code and explanations.
I've updated the Regular Storage Boxes set with improved corners and four new boxes, including a 2x4 and three with internal walls and label-ready tops. The designs are optimized for 3D printing with recommended nozzle and layer settings. Visit the project page for downloads and the catalog.
I walked through designing a cheap capacitive plant watering sensor, from goals and measurement options to component selection and early prototypes. I explain why I chose a CR2032‑powered op‑amp oscillator, ATtiny MCU and low‑power timer. If you’re curious, read the full post for details and test results.
I published a detailed update to my stackable storage boxes project that adds new rail grid series, larger sizes up to 9×9, and improved catalogues. I outline design reasoning, alternative part-number placement, image and archive changes. If this sounds useful, please read the full post for downloads and printing notes.
I designed a simple three-part 3D printed enclosure for the Adafruit PowerBoost 1000C and up to a 1200mAh LiPo. In this post I share the print files, component list, and step-by-step assembly tips to convert the board into a safe portable power pack — please read on if you'd like to build one.