published: February 27, 2021 —
last modified: October 23, 2025
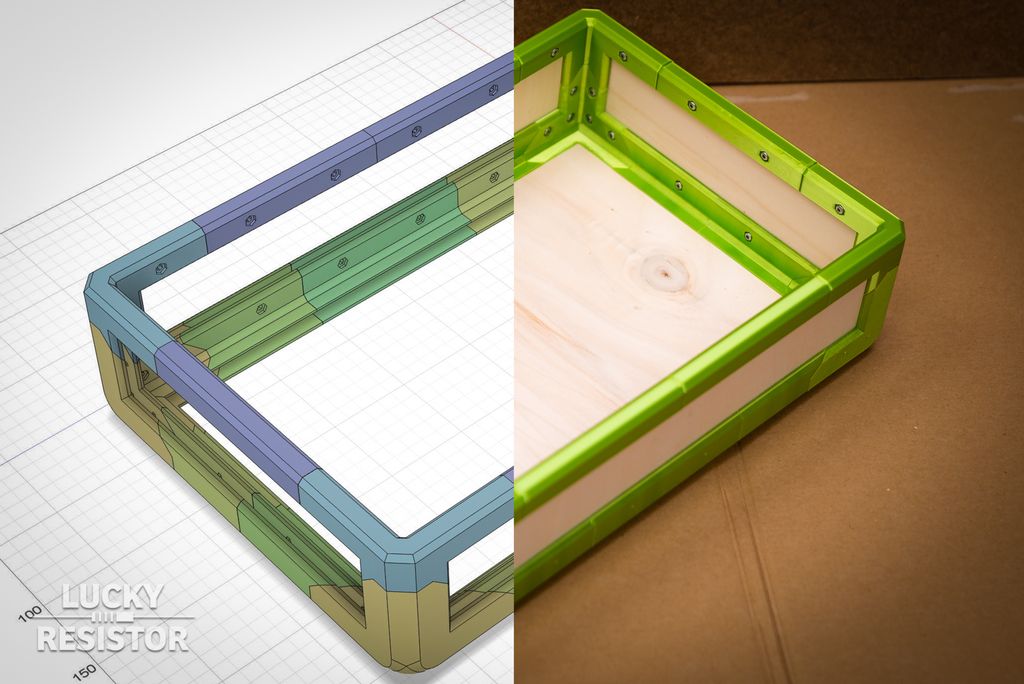
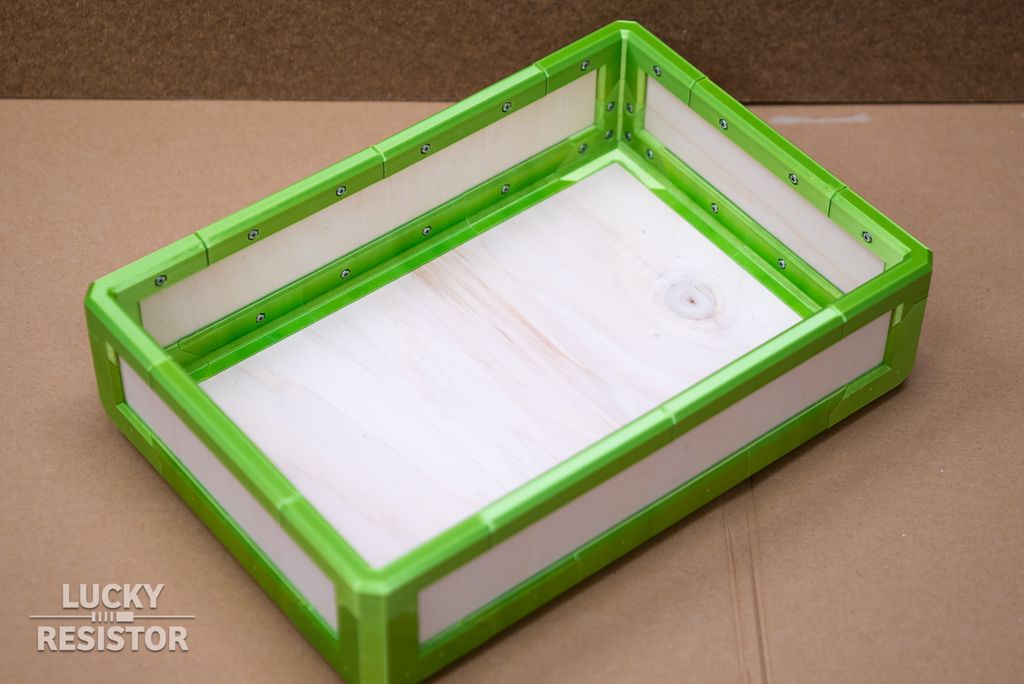
This design is not for everyone. 😅 A decorative and modular, but quite massive box. Built from 3d-printed parts, 5mm plywood panels and plenty 3x10mm wood screws.
The instructions in this post show a basic box with the inner dimensions 240×360×84mm, but in the download, you find all files required to build larger boxes in 60mm increments. Also, there is another corner element to make a 124mm height box. All you have to do is printing more side elements and cut larger side panels.
To simplify things, I added a very crude calculator, where you input your desired inside dimensions and it will output a list of all required parts and dimensions.
Update 2022-10-21:I added a vertical extension part LR2114-5-210 Vertical Extension.stl that allows a vertical extension by 120mm.I also updates the part calculator with additional heights.
Table of Contents
About the Box
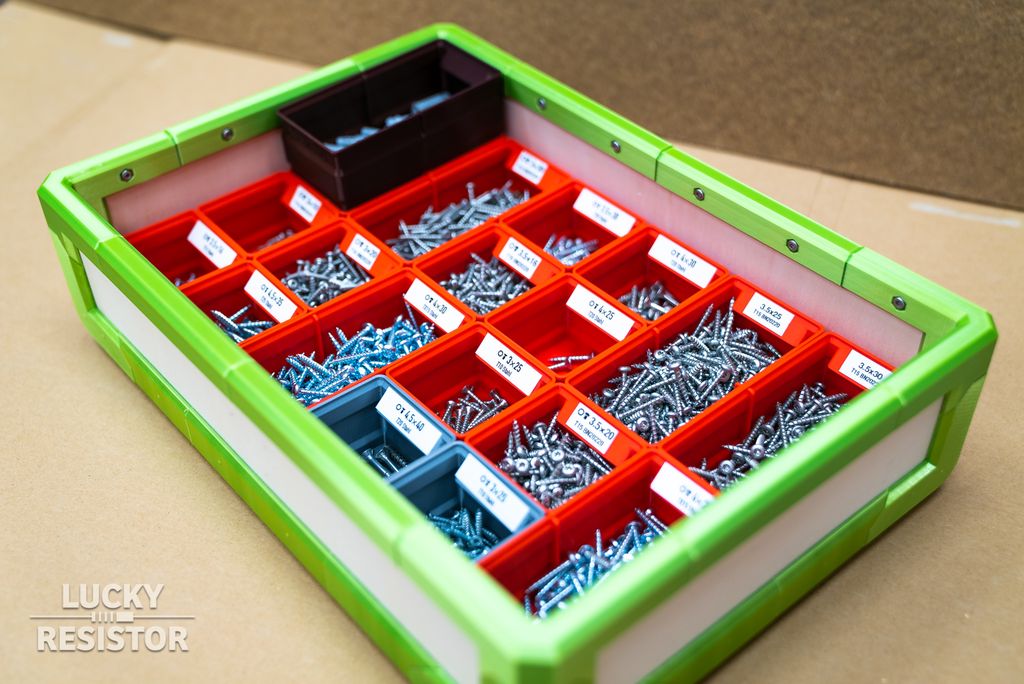
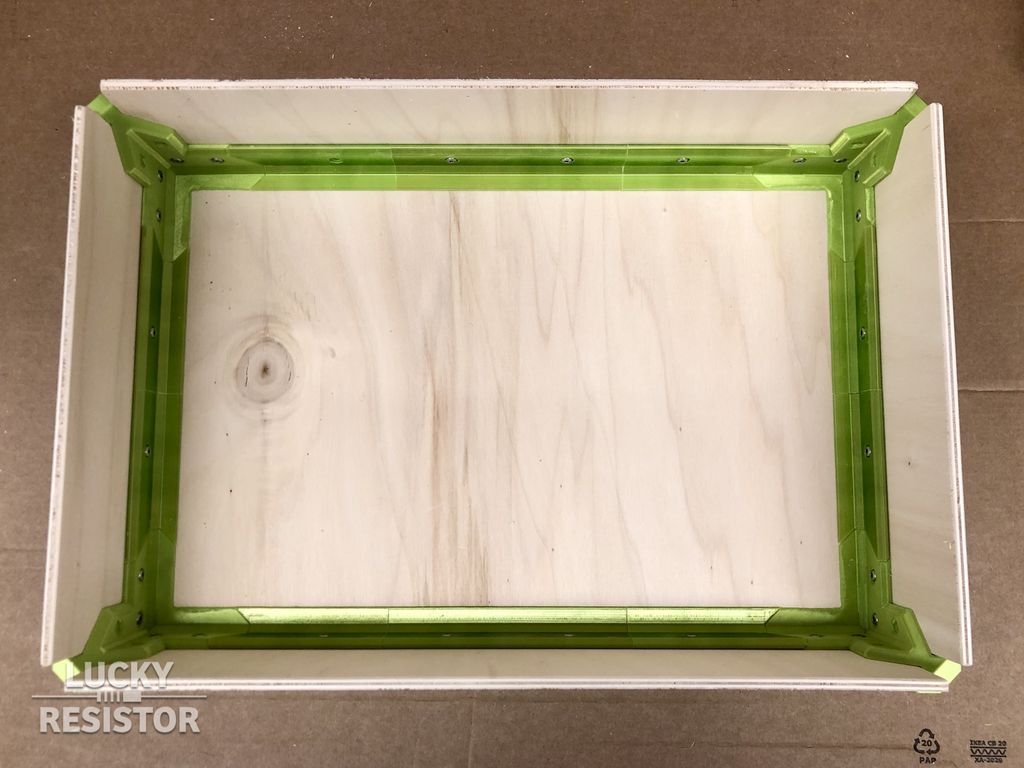
The printed parts give this box a stable frame, easy to grab with the hands.
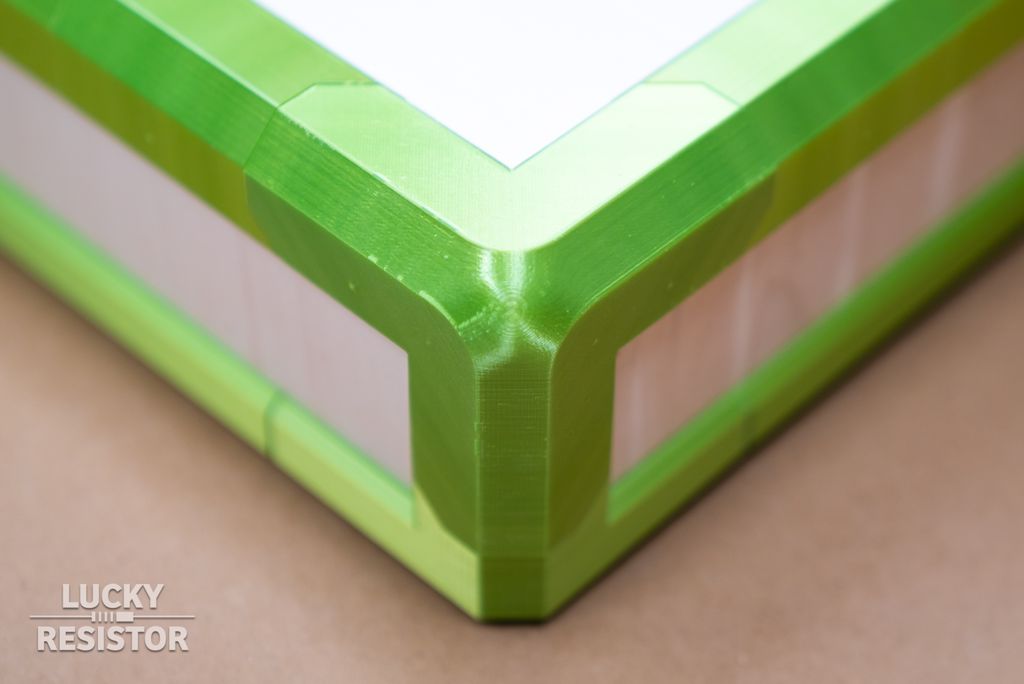
All corners have bevels and especially the lower corners are rounded.
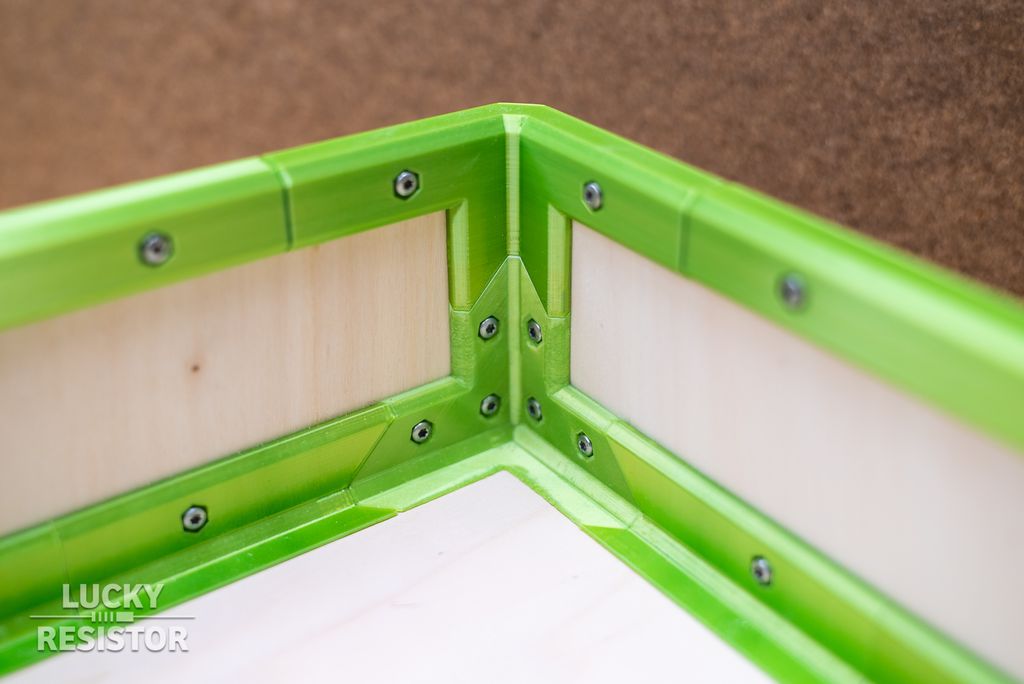
Wood screws are used to hold everything in place and create a good stability.
Various Uses
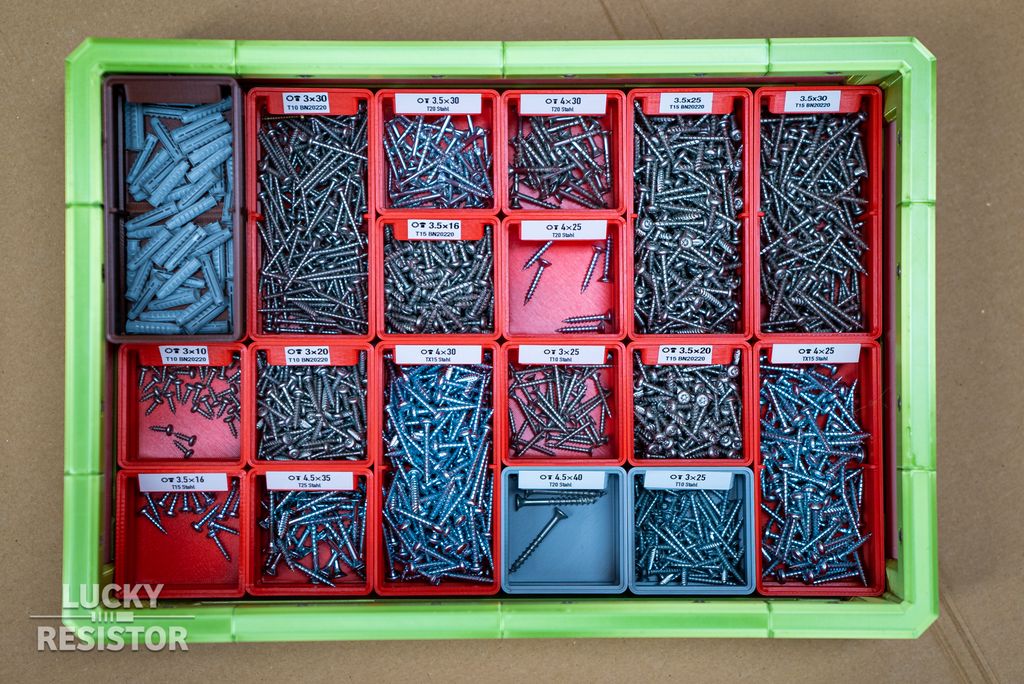
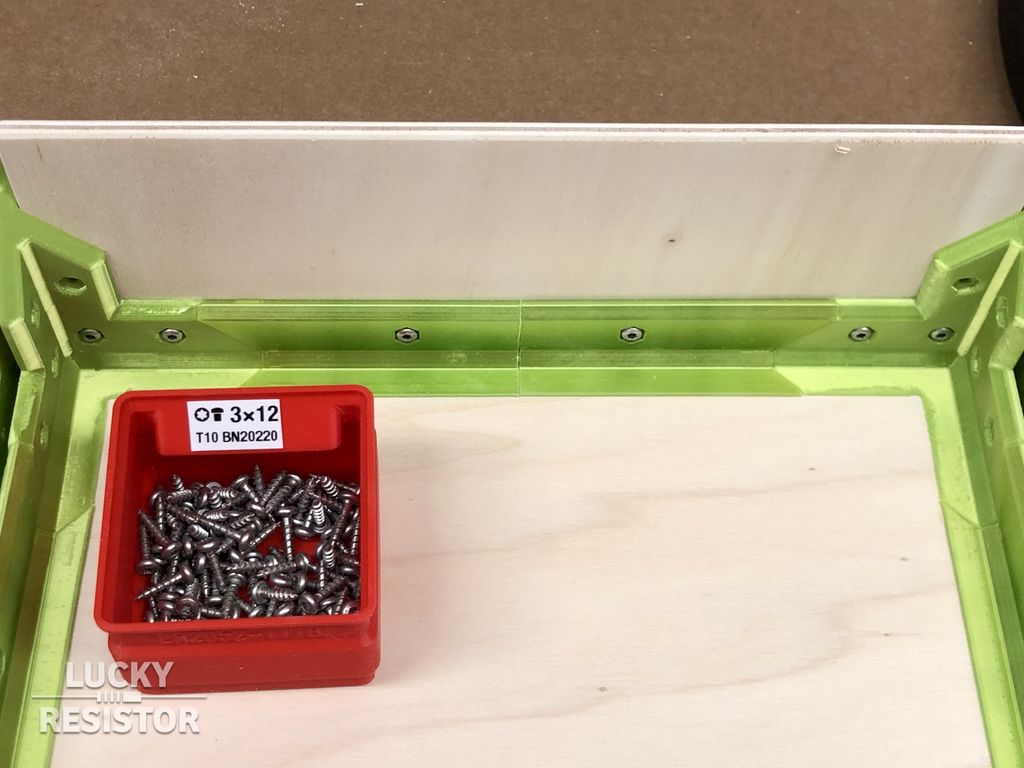
The inner dimensions match my storage boxes system, so you can perfectly fill it with these containers.
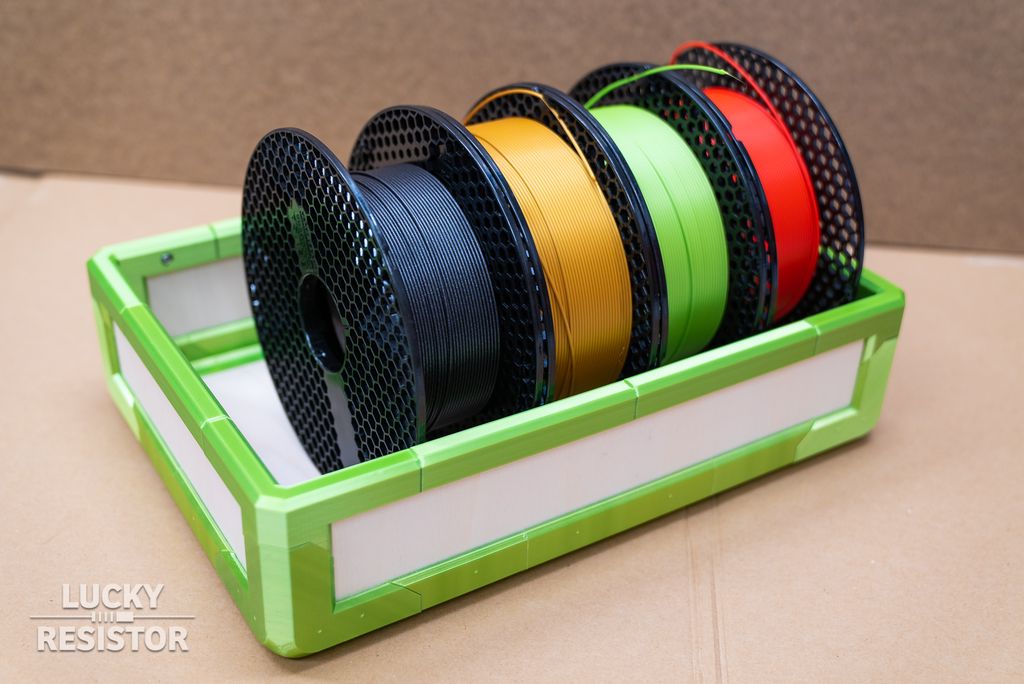
The box is large enough to for various other uses. The following picture will give you a better impression of the size.
Modular System
You can increase the box size in 60mm units simply by adding more elements.
With the following calculator you will get a list of required parts and dimensions. Please verify the results and do not blindly trust them! 😅
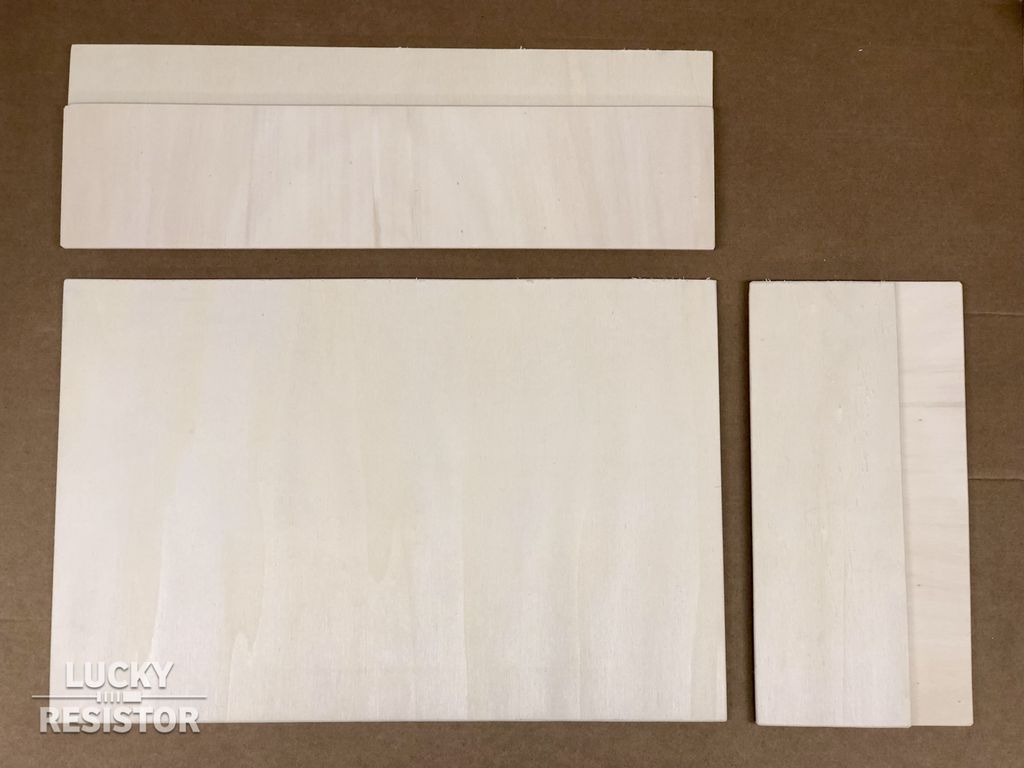
Cut the Plywood Boards
You need five plywood boards with a thickness between 4.6mm and 5.0mm. If you have slightly thicker boards, you may be able to sand them down to 5mm.
The given dimensions are the maximum dimensions, cut them slightly smaller - around 0.2mm. The most important thing is to cut them square. If the angle of the boards isn’t exactly 90º, you will run into problems assembling the box.
Print the Parts
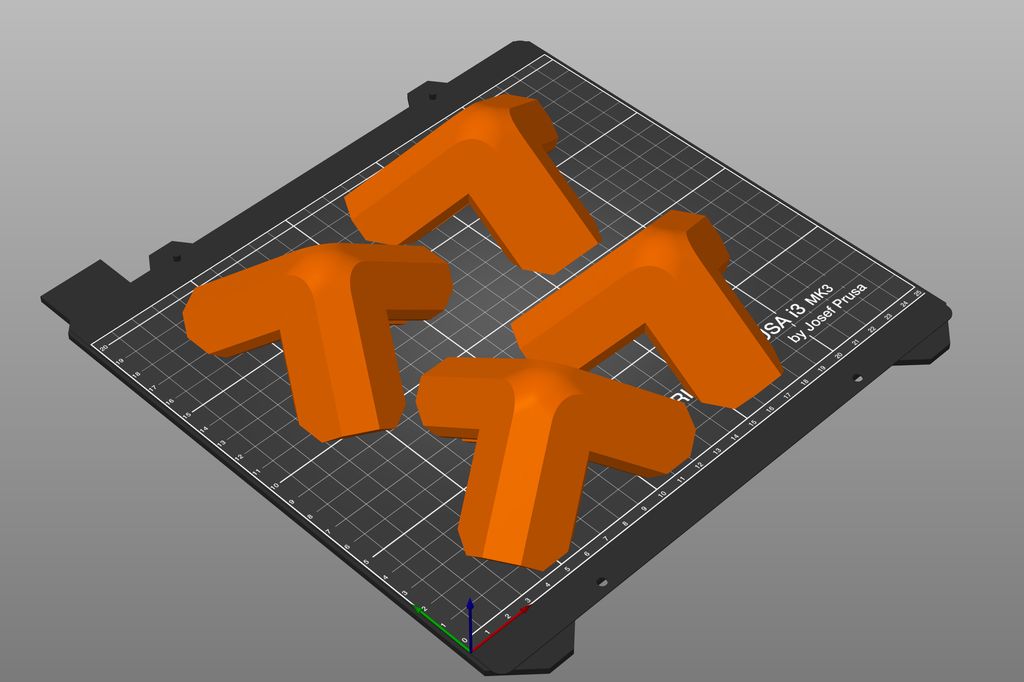
The Lower Corners
Start printing the corners, it is a really fun print to watch.
File: LR2114-5-201.stl
Material: PLA or PETG
Layer height: 0.15mm or 0.10mm
Print bed: Suitable for Material
Supports: No supports required
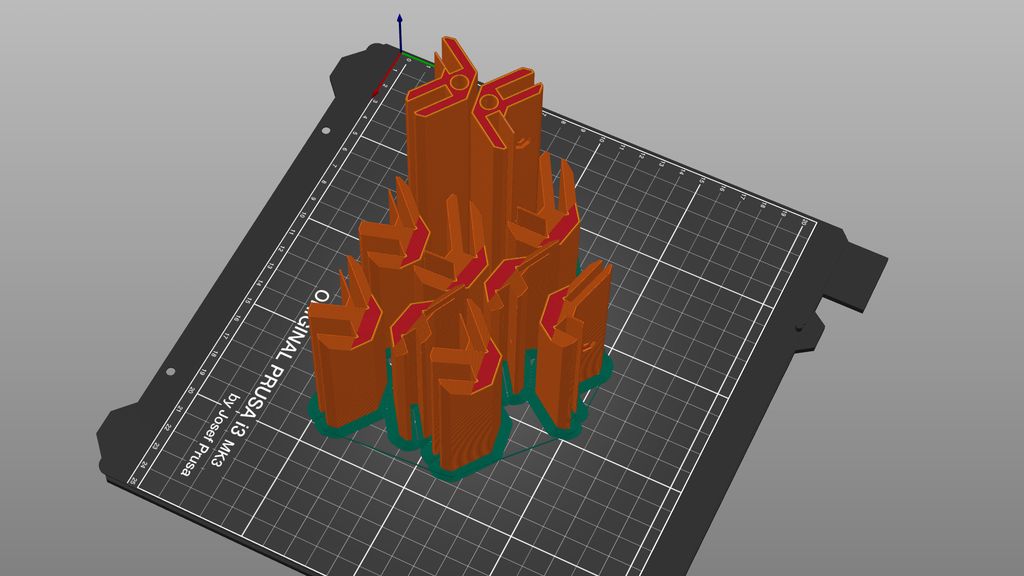
The Lower Frames
Next print all the lower frames. To get the best stability of the box, it is important to print them upright using a brim.
Files:
LR2114-5-202.stl
LR2114-5-203.stl
LR2114-5-206.stl
LR2114-5-207.stl
Material: PLA or PETG
Layer height: 0.2mm
Print bed: Suitable for Material
Supports: Add a brim, make sure it connects all parts for extra stability.
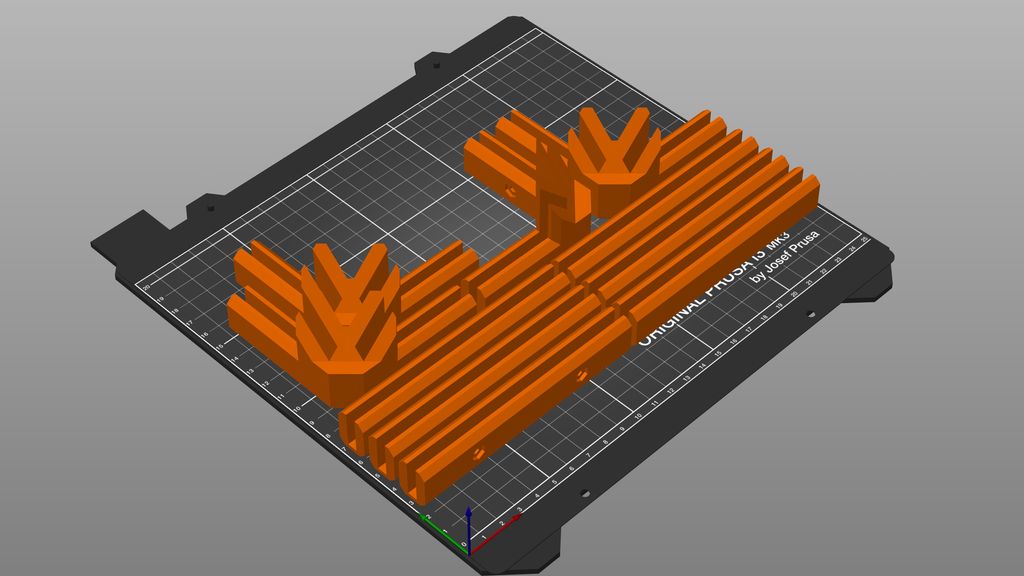
The Upper Frames
All upper frames and the corners are printed with the top side on the print-bed.
Files:
LR2114-5-204.stl
LR2114-5-208.stl
LR2114-5-209.stl
Material: PLA or PETG
Layer height: 0.2mm
Print bed: Suitable for Material
Supports: No supports required
Assembly
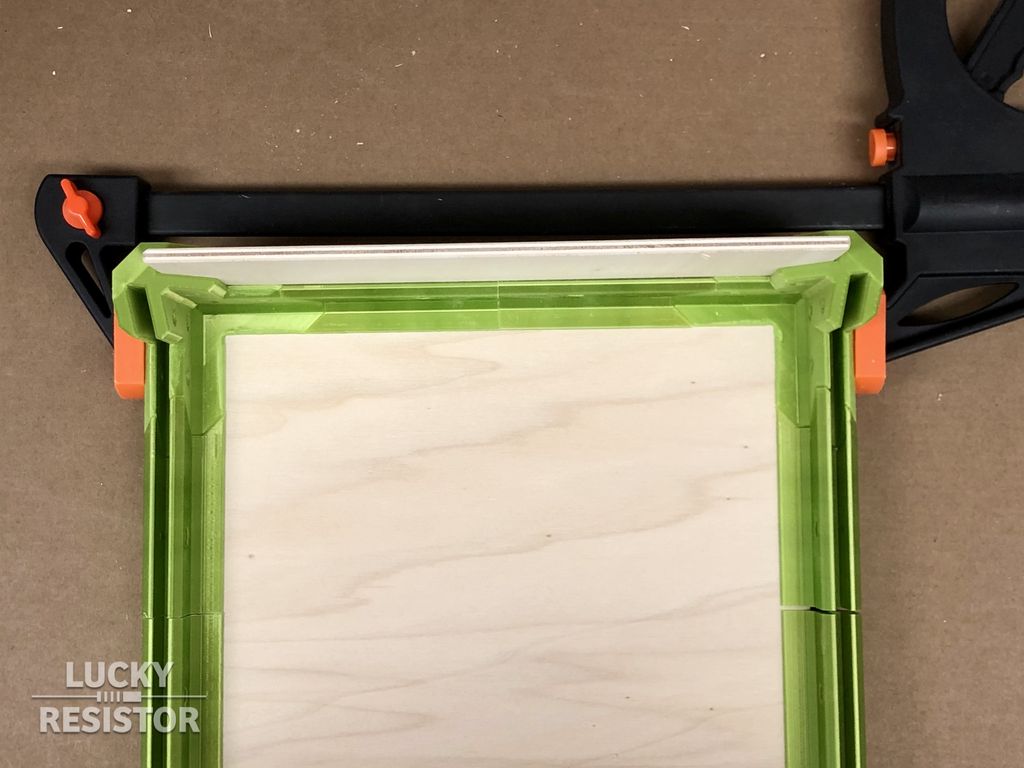
The assembly of the box is simple. Start with the plywood for the bottom and one side, and line up printed parts for this side. There is a hole where you optionally can insert a 30x6mm dowel to improve the frame alignment.
Now use a clamp to press the parts firmly together. Do not use too much force! There should be no gap between the printed parts. If you have a gap, one of your boards is slightly too large and you need to sand it down.
Make sure the side panel is fully inserted and is fully inserted in the lower frame parts. Use a hammer to gently push the panel down and check with the top corners if it fits.
With the printed parts securely clamped and the panel in the right position, drill all the screws into the lowest holes.
Repeat this procedure for all four sides.
Now add all upper frame parts. Check if there is no gap between the corner parts. Use again a clamp for one side, to press all printed parts together and add all the missing screws. Repeat for all four sides.
That’s all, your box is ready to use! 😄
Conclusion
I hope you enjoy building this box! There are endless possibilities of how you can improve and alter it.
Instead of plywood, you may use other materials, like acrylic glass sheets or sandwich panels with paper or aluminium. And, instead of the screws, you can glue the elements to the panels.
If you have any questions, missed information, or simply want to provide feedback, feel free to comment below or contact me on Twitter. 😄
I rebuilt the Meggy Jr RGB library from scratch to make game development simpler on the ATmega328P. I focused on low memory use, frame‑synchronized loops with a back buffer, clear color handling, fast pixel operations, reliable button input and a background sound player. Read the post for examples and the GitHub release.
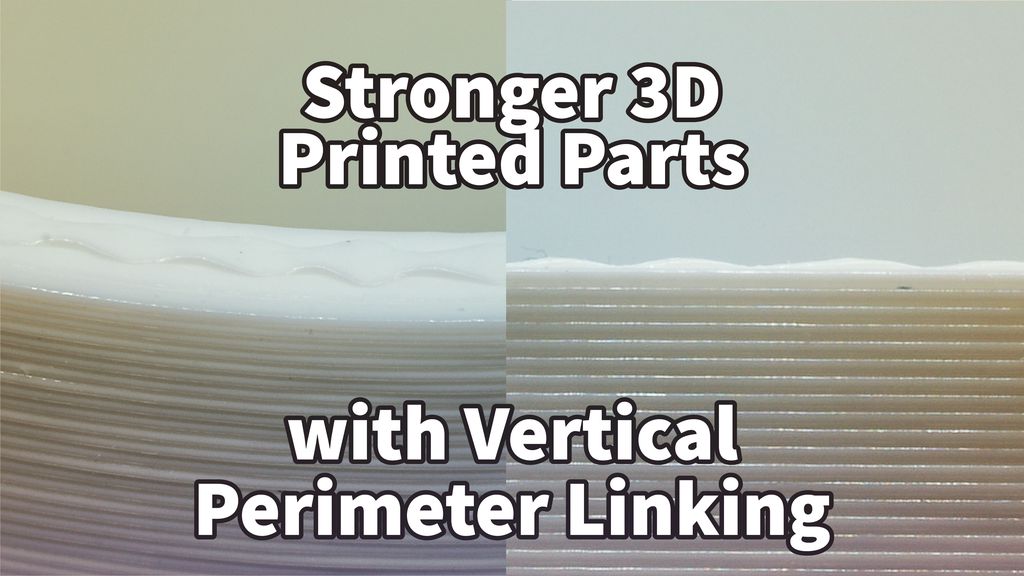
I tested a simple technique to strengthen FFF prints by adding a zig-zag vertical link between the outer and inner perimeter. My demo gcode and findings show how peaks fuse layers and slow crack propagation. If you print regularly, read the full post to see my method and limitations.
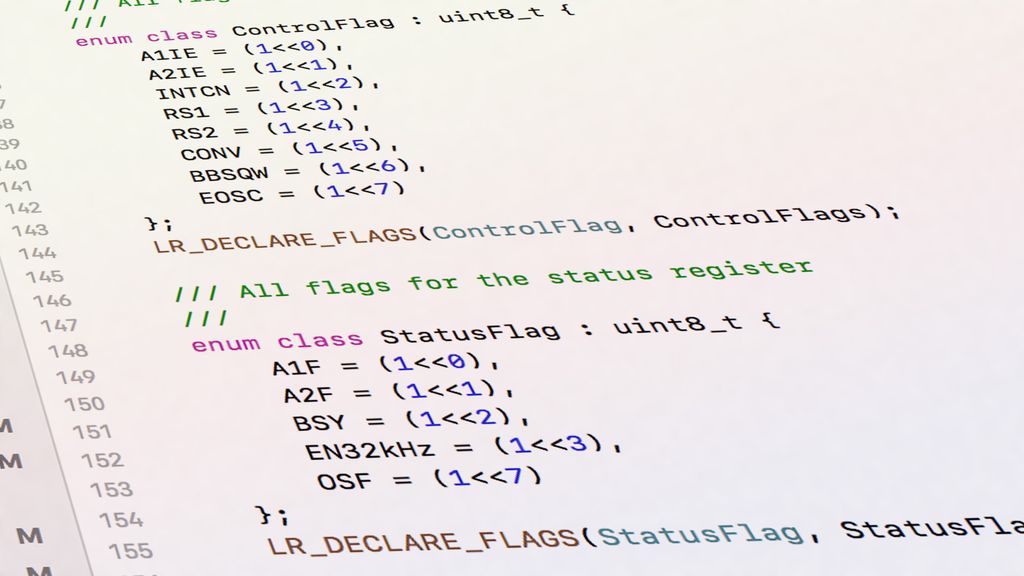
I show how a small C++ flags template makes embedded register bitmasks safer and much easier to read. I'll explain why macros and CMSIS-style definitions lead to errors, and walk through clear C++11 examples and a simple driver. Read on to see the implementation and usage.
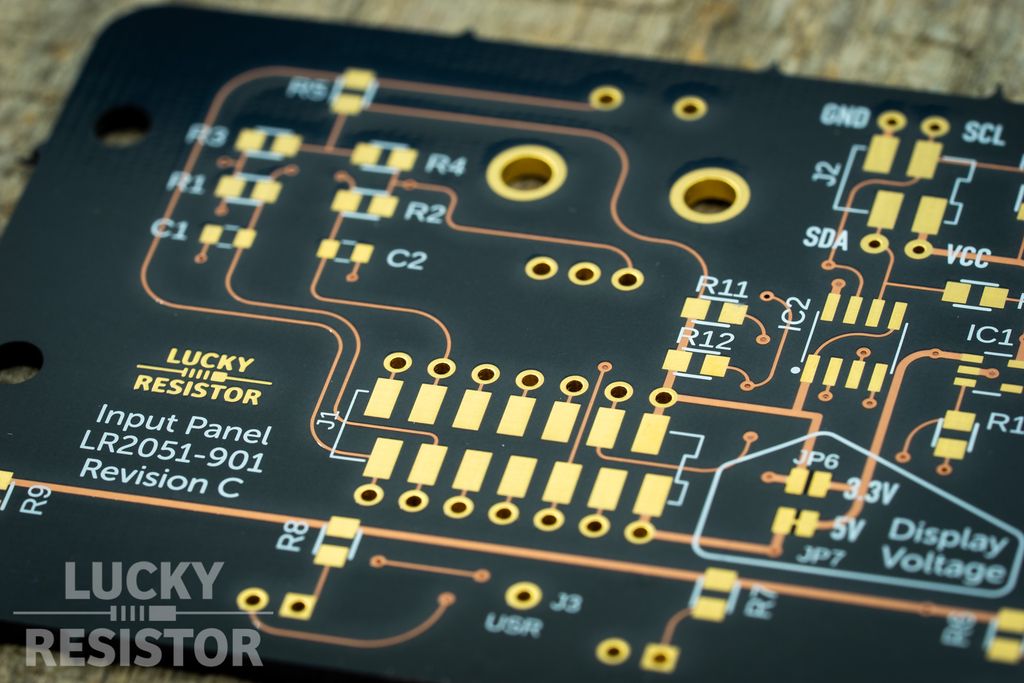
I ordered 'After Dark' PCBs from OSHpark for my pet-feeding device and wanted to share clearer, high-resolution photos so you can appreciate the black substrate with copper and transparent solder mask. If you’re curious about the look or details, please read the full post and leave questions or feedback.
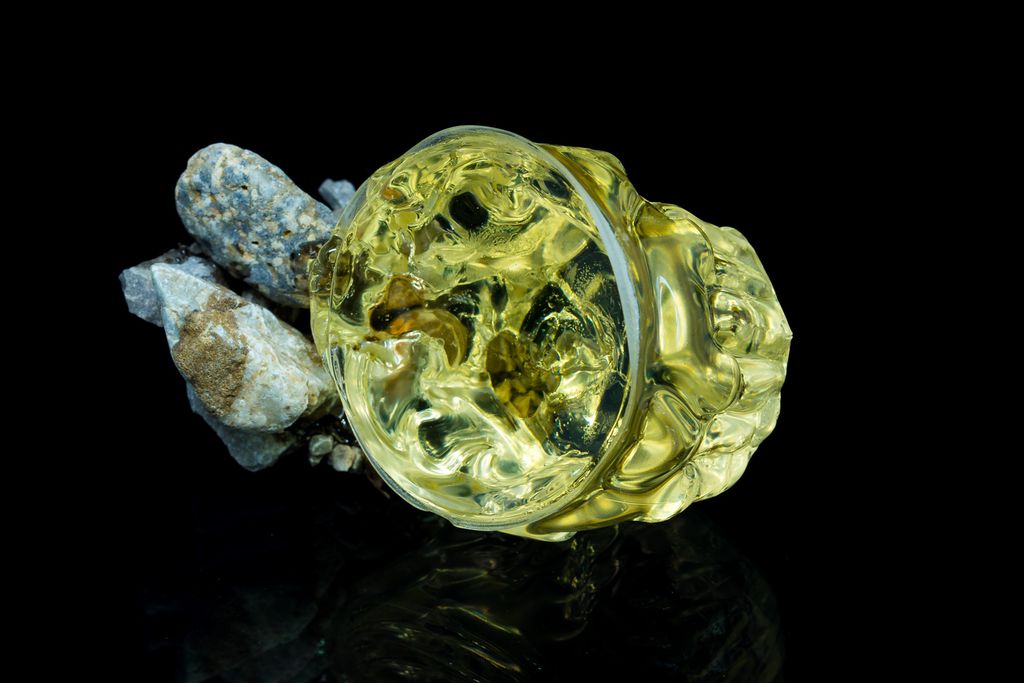
I tried mixing epoxy in a plastic cup and caused a small meltdown — a useful reminder about heat, cure times, and containment. I share what went wrong, safety and cleanup tips, and practical fixes to help you avoid the same mistakes. Read the full post for step-by-step guidance.
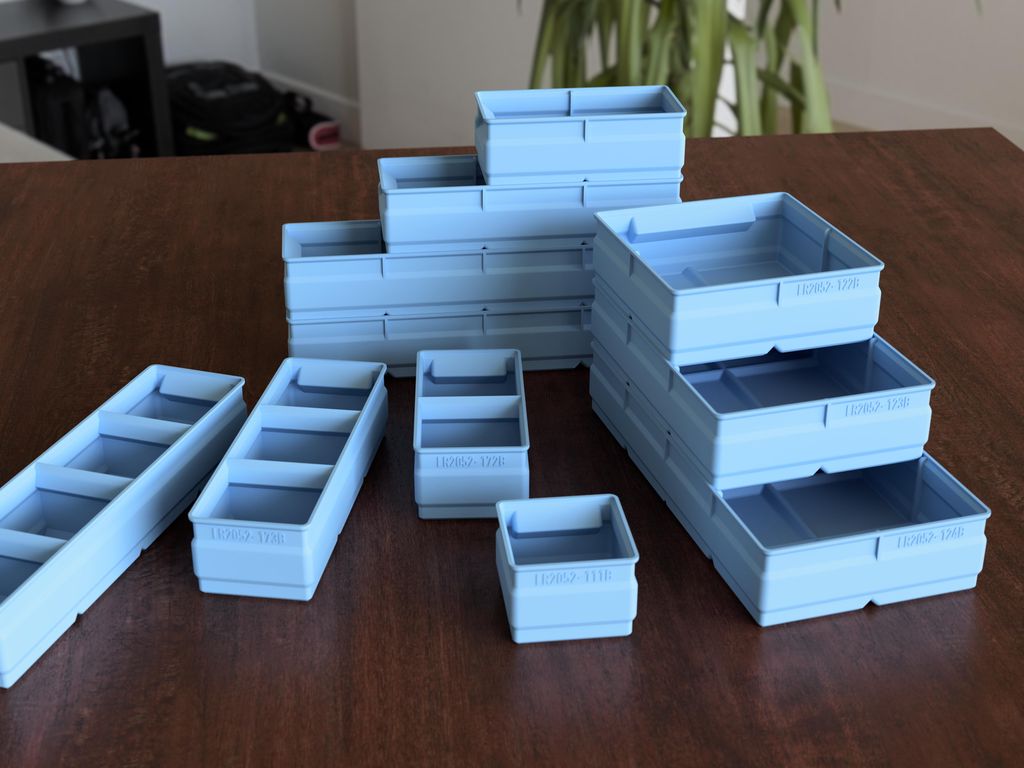
I've updated the Regular Storage Boxes set with improved corners and four new boxes, including a 2x4 and three with internal walls and label-ready tops. The designs are optimized for 3D printing with recommended nozzle and layer settings. Visit the project page for downloads and the catalog.