published: January 17, 2021 —
last modified: October 23, 2025
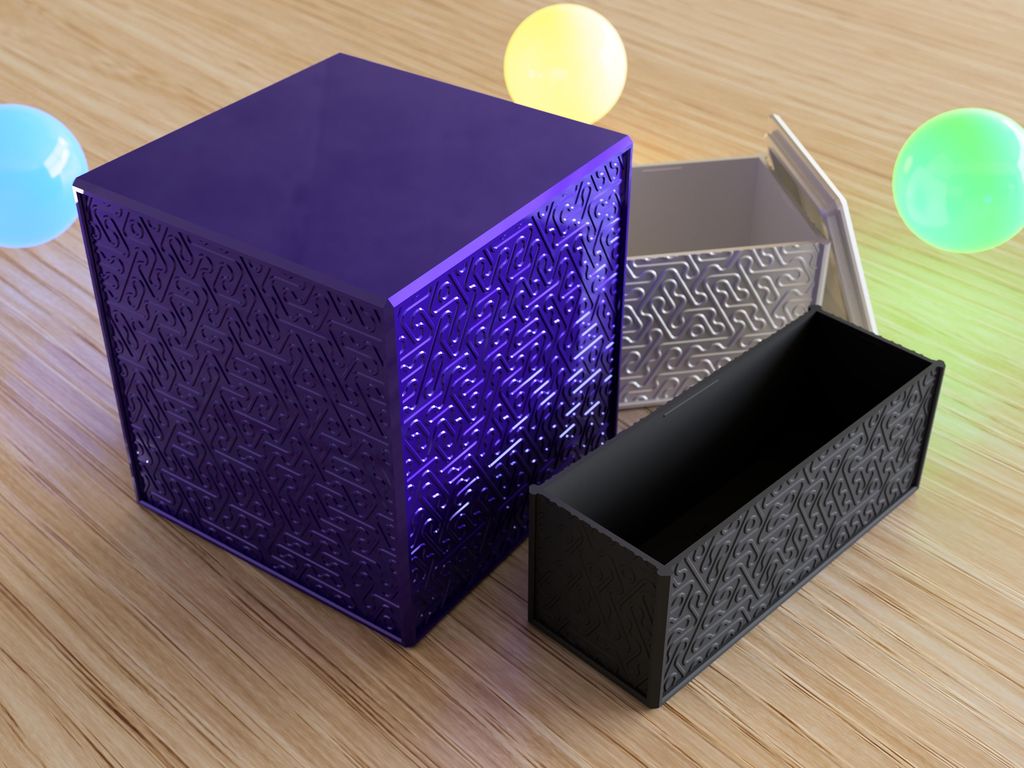
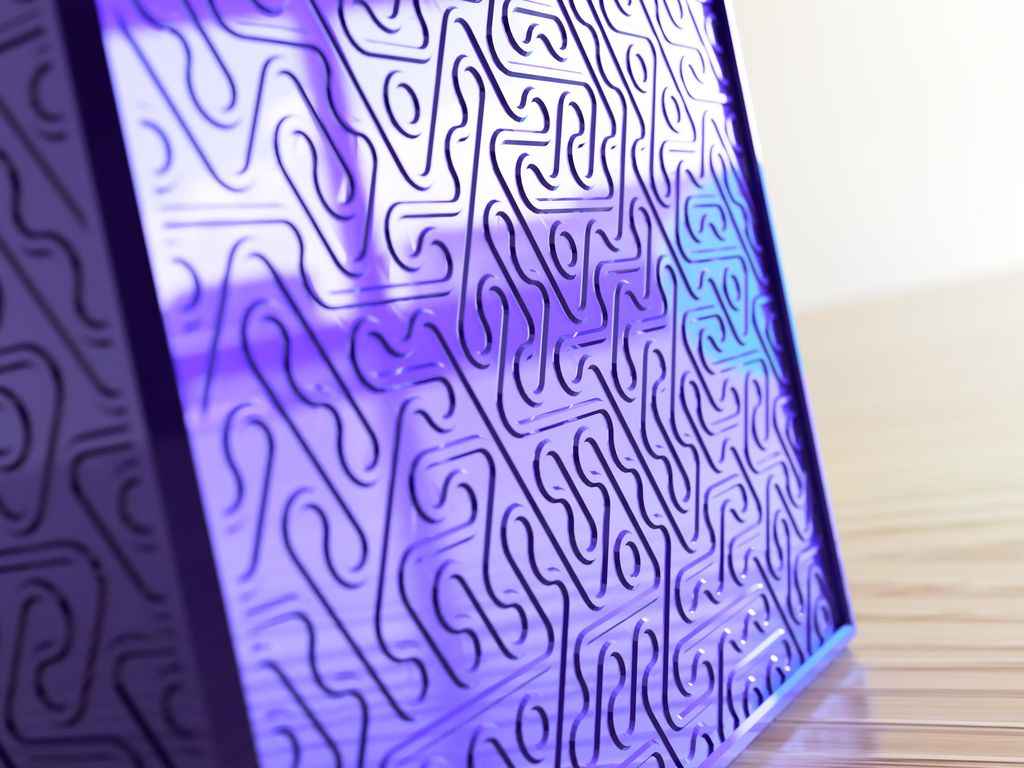
Because the box with the heart pattern worked out great, I tried something more complex this time. The new set features a random line pattern. All four sides of a box have the same, but each box has its own random pattern.
Like the previous set, I generated 500 different sizes for the box with two lids for each size. The sizes start from 35mm up to 120mm in small steps, so you can choose a box in the perfect size for you.
Table of Contents
The Pattern
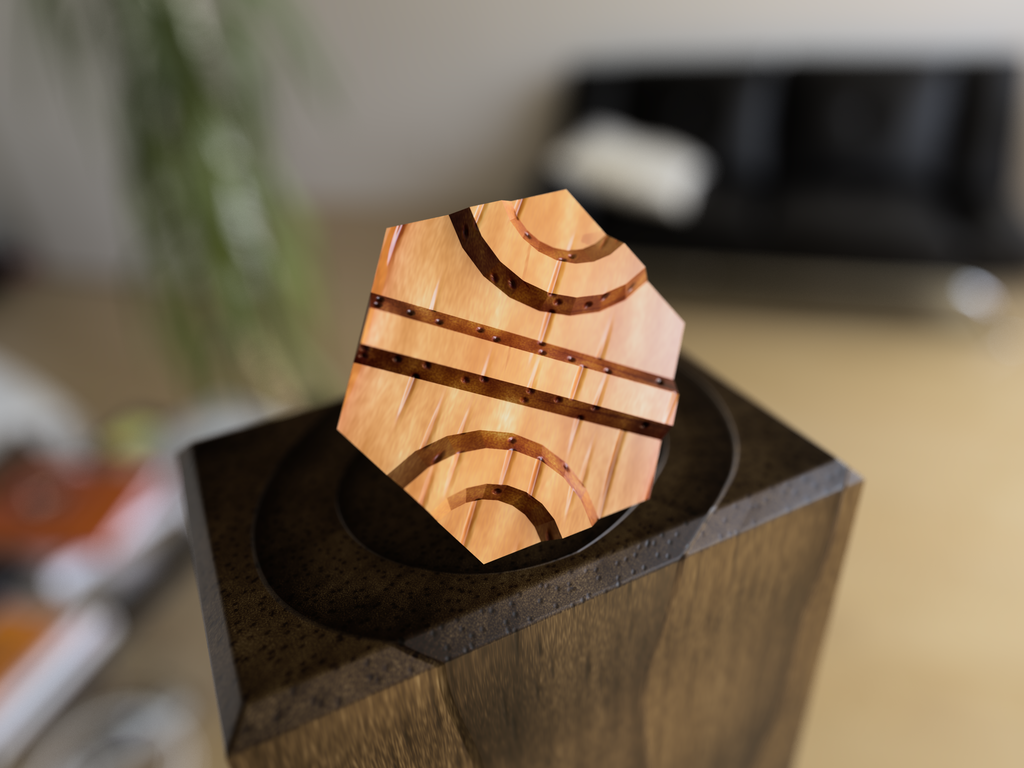
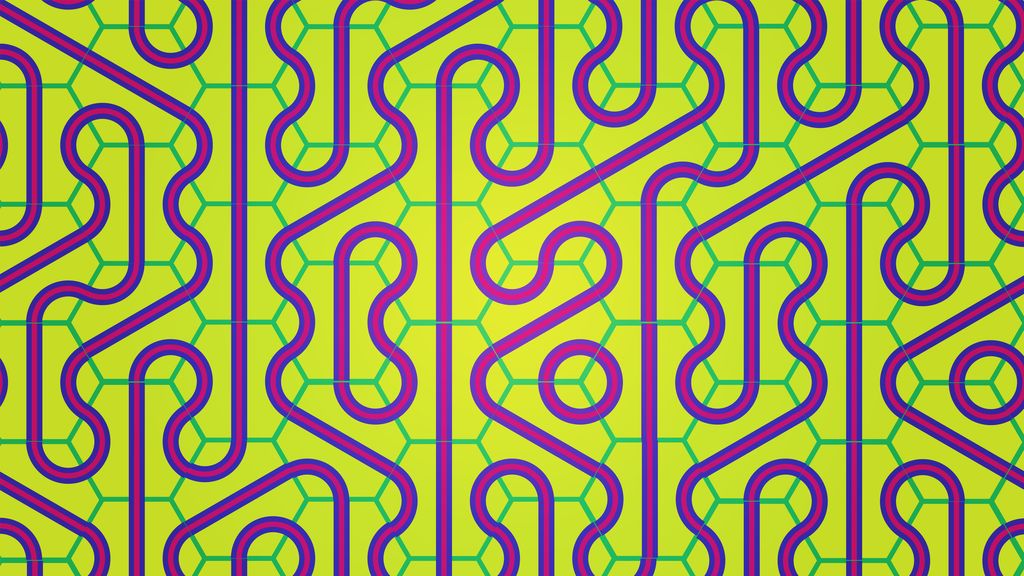
The pattern is a well known hexagonal arrangement of a single tile.
This tile, shown above, is repeated and rotated to create the line effect.
To get the same result in each pass, the pseudo random number generator is seeded with a defined value. This guarantees, I can reproduce the same box with exactly the same geometry.
Part Numbering
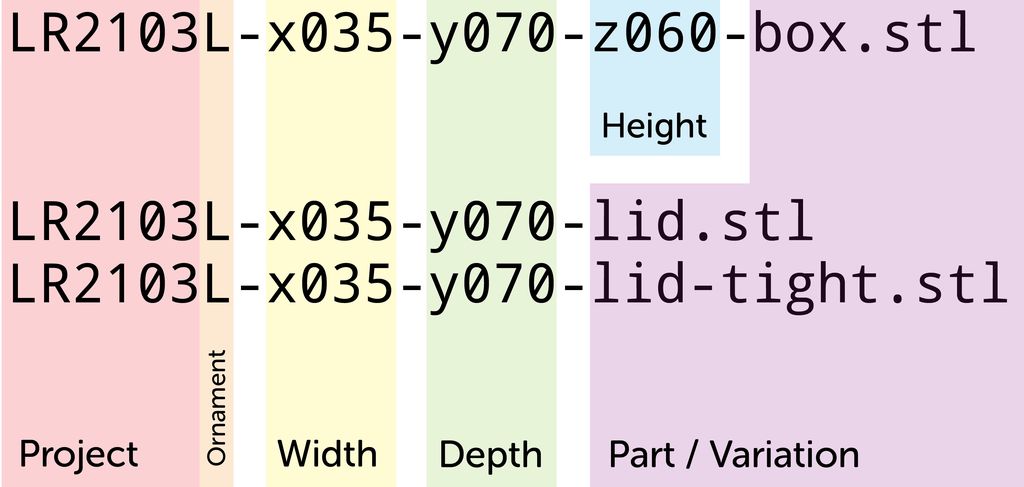
To choose the right box, you need to know the inner dimensions. There is the width (x), depth (y), and height (z) to choose from. If you want to print a box with the inner dimensions 35×70×60mm, search for a file named like this:
LR2103L-x035-y070-z060-box.stl
For the matching lid, search a file like this:
LR2103L-x035-y070-lid.stl
Because the x and y dimensions are interchangeable, there is no file LR2103L-x070-y035-..., for these dimensions, always put the lower value in x.
There are two different types of lids for each box size. The regular lid, with the suffix “-lid” has a spacing of 0.1mm, which should work with all 3d printers. If this lid feels too loose for you, there is a lid with the suffix “-lid-tight” which has a spacing of 0.05mm.
Download
You find the STL files for all boxes in the following GIT repository:
Use a 0.4mm nozzle. With larger nozzles, the fine line pattern will not look detailed enough.
Use 0.1mm or 0.2mm layer height for the print. The object is optimized for these layer heights.
Do not scale the model!
With the large boxes, there is a risk of warping. Make sure the ambient temperature is high enough.
Conclusion
I think the random pattern adds a nice touch to these boxes, each size is unique in some way. Even the geometry of these boxes is in my opinion not extremely complex, the calculation and processing of the boxes took a surprisingly long time.
Also, I am a little bit disappointed the resulting mesh, even modelled from solids, kept having defects. So I had to post process the mesh and repairing these.
If you have any questions, missed information, or simply want to provide feedback, feel free to comment below or contact me on Twitter. 😄
I designed a simple three-part 3D printed enclosure for the Adafruit PowerBoost 1000C and up to a 1200mAh LiPo. In this post I share the print files, component list, and step-by-step assembly tips to convert the board into a safe portable power pack — please read on if you'd like to build one.
Posted on 2019-07-12— C++, Improve your Code, Learn
I walk through practical ways I use C++11's auto keyword to reduce repetitive declarations, simplify range-based for loops, lambdas and register access, and make Arduino and embedded code easier to refactor. Read the full post for examples and tips you can apply to your projects.
I walk you through the Snowflake v1.2 firmware's button-based configuration: short vs long presses, auto and single modes, LED indicators, and pattern durations. I explain the six-second timeout and that settings aren't saved after power loss—please read the full post for step-by-step usage and tips.
I photographed common SMD components through a microscope to reveal how small imperfections appear up close. I cropped each image for clarity and included a 1 mm scale and captions describing the parts. If you’re curious about what resistors, capacitors and tiny ICs look like under magnification, read on.
I designed an experimental storage box for 45° belt printing and shared the STL for others to try. I haven't printed it myself, so it's a best-guess layout optimized for 0.2mm layer height and common nozzles. If you have a belt printer, please test it and tell me how it performs, and read on for details.
I created a symmetrical logic‑gate diagram and challenge you to spot its function. Study the image, try simplifying the design, and use the provided hints if needed. If you enjoy puzzles or digital logic, read the full post for extra challenges and to compare solutions.