published: January 13, 2021 —
last modified: October 23, 2025
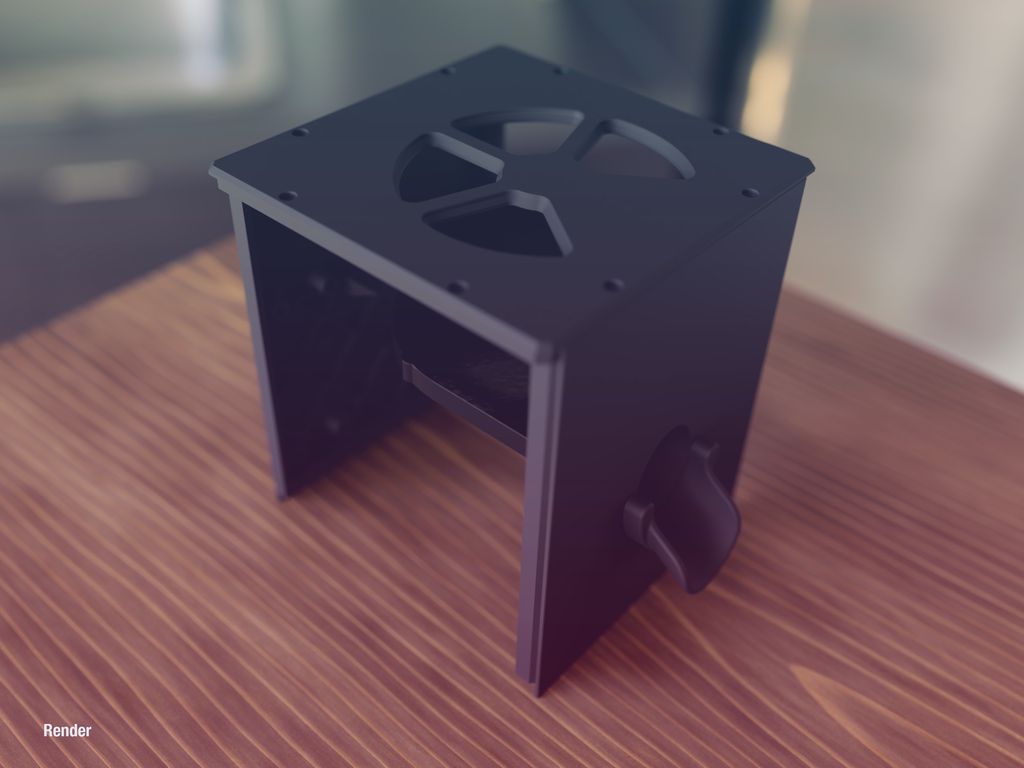
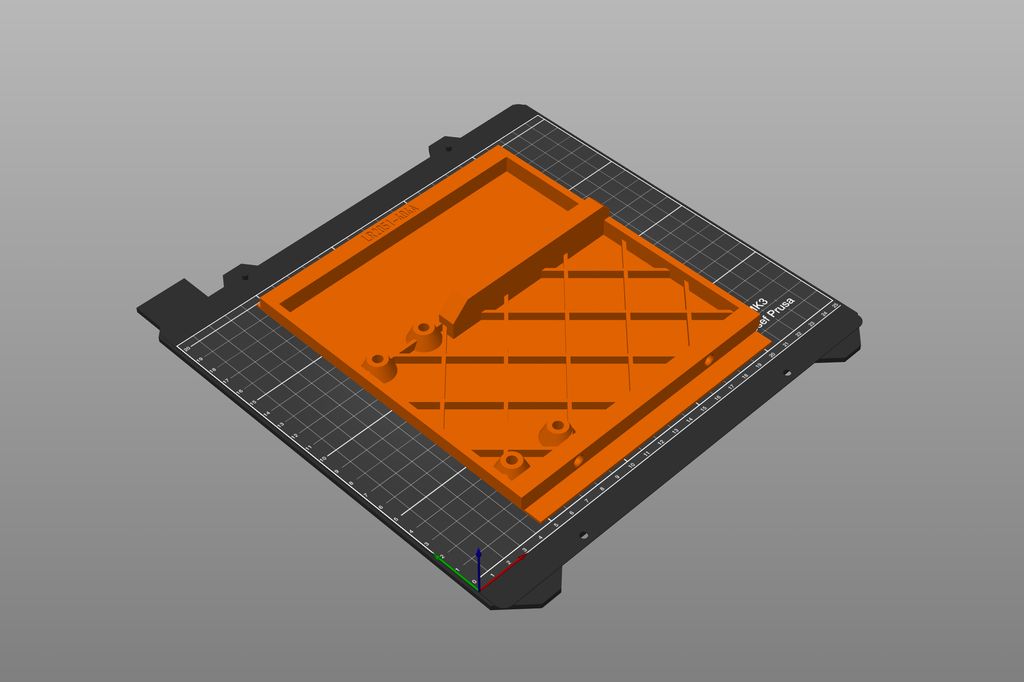
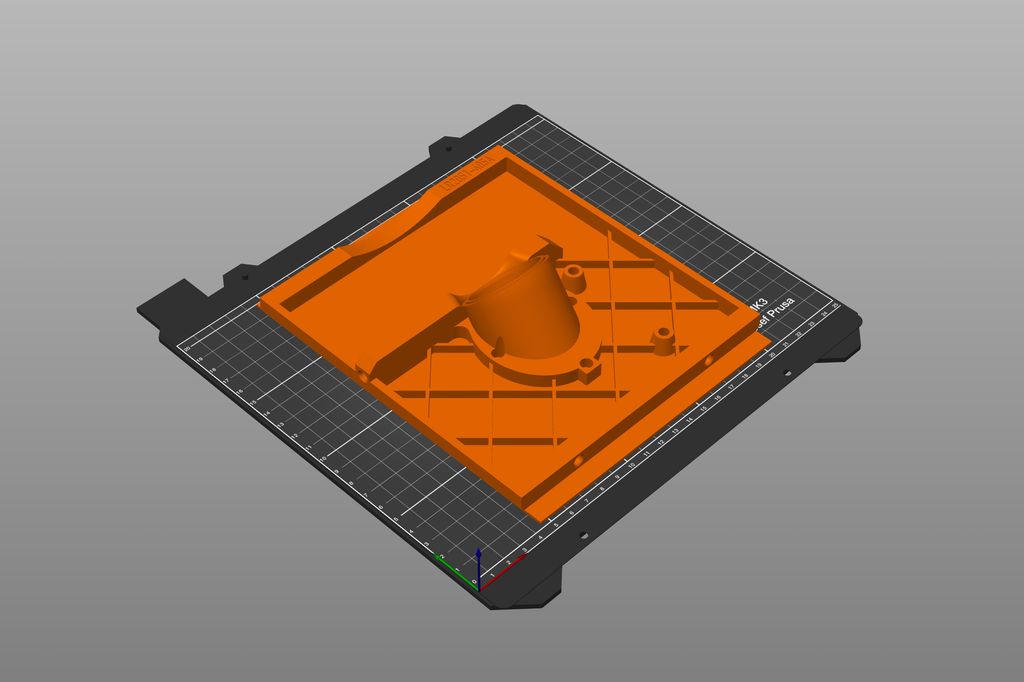
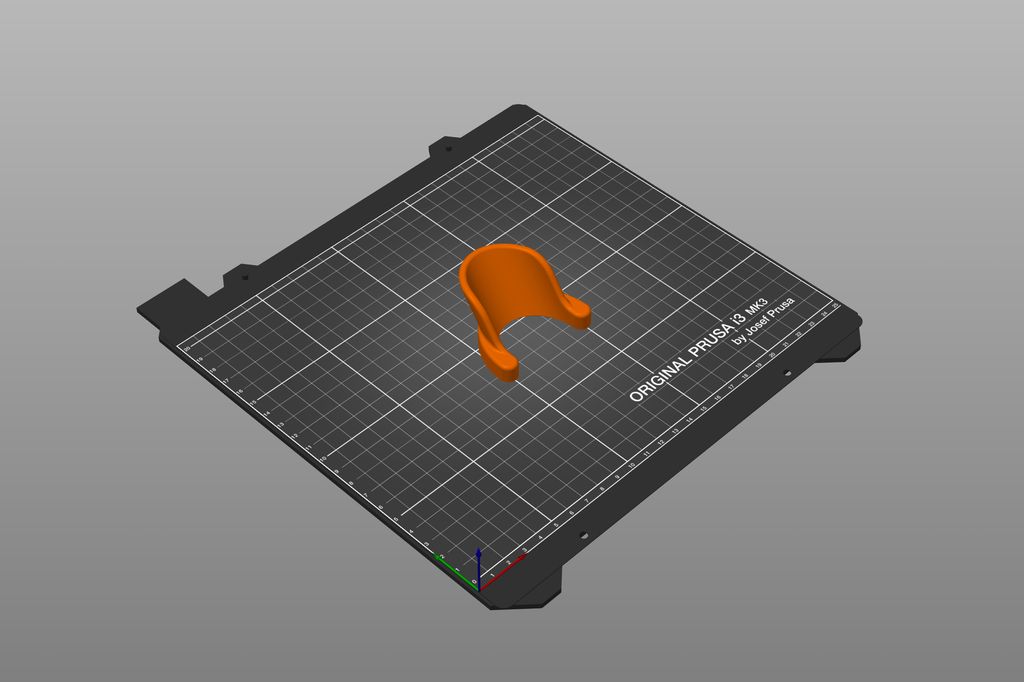
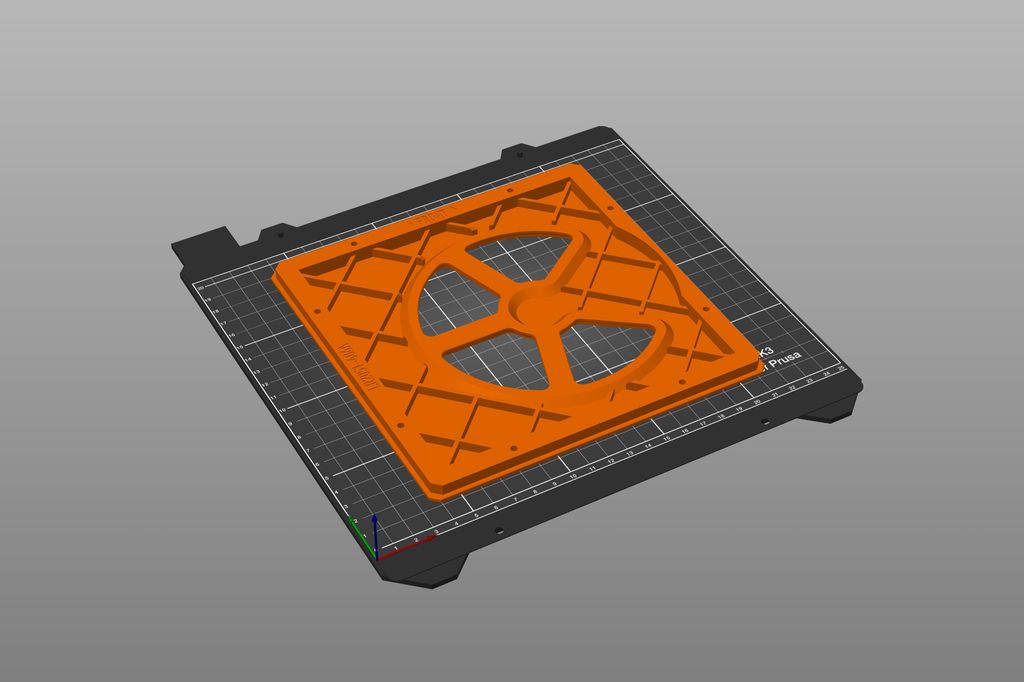
In this third part of the series, we print three panels for the enclosure and the rotary platform. If you missed the first or second part, visit the overview page to access them.
Table of Contents
The Files
You will find all required files for the following prints in the GitHub repository:
This is the end of the third part. In the next part we will talk about the enclosure panels in the front and back of the device. While all of the previous prints were universal, you might want to do changes on them – depending on the components you want to use.
If you have any questions, missed information, or simply want to provide feedback, feel free to comment below or contact me on Twitter. 😄
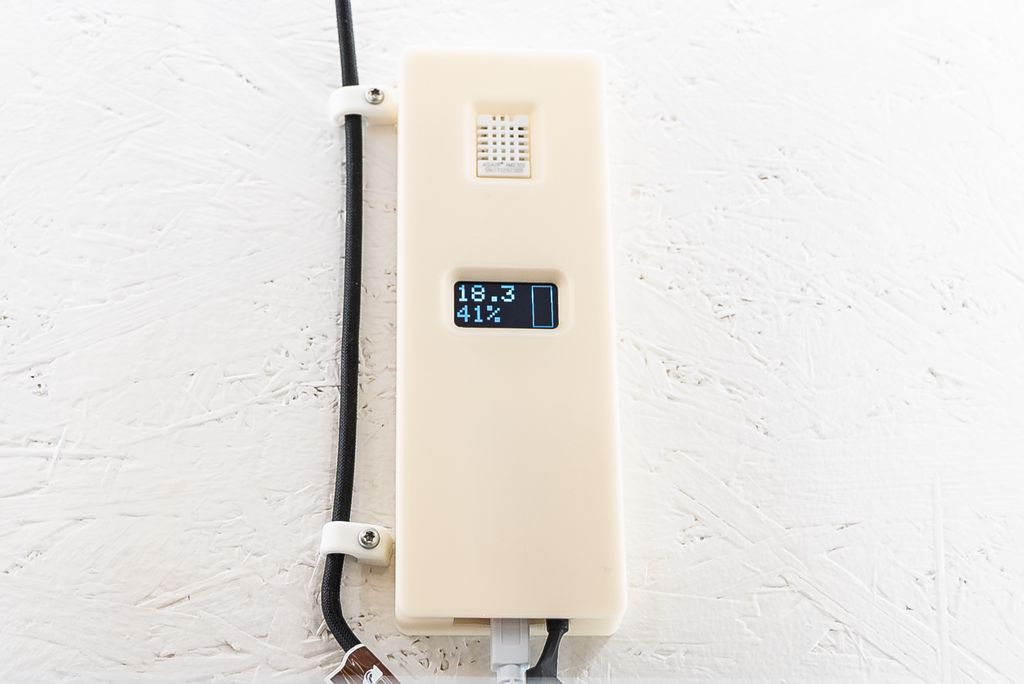
I built a PID-controlled fan and temperature controller for my printer enclosure in about four hours using an Adafruit Feather, DHT22, OLED, MOSFET, and a PWM fan. I walk through printing the case, wiring, firmware setup, and assembly—read on if you'd like to build one yourself.
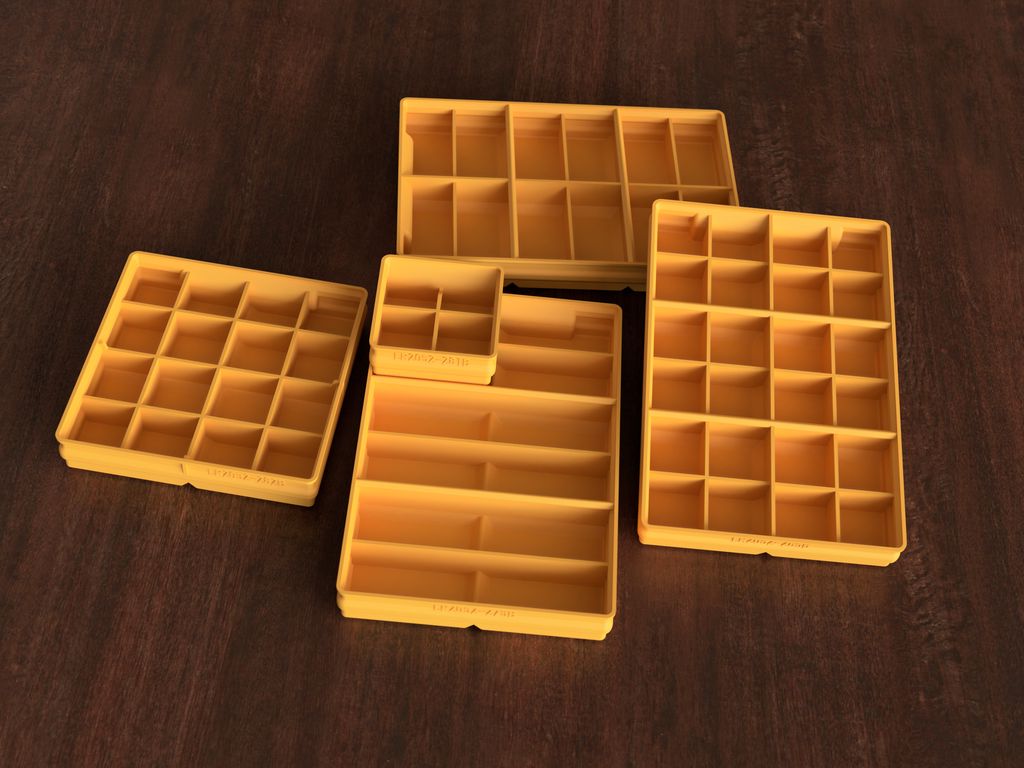
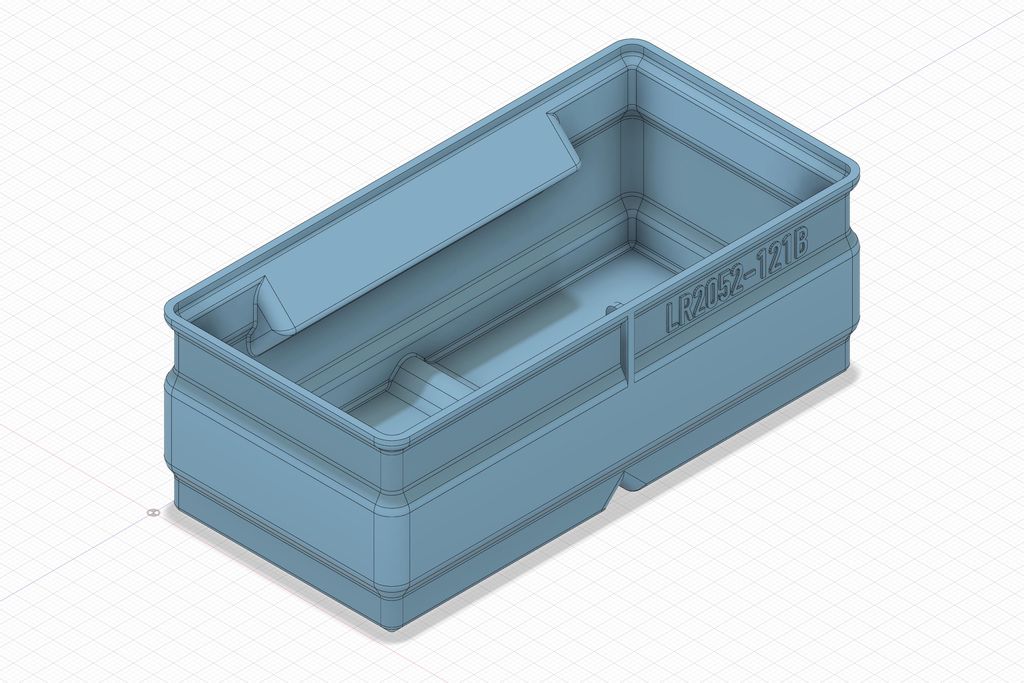
I've updated the flat boxes set with a refined wall profile (revision B) and added five new boxes, including a large 2×4 and four grid variants. I show corner comparisons and note existing customers received files. If this is useful, please check the full project details on the project page.
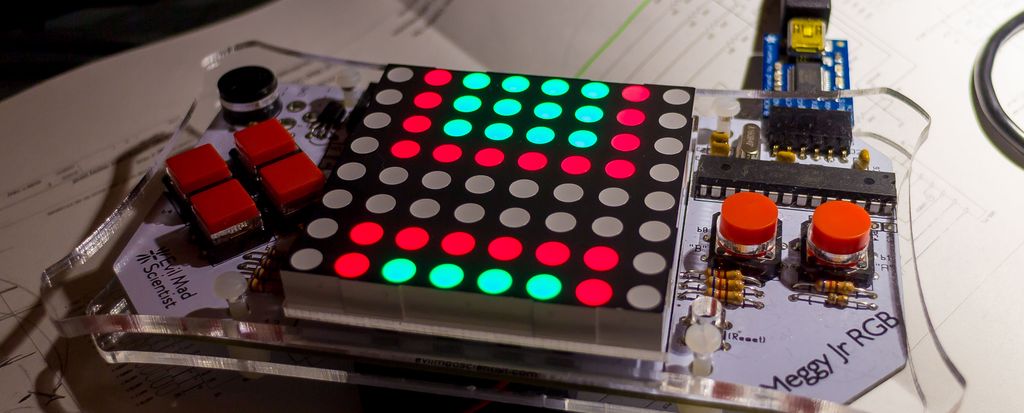
I rebuilt the Meggy Jr RGB library from scratch to make game development simpler on the ATmega328P. I focused on low memory use, frame‑synchronized loops with a back buffer, clear color handling, fast pixel operations, reliable button input and a background sound player. Read the post for examples and the GitHub release.
Posted on 2019-07-08— C++, Improve your Code, Learn
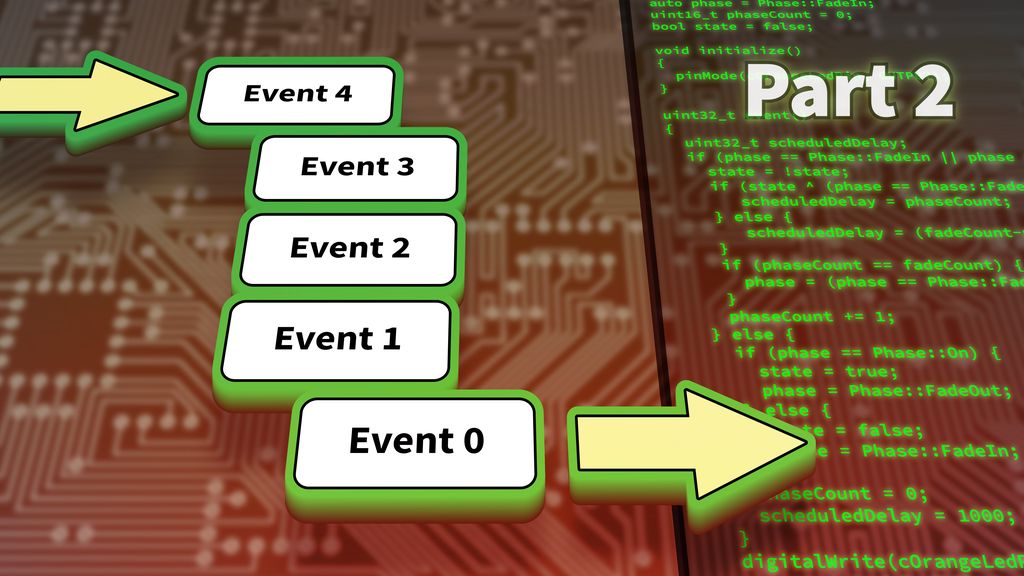
I guide you through evolving a simple Arduino blink example into a reusable event system. In Part 2 I cover function-pointer events, an EventLoop module, and practical multi-event examples. If you want cleaner, non-blocking firmware structure, read the full post for code and explanations.
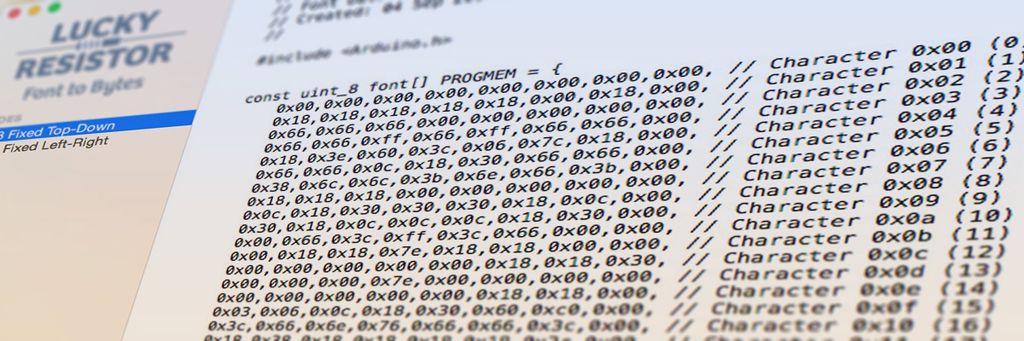
I created a small macOS app that converts bitmap 8×8 fonts into byte arrays for text-only LCD displays. It accepts PNGs, validates the layout, and outputs source code you can save or copy. I also provide an example font, a Photoshop template, and the source—read on for download and usage.
I've released several new 3D-print storage boxes with the label area moved to a different side so identical boxes can sit in a drawer with labels aligned. I explain size variants, rib adjustments, and how to download updated files. Please read the full post to see illustrations and the catalog link.