published: January 11, 2021 —
last modified: October 23, 2025
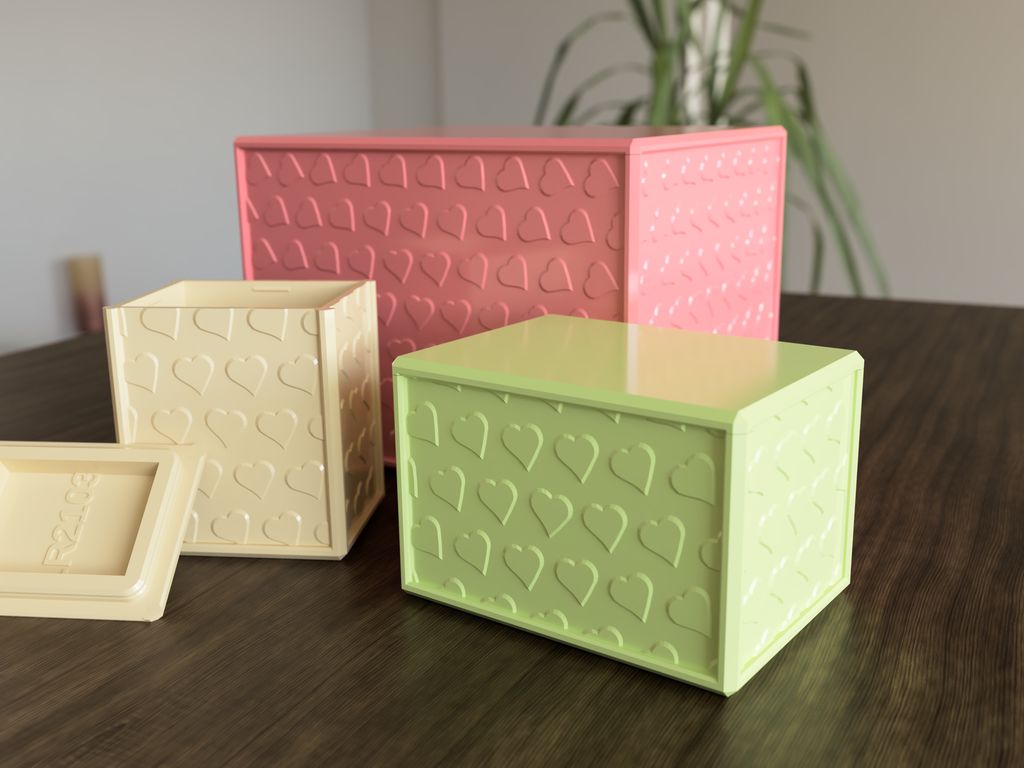
I tried something new with parametric design. 😄 Today I publish the first batch of heart decorated boxes for 3D-print in 500 different sizes.
The sizes start from 35mm up to 120mm in small steps, so you can choose a box in the perfect size for you.
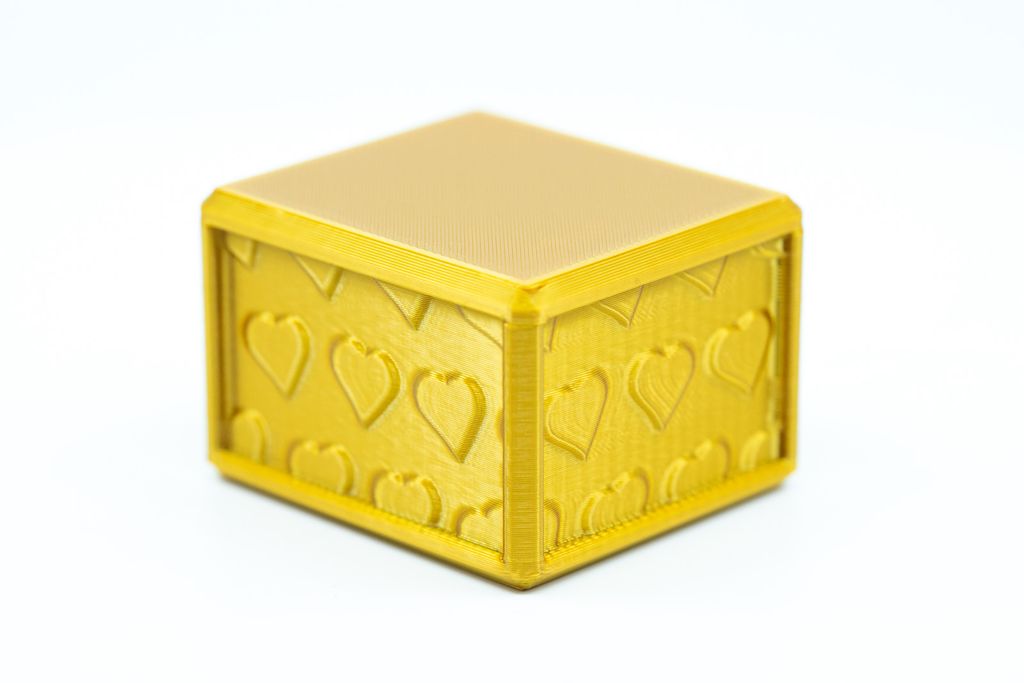
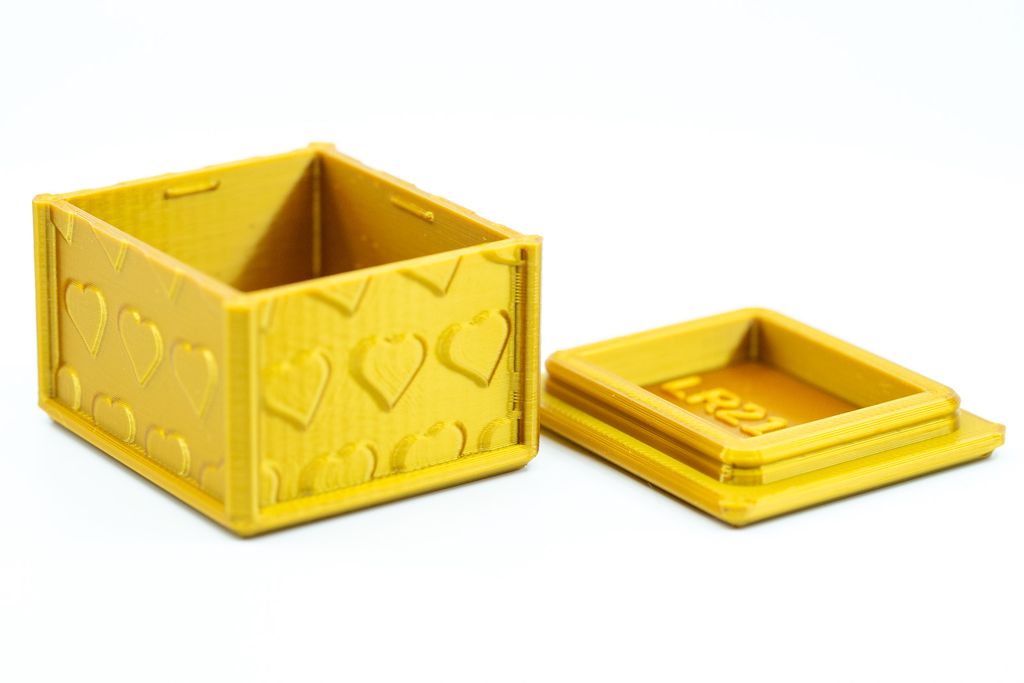
The print above is a very small one, with inner dimensions 40×35×20mm. I printed it on a Prusa i3 MK3s, with a 0.4mm nozzle and the PLA Prusament “Viva la Bronze”.
Part Numbering
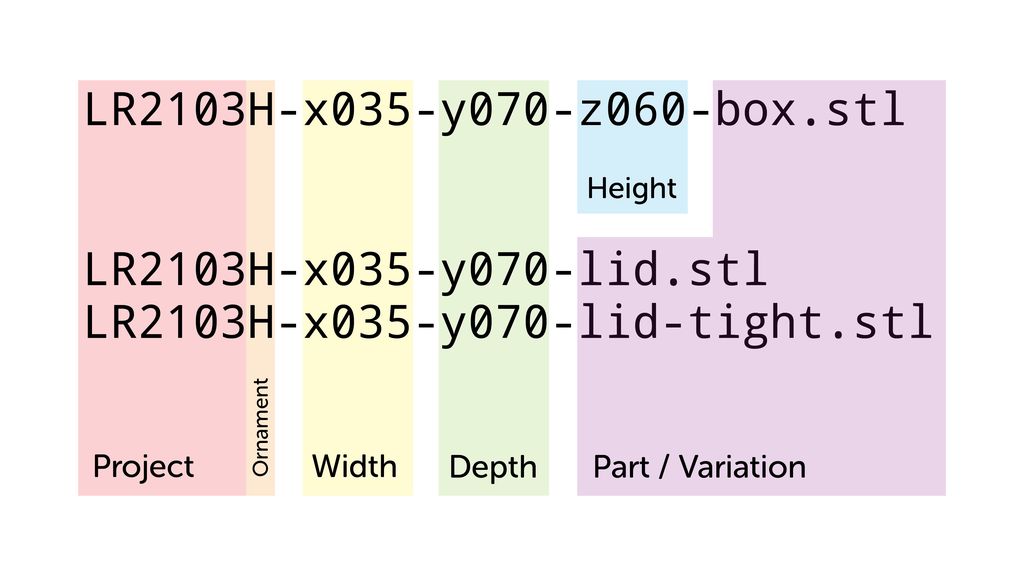
To choose the right box, you need to know the inner dimensions. There are width (x), depth (y) and height (z) to choose. If you want to print a box with the dimensions 35×70×60mm, search for a file named like this:
LR2103H-x035-y070-z060-box.stl
For the matching lid, search a file like this:
LR2103H-x035-y070-lid.stl
Because the x and y dimensions are interchangeable, there is no file LR2103H-x070-y035-..., for these dimensions, always put the lower value in x.
There are two different type of lids for each box size. The regular lid, with the suffix -lid has a spacing of 0.1mm, which should work with all 3d printers. If this lid feels too lose for you, there is a lid with the suffix -lid-tight which has spacing of 0.05mm.
Download
You find the STL files for all boxes in the following GIT repository:
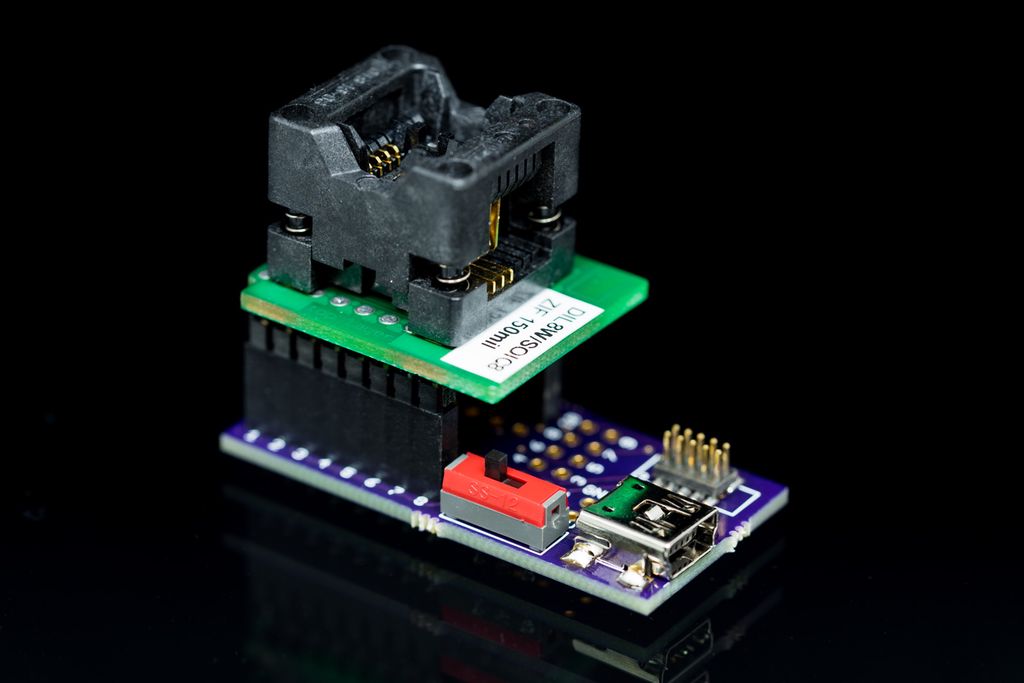
I built a compact ATtiny programming adapter to pre-program ATtiny13A chips before soldering, with a 50mil JTAG header, USB power, LED, and jumper options for other packages. I share EAGLE files, PCB ordering info and usage notes — read the post for photos, GitHub links and details.
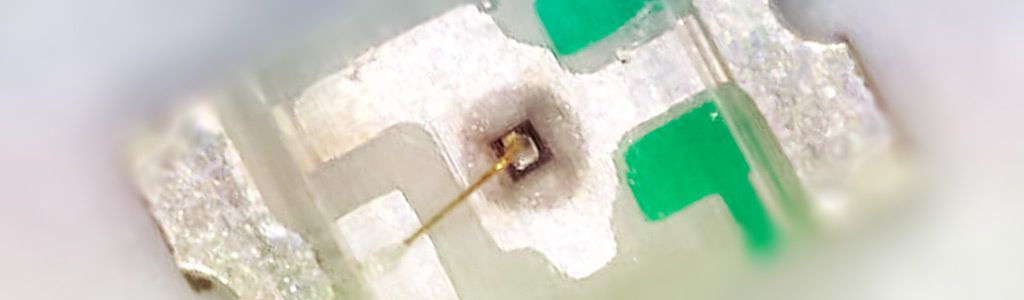
I photographed common SMD components through a microscope to reveal how small imperfections appear up close. I cropped each image for clarity and included a 1 mm scale and captions describing the parts. If you’re curious about what resistors, capacitors and tiny ICs look like under magnification, read on.
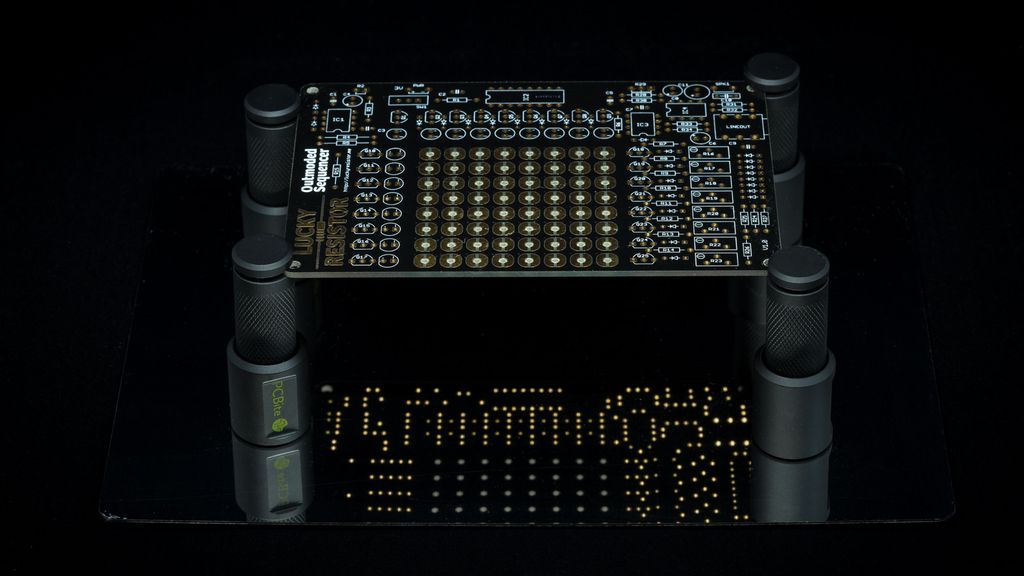
I recently tried PCBite, a compact magnetic PCB holder with a mirrored base and adjustable posts. It makes soldering and inspection easier than my old helping-hands. I share close-up photos, usage notes, and where to buy a set—please read on if you’re curious about a simple, solid solution.
I'm happy to share you can now buy an assembled Snowflake Decoration from Pimoroni with worldwide shipping. The panels arrive pre-soldered, use 5V power and flat cables so no soldering is needed. If you'd like details on the updates and compatibility, please read the full post.
Posted on 2019-07-09— C++, Improve your Code, Learn
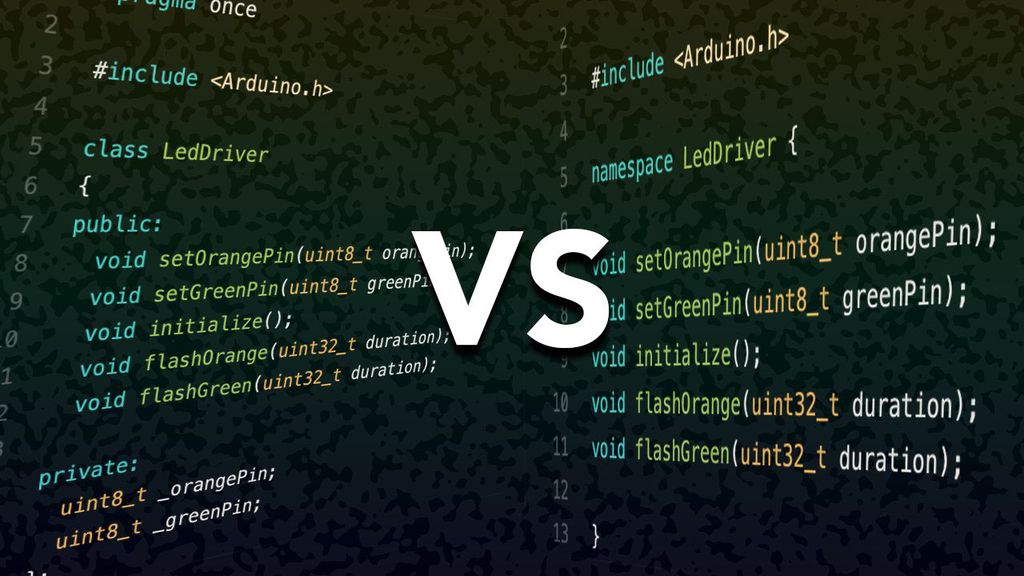
I compare implementing a singleton as a class or as a module/namespace for Arduino firmware using simple LED driver examples and compiler measurements. I cover size, initialization and runtime trade-offs and explain when each approach makes sense. Read the full post for code, disassembly and practical recommendations.
I walk you through assembling the gearbox for my 3D-printed cat feeder, step by step. I cover inserting insets, bearings, grub screws, and fitting the NEMA17 motor so the turntable runs smoothly. If you printed the parts from Part 1, follow along — read the full post for photos and testing tips.