published: January 4, 2021 —
last modified: October 23, 2025
After successfully embedding magnets, I started experimenting embedding whole PCB boards into prints. I am sure, this is no new idea, but I found it very interesting.
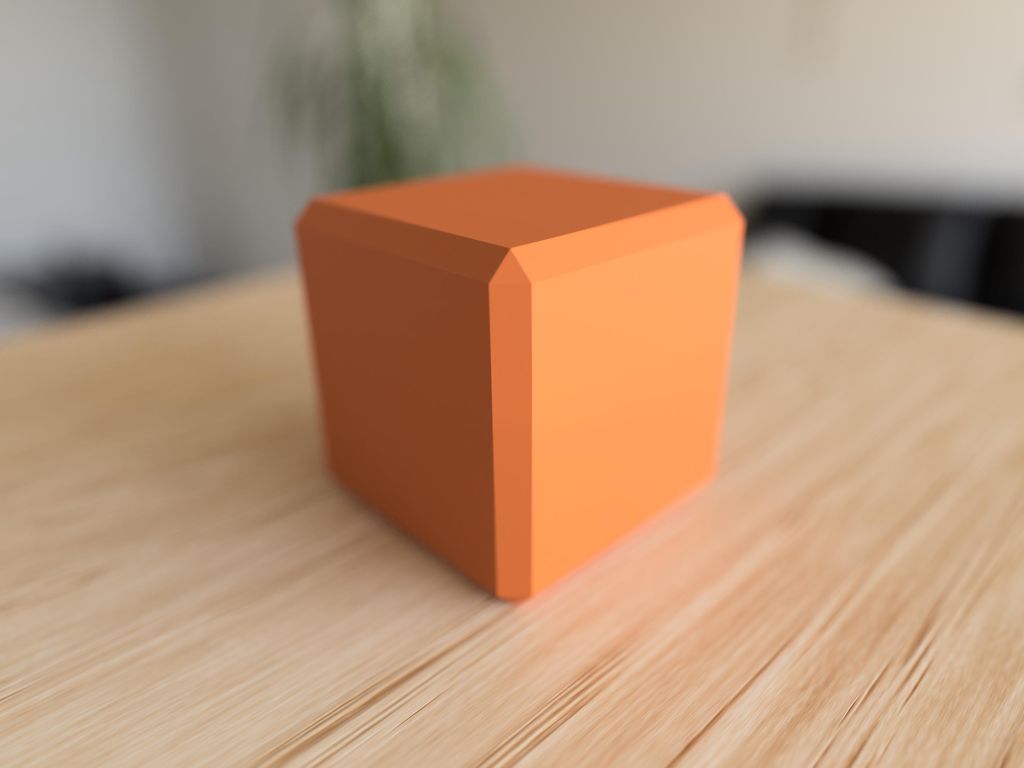
From the outside, the printed object looks solid and there is no trace of the board visible. The board and all electronics are perfectly sealed in the part.
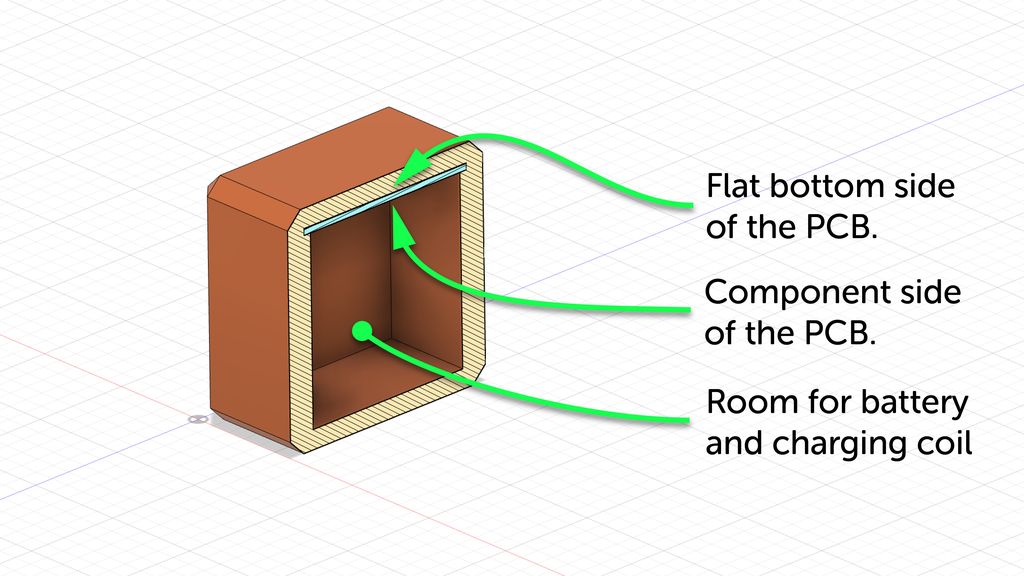
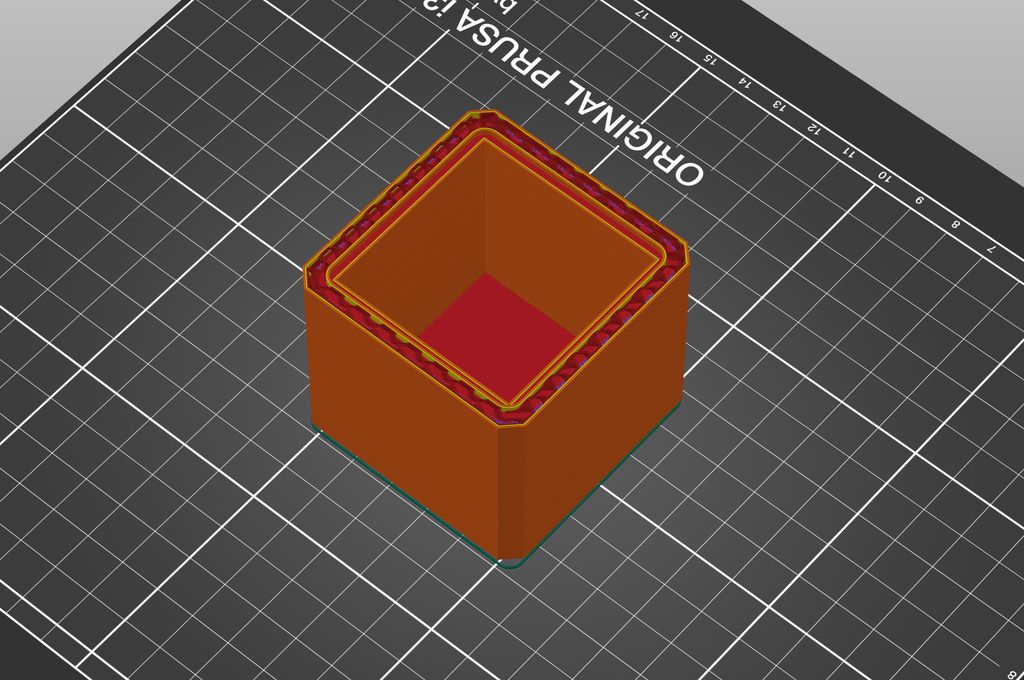
The object is printed hollow with a space in the exact shape of the board at the top. The print is stopped just before the bridging layer above the space for the PCB.
At this point, the charging coil, battery and the board are inserted in the object and the print is resumed.
Pros
If the object is printed using PETG or similar material, the object is perfectly water-tight:
Decorative lights in the bathroom. 🛁
Outdoor sensors. ☔️
The board securely bridges even huge gaps at the top:
Even with no electronics, hollow objects can be printed in one piece.
Using a very thin last layer, inputs using capacitive touch is no problem at all.
Small holes and reversed SMD LEDs can be used as an indicator at this side.
The electronics are completely invisible:
With additional coils and magnets, one can create stunning mechanisms.
Hidden sensors can react to the usage of the object.
Magic tricks. 🧙♂️🪄
Puzzle boxes.
Cons
If there is a problem with the embedded battery or electronics, the object has to be destroyed and printed again.
The electronics must not generate a lot of heat, or you have to print vents into the object.
Conclusion
While it is for sure no new idea, I found it very interesting to experiment with electronics completely sealed in objects. I also successfully made designs, where just a micro USB port was visible on the outside of the object. This port was sealed after the print, using silicone and a thin layer of epoxy in the colour of the object.
I hope, this post gave you some inspiration to make own experiments with electronic boards embedded into prints.
If you have any questions, missed information, or simply want to provide feedback, feel free to comment below or contact me on Twitter. 😄
Posted on 2019-07-12— C++, Improve your Code, Learn
I walk through practical ways I use C++11's auto keyword to reduce repetitive declarations, simplify range-based for loops, lambdas and register access, and make Arduino and embedded code easier to refactor. Read the full post for examples and tips you can apply to your projects.
I built a compact Neopixel-based candlelight decoration with a DS3231 RTC and share the schematic, firmware, and build tips here. It's best placed behind a screen or in a jar. Read the full post for parts, assembly photos, and configuration notes to recreate it yourself.
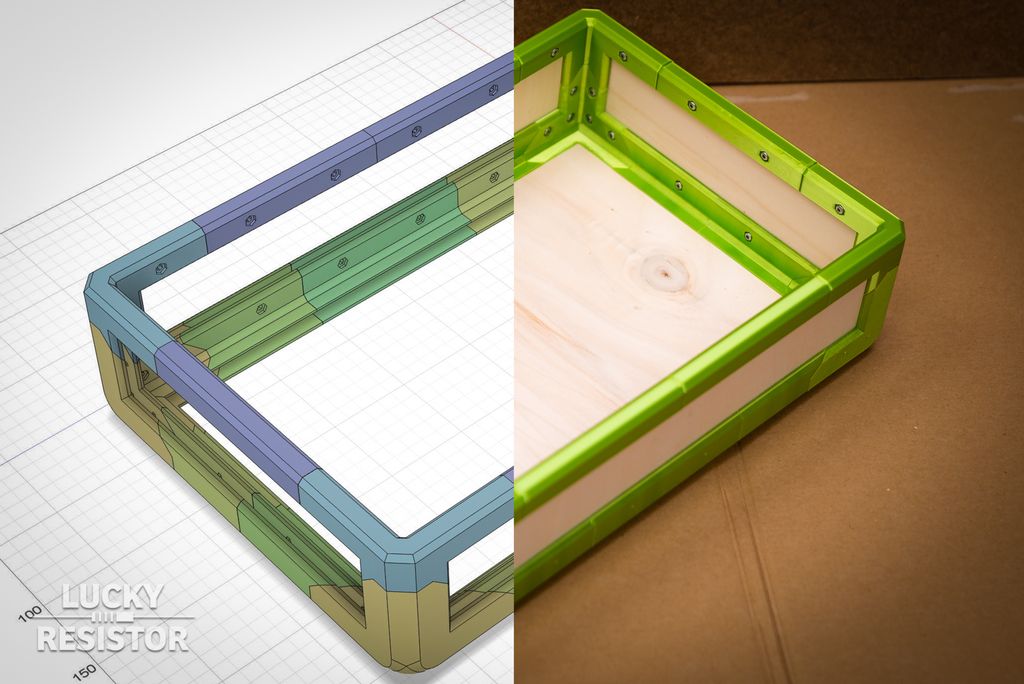
I designed a decorative, sturdy modular box built from 3D-printed parts, 5mm plywood and wood screws. The post guides you through cutting, printing, assembly and a simple part calculator to scale sizes in 60mm steps. If you enjoy hands-on projects, read the full tutorial to build and customize one.
I added a stable Hitachi LCD driver to the HAL layer, using an MCP23008 backend to cut wiring and simplify hardware. This post walks through parts, firmware repositories, and how to run the demo via serial shell. Read the full article for setup steps, code links, and usage tips.
I photographed common SMD components through a microscope to reveal how small imperfections appear up close. I cropped each image for clarity and included a 1 mm scale and captions describing the parts. If you’re curious about what resistors, capacitors and tiny ICs look like under magnification, read on.
I wrote a concise page about my Snowflake project from late 2017, sharing open-source hardware designs and base firmware. If you have some electronics experience, you can build your own boards — it's a rewarding decoration. Read the full project page for files, repo links, and leave any feedback or questions.