I published another small command-line tool for Raspberry-Pi. This time one to read data from the Sensirion SGP30 sensor.
While you can communicate over I2C with sensors using Python, I found it not as reliable as using compiled C or C++ programs. To combine the two worlds, I started writing really small command-line tools, which do the communication with the sensors.
These tools give you a lot of flexibility. You can call them on the command-line directory, to test if the sensors are working as expected. Or, you call them from your python scripts and parse the returned JSON data.
Usage
If you call the tool with no arguments, it will read the current measurements.
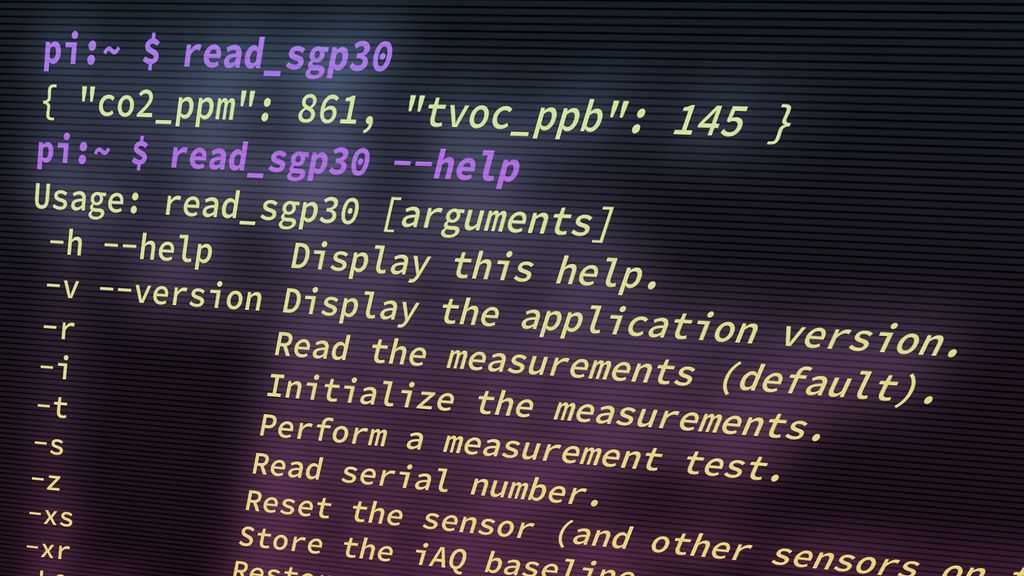
pi:~ $ read_sgp30
{ "co2_ppm": 861, "tvoc_ppb": 145 }
With the argument -h or --help, you will get a list of possible actions and options.
pi:~ $ read_sgp30 --help
Usage: read_sgp30 [arguments]
 -h --help    Display this help.
 -v --version Display the application version.
 -r           Read the measurements (default).
 -i           Initialize the measurements.
 -t           Perform a measurement test.
 -s           Read serial number.
 -z           Reset the sensor (and other sensors on the same bus!).
 -xs          Store the iAQ baseline.
 -xr          Restore the iAQ baseline.
 -b0 -b1      Select the bus. 1 is the default.
 -d           Show debugging messages.
In order to compile and install the tool on your Raspberry-Pi, you need to install the compiler, CMake and the I2C-Tools first:
pi:~ $ sudo apt install gcc cmake i2c-tools
Download the files the git repository to a subdirectory in your home. In this example, I downloaded the files to the directory /home/pi/read_sgp30.
Now create a separate build directory. In this example, I create the directory /home/pi/build_read_sgp30.
Next switch to the build directory, execute cmake to create the build script. Build the executable with make and install the executable in your system using sudo make install.
pi:~/ $ cd build_read_sgp30
pi:~/build_read_sgp30/ $ cmake ../read_sgp30
pi:~/build_read_sgp30/ $ make
pi:~/build_read_sgp30/ $ sudo make install
Download
Download or clone the repository from GitHub:
License
The code is licensed under the GPL license version 3.
Available Sensors
The SGP30 sensor is available from various sources as breakout board. Here two examples:
Conclusion
As a software-architect, I always split large software into small and easy to maintain modules. It makes my life, and the life of the support staff easier. Using small tools, which can be combined into a large complex system, is one of the main philosophies of Unix. 😎
I hope, if this tool may not be exactly what you need, it will at least inspire you to write modular software. Have a look at the well documented code, it will provide you a good base to write similar tools.
If you have any questions, missed information, or simply want to provide feedback, feel free to comment below or contact me on Twitter. 😄