published: December 11, 2020 —
last modified: October 23, 2025
I got various requests and great ideas from you about how to improve the storage boxes system. Thank you very much for all the great ideas and suggestions! 😄
One request I got many times was storage boxes with a flat bottom. The reason for this was to have a straight surface to store objects and tools in the box. I could solve this problems in three ways:
**Create a new box series without a groove at the bottom. **Pros: Minimal change in print time and material use and you gain additional volume.Pros: Minimal change in print time and material use and you gain additional volume. Cons: These boxes were not compatible with the existing ones and are limited how you can stack them.Cons: These boxes were not compatible with the existing ones and are limited how you can stack them.
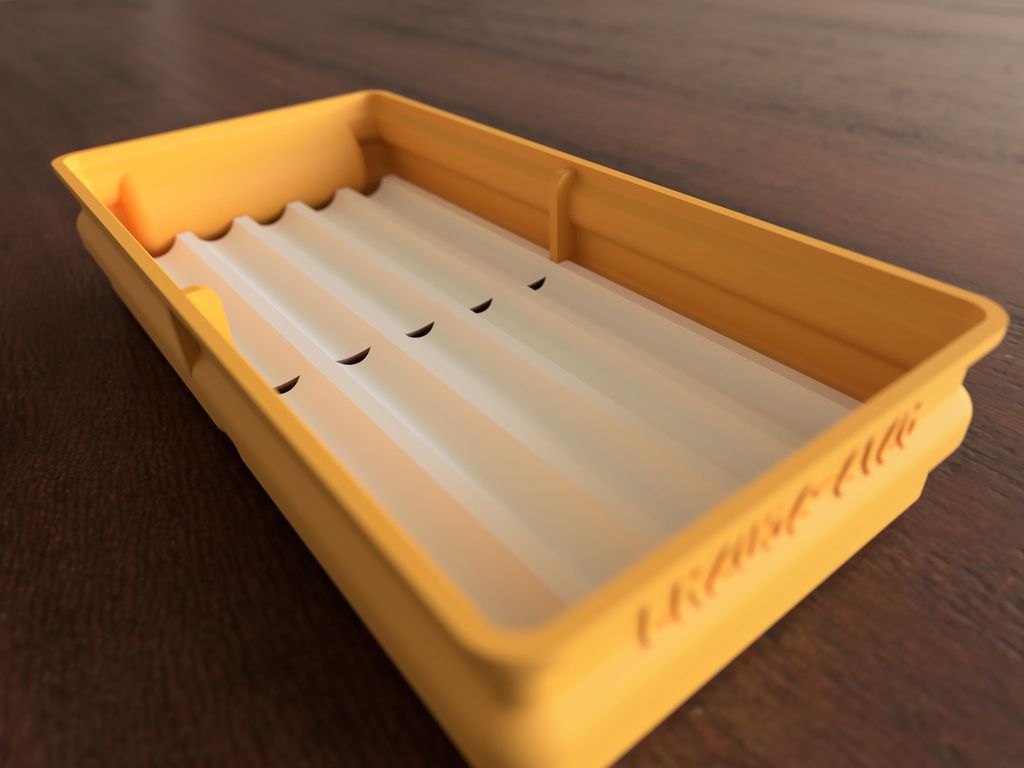
**Add material to the bottom to make it straight. **Pros: Boxes are compatible with the existing system.Pros: Boxes are compatible with the existing system. Cons: The print time increases and you lose volume in the box.Cons: The print time increases and you lose volume in the box.
Create an insert for the boxes. Pros: Existing boxes can be used, therefore compatible with the existing system. The insert can be replaced at a later time, keeping the box.Pros: Existing boxes can be used, therefore compatible with the existing system. The insert can be replaced at a later time, keeping the box. Cons: You lose some volume in each box. You need to design your own insert.Cons: You lose some volume in each box. You need to design your own insert.
I went with the last solution and thought how to provide the best implementation for you.
The Insert Template LR2052-801
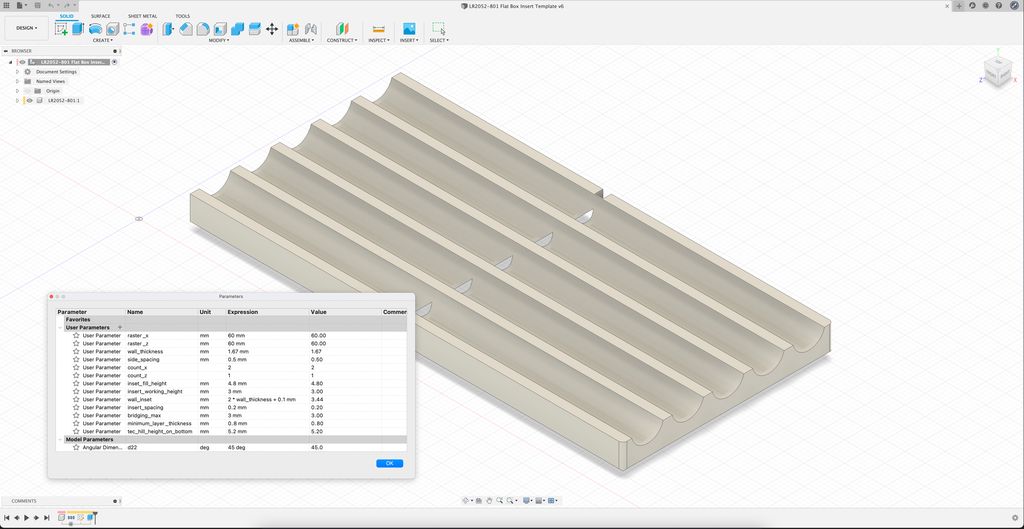
I prepared a parametric Fusion 360 design you can download for free.
This template generates inserts for the flat box series. It contains the parametric design for a simple raw spacer block. Use it as a start for your own insert.
There are three parameters for you to use or change:
count_x The size of the box in units in the X-direction. If you have a box 1x2, this parameter should be 2.The size of the box in units in the X-direction. If you have a box 1x2, this parameter should be 2.
count_y The size of the box in units in the Y-direction. If you have a box 1x2, this parameter should be 1.The size of the box in units in the Y-direction. If you have a box 1x2, this parameter should be 1.
inset_fill_height Do not change this parameter. This is the recommended lowest distance between the bottom of the insert to your removals. You can use this parameter in your sketch.Do not change this parameter. This is the recommended lowest distance between the bottom of the insert to your removals. You can use this parameter in your sketch.
inset_working_height This parameter controls how much material is added to the fill height. Use a minimum of 2mm, otherwise, the insert is not connected or will break easily.This parameter controls how much material is added to the fill height. Use a minimum of 2mm, otherwise, the insert is not connected or will break easily.
The Drill Insert Example LR2052-802
To demonstrate the template, I also added a drill insert example design. This parametric design will generate inserts for various drill sizes.
Just open the sketch “example - edit this!” and adjust the parameters “drill_count” and “drill_diameter”. The sketch will be updated with the new parameters. If you adjust the “drill_count”, you also have to edit the last cut operation with the additional profiles.
STL Files
I added STL files for the raw insert block generated by the template to the package. You can use them with other tools to modify them to your needs.
OpenSCAD Scripts
I also added two OpenSCAD script you can use to create inserts and even customised drill inserts.
Download
You can download the insert set on the page with the free downloads.
I hope this insert templates will help you print perfectly tool inserts for your boxes. If you organised your tools using my storage box system, please let me know and publish some pictures.
If you have any questions, missed information, or simply want to provide feedback, feel free to comment below. You can also contact me on this website or on Twitter. 😄
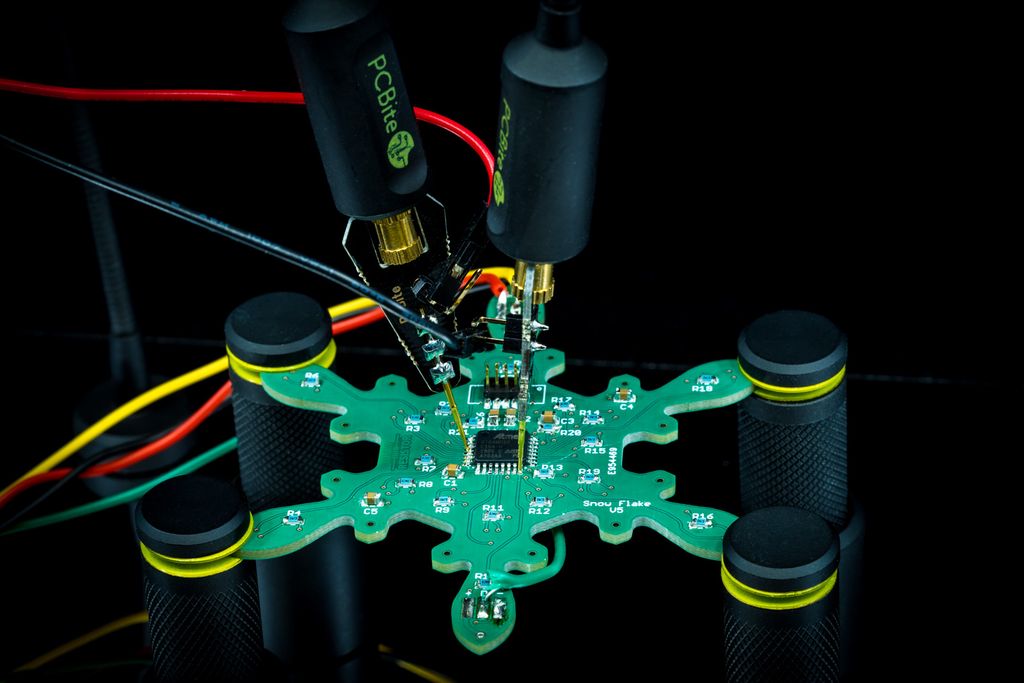
I just received the PCBite Kit 2.0 from Sensepeek and explored its mirror board, magnetic pogo-style probes, and PCB holder. I found the gold needle tips and crown forks helpful for accessing tiny pads without test points. If you work on soldering or circuit analysis, read on for my hands-on impressions.
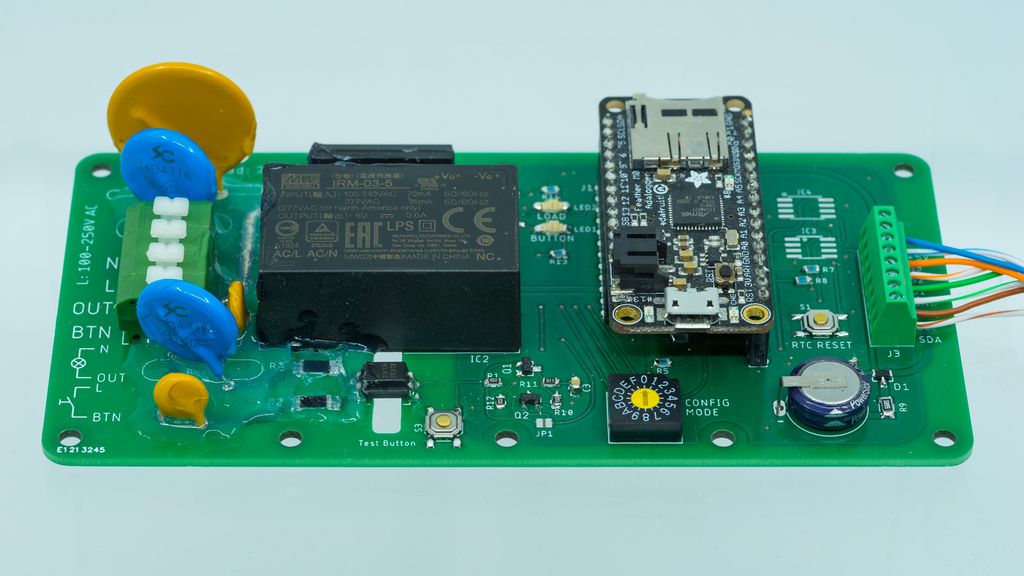
I recently built 'Always-On', a minimal bidirectional mains-to-Feather bridge combining a power sensor and solid-state relay for safe home-control prototypes. I outline design choices, safe firmware testing without mains, and housing tips. If you're exploring a similar controller, read the full post for a practical starting point.
I often reach for TE's Micro‑MaTch connectors when I need compact, hand‑solderable board-to-board connections. They saved me routing space and allowed SMD pads on tiny sensor boards. I share my requirements, examples, and practical tips — please read on if you're choosing connectors for small projects.
I tested SeeedStudio's Fusion PCB service for a new prototype and ordered five blue, 2-layer FR‑4 boards with lead‑free HASL. Delivery took about 10 days and the boards showed good quality for the price. Read on for details about ordering, solder mask, and tolerances.
Posted on 2019-07-29— C++, Improve your Code, Learn
I explain C++11 enum class: why it prevents name conflicts, how it compares to traditional enums and common workarounds, with practical Arduino-friendly examples. If you want clearer, safer enum usage in your interfaces, read the full post for code samples and simple best-practice guidance.
I just received the Adafruit PCB coaster and was pleasantly surprised—photos don't do it justice. Made from 2.4mm FR4 with a transparent solder mask and black silkscreen, it blends cold and copper tones nicely. Read on for my quick impressions and close-up photos.