published: December 5, 2020 —
last modified: October 23, 2025
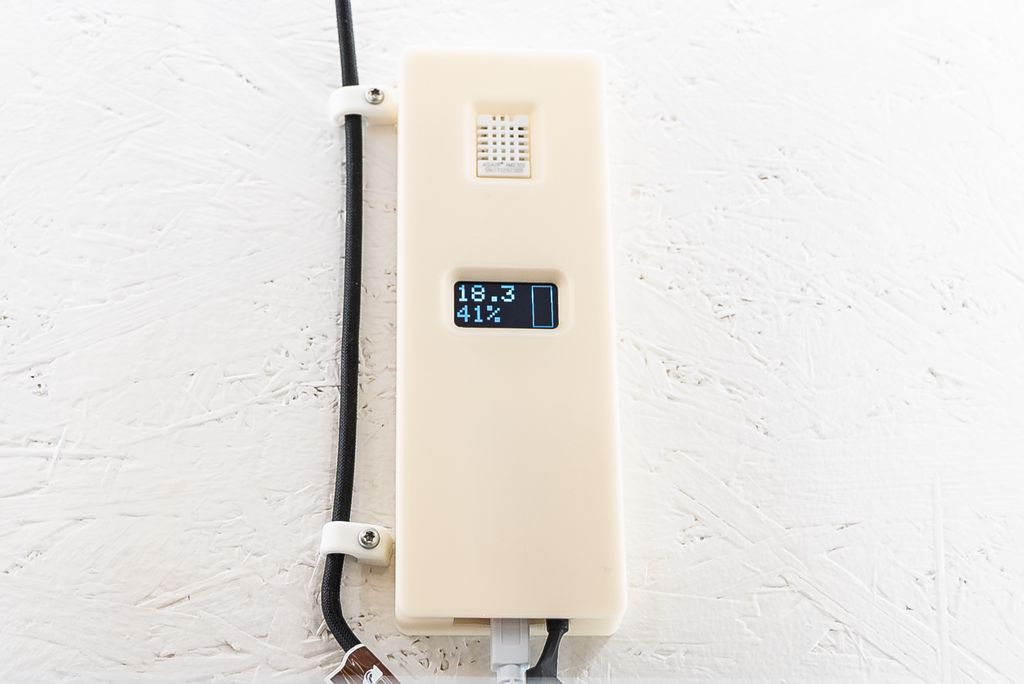
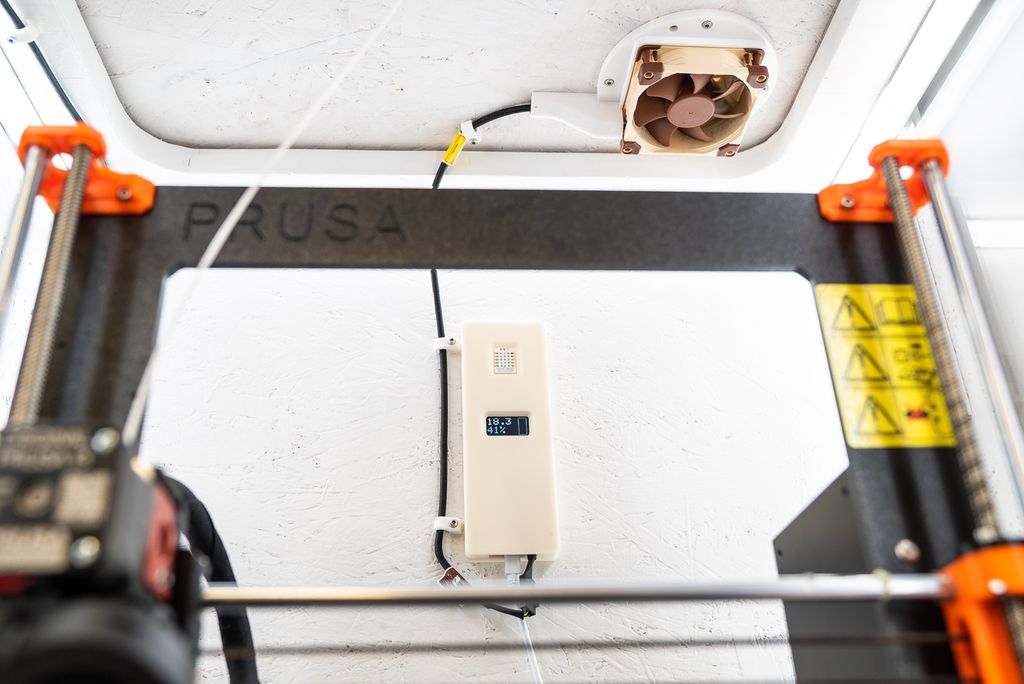
I added a fan and temperature controller to my printer enclosure with this quick 4h build. You may need to adjust things a little bit, but I am sure you can build one for yourself in less than a day.
If you use exactly the components from above, you just download the STL files and print them. For both case parts, the flat side to the printer bed. In case you like to use different parts, use the Fusion360 design and adjust the sockets to your needs.
Step 2: Wire the Components
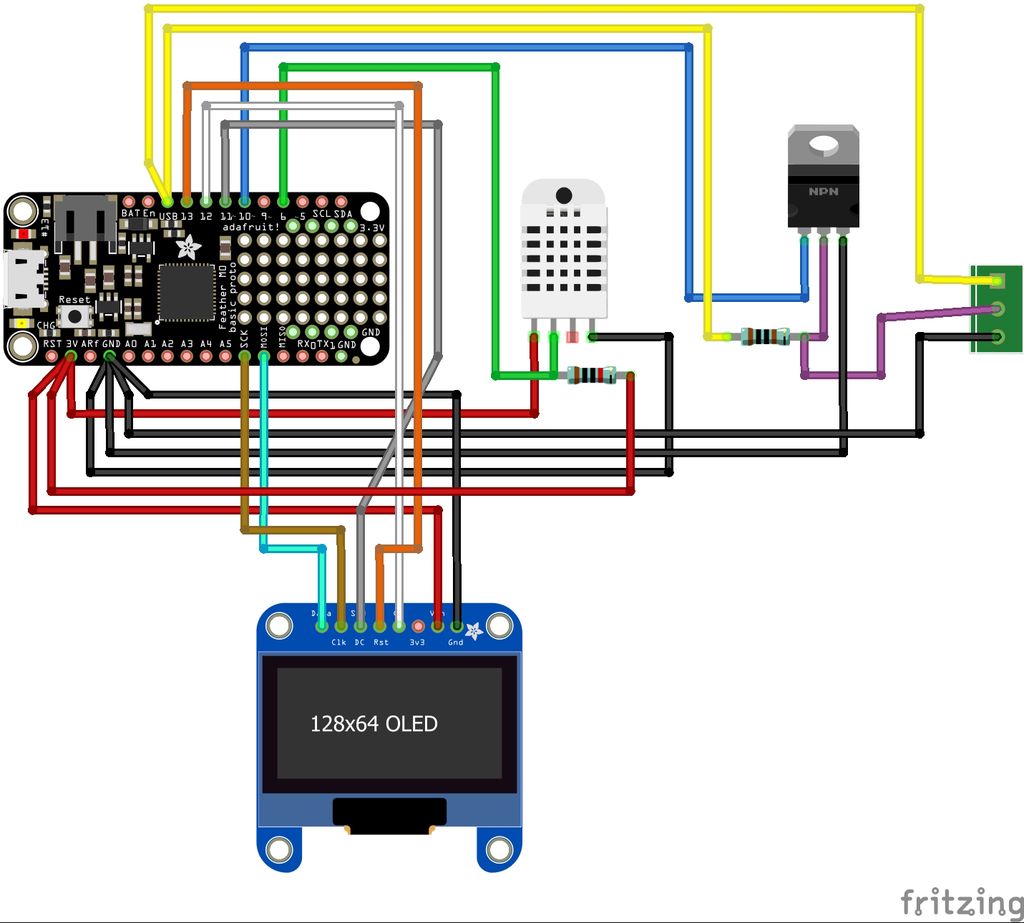
While the printer is running, solder all wires as shown. Use the prototyping area on the Feather board to set up the MOSFET and resistors.
Connecting the MOSFET:
The blue wire goes to the base pin.
The purple wire goes to the source pin.
The black wire goes to the drain pin.
Connecting the fan:
The yellow wires go to 5V USB power and to the power input.
The purple wire goes to the PWM input of the fan.
The black wire connects the ground of the fan.
Step 3: Setup the Firmware
Install the latest version of the Arduino Environment on your computer and set up the Adafruit libraries as described on their website. Install the Adafruit Libraries DHT22 and Adafruit_SSD1306.
Adjust the set temperature cControlTargetTemperature in the firmware, and minimum and maximum fan speed as you like.
Compile and upload the firmware and check if everything works as expected.
Step 4: Assemble Everything
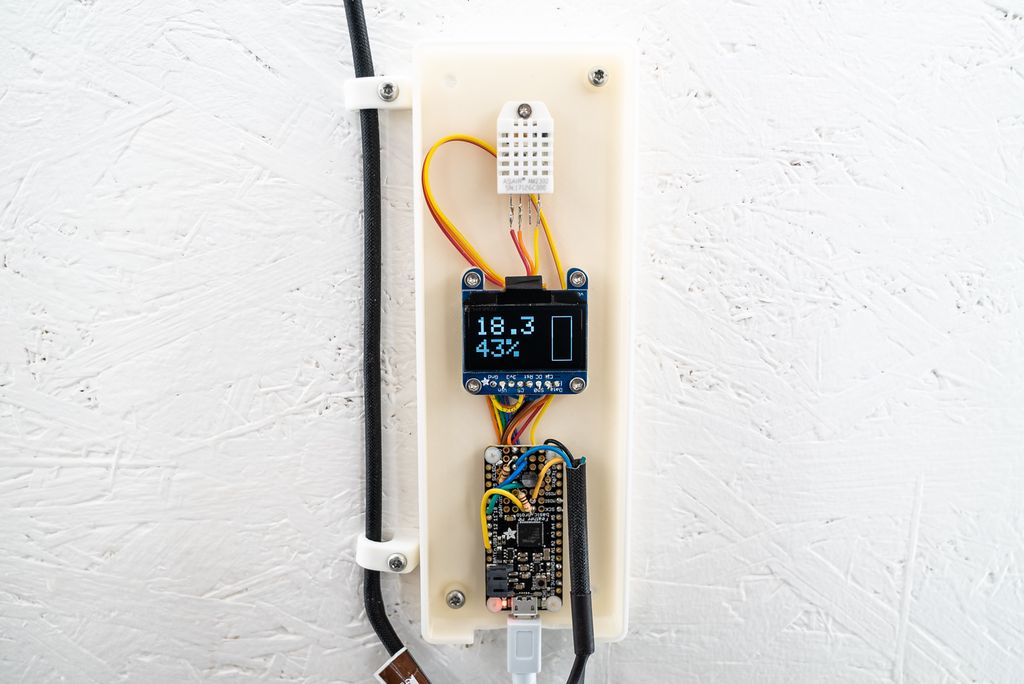
Use the M2.5 screws to fasten all components in the case.
Attach the fan, done!
Conclusion
This was a quick build and this guide is meant as an inspiration to start an own project. If you need a fan controller, grab some components you may already have, print your own case and you will have a nice device which is doing its job in no time. 🎉
If you have any questions, missed information, or simply want to provide feedback, feel free to comment below or contact me on Twitter. 😄
Posted on 2019-08-01— C++, Improve your Code, Learn
I walk through practical techniques I use to make firmware error handling clearer and more consistent in modern C++. From enum classes and a shared SimpleStatus to StatusResult templates and helpers like isSuccessful, I present readable patterns and code examples you can adopt. Read the full post for details and examples.
I developed a small application that generates randomized circle patterns inside a defined rectangle, letting you tweak width, height, precision, spacing and item counts. Results export to SVG and the latest version is available for download. Read the full post for interface details and usage tips.
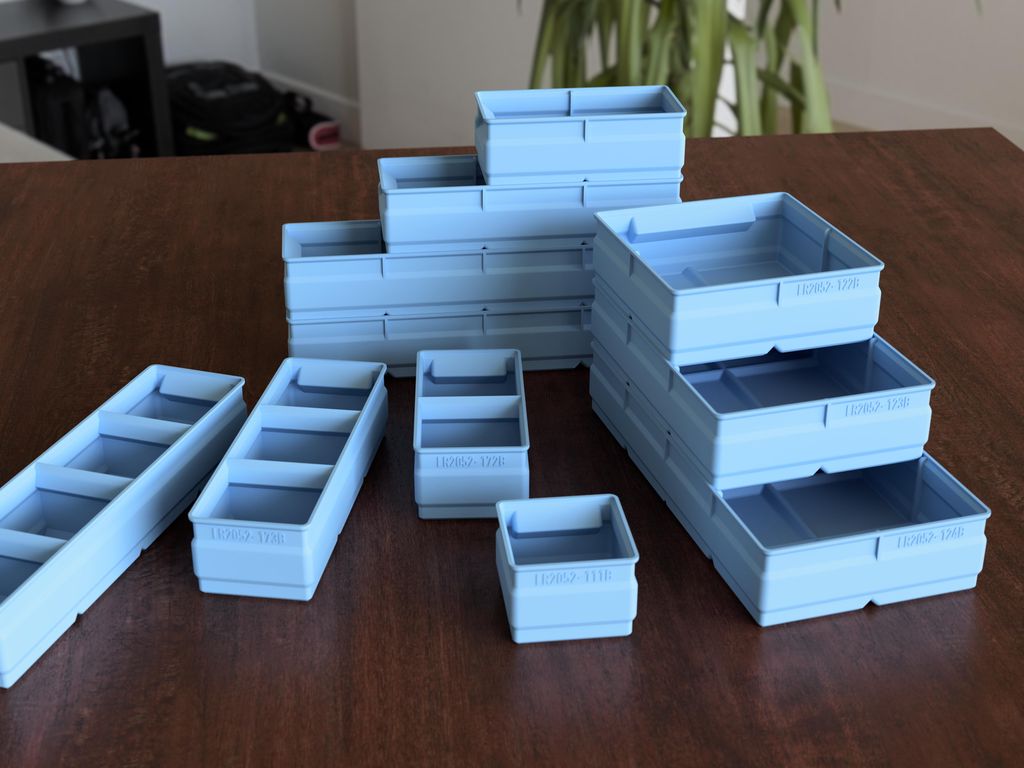
I've updated the Regular Storage Boxes set with improved corners and four new boxes, including a 2x4 and three with internal walls and label-ready tops. The designs are optimized for 3D printing with recommended nozzle and layer settings. Visit the project page for downloads and the catalog.
Posted on 2023-01-29— 3D Printing, Build, Projects
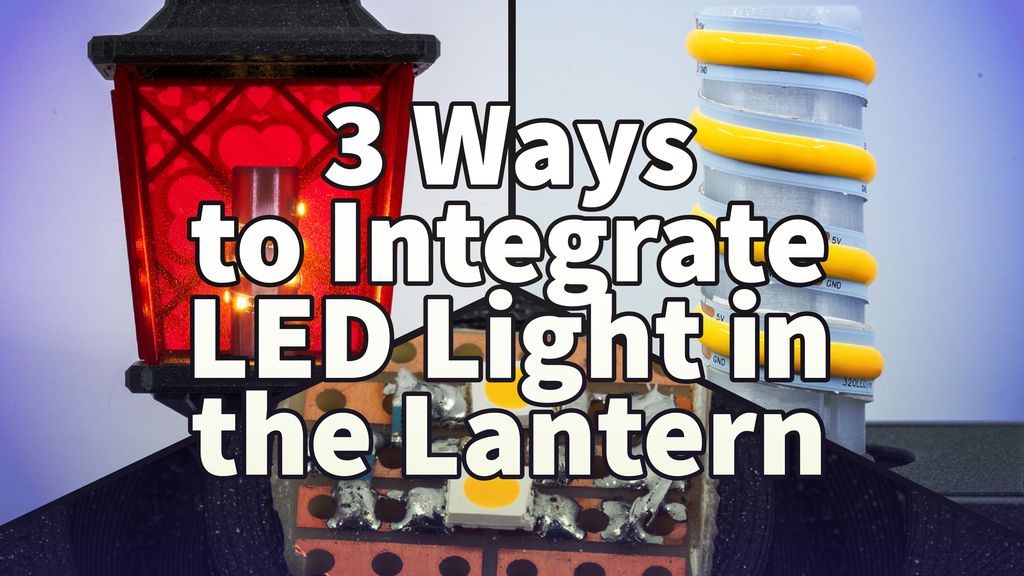
I tested three inexpensive, easy methods to add LED lighting to my modular 3D‑printed lantern using USB power: reused LED modules, short 5V strips, and WS2812B RGB with a microcontroller. I share parts lists, soldering tips, diffuser advice, and firmware steps—read on for step‑by‑step instructions and printable models.
I explain why I add small guide bridges to tricky gaps in my 3D prints and how they help PETG bridging. I show the settings I use and demonstrate results in my modular lantern model. Read the full post to see images and step-by-step tips to apply this to your designs.
Posted on 2019-07-09— C++, Improve your Code, Learn
I compare implementing a singleton as a class or as a module/namespace for Arduino firmware using simple LED driver examples and compiler measurements. I cover size, initialization and runtime trade-offs and explain when each approach makes sense. Read the full post for code, disassembly and practical recommendations.