published: November 24, 2020 —
last modified: October 23, 2025
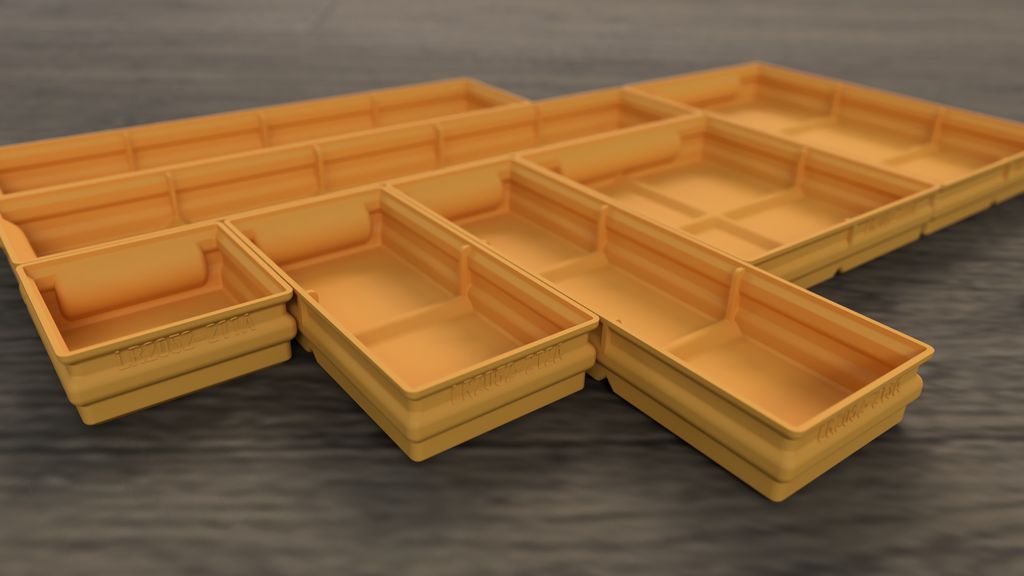
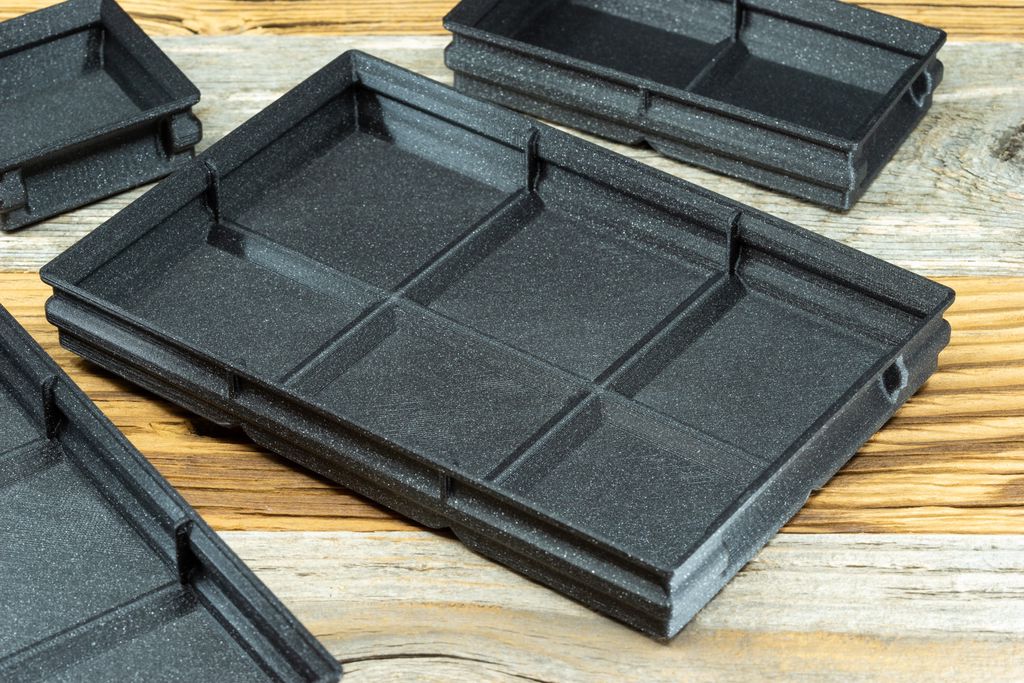
Finally, my tests of the flat storage box are finished. 🎉 The main issue I had, was the spot for the labels. With the geometry I used in the regular and tall boxes, it took too much space from the flat ones. I solved this using a special profile for this set.
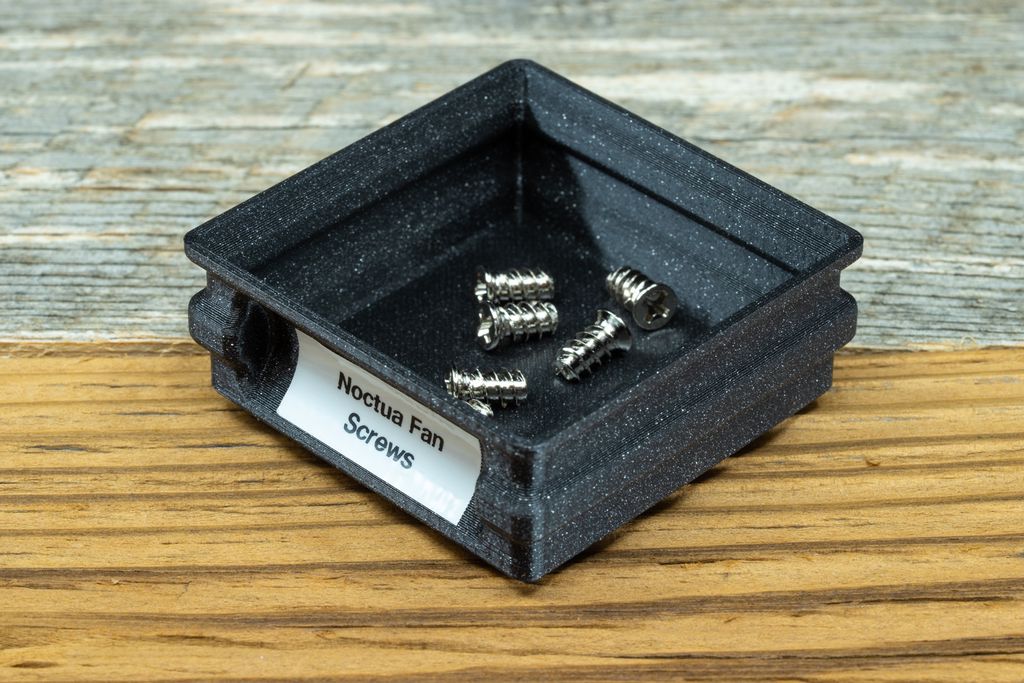
I personally designed the flat boxes set to make even better use of the space in my drawers and shelves. Especially for rarely used parts, which do not have to be easily accessible. Sometimes I have four small replacement screws. I know I will need them in two years, but if I just mix them with other parts, I will never find them again at this time. Putting them into a special replacement part area in my shelf, on high stacks, solves this problem in a nice way.
Stackability with Regular Boxes
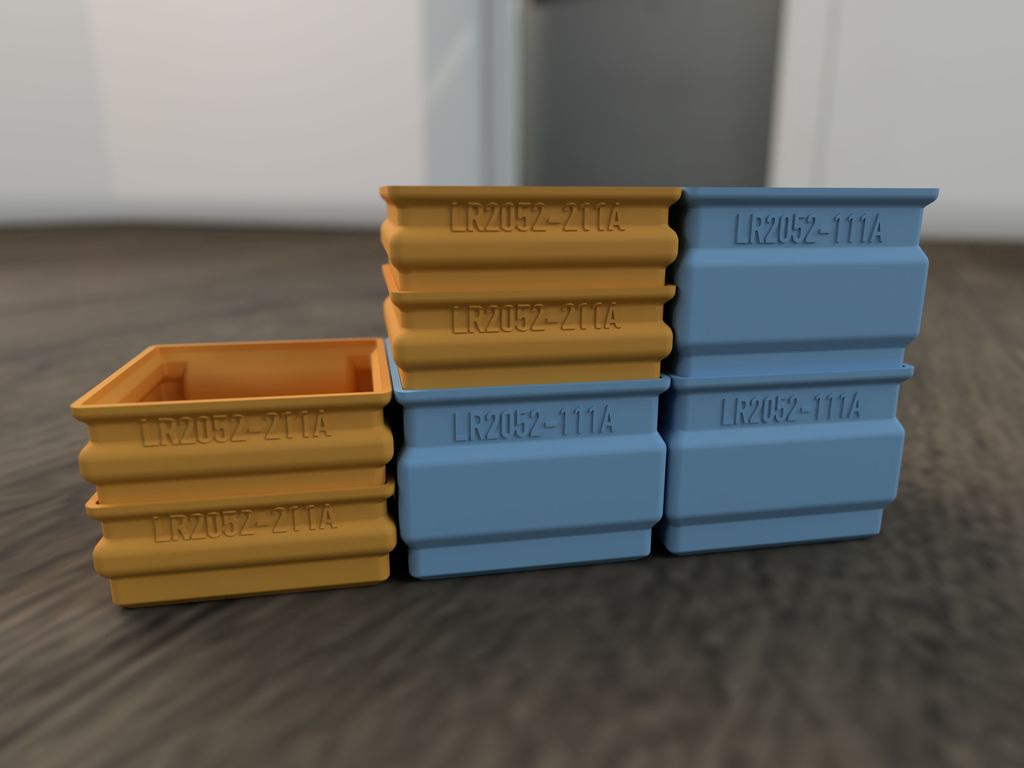
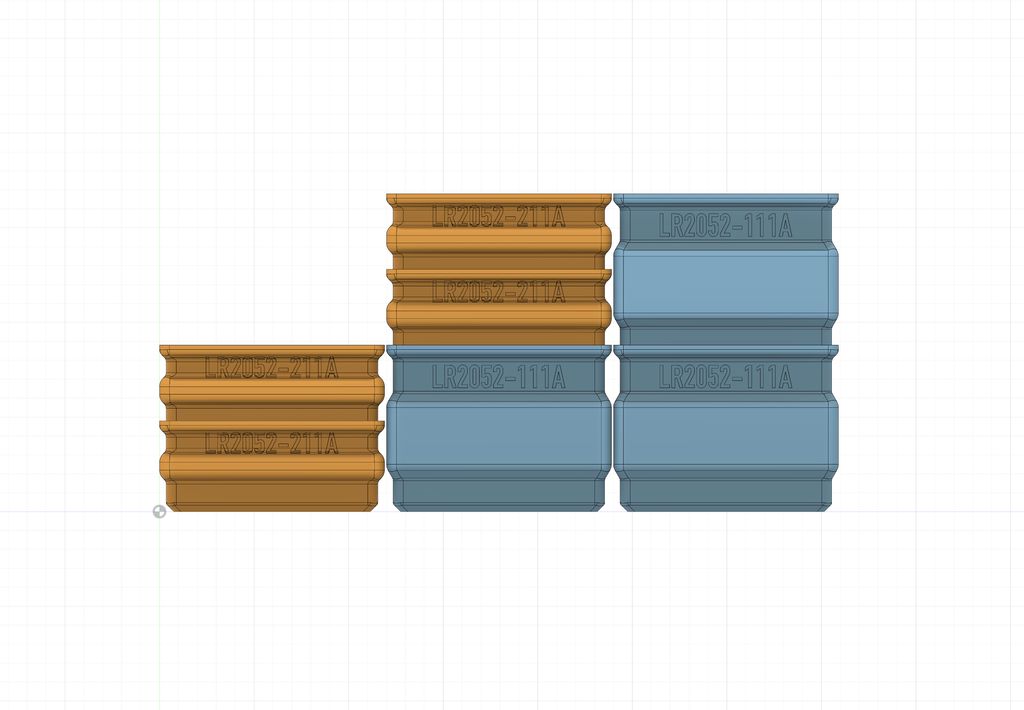
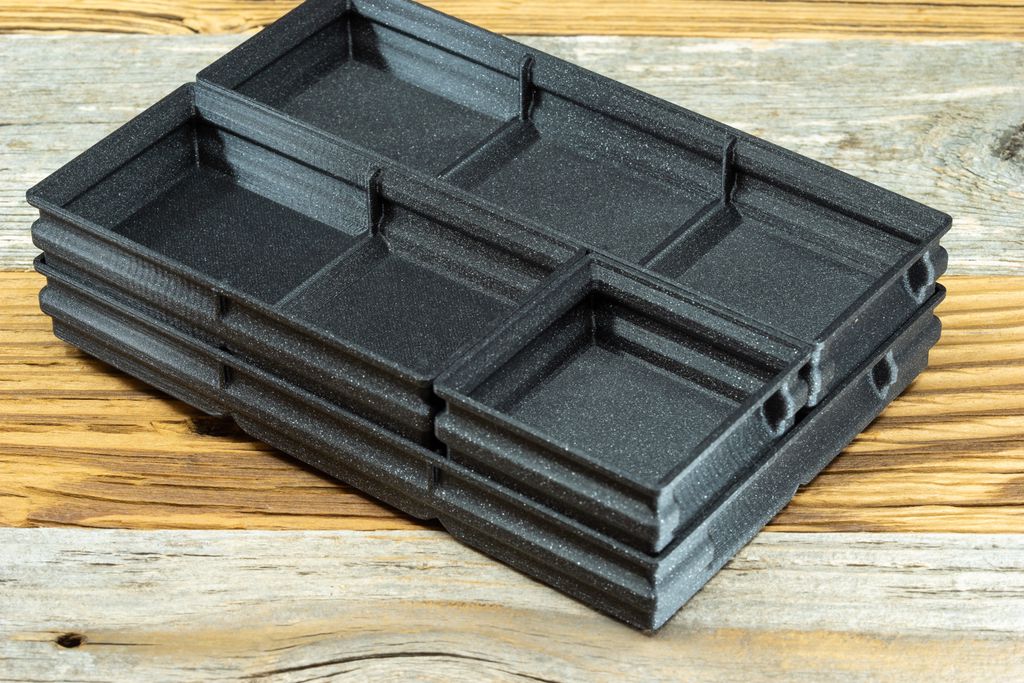
You can easily stack flat and regular boxes. The outer height of the box system is always the raster value plus 4mm for the stacking overlap. Therefore, flat boxes have a height of 24mm and the regular ones 44mm.
If you stack two flat boxes, the rim is always flush with a regular box. The following image illustrated the stacking from the rendered image above in a more technical way.
Label Area
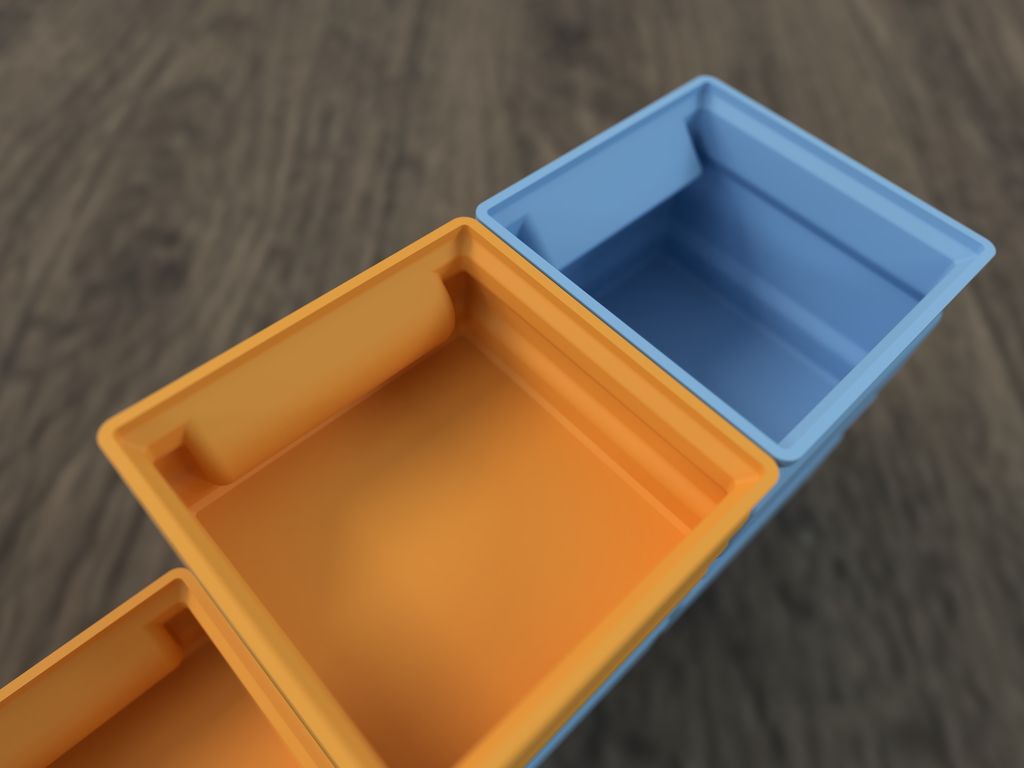
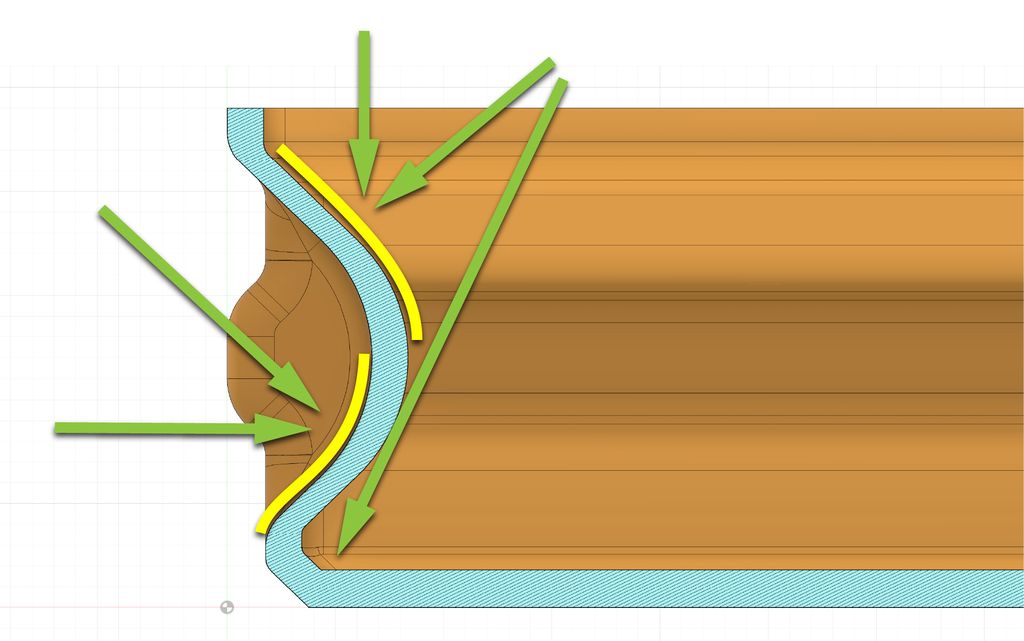
The label area of the flat boxes is different from the regular and tall boxes. In the following render, you can see the difference.
This round design allows to add a 12mm (½ inch) label to the inside and outside of the box and make it readable from a wide range of angles.
The yellow lines are the labels, the green arrows view angles. As you can see in the illustration above, the round design does not obstruct the view to the corner below the label area.
Photos of Real Prints
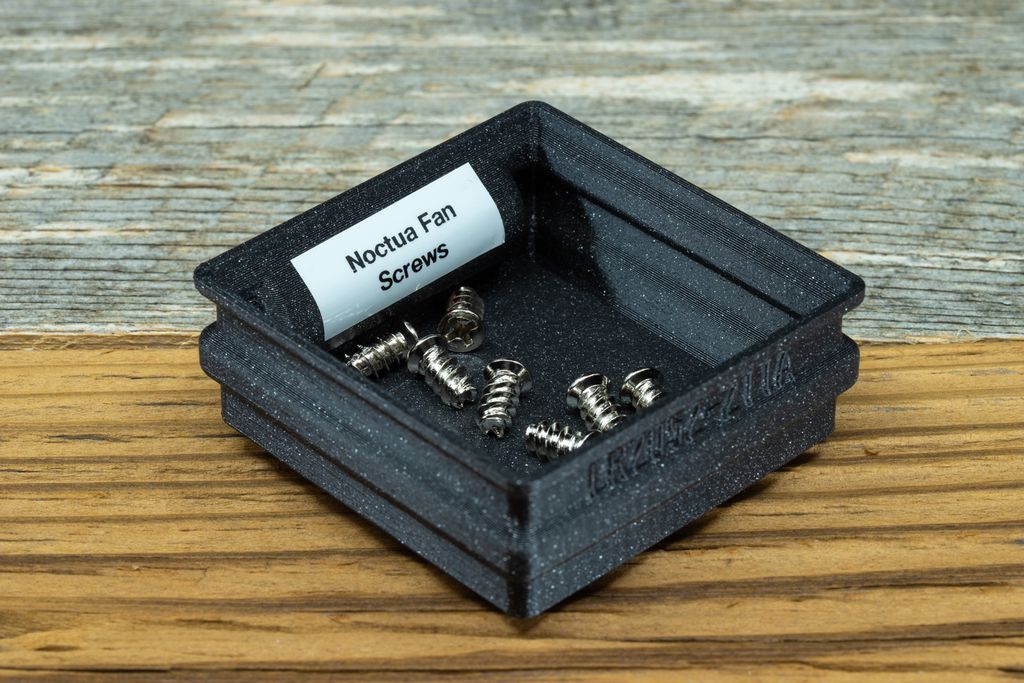
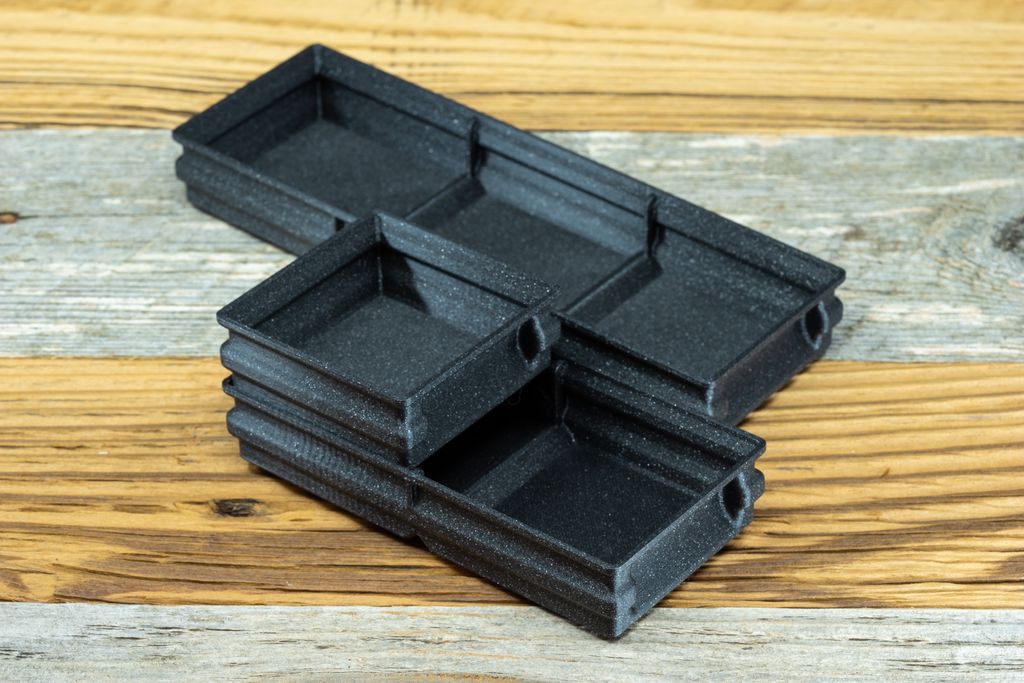
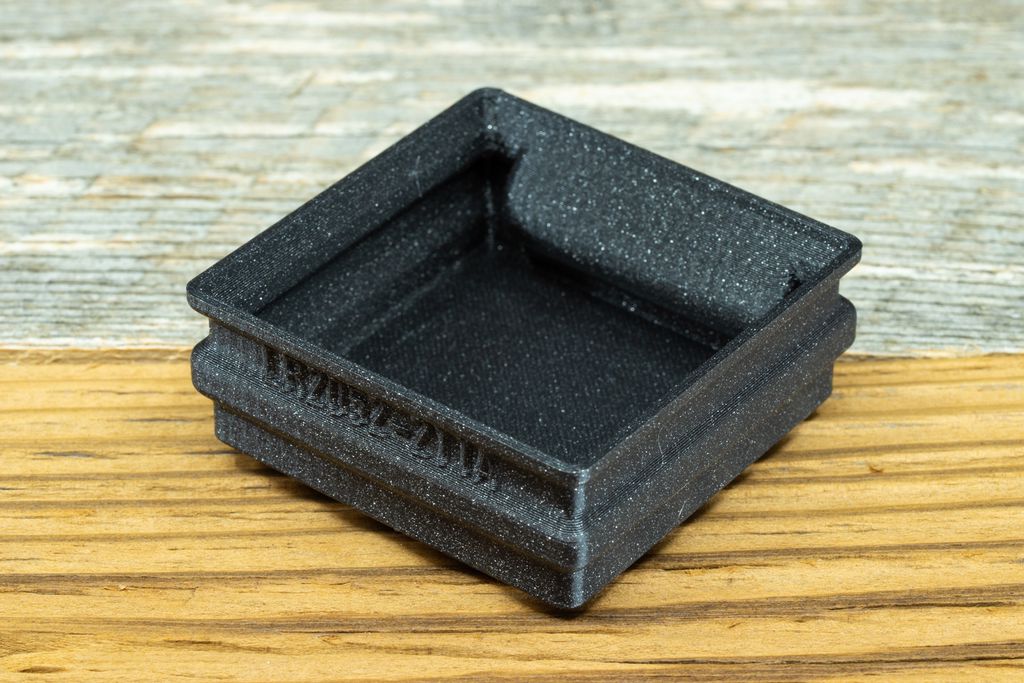
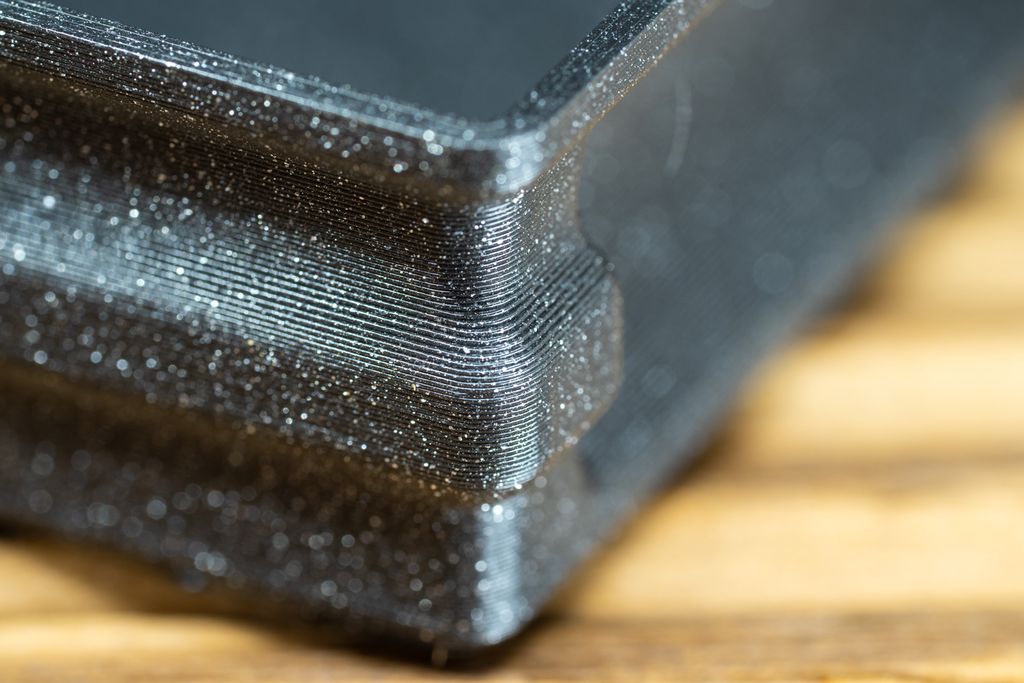
See the following photos how real prints will look like.
I used a Prusa i3 MK3s printer with a 0.4mm nozzle, 0.2mm layer height. The used filament was Prusament PLA Galaxy Black.
Downloads and More
You find all details in the catalog, a small set of free downloads and the link to the shop on the project page.
Posted on 2019-07-27— C++, Improve your Code, Learn
I continue exploring C++ templates for embedded systems, showing template classes, pin abstraction, and combining Sender and Pin examples to reduce firmware size and improve code clarity. I explain static methods, type aliases, and trade-offs between runtime flexibility and efficiency. Read the full post to see code and assembly comparisons.
Posted on 2019-07-13— C++, Improve your Code, Learn
I explain why I prefer #pragma once over macro header guards and how it prevents subtle build errors and wasted debugging time. I’ll show examples, common pitfalls, and practical steps to replace guards in existing projects — read on if you want a simple, low-risk improvement.
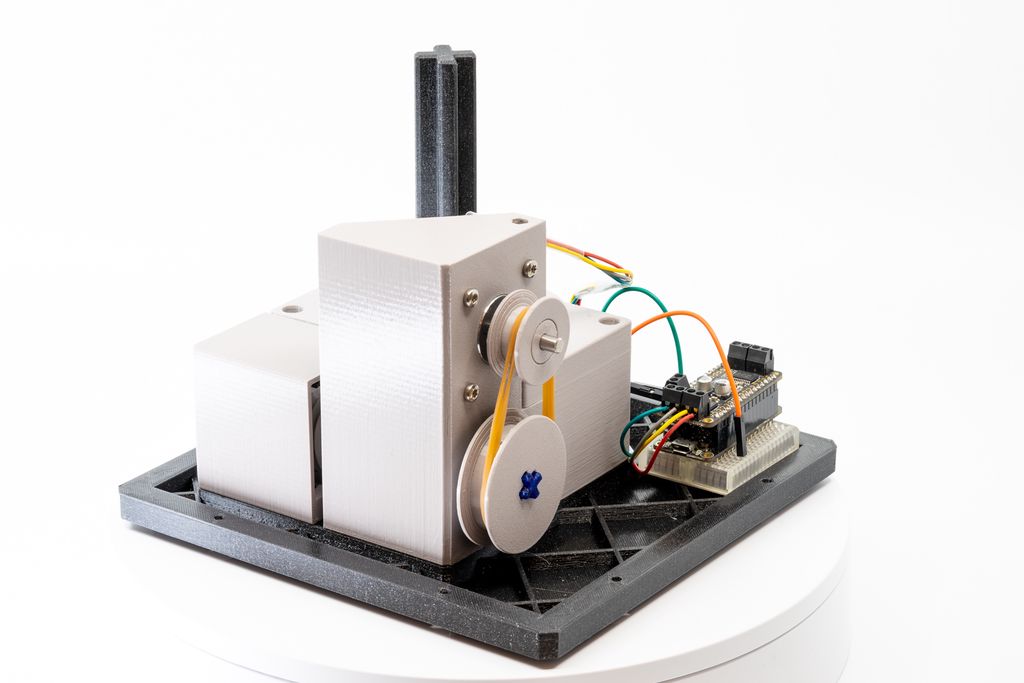
I walk you through assembling the gearbox for my 3D-printed cat feeder, step by step. I cover inserting insets, bearings, grub screws, and fitting the NEMA17 motor so the turntable runs smoothly. If you printed the parts from Part 1, follow along — read the full post for photos and testing tips.
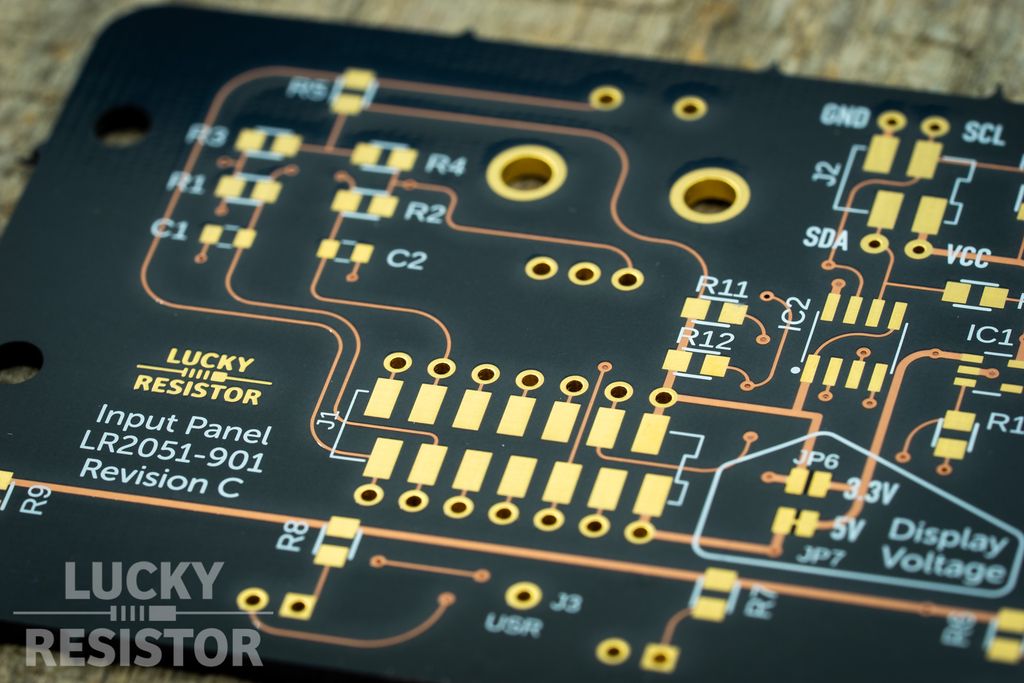
I ordered 'After Dark' PCBs from OSHpark for my pet-feeding device and wanted to share clearer, high-resolution photos so you can appreciate the black substrate with copper and transparent solder mask. If you’re curious about the look or details, please read the full post and leave questions or feedback.
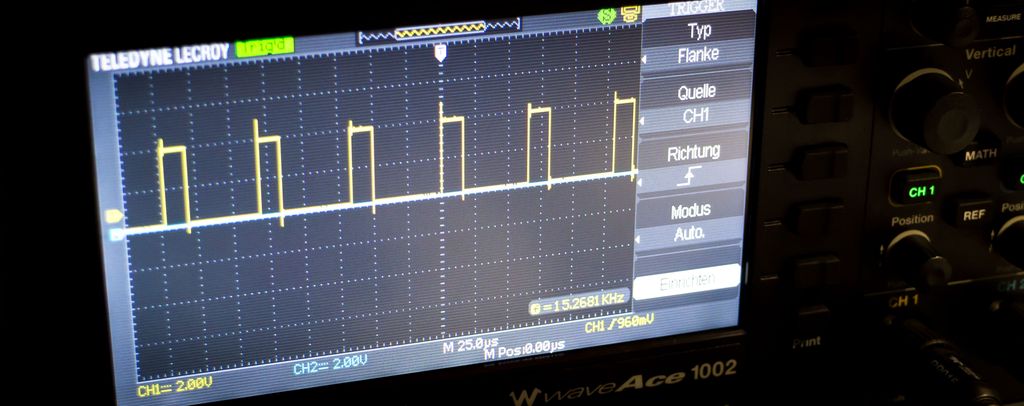
I often use a simple oscilloscope trick to debug time-critical code: toggle an I/O line before and after critical sections and observe interrupt timing and execution width. It’s low-effort and revealing — read on for practical steps, examples, and tips to measure and reason about your timing issues.
I've added a batch of new divider layouts across my storage box system — regular, flat, tall, triple and extended series — based on your feedback. I've updated documentation and uploads; downloads are available on the new platform. Please take a look and read the full post for details and download links.