published: November 21, 2020 —
last modified: October 23, 2025
One of the reasons I didn’t publish as many articles are before, is I am still organising my new lab. Because of the current pandemic, everything got delayed and there is still a lot of material which needs to be organised.
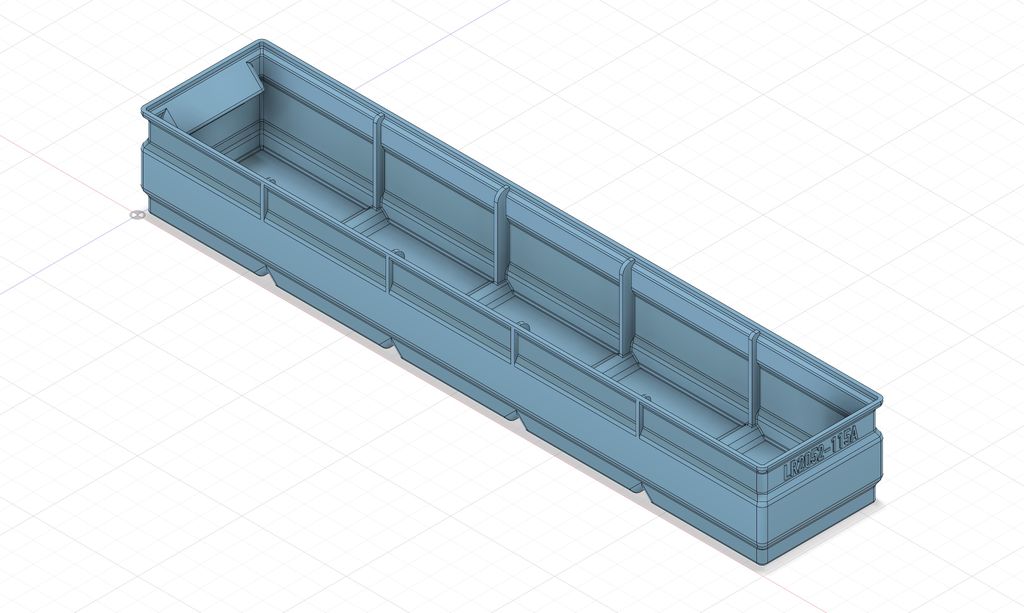
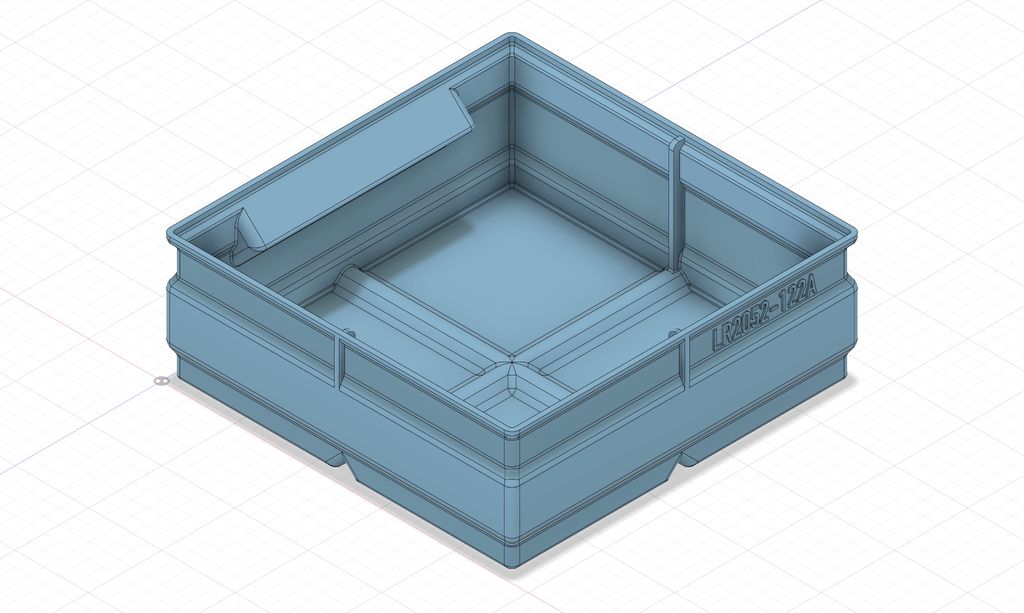
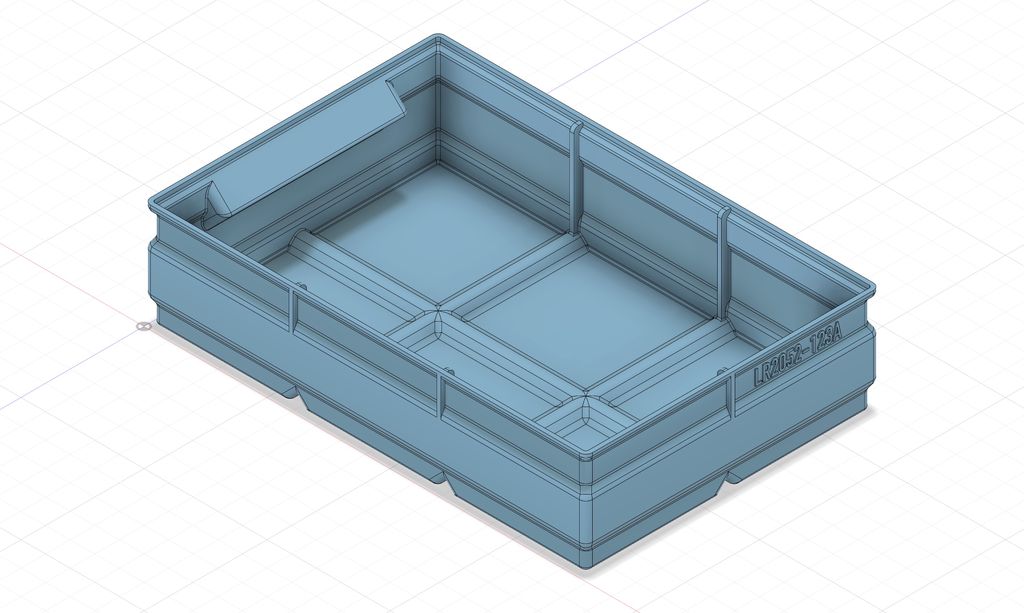
After reviewing many existing designs and didn’t found one which matched my needs, I designed a complete series of organiser boxes from scratch, fully optimised for fast 3D-print. It took a long time to design these, for this reason, I will publish a small set for free, but you have to buy the complete sets for a really small amount.
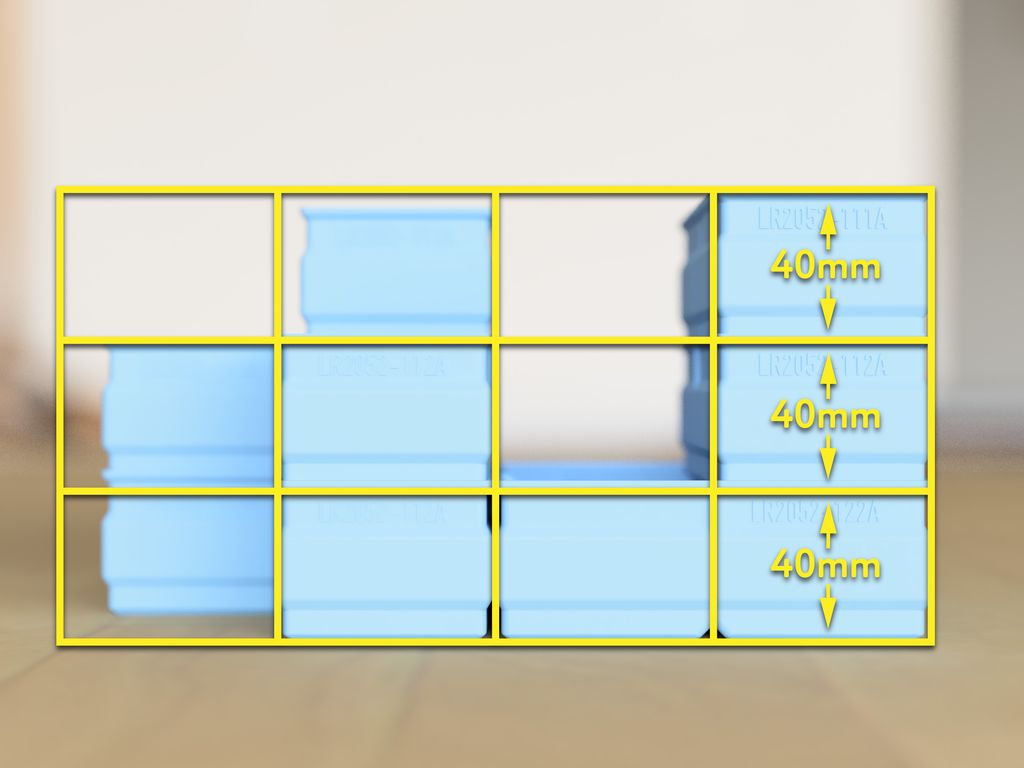
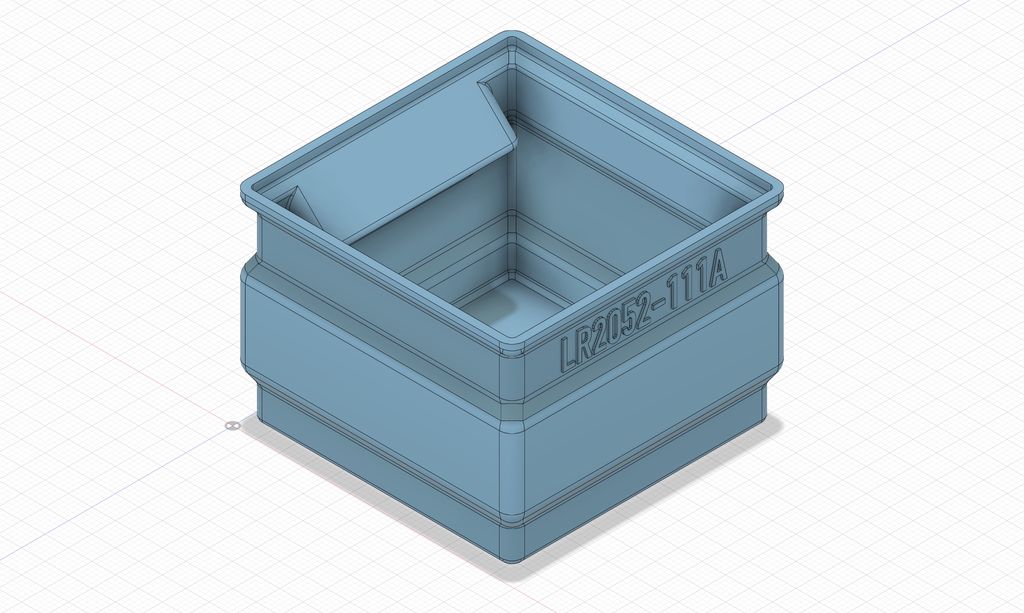
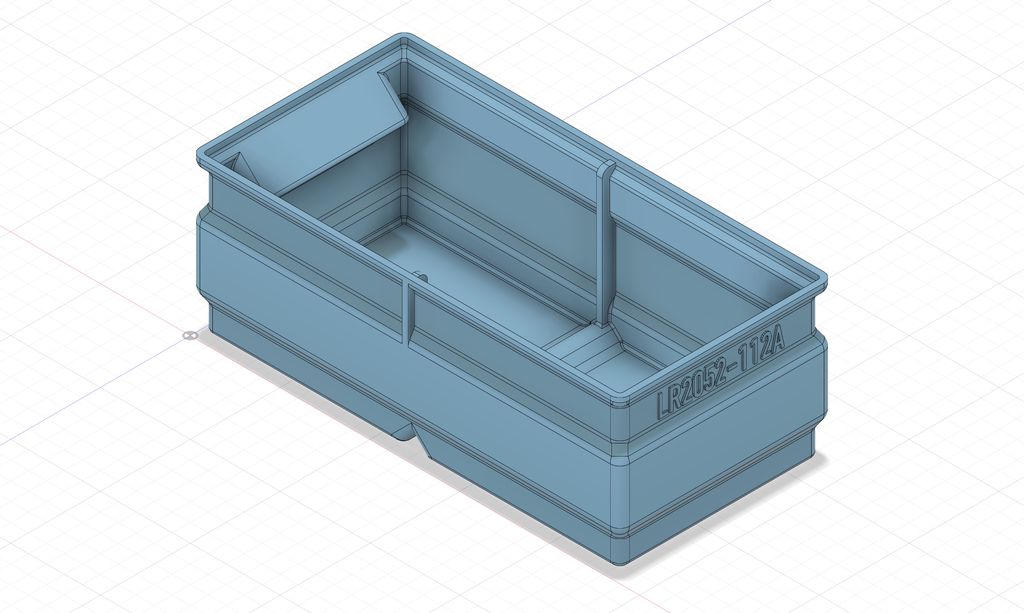
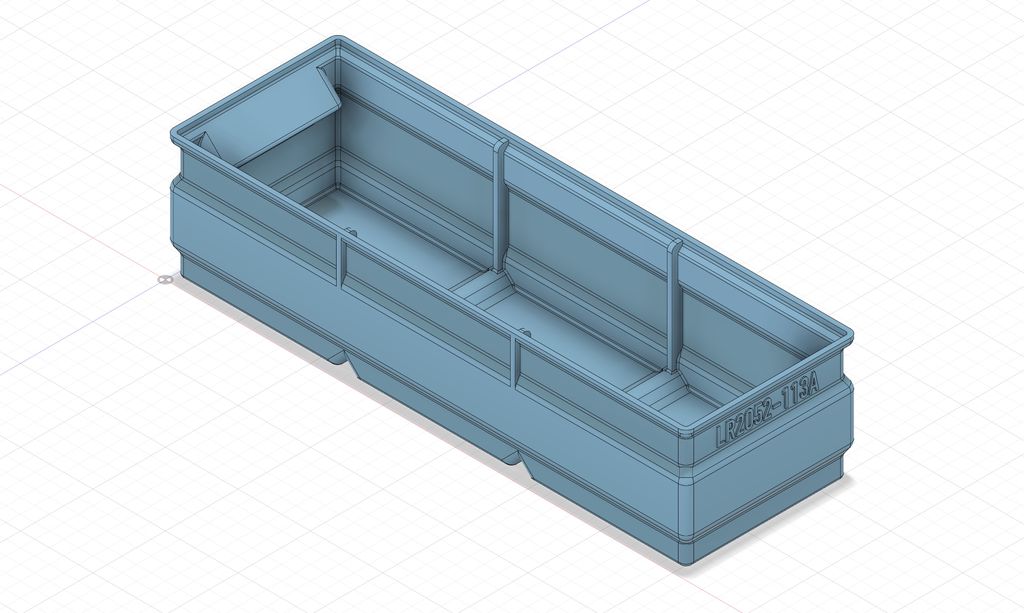
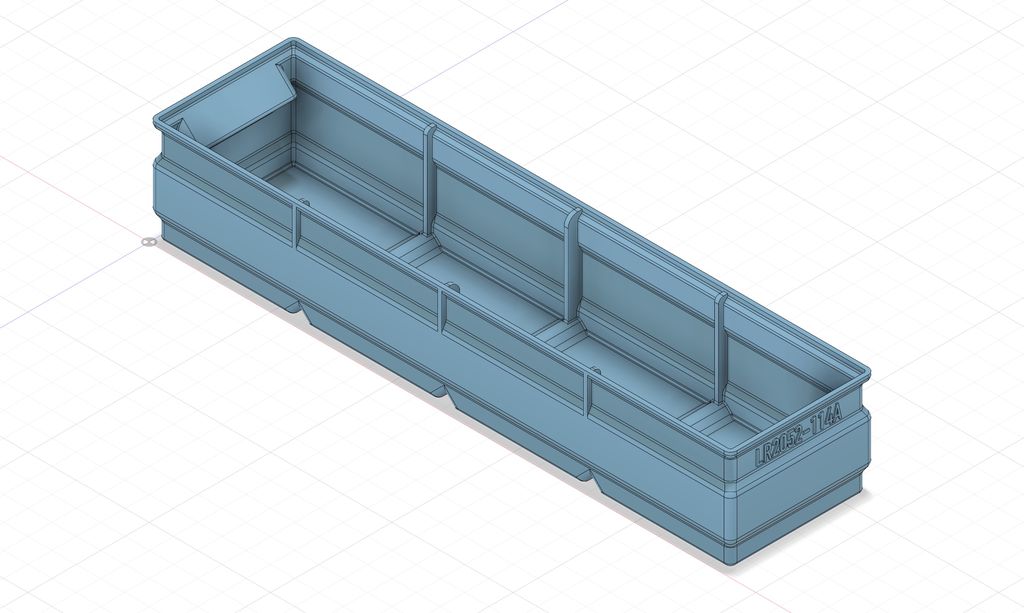
Stackable with 40mm (approximate 1.5 inch) raster.
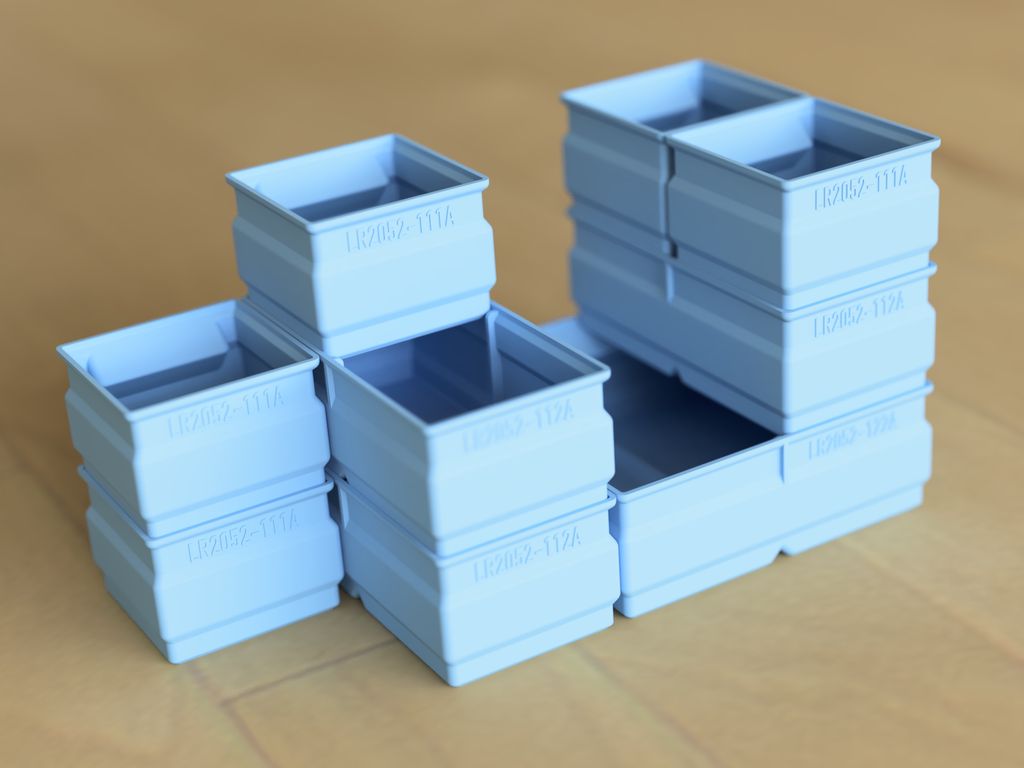
Boxes can be stacked in various combinations.
Special stabilising wall profiles for rigid boxes.
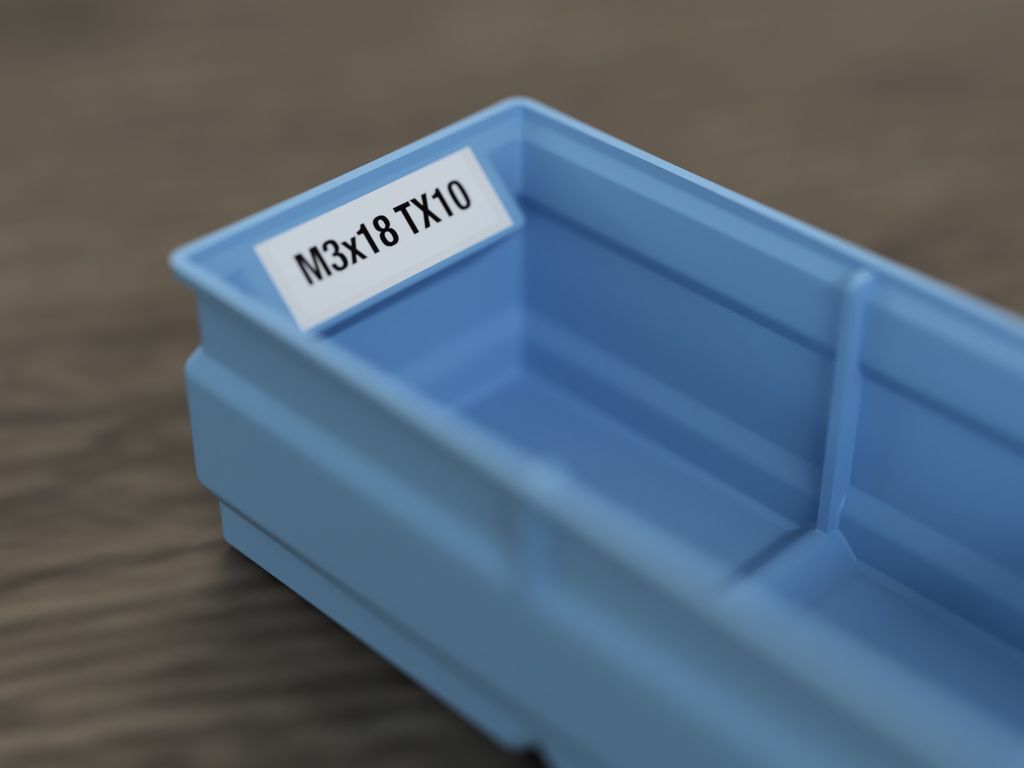
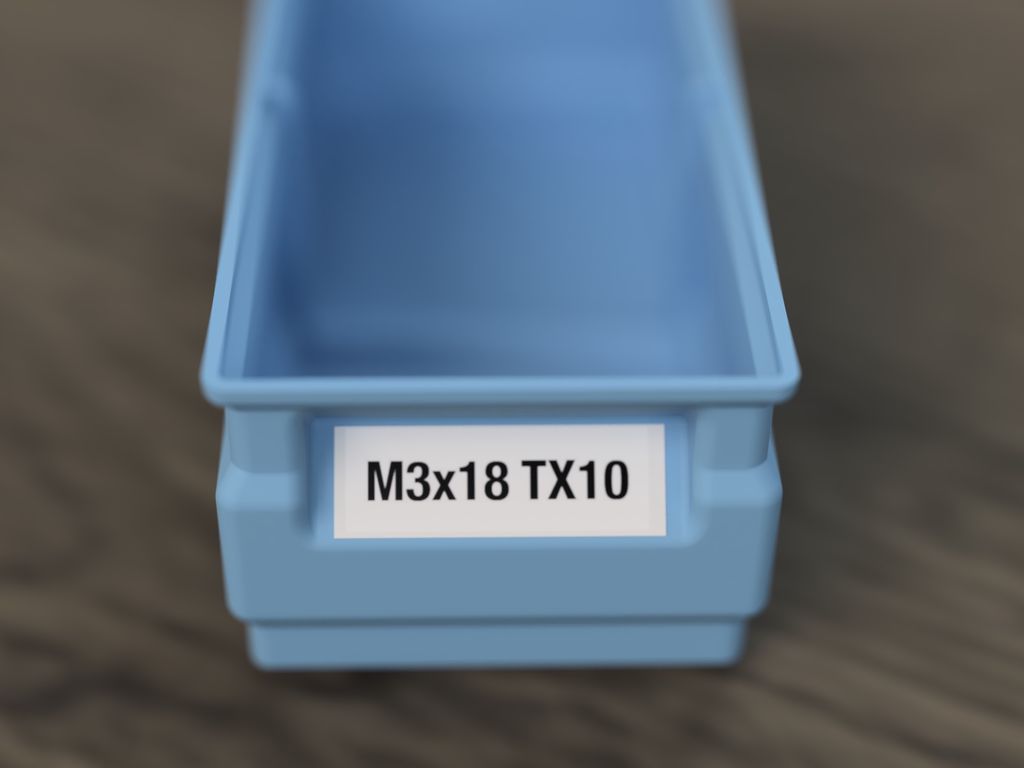
Dual label system: Space for 12mm label inside and outside of each box.
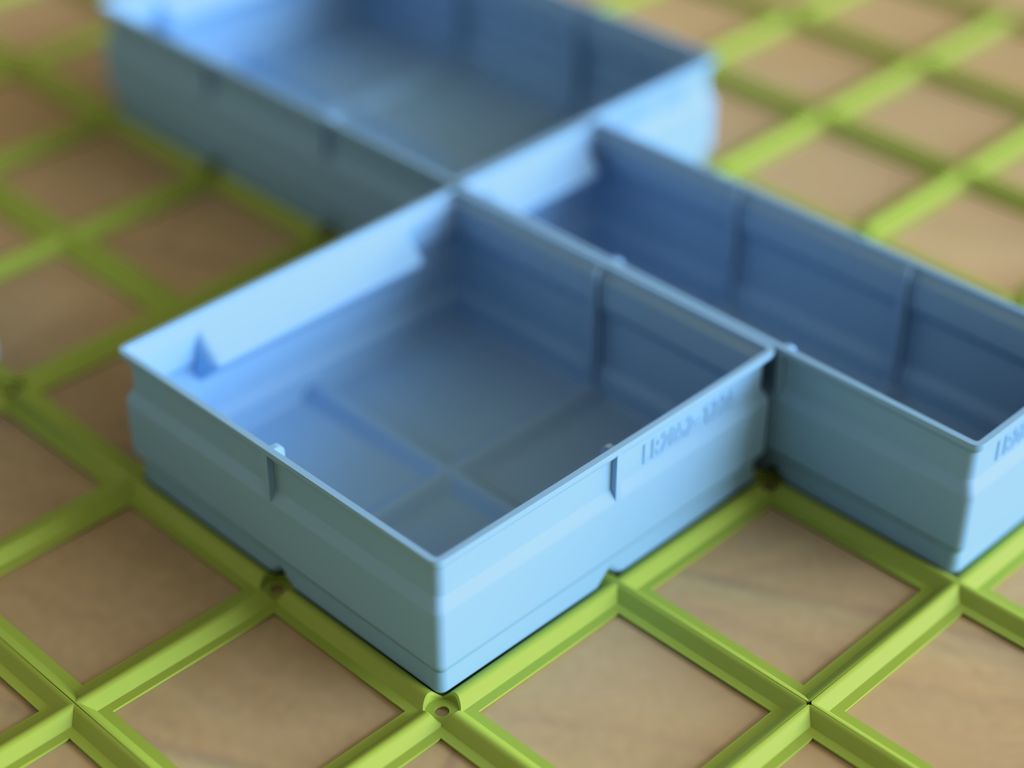
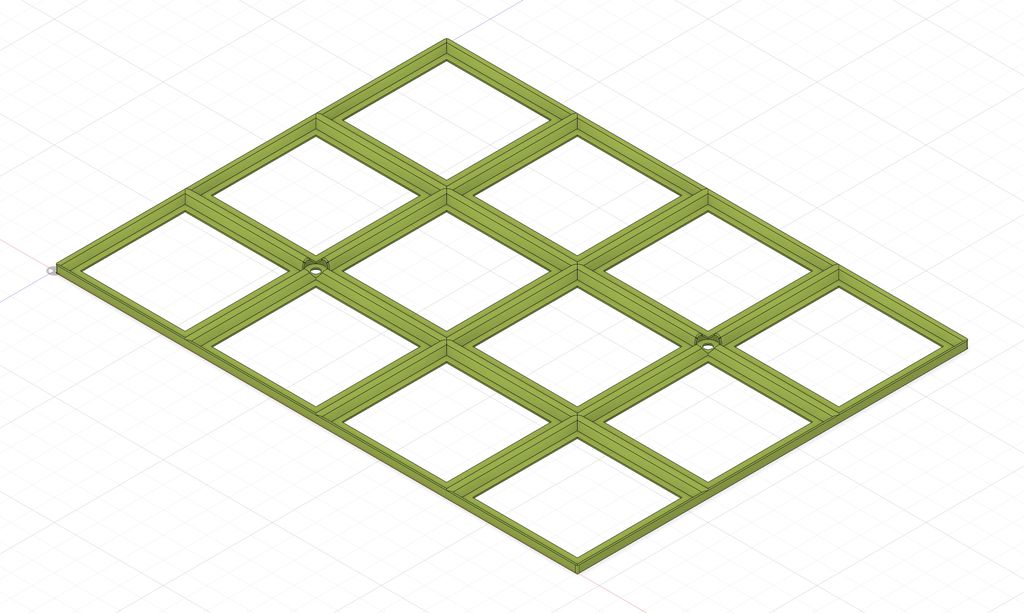
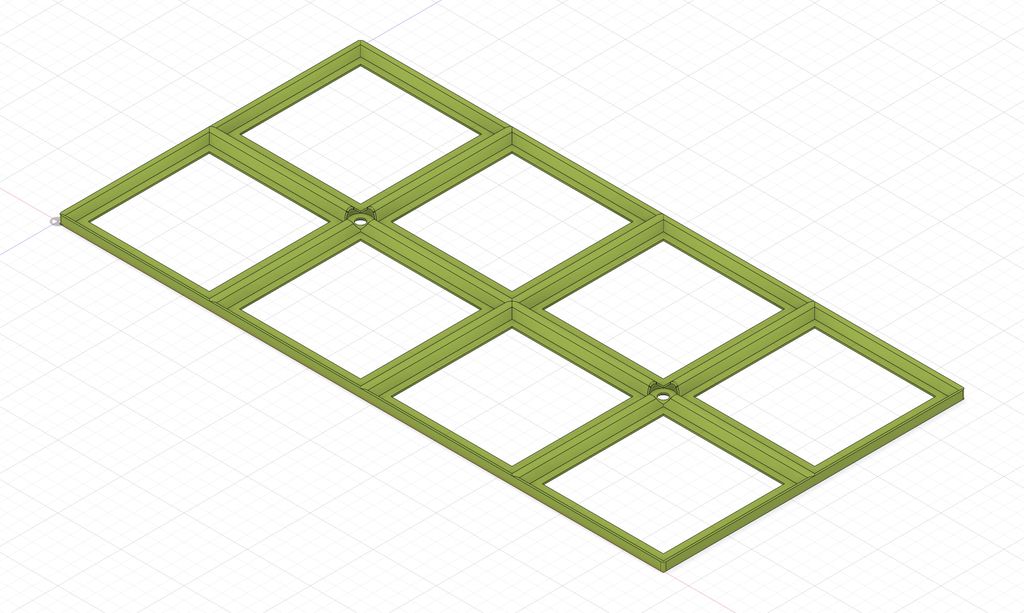
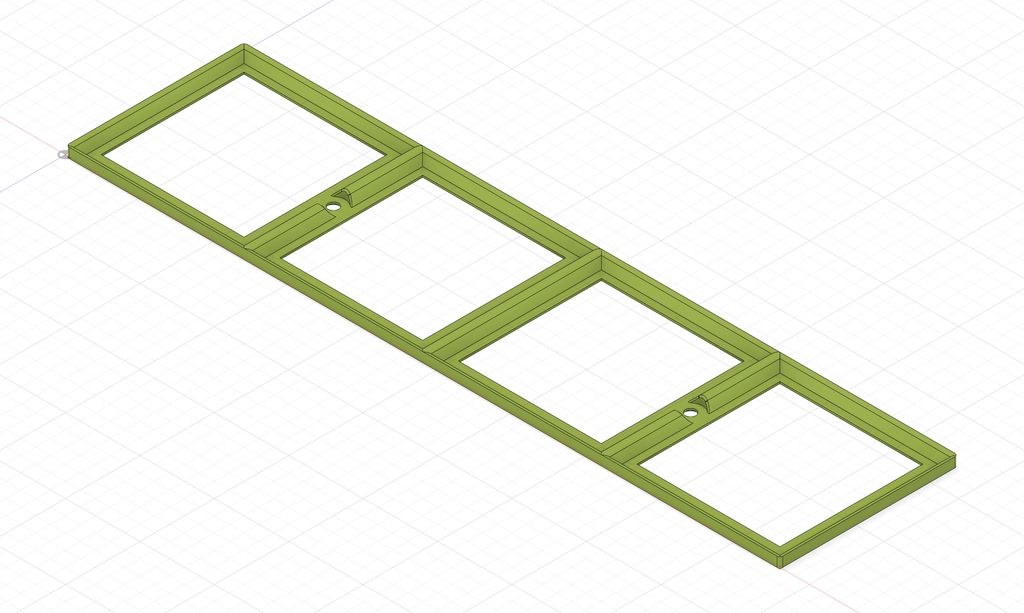
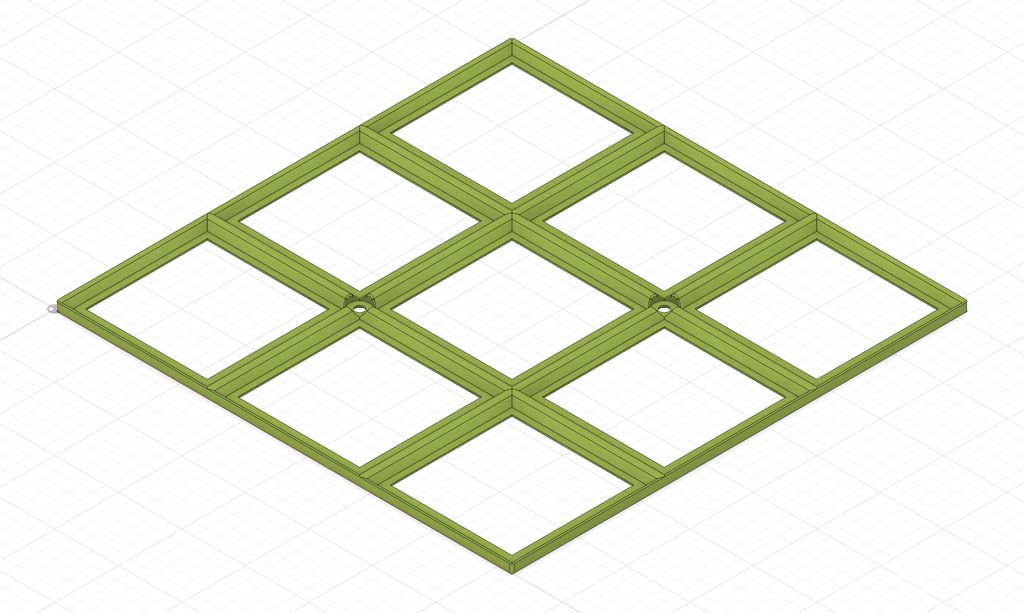
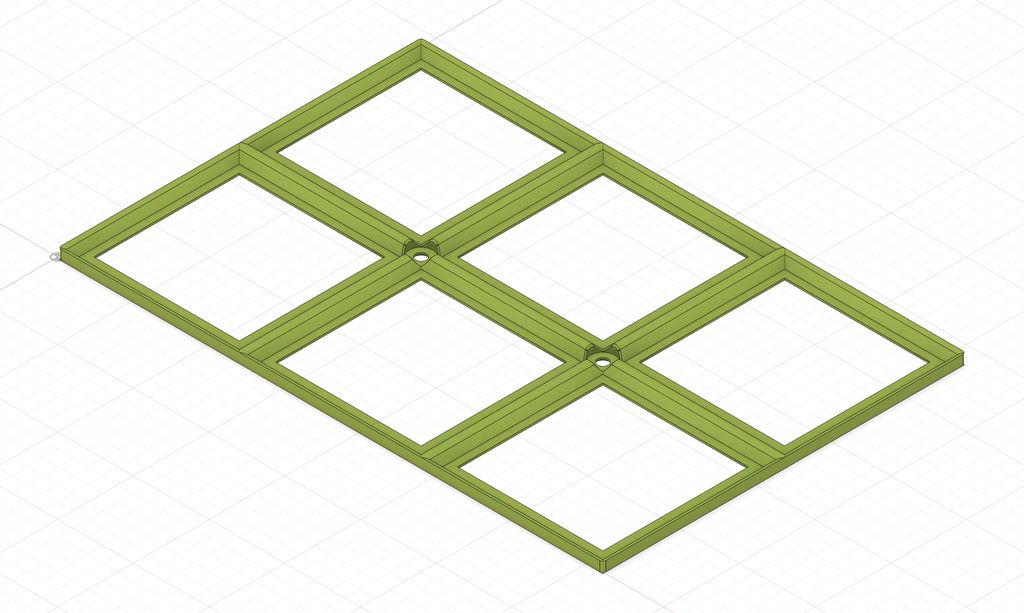
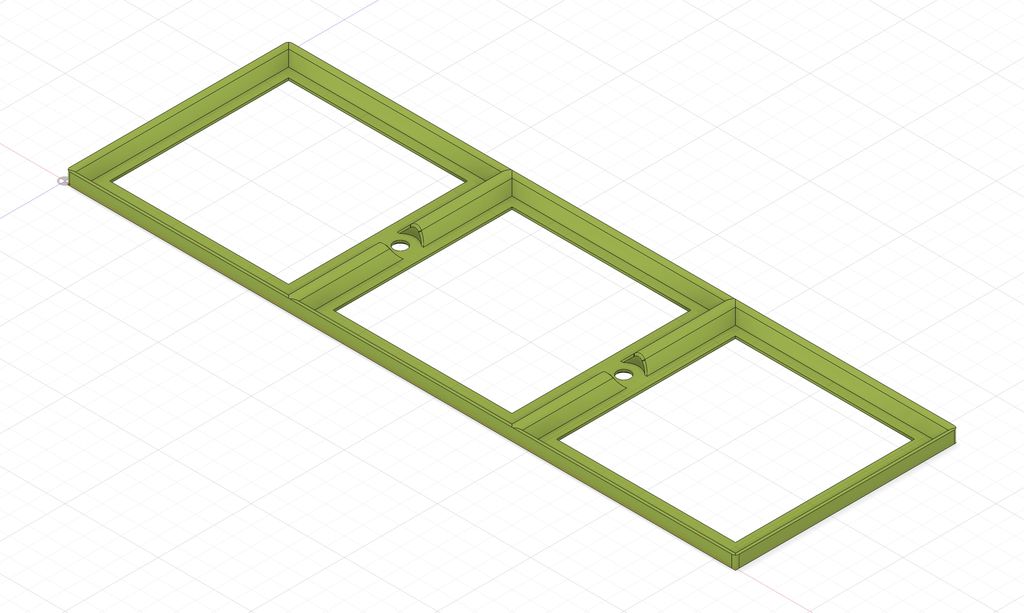
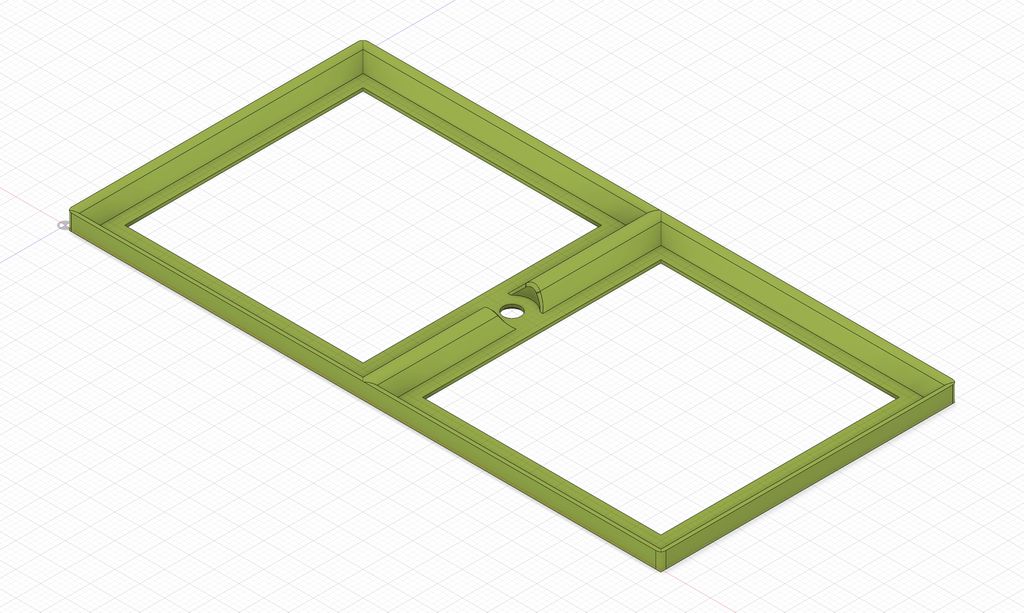
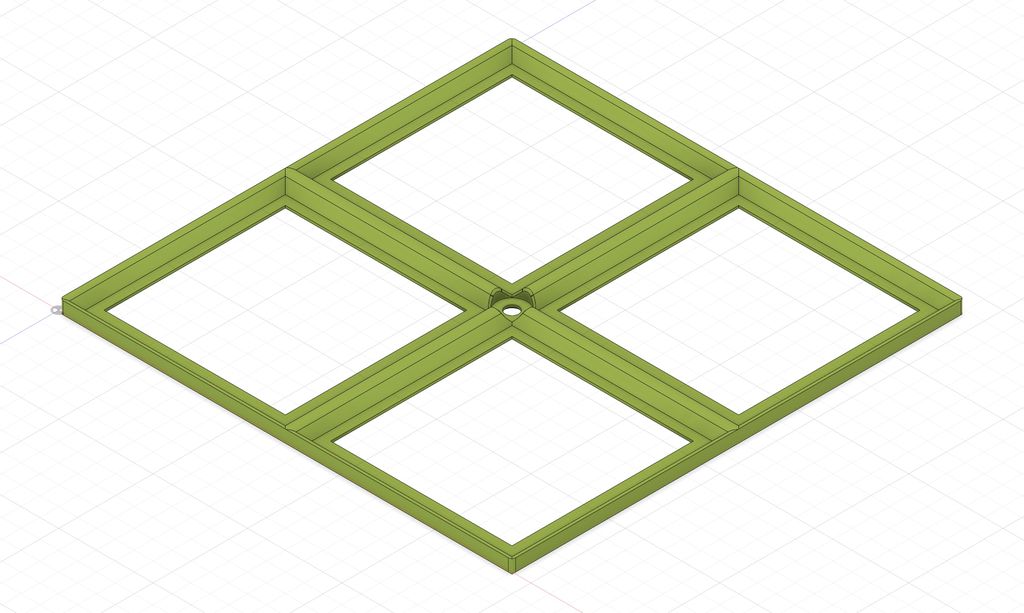
Grid rails to keep the boxes secured inside of a drawer or case.
Optimised for fast and reliable 3D-printing.
The next sections will explain these features in detail.
Table of Contents
The Raster
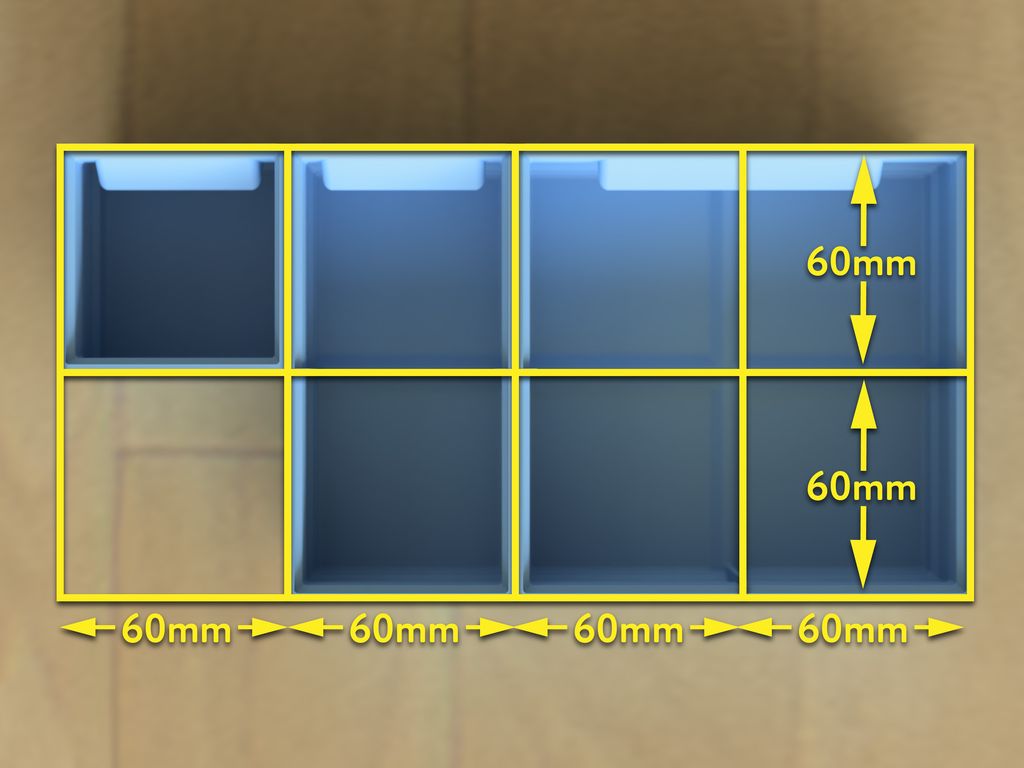
I found a 60✕60mm raster fits into almost every drawer and on every shelf. The smaller boxes have the right size for screws and electronic components. They are still large enough, you can grab the components with your fingers.
A benefit of the square raster is the flexibility how you orient your boxes in a drawer. Long boxes can be oriented horizontally or vertically, which I found especially useful to fill gaps at the backside of a drawer with boxes for long screws.
The stacking raster is 40mm, which means each stacked regular box will add 40mm in height. The height of a regular box is 44mm, if you stack two you will get a height of 84mm. The rims of stacked boxes will always match at the top, even if you are using flat (halve height) or tall (double height) boxes.
Stacking
Stacking was an important feature for my organiser. The idea of these boxes is to make them removable from a drawer or shelf. If you are working on a project, you e.g. grab the boxes with the M3x8, M3x12 and the M3 nuts and place them on your workbench.
The boxes stack securely, so you can stack them easily to move them around. Also you can stack them easily on the workbench on order to save some working space.
Boxes with the same size can be stacked, as well as smaller boxes on larger ones. There are some limitations, because of the 3D-print design:
1✕1 boxes do not stack well on 2✕2, or 2✕3, etc. boxes - this is just physics. 😄
You can not stack long boxes crosswise. The groove, I use for the rails at the bottom, would get too large in my opinion. Still, it is possible to stack them crosswise, yet they aren’t very stable stacked that way.
Stabilising Wall Profile
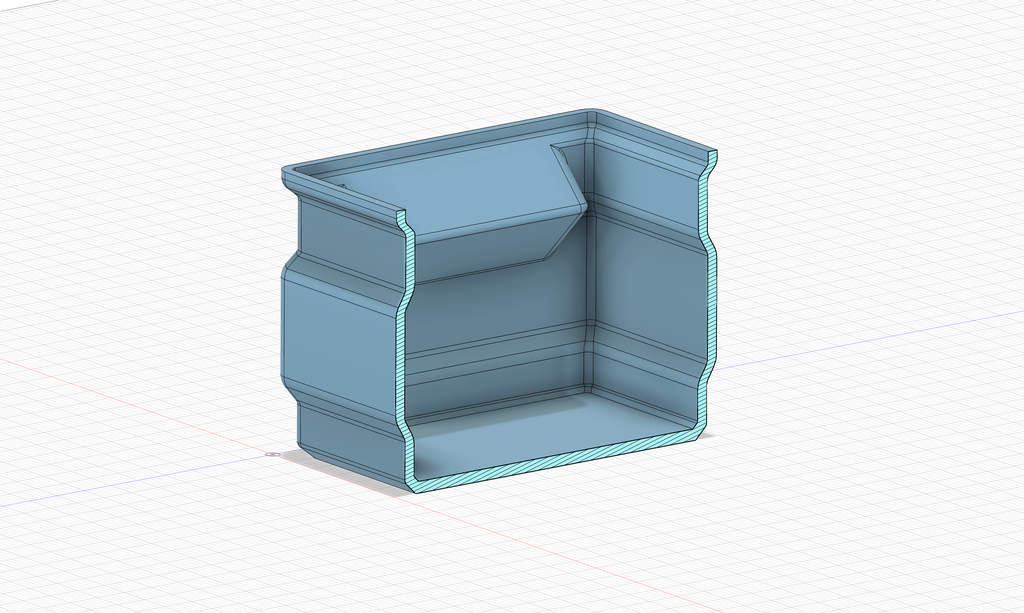
The boxes are using a special wall profile to make them more rigid. I optimised the rigidity for PLA, but it will also help if you plan to print the boxes with softer materials, like PETG.
Larger boxes use ribs at different sizes, optimised for the required stability. I tested each size and the wall stability was an important aspect in this design. Only if the walls are stable you can stack the boxes easily. Also if you store heavier objects, like screws in these boxes, the added stability prevent deformation of the walls.
Dual Label System
The mobility of the boxes was an important feature for me. I like to collect all parts for a project and place the boxes on my workbench for easy assembly. If the container is in the drawer, labels have to be visible from above, but if the boxes are stacked, a label should be visible at the side.
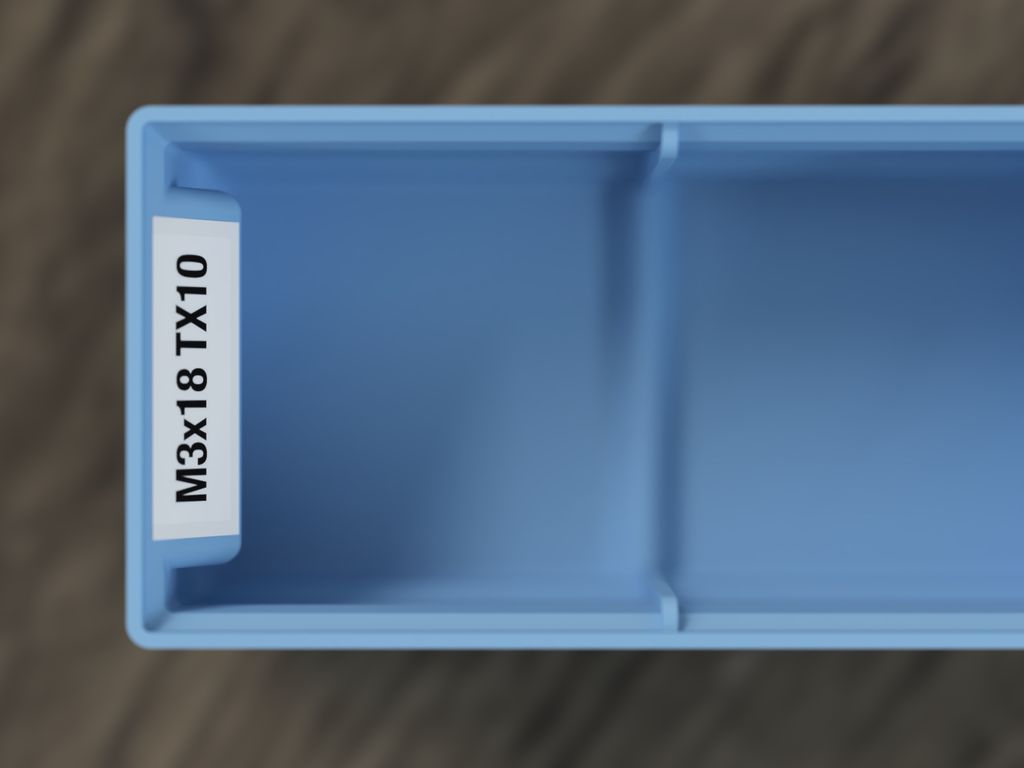
Each box has an area, where you can place a 12mm (½ inch) label strip. The picture above, shows the location which is visible if the box is placed in a drawer or on a shelf.
The following image shows the label position from directly above, e.g. if you look down into a drawer.
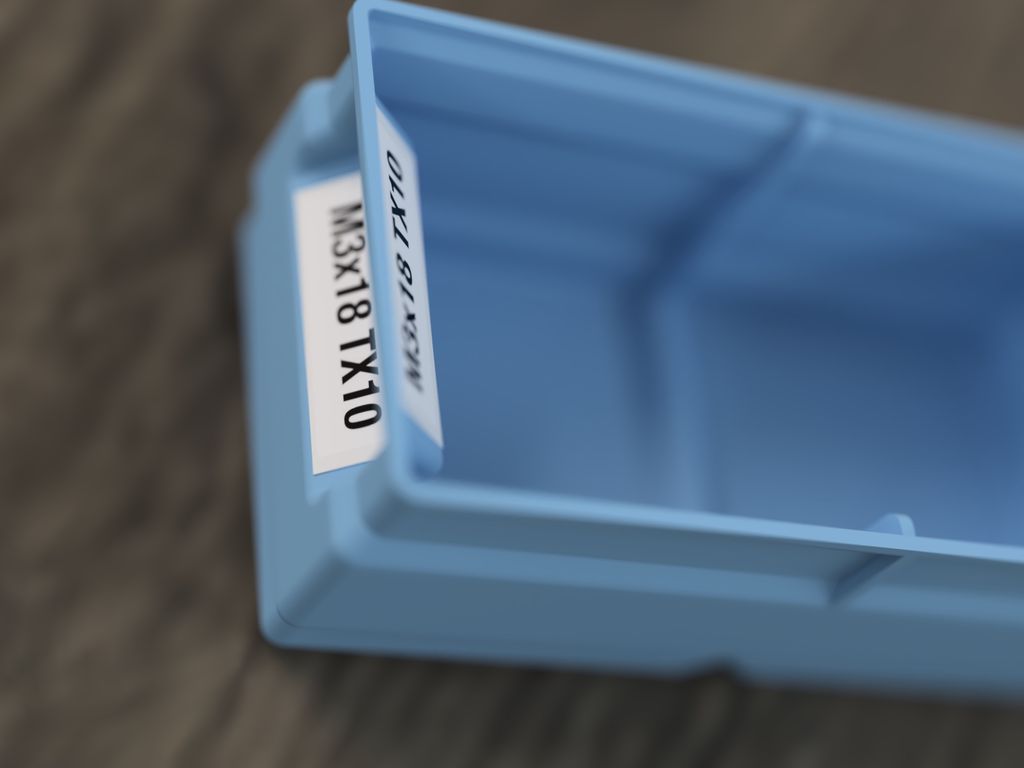
There is a second spot to place a label at the outer side of the box.
This side is visible if the box is placed on a shelf or if boxes are stacked.
Rails for the Box Raster
In drawers or in a case, rails in a grid layout keep all boxes in place. For this reason, I also designed parts you can glue or screw into your drawer or case.
I created various sizes of grids, so you can fill the space in your drawer, shelf or case as good as possible.
3D-Printing Optimisation
The FFF (Fused Filament Fabrication) process has a number of pros and cons. I designed my organiser boxes system from the ground up optimised for this specific process. I tested all designs on a Prusa i3 MK3s with a 0.4mm nozzle, with the default profile “0.2mm speed” until I got the best print results and the lowest print times.
My goals for printing the parts are:
Print time reduction.
Optimized for speed.
Also, the grid size makes the best use of the Prusa i3 MK3s print bed.
Material reduction.
Best rigidity for PLA.
Printable with different nozzle sizes: 0.4mm, 0.6mm and 0.8mm.
Reduction of stringing and limiting the risk of defects.
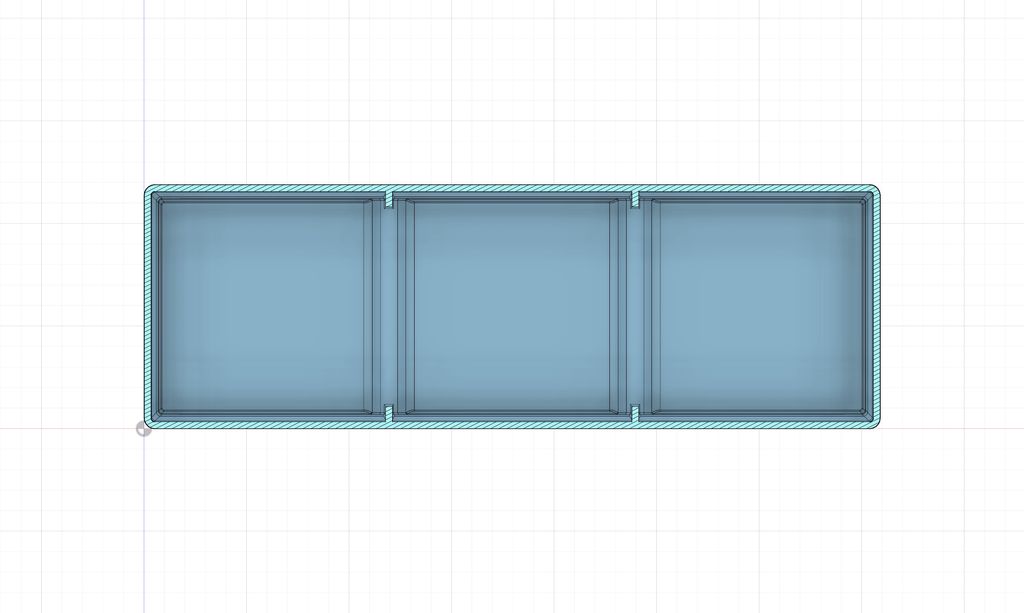
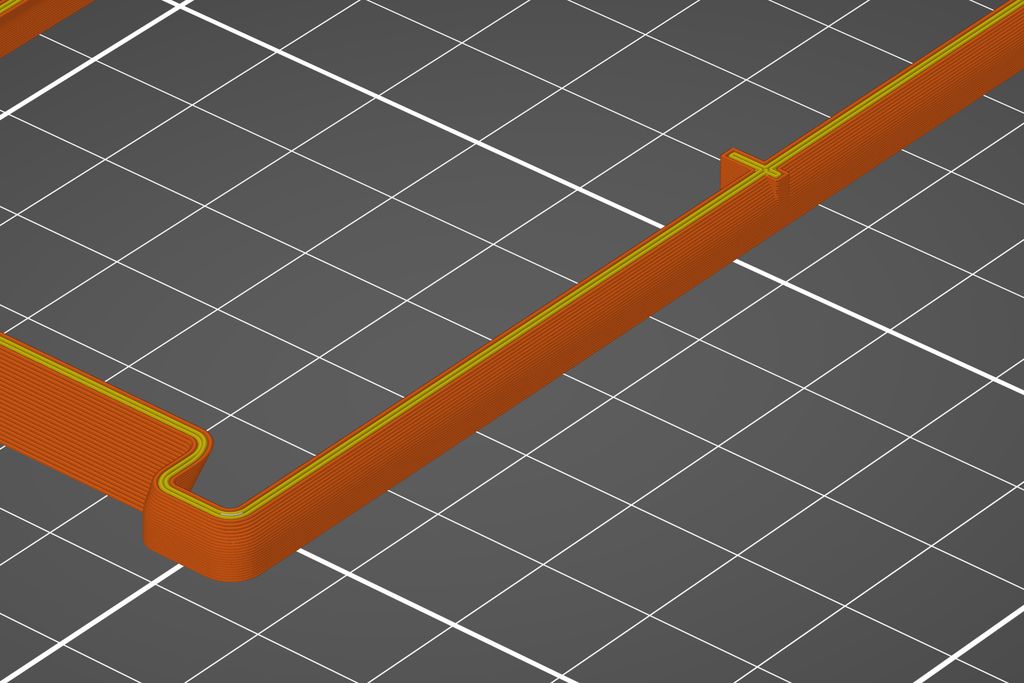
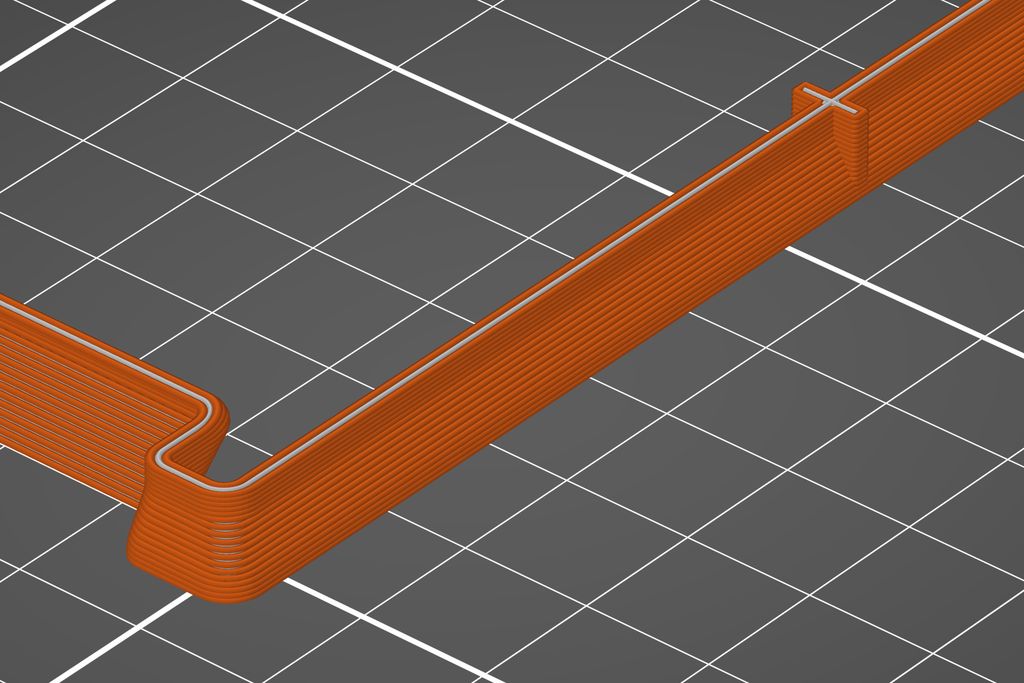
If you look at the result of your slicer for a 0.2mm layer with 0.4mm nozzle process, you see an equal profile with four lines for the walls. The same object, with a 0.35mm layer and 0.6mm nozzle process, you will get the following profile with three lines.
The Free Set of Boxes
You can download a small set of STL files for the organiser system for free:
Download the STL files and load them in your slicer software.
Make sure the bottom of the boxes and the grids are oriented to the printing plate.
For the best results, use 0.4mm nozzle and a 0.2mm layer height.
The boxes are optimised for PLA, but other materials, like PETG are working well.
To save a few minutes, you can try to reduce the infill to 0%, it will remove some really small fills. Make sure to check the result before you start mass production. 😉
The Full Set in the Shop
For a small amount, you can buy full sets of STL files in my shop. Your money will support all the free and open-source content on my website. Also, I always donate a small part of my earnings to various organisations who share my values.
You get these files under a different license. You will find the full text in the “license.txt” file inside of the package and linked in the shop. Basically, it consists of three parts:
You can use the files personally to do everything you like to print the boxes and grids.
You may use the prints (not the files) commercially. E.g. you can sell the printed boxes if you like.
You must not make me liable if these model files destroyed your printer or similar. 😄
Free Updates
Additionally, if you buy one of the sets, I will send you updates or extensions of a set for free. As you can see, currently all files are at revision A. In case I improve the models to revision B, as long the email address you entered in the shop is valid, you will receive the improved or fixed versions of the files. The same is true if I extend a set in the shop and add more model files.
Model Pictures
What’s Next?
Currently, I am working on a full set of flat boxes, which have half the height of the boxes described in this article (20mm raster, 24mm height). Also, I am working on a set of tall boxes, which have twice the height of the regular boxes (80mm raster, 84mm height).
Another idea I test, are lids for the boxes. The lids shall not prevent stacking of the boxes.
Meanwhile I created a project page and a catalog page:
I needed a robust way to reuse a 14-pin header on different breadboards, so I designed a simple two-part 3D-printed enclosure, soldered a ribbon cable, and set the header in epoxy. Read on for my quick step-by-step guide and the downloadable design files if you'd like to try it.
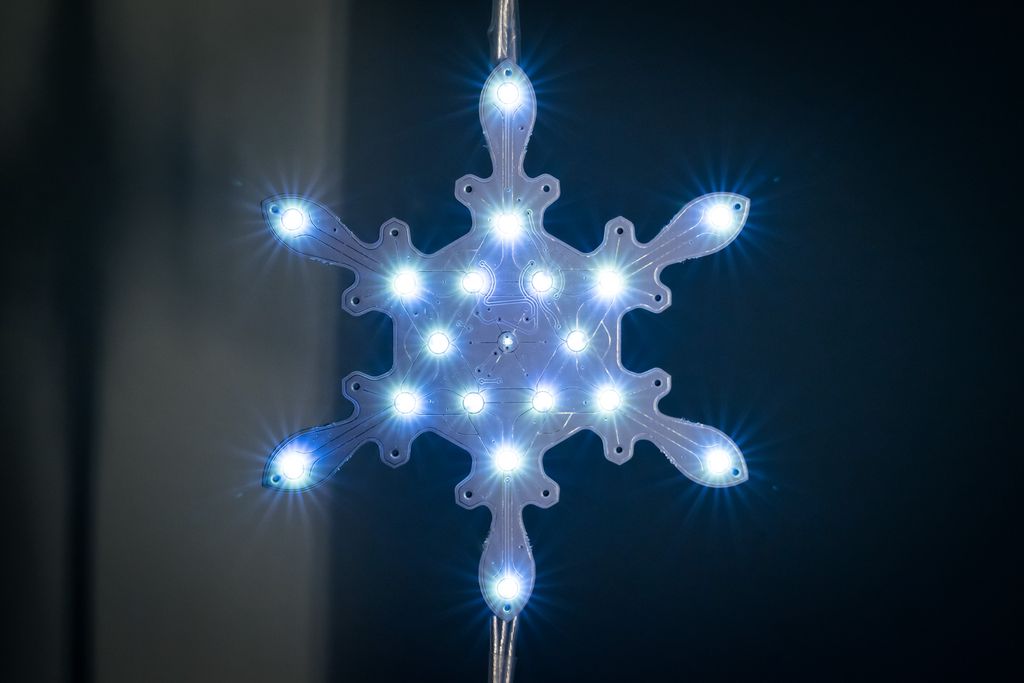
I wrote a concise page about my Snowflake project from late 2017, sharing open-source hardware designs and base firmware. If you have some electronics experience, you can build your own boards — it's a rewarding decoration. Read the full project page for files, repo links, and leave any feedback or questions.
I created a logic-gate puzzle featuring a gated D latch: more artwork than optimized circuitry. I invite you to try decoding the hidden message—there are hints and links to gate and flip-flop basics in the post. I hope you enjoy the challenge; read the full article if you'd like to solve it.
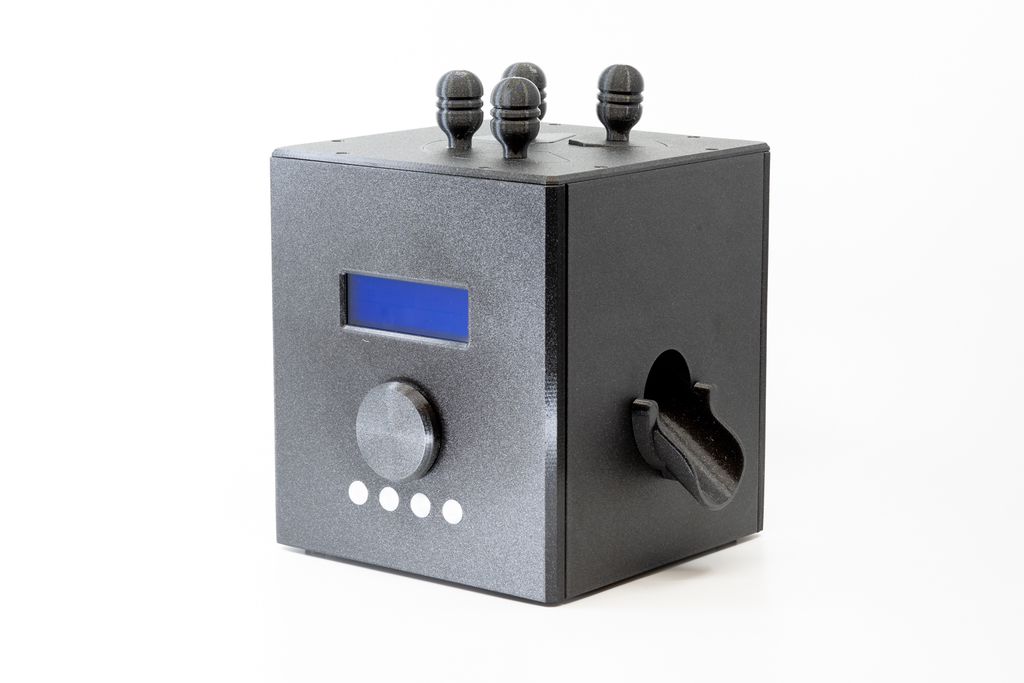
I'll walk you step-by-step through printing the mechanical parts of a fully functional, programmable cat/pet feeder. I share STL files, material and printer recommendations, and parts lists — all open-source on GitHub. If you have a 3D printer and want a challenging build, read the full post to get started.
I've been making videos of my LED snowflake decorations, but they still fall short of the live sparkle and diffraction I see. I explain the problems—blinding LED peaks and weak diffraction spikes—and invite you to read the post to watch the clips and see my plan to add digital effects.
Posted on 2019-08-01— C++, Improve your Code, Learn
I walk through practical techniques I use to make firmware error handling clearer and more consistent in modern C++. From enum classes and a shared SimpleStatus to StatusResult templates and helpers like isSuccessful, I present readable patterns and code examples you can adopt. Read the full post for details and examples.