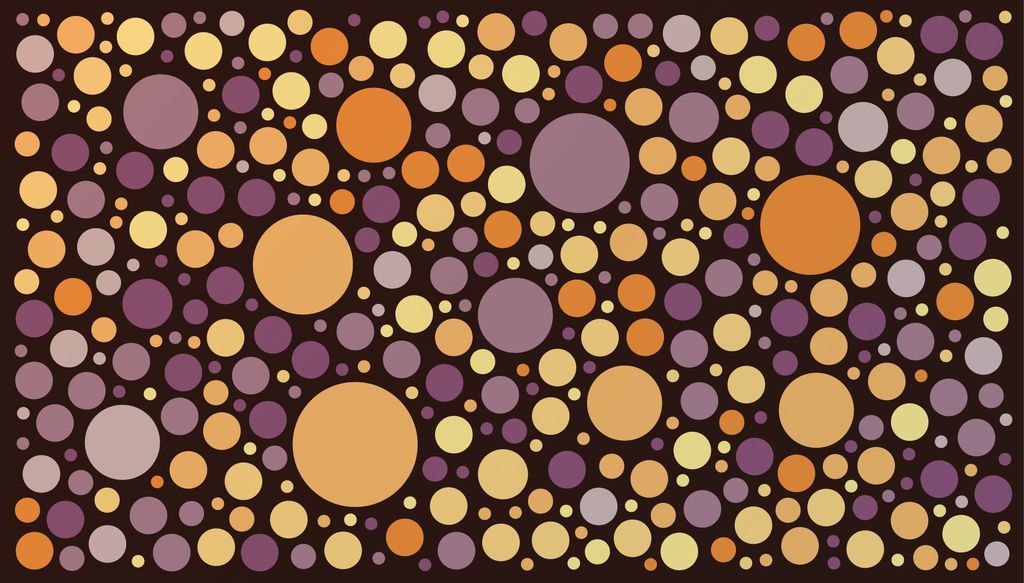
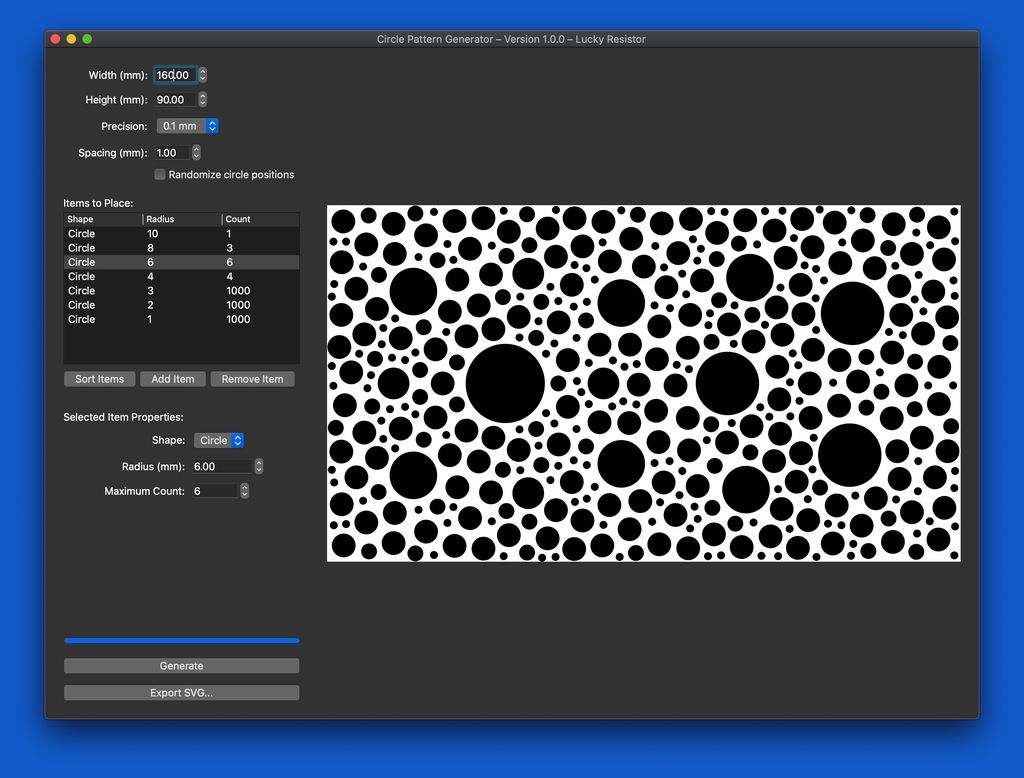
I wrote a small application to generate random circle patterns. You just specify the width and height of the rectangle to fill and the application will fill the area with the circles you specified.
The result can be exported in SVG format to use it in other applications.
Interface Elements
Width, Height: These define the rectangle where the circles are placed. The rectangle has no spacing around the edges.
Precision: It defines the precision of the calculation. Smaller values require more RAM and CPU for calculation but you get better results.
Spacing: This is the minimum spacing around the circles.
Randomize circle positions: If activated, the positions of the circles is randomised.
Items to Place: This list defined the circles to place on the canvas. The algorithm always starts with the largest radius and tries to place as many elements as possible for this size, but never more than “count” items.
Sort Items: It will sort the list into the order which is used by the algorithm.
Add and Remove Item: Adds and removes items from the list.
**Generate: **Click this button to generate a new pattern.
Export SVG: Click this button to export the generated pattern in SVG format.
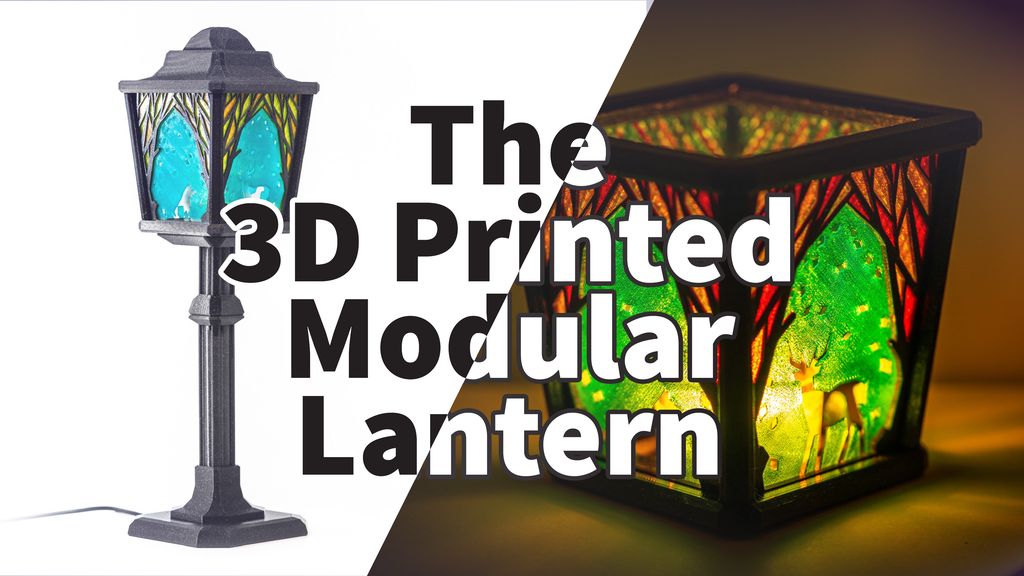
I designed a modular 19th‑century‑style lantern you can 3D print as a candlelight or expand into an LED street‑lamp stand. Read on for my glue‑free assembly, colour‑layer printing tips, and stand options — or jump to the Printables page for downloads and print instructions.
I guide you through building a compact particle sensor node using a Raspberry Pi Zero W and a minimal custom shield, with published Gerbers, STL files and example code. I keep the design simple and extendable—if you'd like to build your own networked air-quality node, read the full post for parts, assembly and setup.
I'm concerned my archived documents could absorb moisture in a root cellar with 75–90% humidity, so I built a DIY data logger to monitor conditions inside sealed boxes. I walk through parts, breadboard-to-stripboard assembly, tests and a wiring diagram — please read the full post for the complete build.
I often reach for TE's Micro‑MaTch connectors when I need compact, hand‑solderable board-to-board connections. They saved me routing space and allowed SMD pads on tiny sensor boards. I share my requirements, examples, and practical tips — please read on if you're choosing connectors for small projects.
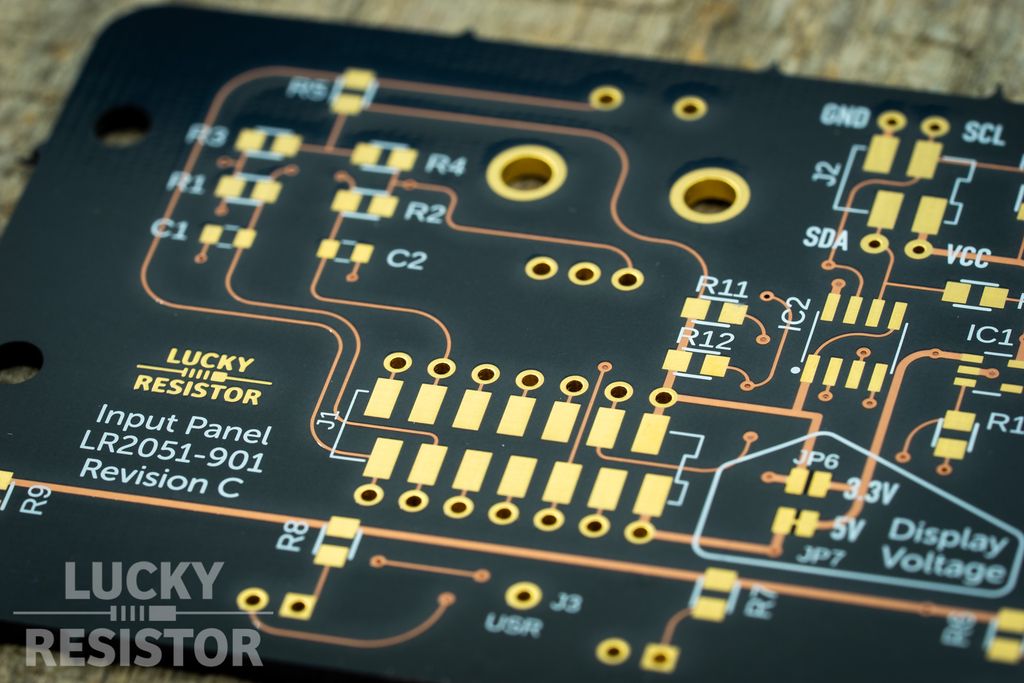
I ordered 'After Dark' PCBs from OSHpark for my pet-feeding device and wanted to share clearer, high-resolution photos so you can appreciate the black substrate with copper and transparent solder mask. If you’re curious about the look or details, please read the full post and leave questions or feedback.
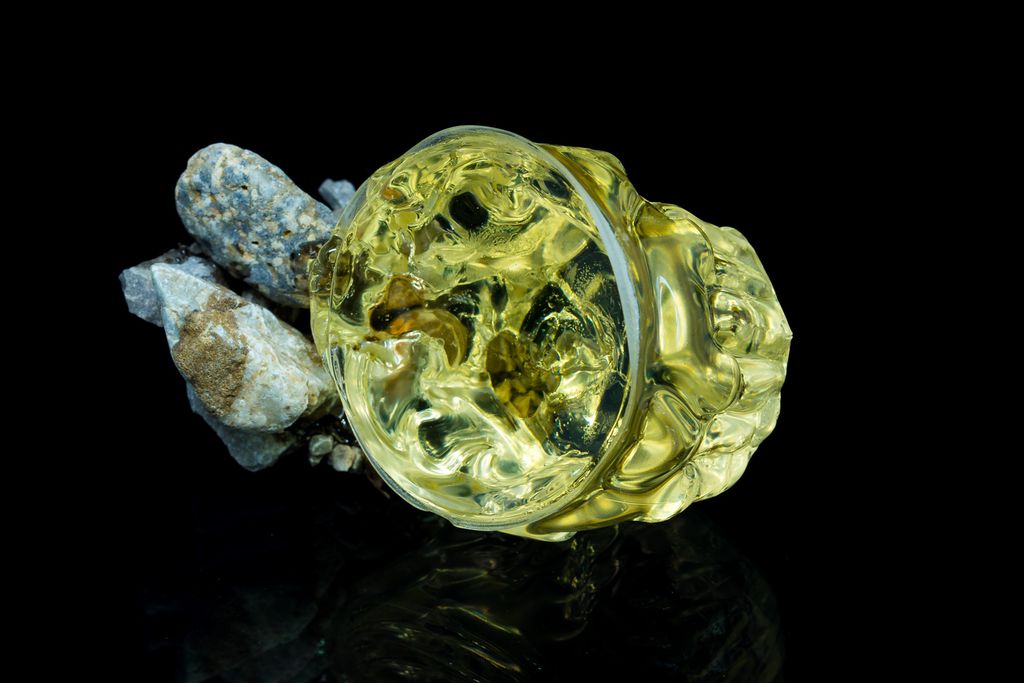
I tried mixing epoxy in a plastic cup and caused a small meltdown — a useful reminder about heat, cure times, and containment. I share what went wrong, safety and cleanup tips, and practical fixes to help you avoid the same mistakes. Read the full post for step-by-step guidance.