published: July 1, 2020 —
last modified: October 23, 2025
In most of my last projects, I used nice miniature connectors from TE. This is, again, no sponsored post. If you ever evaluated connectors, you may know how overwhelming the range of products is. I like to introduce these connectors to you, in the hope you find them as useful as I do. 😅
I first used the Micro-MaTch connectors in the Air-Monitor project. In this project, I had to connect 10 traces between two boards. There was very little space and after several design iterations, I found the Micro-MaTch connectors from TE.
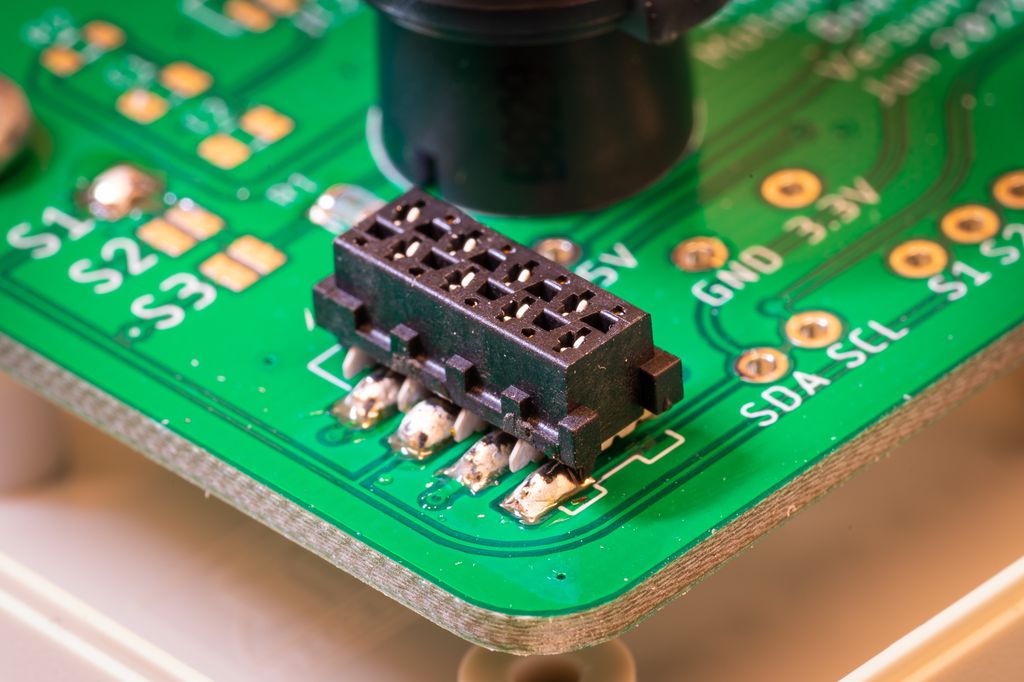
The connector is very small - 8-pin, female SMD version.
Since then, I am using these connectors. They take very little space on the board which simplifies the routing and allowing very compact boards. Also, because they use SMD pads, all other layers below can be used for routing or components.
The matching male connector can be easily assembled using a hammer.
My Requirements
I had a number of requirements:
The connector has to be hand-solderable.
There has to be an SMD variant of the connector.
I like to have a female connector on the board side, to prevent accidental shorts if it gets in contact with a wire or metal part.
I like to assemble the connector by hand, without an expensive tool.
They have to be cheap, less than $1 per connection, even in small quantities.
Connecting Sensor Boards
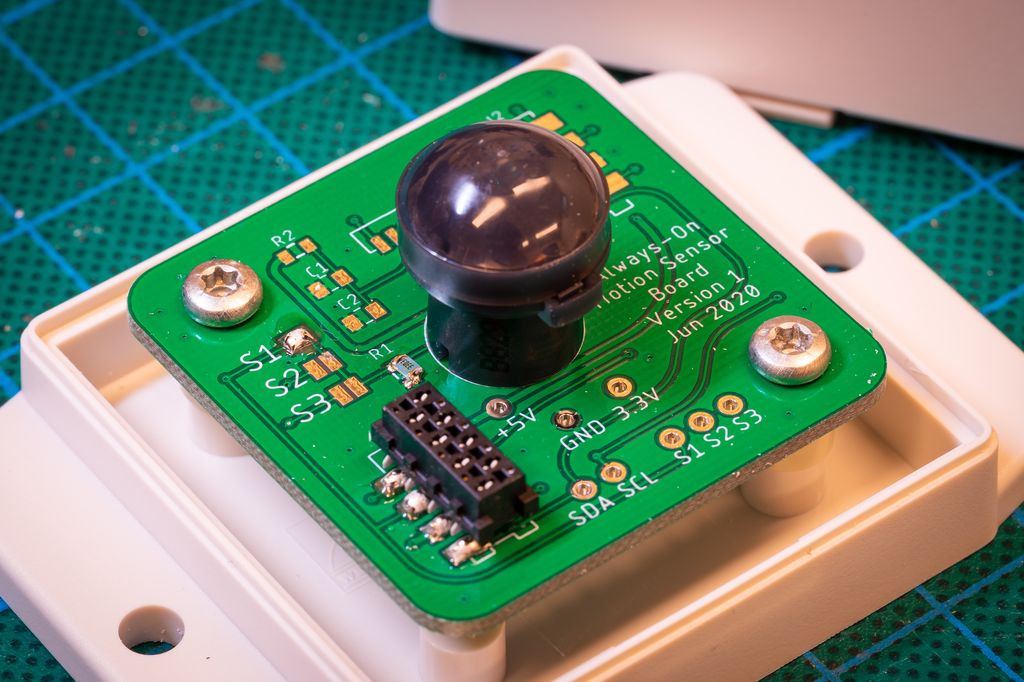
In the Always-On project, I use eight-pin connectors to connect sensor and logic boards. These connectors fit into very small enclosures. The sensor board shown above is just 40 x 40 mm. There are pads for two connectors to chain multiple boards.
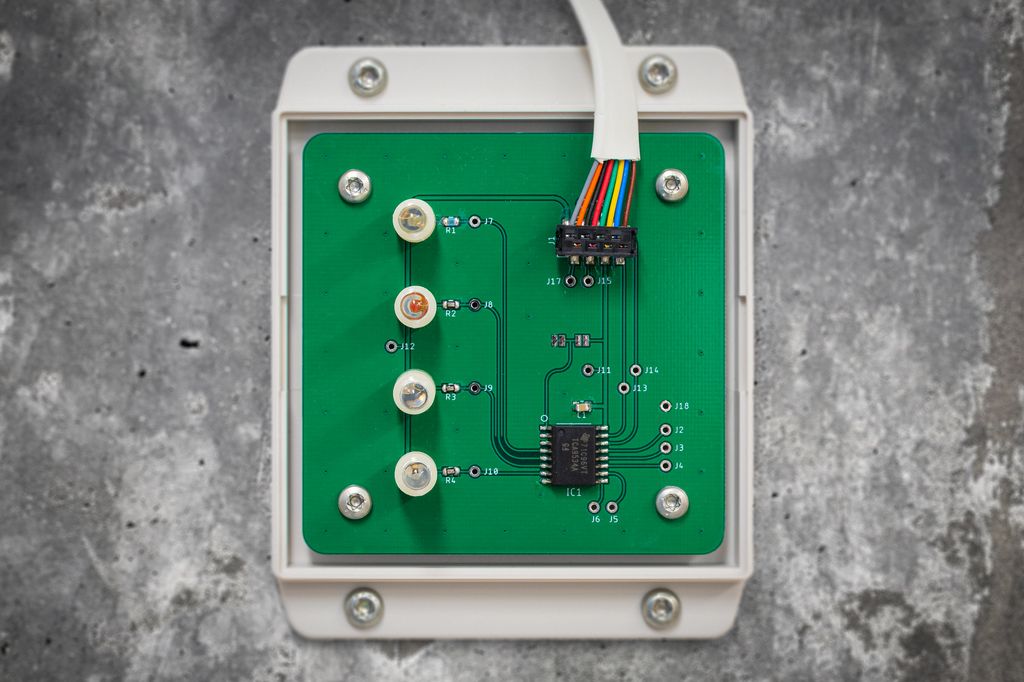
The photo above shows a very simple display board on the wall with four LEDs. It uses an IO expander chip, connected over an I2C bus. The eight-line design works great with unshielded and shielded Ethernet cables over longer distances.
Conclusion
Next time you search for connectors, give TE’s Micro-MaTch value line a try. Its connector system solved many problems for me.
If you have any questions, missed any information, or simply want to provide feedback, feel free to comment below. 😄
I'll walk you step-by-step through printing the mechanical parts of a fully functional, programmable cat/pet feeder. I share STL files, material and printer recommendations, and parts lists — all open-source on GitHub. If you have a 3D printer and want a challenging build, read the full post to get started.
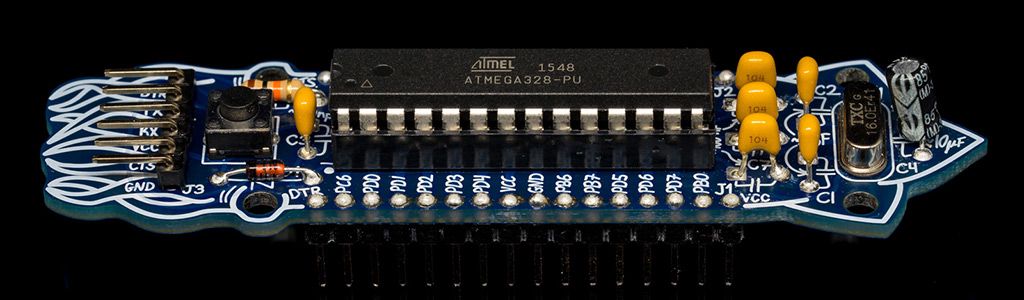
My new Boldport Club project, "The Cuttle," arrived today — a minimal ATMega328-PU board shaped like a cuttlefish. Soldering was straightforward; I photographed each stage and made a short video of a simple LED effect. Read on if you'd like photos, the code, and a closer look.
I've released a small update to my LR2052 storage boxes: new split models (LR2052-300C-S), an extensive clickable PDF catalogue, more free models on Printables, and a new download area for buyers. I invite you to read the post for full details and download links if these designs help you.
I explain how C++ namespaces prevent name conflicts and why they matter, especially in Arduino projects. I walk through practical patterns—prefixing, selective using-declarations, and importing a namespace—with class and global examples. Read the full post for simple, pragmatic examples to keep your code clearer and conflict-free.
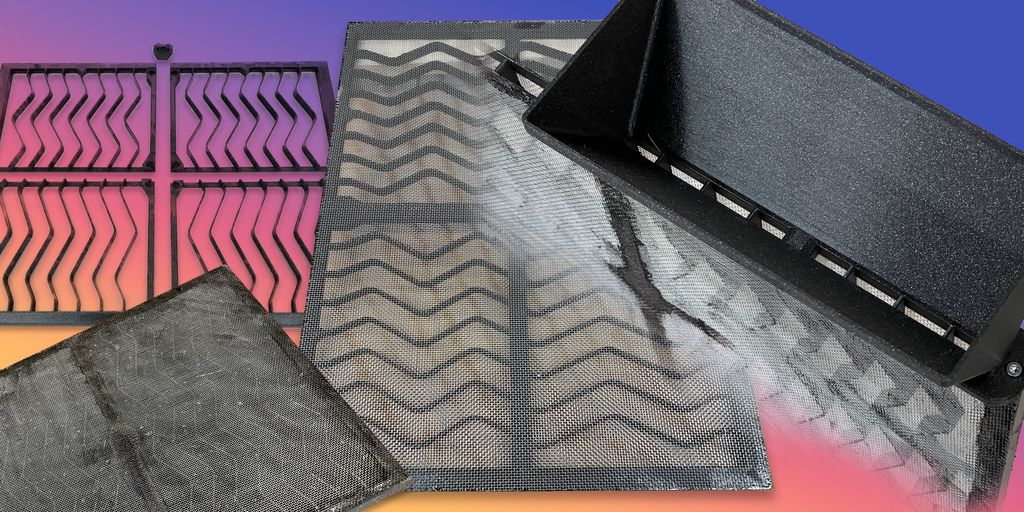
I show how I built a refillable replacement for the Philips FY3432 active coal filter using 3D‑printed PLA parts, mesh, M3 insets and epoxy. If you want a lower‑waste workshop air filter and practical assembly steps, read the full guide — I cover materials, print files and tips.
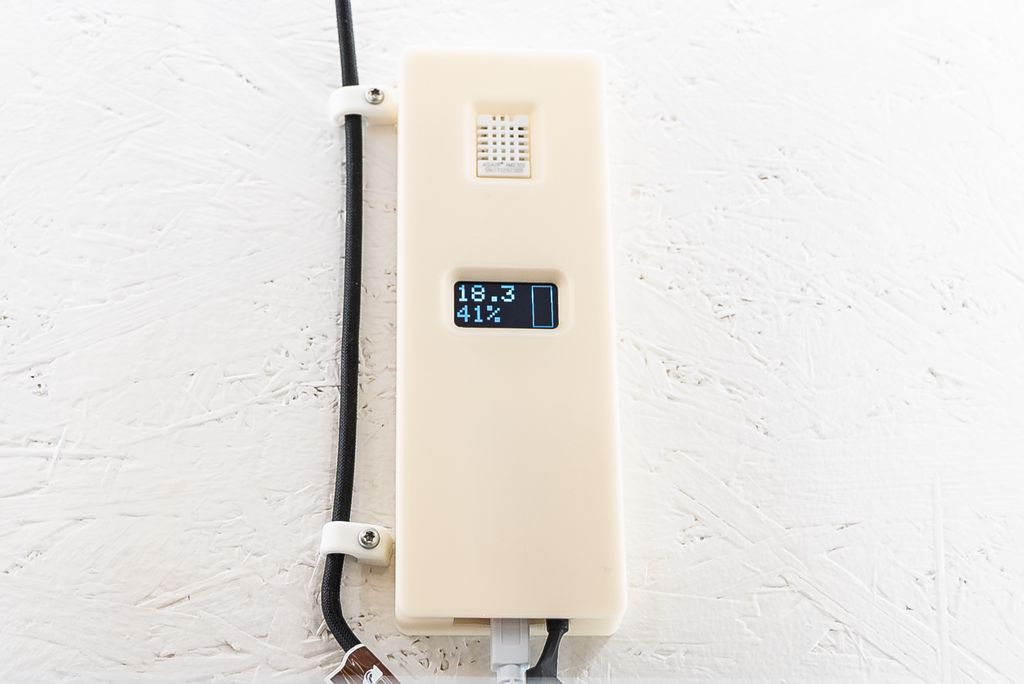
I built a PID-controlled fan and temperature controller for my printer enclosure in about four hours using an Adafruit Feather, DHT22, OLED, MOSFET, and a PWM fan. I walk through printing the case, wiring, firmware setup, and assembly—read on if you'd like to build one yourself.