published: November 23, 2019 —
last modified: October 23, 2025
If you own an original snowflake kit or produced boards from the sources, you have to wire them by yourself. The pre-assembled kit from Pimoroni comes with some nice flex-cables, but you may want to replace them with more decorative ones.
Here I explain how to create a custom wiring for your snowflake decoration.
Table of Contents
Layout / Arrangement
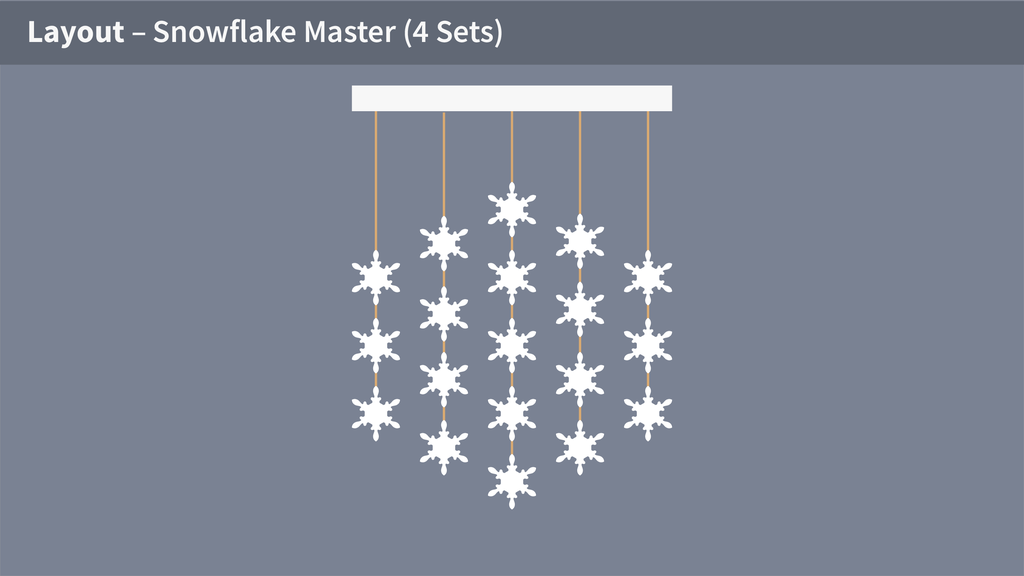
You can arrange the decoration in various layouts and you also can combine multiple sets as you like.
Some patterns in the original firmware were written for the original strand layout with five snowflakes, but you can rewrite the firmware as you like and adapt it for your custom layout.
Wiring
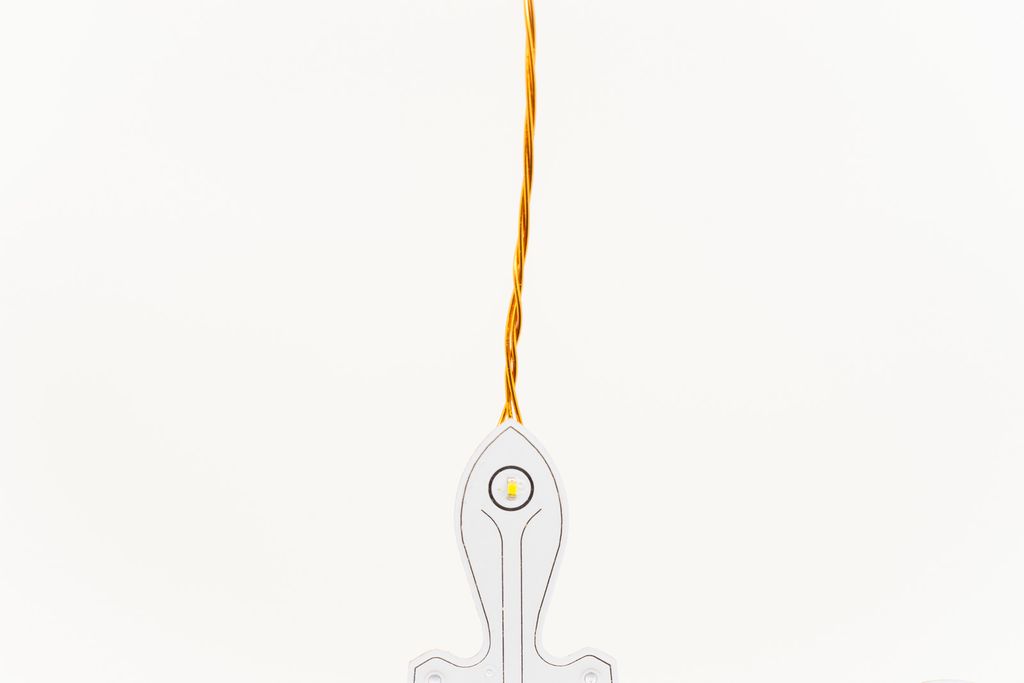
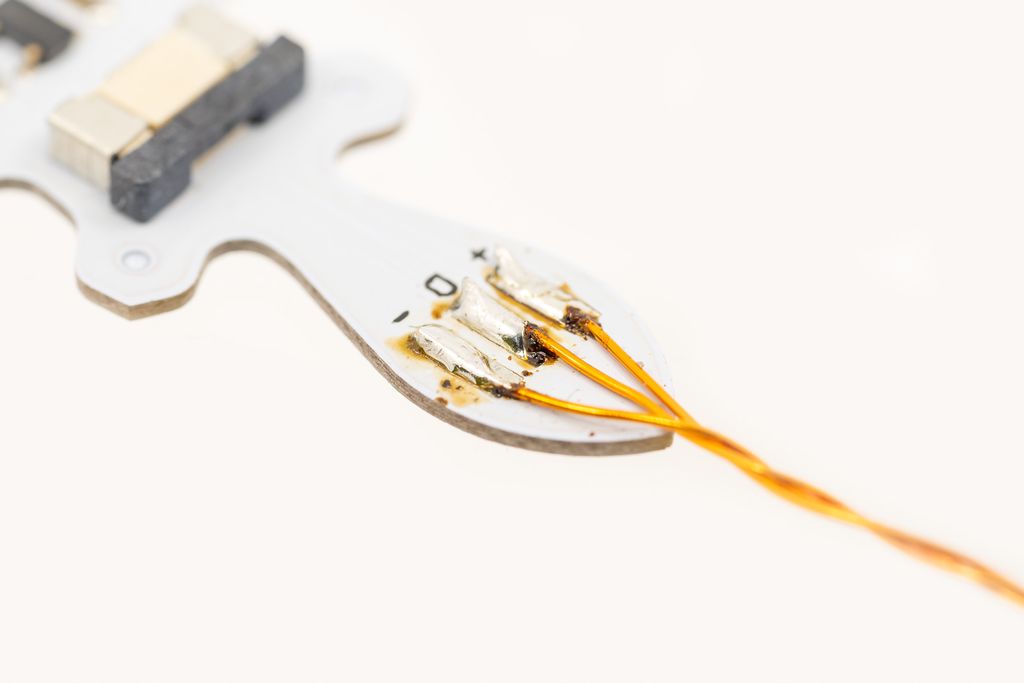
Each snowflake has three pads at the top and bottom end. Two pads for the power and one pad as data input and output.
Each snowflake needs to get the supply voltage to a + pad and ground to the - pad. Both + pads and both - pads are interconnected, so you can connect the pads from the bottom of one snowflake to the top of another.
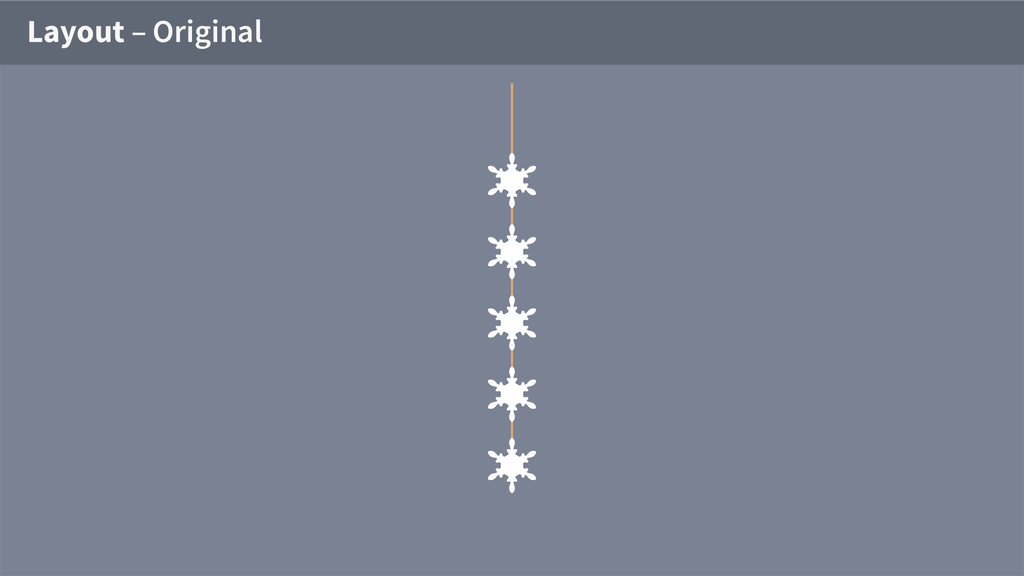
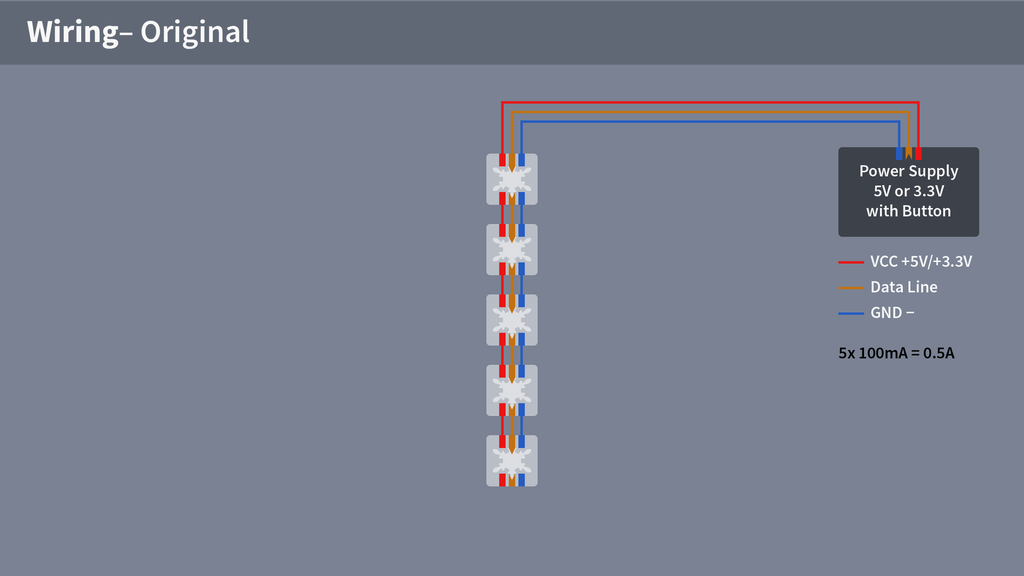
Single Strand (Original)
Connecting the snowflakes in a single strand is the simplest case.
As shown in the previous illustration, you just connect the output of the one snowflake to the next one. A cable with three cores is sufficient.
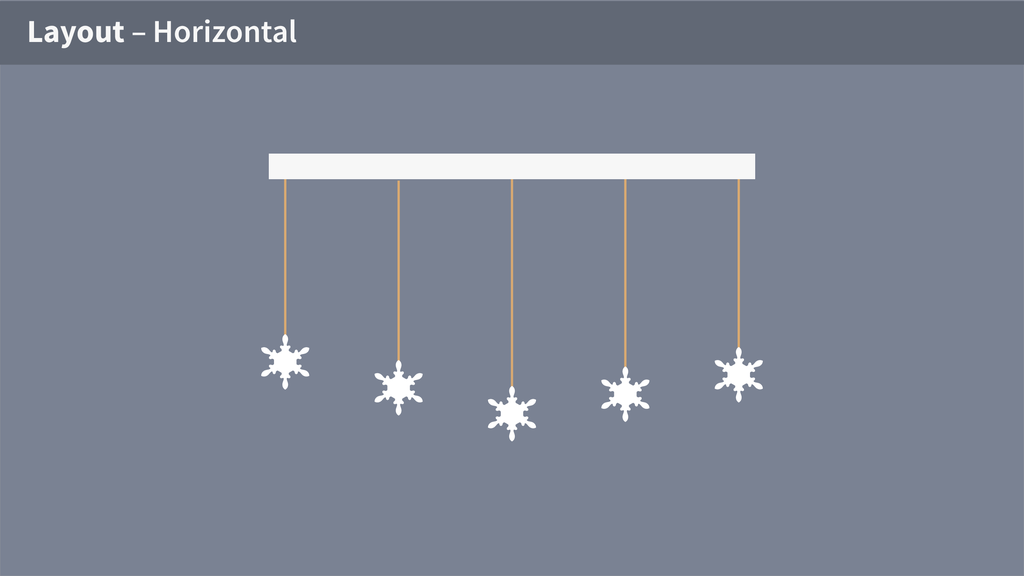
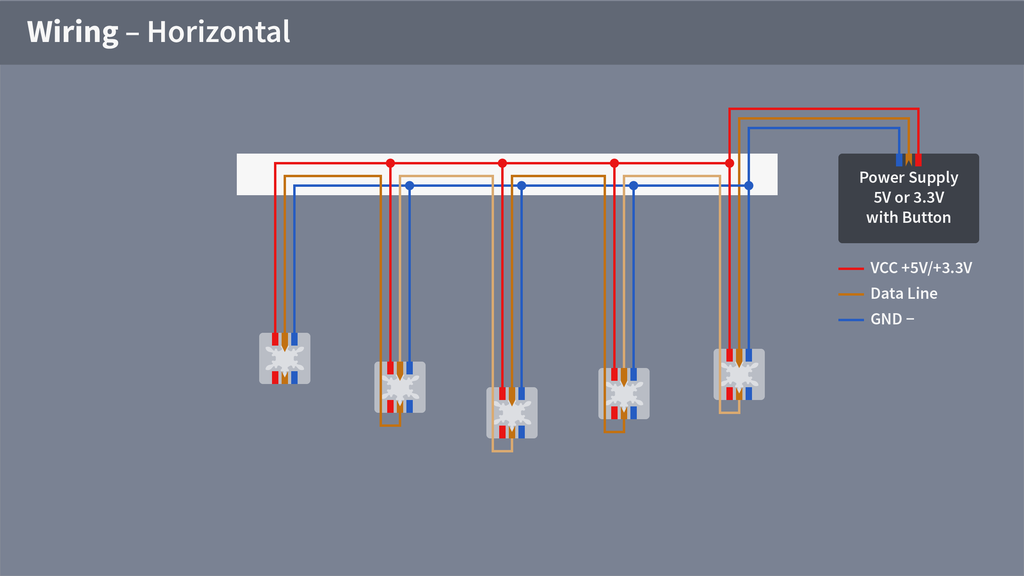
Horizontal
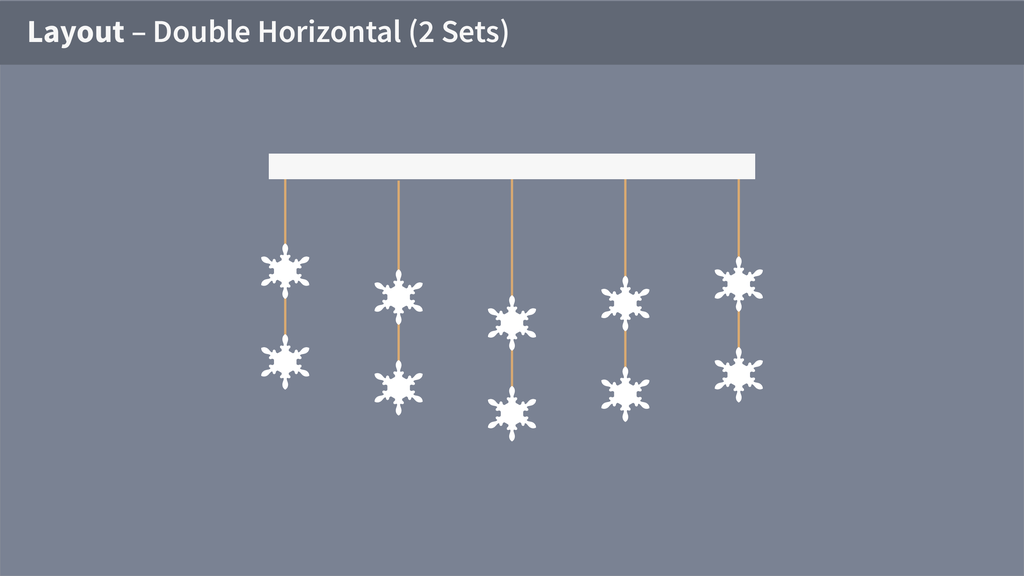
Connecting the snowflakes in a horizontal arrangement is slightly more complicated. You need a cable with four cores. You have to connect the data output on each board with the data input of the next one. The following illustration shows the most straightforward horizontal configuration.
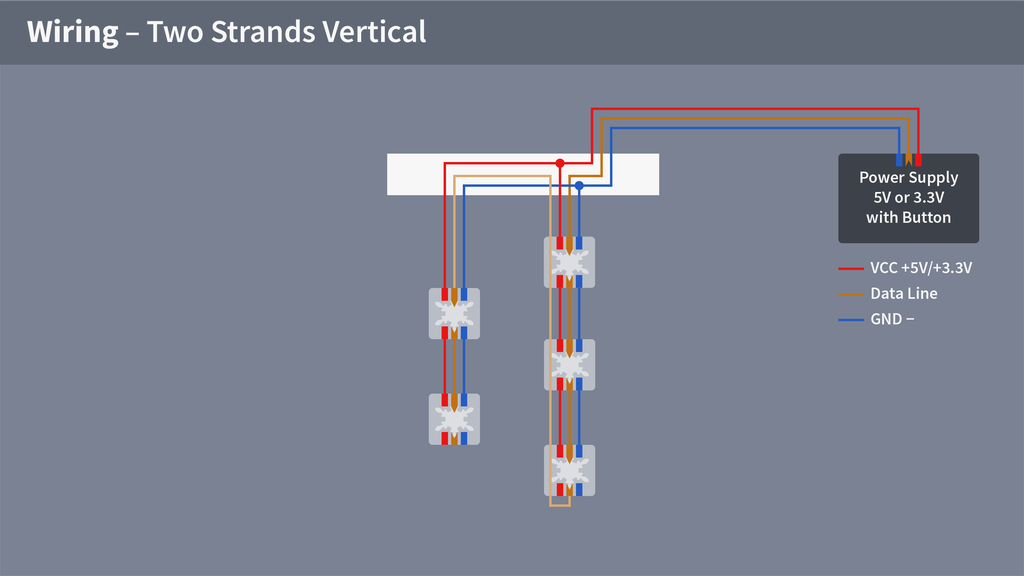
Combination
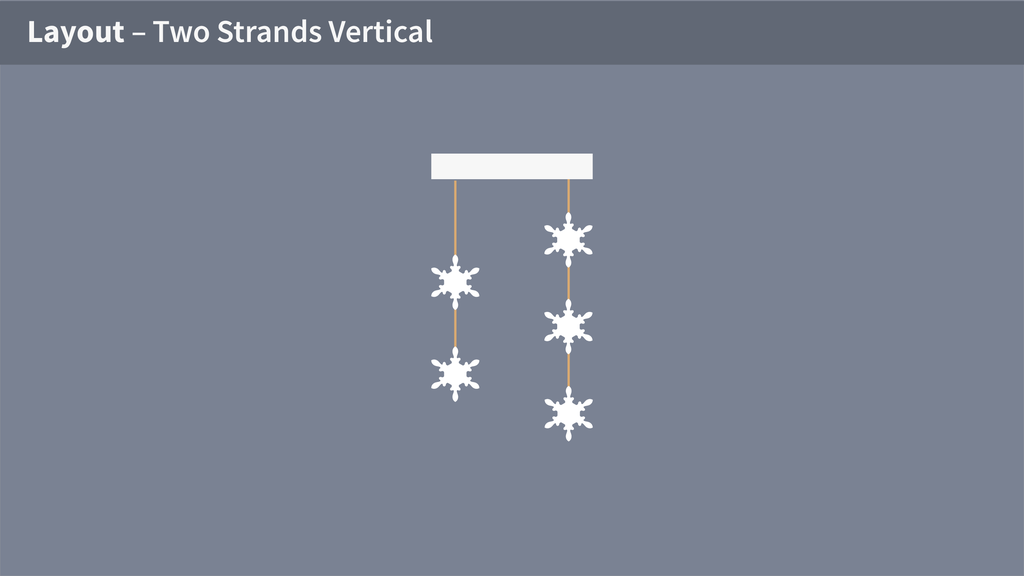
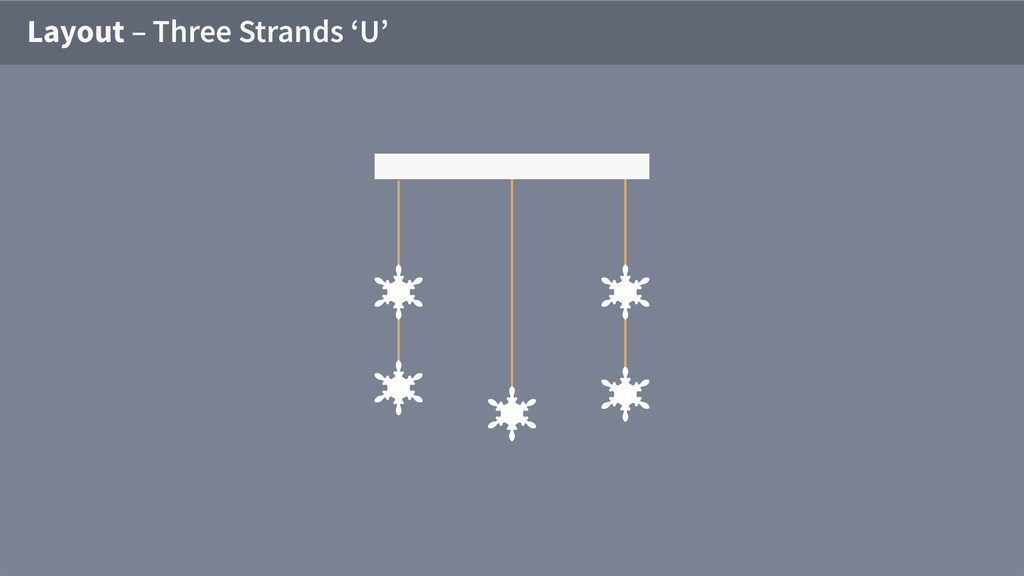
You can combine a vertical and horizontal arrangement. Make sure you loop the last data output of each strand back to the first data input of the next strand.
The Cable or Wire to Use
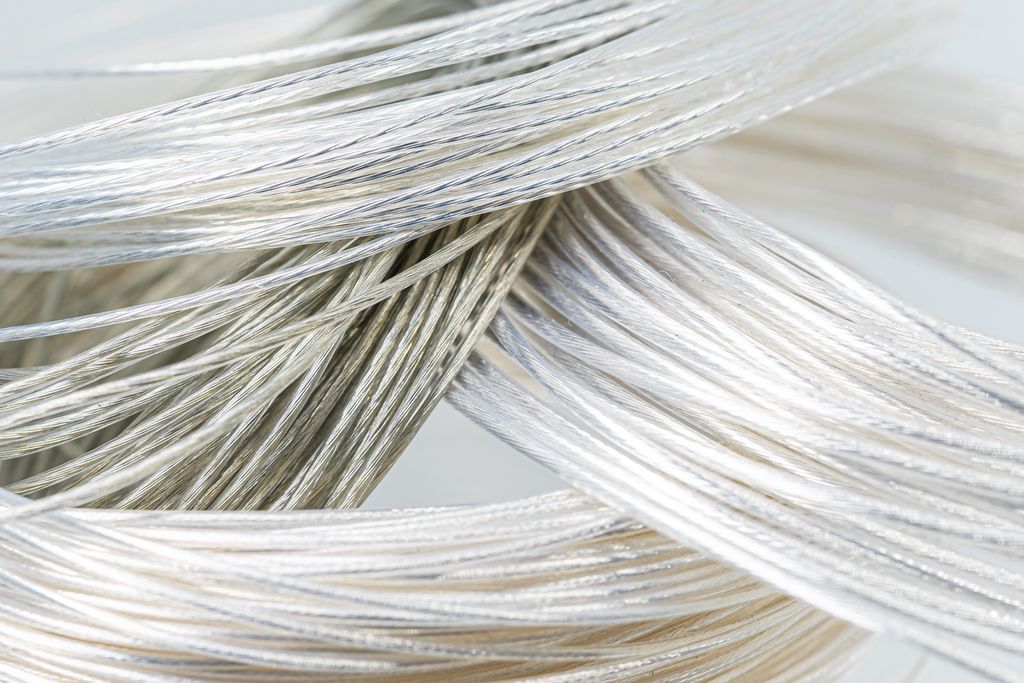
There are endless options for the wire you can use. I like these shiny silver ones with a transparent mantle. It adds to the sparkling snow effect of the decoration.
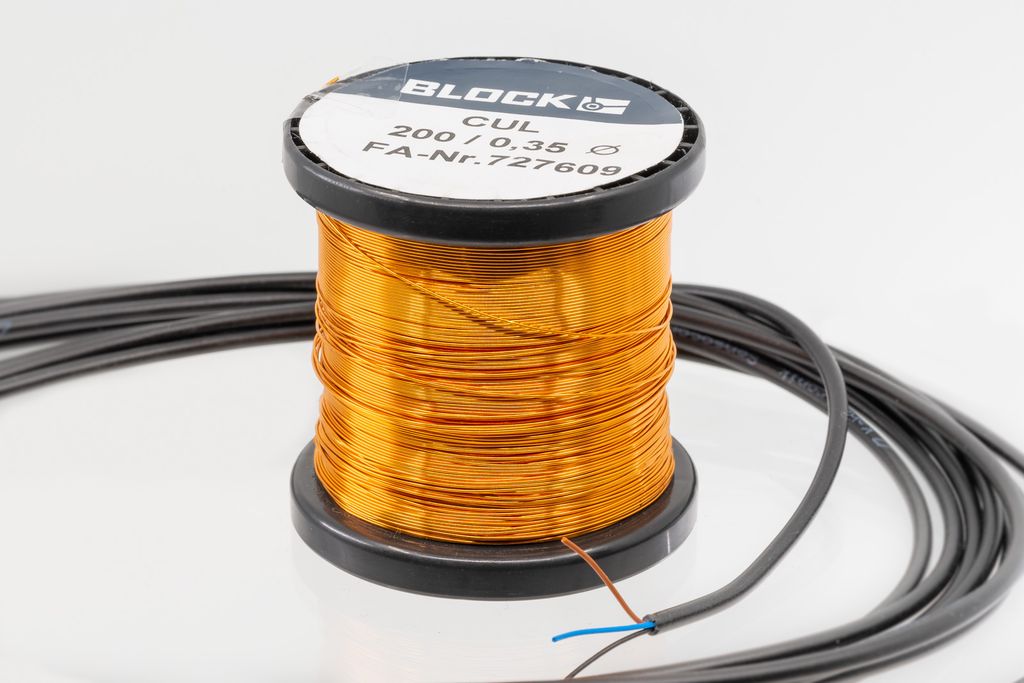
Another excellent option is a thin enamelled copper wire or a regular cable with multiple cores.
There are two crucial properties of the cable:
Conductivity: The cross-section per core. The cross-section per core.
Stiffness: How flexible the cable is. How flexible the cable is.
Conductivity
As a rough estimation, each snowflake will consume a maximum of 330mW power.
Version
Supply Voltage
Maximum Current per Snowflake
Original
3.3V
~100mA
Pimoroni
5V
~70mA
With five snowflakes connected to one strand, you have to make sure you the power wires (+ and -) can handle 500mA or 350mA. If your wires are too thin, the resistance value and voltage drop will prevent a proper function of the decoration.
If you have many boards in serial, you need thicker wires — if there are single ones in a horizontal arrangement, you get away with very thin wires.
Let us do some math:
Take the largest number of snowflakes you have in series and multiply this number with the maximum current per snowflake.
The following table will show you theoretical voltage drop values at 21ºC (~70ºF) for 1-meter (~3.3 ft) copper wire at different currents:
Cross-Section
350 mA
500 mA
750 mA
1A
0.03 mm²
391 mV
559 mV
839 mV
1.12 V
0.06 mm²
196 mV
280 mV
419 mV
559 mV
0.1 mm²
117 mV
168 mV
252 mV
336 mV
0.2 mm²
59 mV
84 mV
126 mV
168 mV
0.5 mm²
23 mV
33 mV
50 mV
67 mV
The original snowflake will only tolerate a maximum voltage drop of 300mV. The Pimoroni version uses a voltage regulator and will tolerate a maximum voltage drop of 1.7V.
Version
Maximum Voltage Drop
Original
300mV
Pimoroni
1.7V
Now calculate the cable length from the power source to the last snowflake in the strand. Calculate the current for the strand. Next, multiply the voltage drop for your cable, double this value, and add some headroom. Check if the result is in the tolerable range.
A flexible cable is important to ensure all snowflakes in a strand hang in a straight line. Stranded wires are usually softer than solid wires, but this depends strongly on the used insulation material.
While you usually find all electrical details in the specification of cables, there is typically no word about flexibility. Best is if you can check the cable first before you buy a spool of it.
Adding a weight to the last snowflake helps, but there is a limit on how much weight you can put to each strand.
Power Supply Board
Depending on the version of snowflakes you use, they need either 3.3V or 5V supply voltage. If you were able to solder the original snowflake kit or made some from sources, you will need no further help.
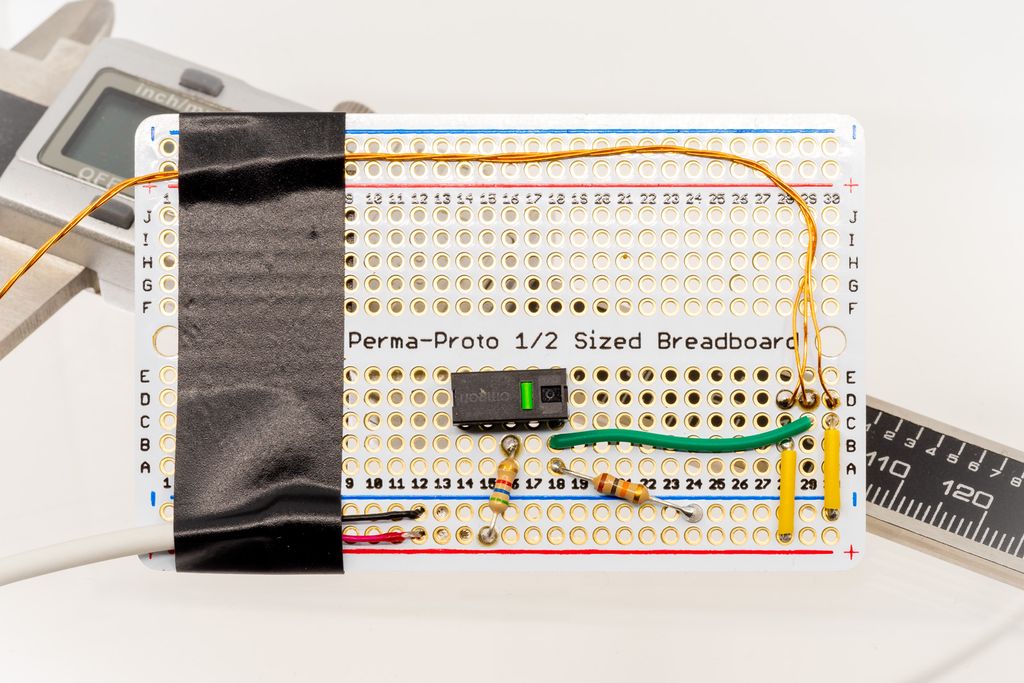
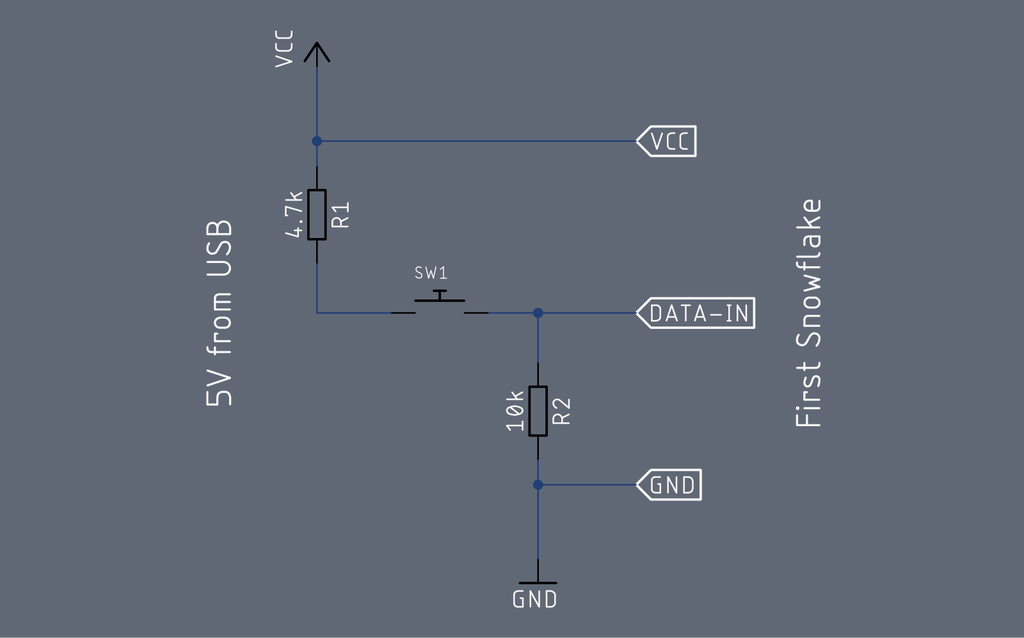
I write this section if you bought the pre-assembled kit from Pimoroni and like to replace the adapter board with a custom solution.
You will need the following components:
A prototyping board.
A push-button which makes contact if pressed.
Two resistors, a 10kΩ and 4.7kΩ one.
An old USB cable.
Conclusion
It is simple to create a special layout of snowflakes for your decoration. If you combine this with customized firmware, you can create absolutely stunning effects.
If you have questions, missed any information, or simply want to provide feedback, feel free to comment below or reach out to us through Twitter!
I've created a collection of 3D-printable flower pots—geometric, Roman-vase inspired, striped and spiral—optimized for practical printing on machines like the Prusa XL. I share lessons on wall thickness, corner radii, nozzle sizes and model files. Read on for design details and downloads.
Posted on 2019-07-08— C++, Improve your Code, Learn
I guide you through evolving a simple Arduino blink example into a reusable event system. In Part 2 I cover function-pointer events, an EventLoop module, and practical multi-event examples. If you want cleaner, non-blocking firmware structure, read the full post for code and explanations.
I've designed a simple magnetic filament filter that snaps onto a 16mm feed-through to catch dust and particles with a microfiber-wrapped sponge. It's easy to attach, low-friction, and printable in PETG — STL and Fusion360 files are included. Read the full post for printing, assembly and download links.
I walk through the sensor board I designed for the pet feeder, explaining the position sensor, four fill sensors, and why component choices (like the 100kΩ resistor) matter. I keep the design simple and practical — read the full post for schematics, measurements, and ordering details.
I've been developing software for over 20 years and share how my language preferences shifted—from assembler and C to Python, Swift, C++, Go and Rust. I outline use-cases and trade-offs in a personal, practical way; if you're deciding what to learn, please read the full post for detailed guidance.
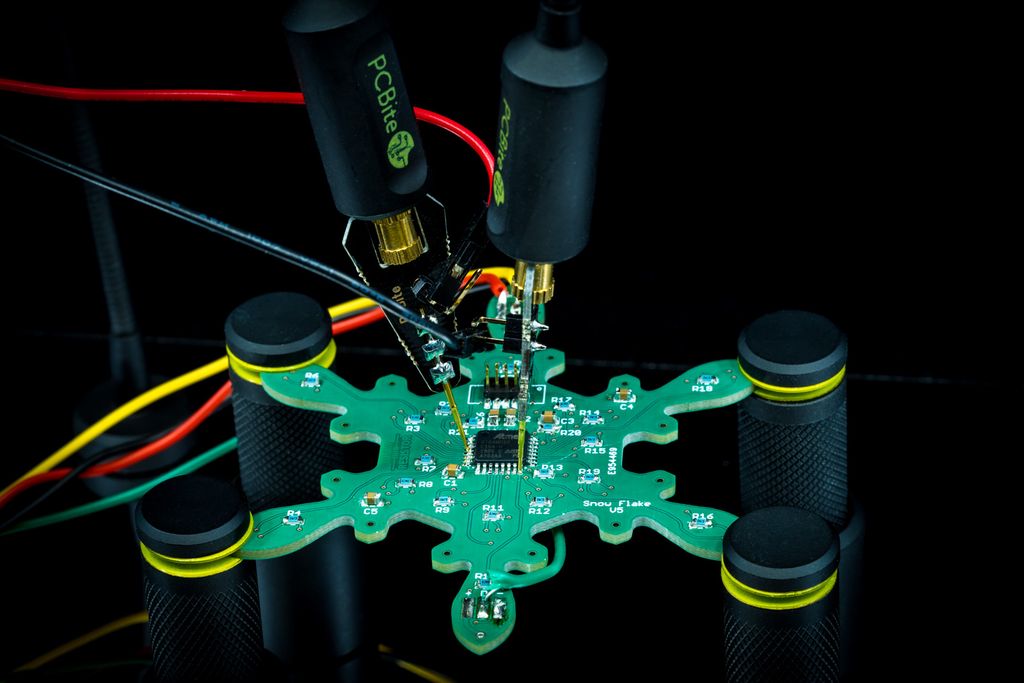
I just received the PCBite Kit 2.0 from Sensepeek and explored its mirror board, magnetic pogo-style probes, and PCB holder. I found the gold needle tips and crown forks helpful for accessing tiny pads without test points. If you work on soldering or circuit analysis, read on for my hands-on impressions.