published: November 22, 2019 —
last modified: October 23, 2025
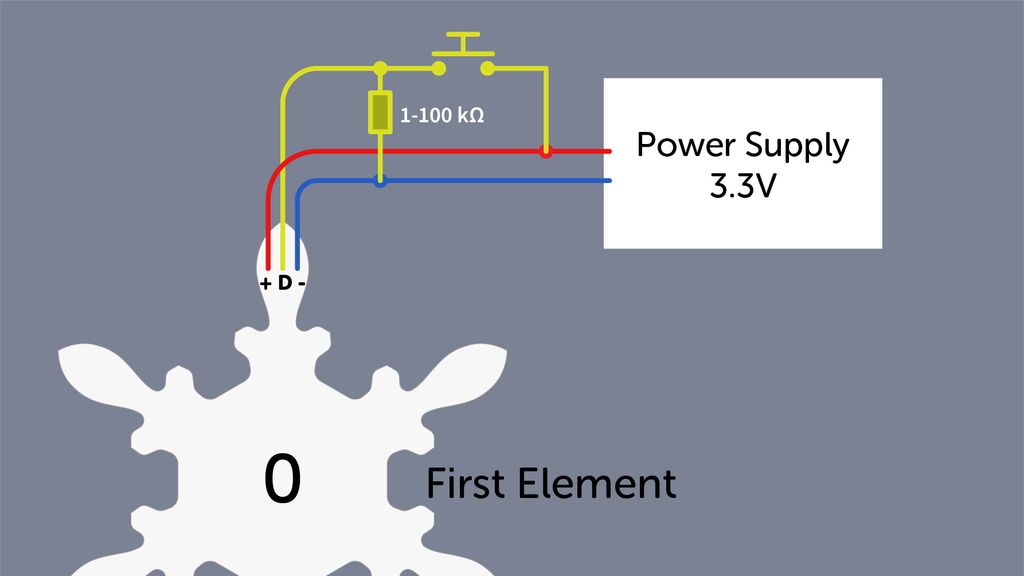
In version 1.2 of the snowflake firmware, I added a configuration mode, using a button attached to the data in of the first element.
The States
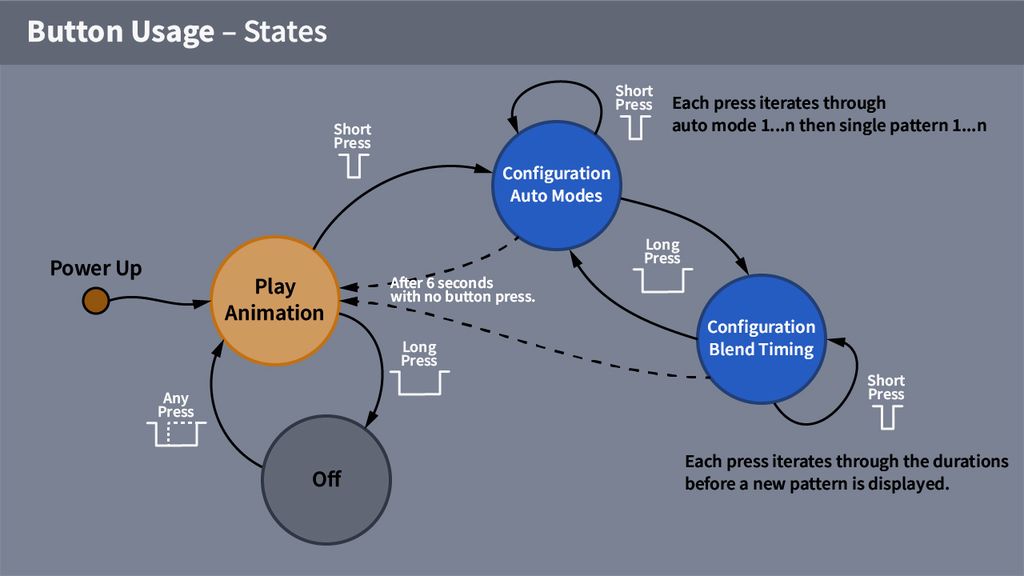
The attached button can issue two actions: a short press and a long press. A short press is anything from 50ms to approximate two seconds, and a long press is any press longer than two seconds.
After the initial power-up of the decoration, it starts in the play animation mode, using the first automatic mode and a one-minute duration for each pattern.
In the play animation mode, a long press will turn the decoration off. If turned off, any button press will turn it on again.
A short press in play animation mode will switch to the configuration. The indicator for the configuration is the fast blinking LEDs around the first snowflake. Use button presses to change the configuration as described below. If you wait for six seconds, the configuration is accepted and the decoration goes back into the play animation mode.
The Configuration
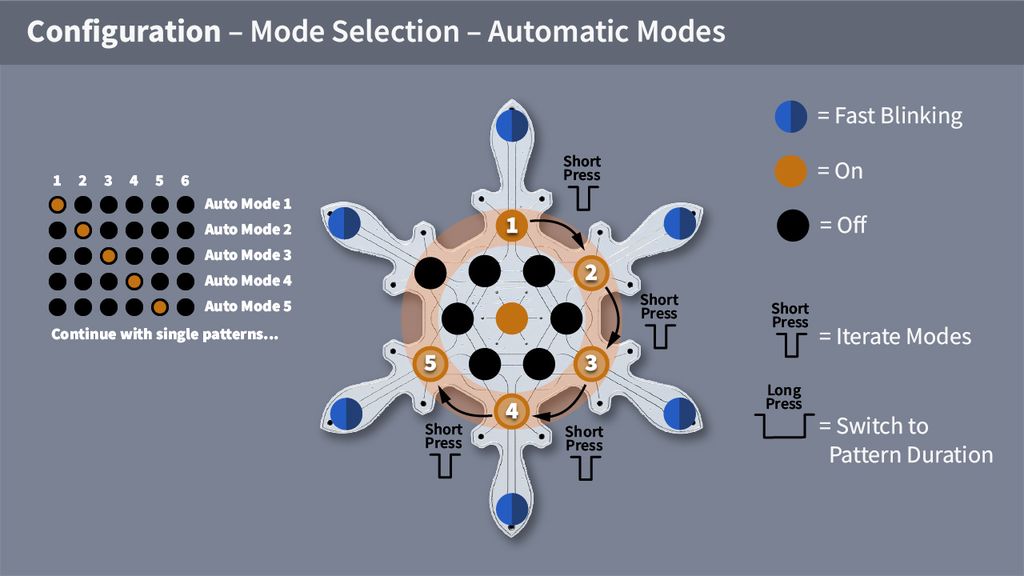
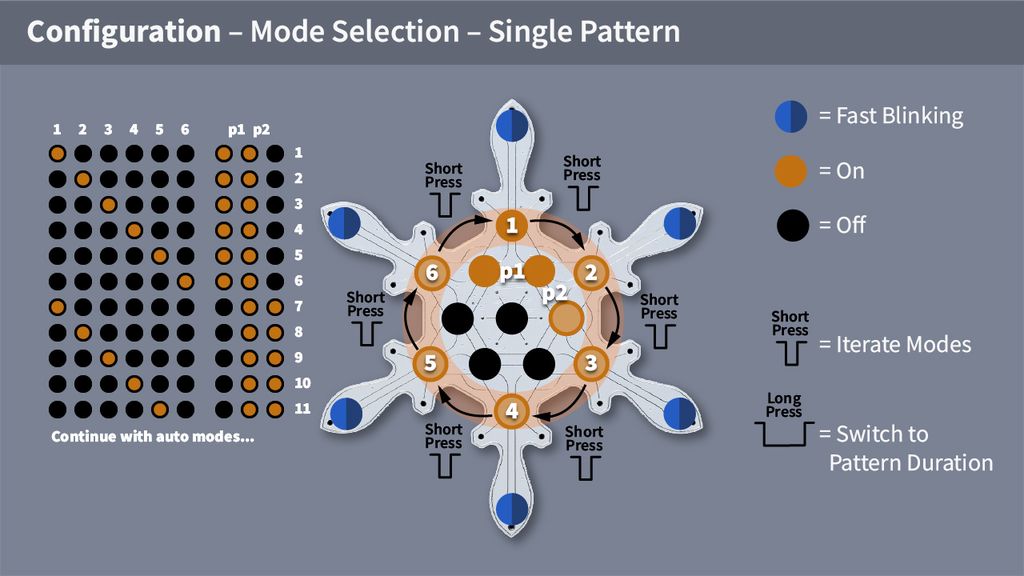
You always start in the mode selection. Short presses will iterate through all auto modes, then through all single modes. After the last single mode, it will start over with the first auto mode.
The LED in the centre indicates an auto mode. The shown LED 1-5 indicate which auto mode is actually selected. After reaching the last auto mode, single pattern modes are selected.
The single pattern mode is indicated with the centre LED off and two LEDs in the inner ring. The two LEDs indicate the page of the pattern and the LED in the outer ring the pattern number. There are six patterns on each page, and after the sixth pattern, you switch to the next page.
After the last pattern, you switch back to auto mode selection.
If you wait for six seconds, the decoration will switch back into the play animation state, using the selecting mode.
A long press switches to the pattern duration configuration.
The Pattern Duration Configuration
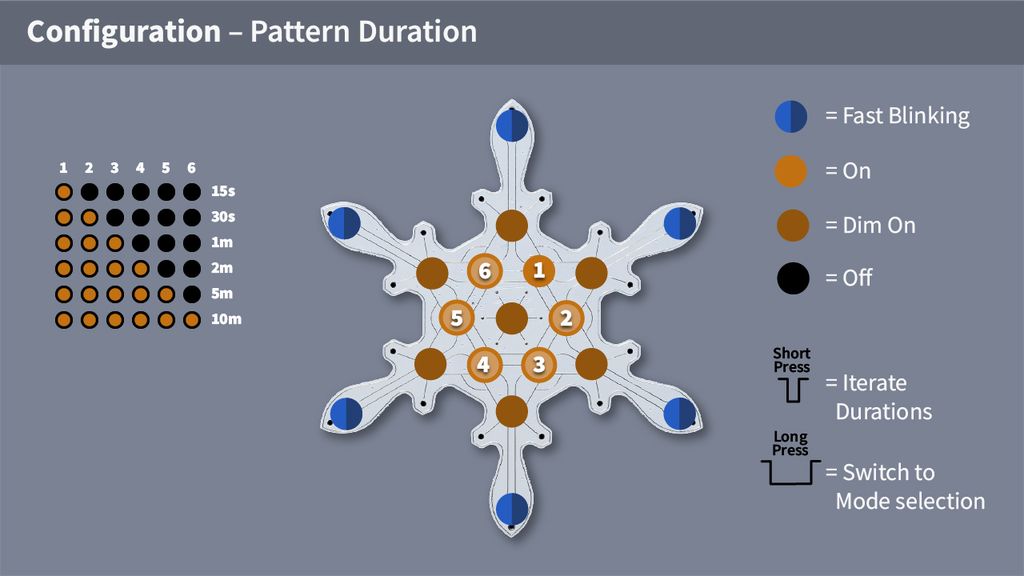
In the pattern duration configuration, you select how long a pattern in any auto mode is displayed, before the decoration switches to the next random pattern.
The indicator for this mode is dim-lit LEDs in the outer ring and centre. The* number of* LEDs in the inner ring displays the selected duration.
Each short press will iterate through the six durations. A long press will switch back to the mode configuration.
If you wait for six seconds, the decoration will go back to the play animation state, with the selected mode and pattern duration.
Conclusion
The selected mode and duration is not permanently stored in the decoration. If you remove the power, the configuration is lost.
If you have questions, missed any information, or simply want to provide feedback, feel free to comment below or reach out to us through Twitter!
I'm happy to share you can now buy an assembled Snowflake Decoration from Pimoroni with worldwide shipping. The panels arrive pre-soldered, use 5V power and flat cables so no soldering is needed. If you'd like details on the updates and compatibility, please read the full post.
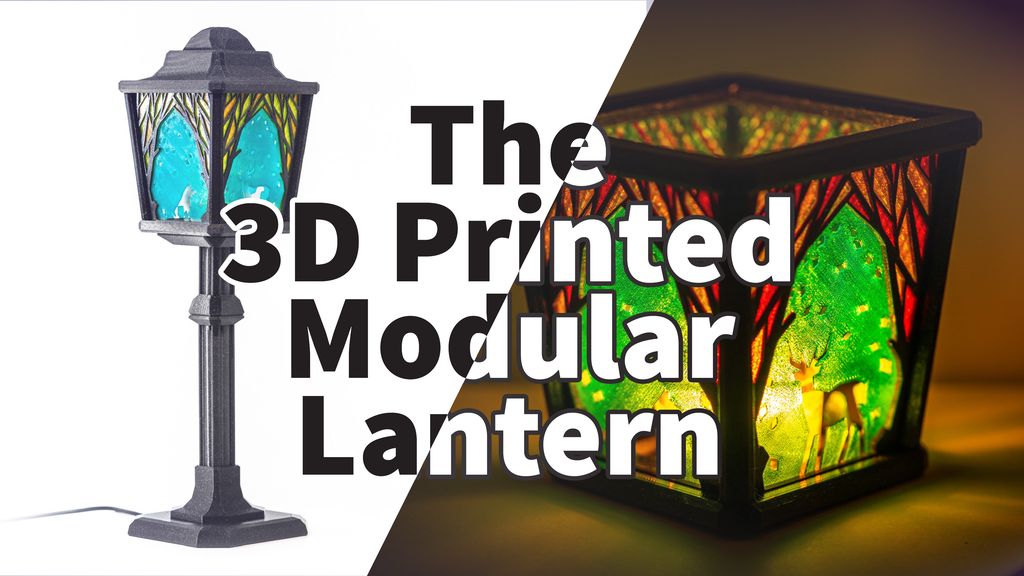
I designed a modular 19th‑century‑style lantern you can 3D print as a candlelight or expand into an LED street‑lamp stand. Read on for my glue‑free assembly, colour‑layer printing tips, and stand options — or jump to the Printables page for downloads and print instructions.
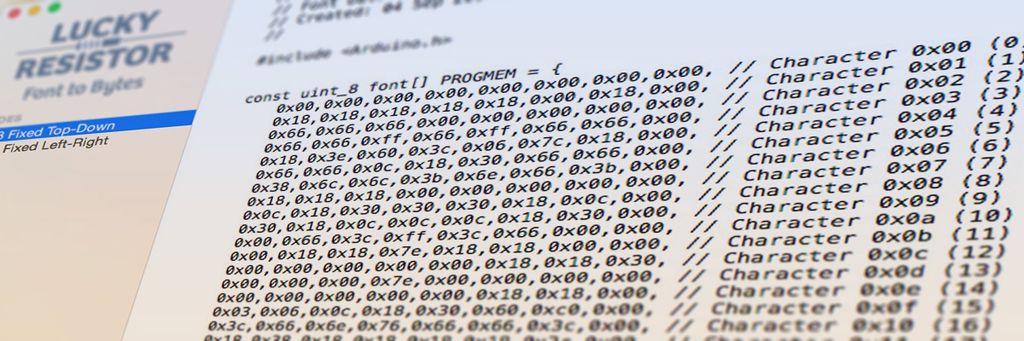
I created a small macOS app that converts bitmap 8×8 fonts into byte arrays for text-only LCD displays. It accepts PNGs, validates the layout, and outputs source code you can save or copy. I also provide an example font, a Photoshop template, and the source—read on for download and usage.
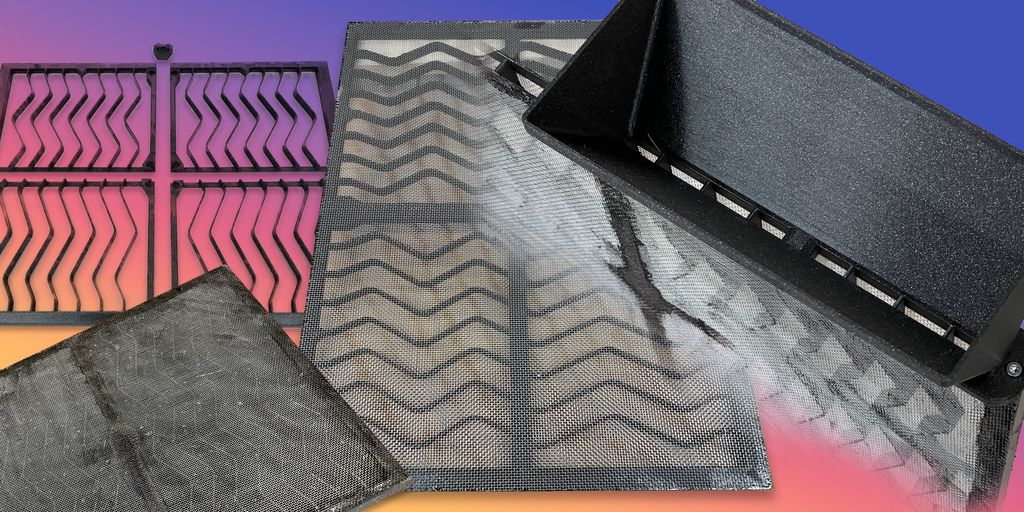
I show how I built a refillable replacement for the Philips FY3432 active coal filter using 3D‑printed PLA parts, mesh, M3 insets and epoxy. If you want a lower‑waste workshop air filter and practical assembly steps, read the full guide — I cover materials, print files and tips.
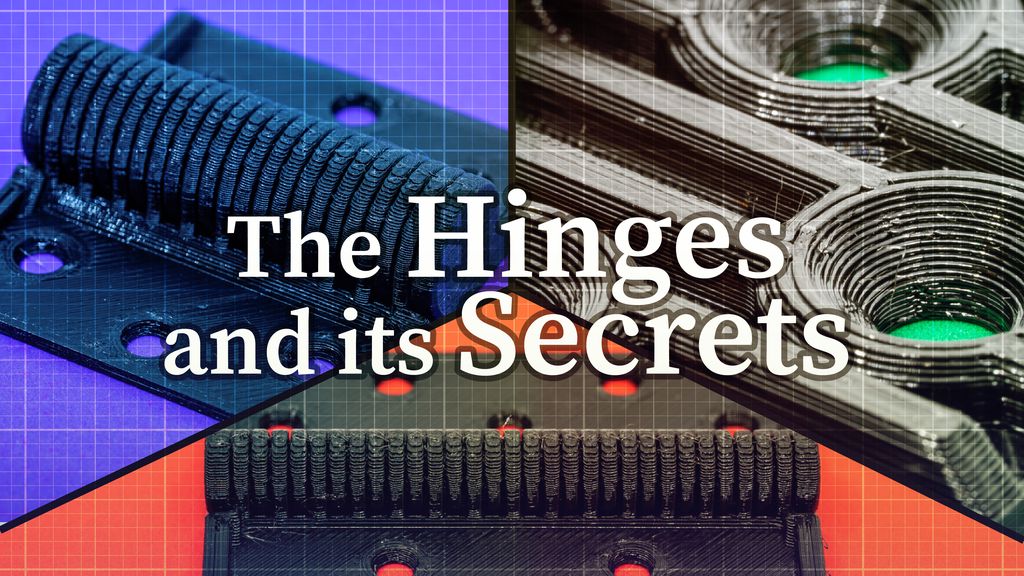
I'm not a 3D printing guru, but I built and tested three print-in-place hinges optimized for PETG/ASA and explain the small design choices that make them work reliably. I walk you through bridging, fin widths, overhangs, and conical holes — read the full post to learn how to print them well.
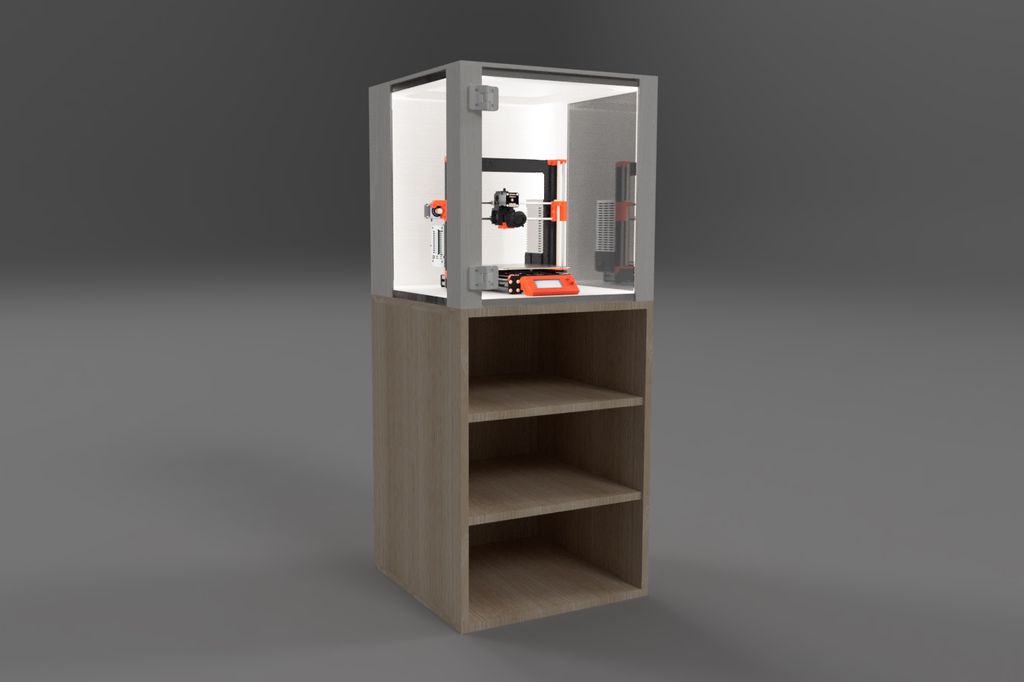
I’ll walk you through my parametric, heavy wood-and-acrylic 3D-printer enclosure — from choosing boards and adjusting the Fusion 360 model to cutting parts, assembly, and 3D-printed hinges. If you want a stable, customizable enclosure for your printer, read the full tutorial for measurements, photos, and tips.