Snowflake Decoration Available on the Pimoroni Store
published: November 13, 2019 —
last modified: October 23, 2025
We have some great news about my Snowflake Decoration: Starting today, you can buy an assembled version of the project from Pimoroni that can be shipped worldwide.
Pimoroni did an excellent job on this project. No soldering is required at all, meaning this is the user-friendliest version of the project ever released!
The project comes in a nice package, containing a pre-assembled panel and flat cables used to connect all snowflake boards.
The overall design from Francesco Mazzola did not change. The snowflakes look exactly the same, and all delicate lines on the front side are perfectly manufactured.
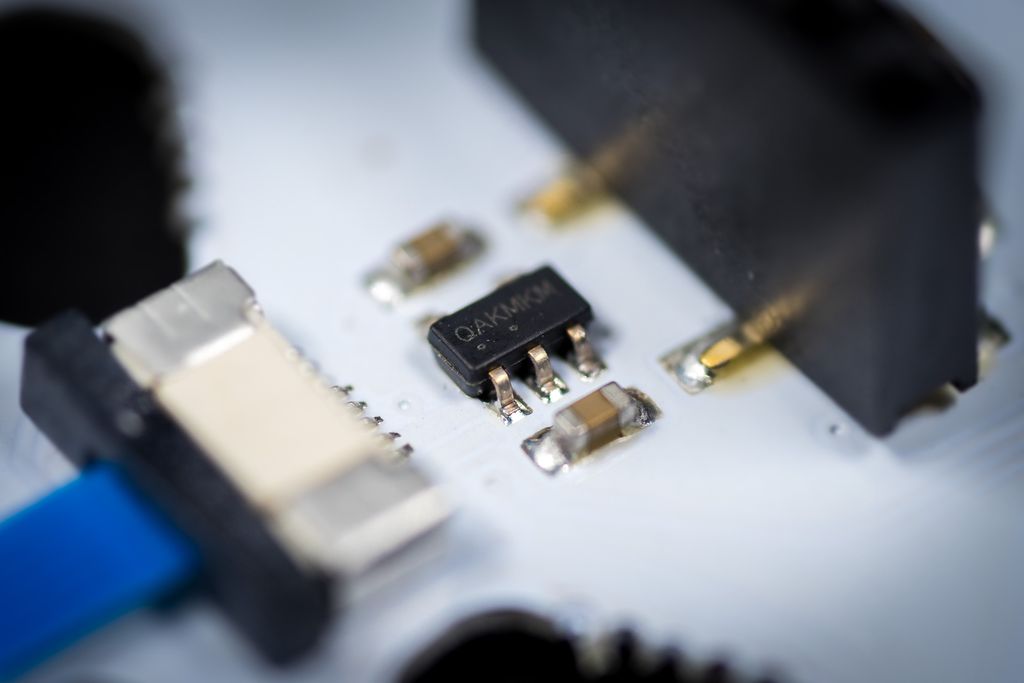
The circuit did receive some improvements. First, the platform is now powered by 5V instead of 3.3V. Each board utilizes a small voltage regulator to provide the 3.3V for the microcontroller.
A higher voltage reduces the current on the flat cable on the strand. Also, the voltage regulator will provide a less noisy power supply on each board.
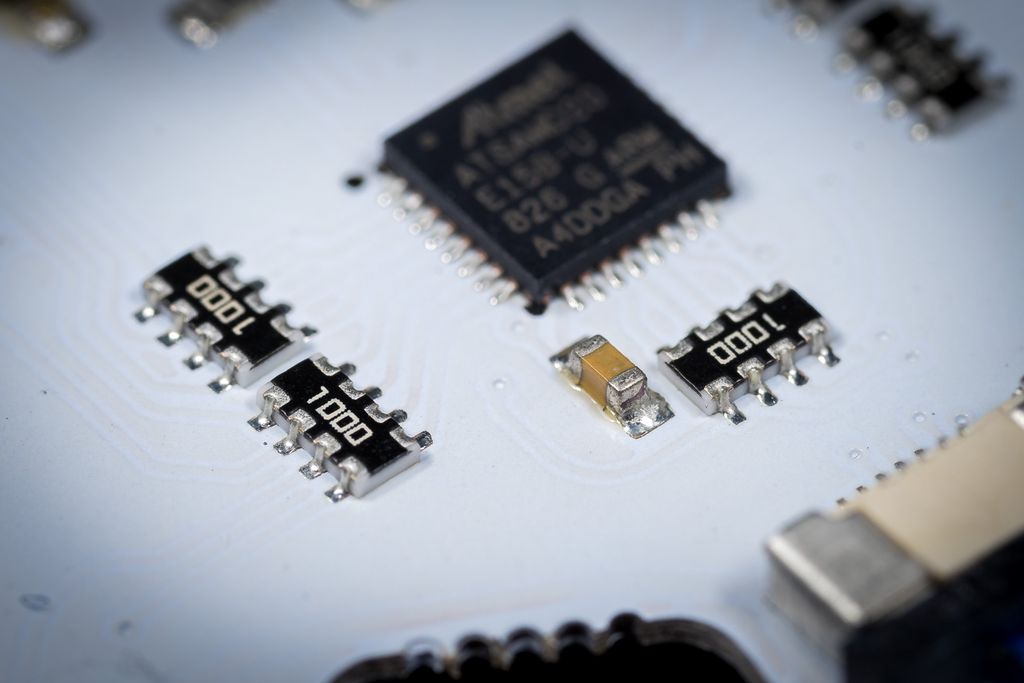
Next, the 19 resistors for the LEDs are combined in resistor banks. I have considered doing this in the past, but decided against it, primarily because the components are quite difficult to hand-solder.
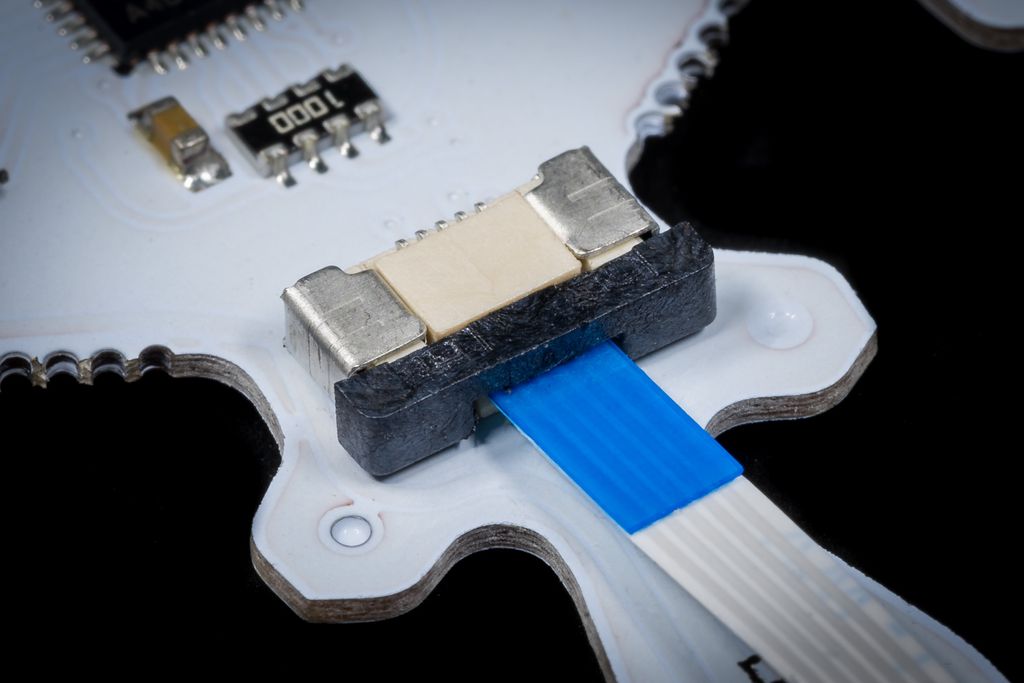
The boards can be connected using the provided flat cables. This is simply an addition to the solder pads. If you prefer, you can still solder your own cable to the snowflakes.
Finally, all components are pre-soldered. Assembling my original kit, which was available exclusively to Boldport Club members, was a great challenge – primarily due to the tiny 0402 LEDs.
Compatibility
The snowflakes from Pimoroni are 100% compatible with those used in my original project. Therefore, if you created your own firmware for the project as I suggested, you can easily use it on these new snowflakes as well.
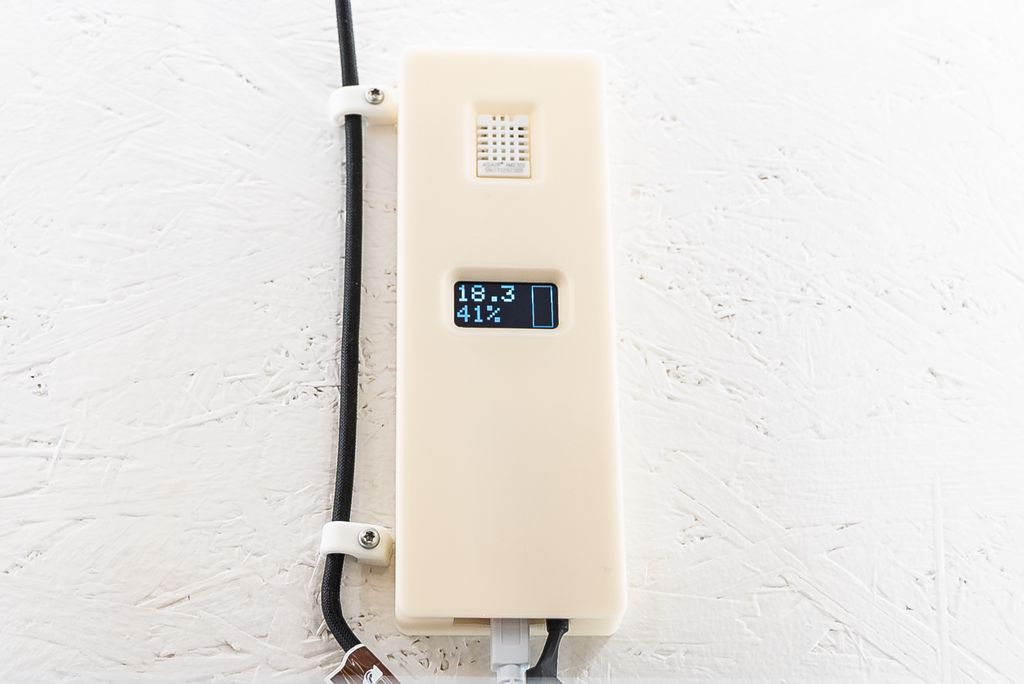
I built a PID-controlled fan and temperature controller for my printer enclosure in about four hours using an Adafruit Feather, DHT22, OLED, MOSFET, and a PWM fan. I walk through printing the case, wiring, firmware setup, and assembly—read on if you'd like to build one yourself.
Posted on 2019-07-29— C++, Improve your Code, Learn
I explain C++11 enum class: why it prevents name conflicts, how it compares to traditional enums and common workarounds, with practical Arduino-friendly examples. If you want clearer, safer enum usage in your interfaces, read the full post for code samples and simple best-practice guidance.
Posted on 2019-07-13— C++, Improve your Code, Learn
I explain why I prefer #pragma once over macro header guards and how it prevents subtle build errors and wasted debugging time. I’ll show examples, common pitfalls, and practical steps to replace guards in existing projects — read on if you want a simple, low-risk improvement.
I created a set of 500 printable boxes with a random line pattern—each box unique, sized 35–120 mm with two lid fits per size. I cover part naming, printing tips, and where to download the STLs. If you use 3D printing, please read the full post for files and guidance.
Posted on 2019-07-11— C++, Improve your Code, Learn
I show how I avoid unit mistakes in C++ by creating a templated Duration type and user-defined literals like 100_ms. I explain declaring Seconds/Milliseconds/Nanoseconds, adding conversions, and how the compiler catches unit mismatches with no runtime cost. Read the full article for code examples and the GitHub repo.
I'm concerned my archived documents could absorb moisture in a root cellar with 75–90% humidity, so I built a DIY data logger to monitor conditions inside sealed boxes. I walk through parts, breadboard-to-stripboard assembly, tests and a wiring diagram — please read the full post for the complete build.