In the past months, I developed firmware for a few Adafruit Feather M0 based projects. The reason why I use the Adafruit Feather platform, instead of using an MCU directly, is for modularity.
By using a board on sockets, it can be replaced at any later time with a more powerful one – or by one with additional peripherals.
The only downside of these boards is the programming toolchain. Either you use the Arduino IDE, or solder wires to the board to program the MCU directly using, e.g. Atmel Studio.
Using the Arduino IDE, I am bound to some really horrible written libraries. It is probably a good thing if you are really new to the concept of programming and just likes to get things working. In the long run, I think using these libraries will lead to bad coding habits. Yet, I like the simplicity of using this IDE - compiling and uploading the firmware using the bootloader.
The Atmel IDE is a pure Windows solution with a professional Visual Studio based IDE, introducing unnecessary complexity. The MCU is usually programmed directly, overwriting the bootloader.
So I worked on a compromise: A simple toolchain, which is reusing the tools from the Arduino IDE, also gives the comfort of the simple build and upload process, but it is based on CMake, a modular and widespread build system.
It is not meant to use for beginners. The idea is to provide a system which can be used in a prototype stage from professionals. Writing code to a fully abstract HAL which can later easily migrated to a professional firmware.
In this article, I will briefly describe this toolchain for the Feather M0 HAL. As for the HAL, it is a work in progress. It is meant as inspiration and example.
Update 2019-06-22: I concluded my tests on Linux successfully. For my tests, I used Ubuntu Linux with a compiled version of CMake. At this point, the available CMake package for this distribution was one version behind.
Requirements
I successfully tested the toolchain on macOS and it should work on Linux (Update: Successfully tested on Linux). There are a few requirements for both systems:
- Works with any Adafruit Feather M0 based board.
- Arduino IDE 1.8.9+
- Python 3.7+
- CMake 3.14+
To setup you system, follow these steps:
- Install the Arduino IDE 1.8.9 or later.
- Install the “Adafruit SAMD Boards” package.
- Install the “Arduino SAMD Boards” package.
- Install CMake version 3.14 or later.
- Install Python version 3.7 or later.
Build and upload the “blink” example project to make sure your Arduino IDE installation is working. This will also give you the correct USB device to use for the toolchain.
Build the Example Project
Start with the example project. Just clone the HAL-example-fm0-blink project from GitHub:
https://github.com/LuckyResistor/HAL-example-fm0-blink
This project contains a number of submodules. Make sure all submodules are initialized correctly.
Before you start, you have to configure the toolchain:
- Switch into the
hal-toolchain subdirectory.. - Execute
python3 configure.py.
This will scan your system for the required paths to the toolchain embedded in the Arduino IDE. It will assume, you installed it at the default location.
Next, you have to update the UPLOAD_PORT in the CMakeLists.txt of the project root directory. This is required to allow an automatic upload of the fimware.
Create the Build Environment
- Create a new empty directory:
mkdir ~/blink-build - Change into this directory:
cd ~/blink-build - Run
cmake using the toolchain. the toolchain. Assuming ~/hal-example-fm0-blink is the directory of the project the directory of the project and ~/blink-build is the build directory. the build directory.
mkdir ~/blink-build
cd ~/blink-build
cmake -DCMAKE_TOOLCHAIN_FILE=~/hal-example-fm0-blink/hal-toolchain/feather-m0.cmake
Build the Firmware
To build the firmware, just run make from the build directory:
cd ~/blink-build
make
Upload the Firmware
To upload the firmware, just run make install:
cd ~/blink-build
make install
Next Steps
As you can see, using this toolchain is really simple, but in contrast to the Arduino IDE, you have full control over the build process.
You can easily add more of the HAL modules as submodules as demonstrated with the core ones - or even use a whole different backend for your firmware.
About Created Symlinks and Linux
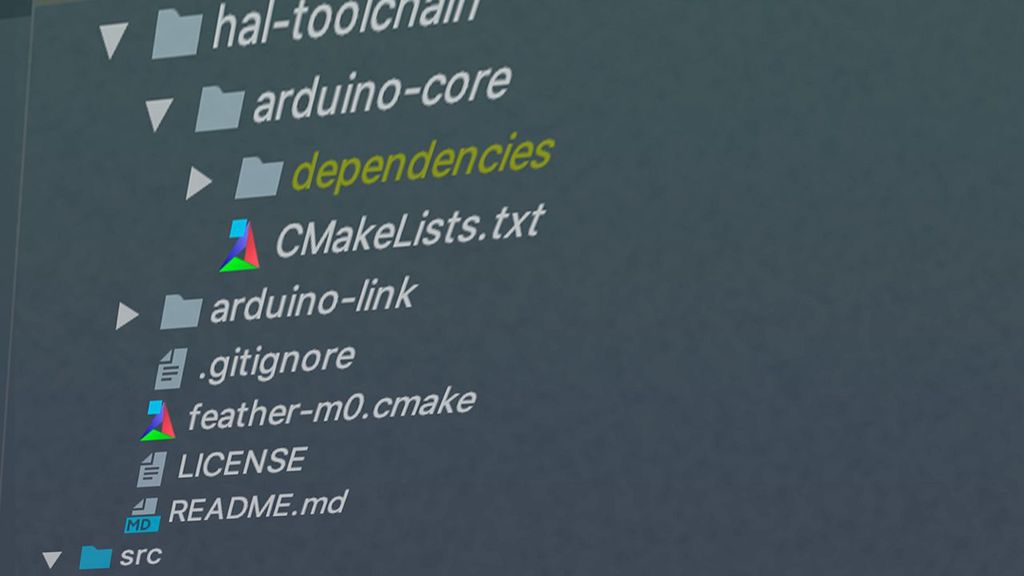
This toolchain creates symlinks in the arduino-core library to the correct source directories. These directories are created to make editing of projects simpler for IDEs like CLion.
By adding these symlinks, all required files are added at a defined place in the source tree. Without the symlinks, some IDEs (like CLion) will add all files to the project root, which is inconvenient.
Linux support is not fully tested yet, feel free to test and fix any problems with the configure.py script. (Update: Successfully tested on Linux)
Conclusion
I hope this toolchain gives you some inspiration on how to build a similar system for your embedded code. As with the HAL, I like to demonstrate how to write something simple, clear and modular which can be maintained over a longer time period.
If you have questions, miss some information or have any feedback, feel free to add a comment below.