published: February 26, 2018 —
last modified: October 23, 2025
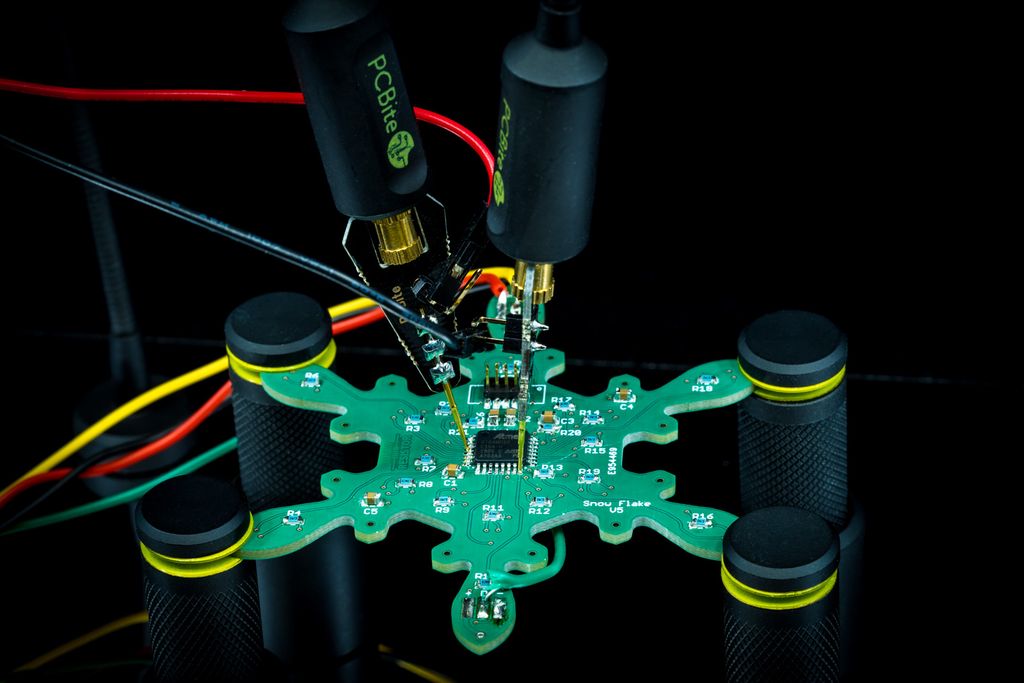
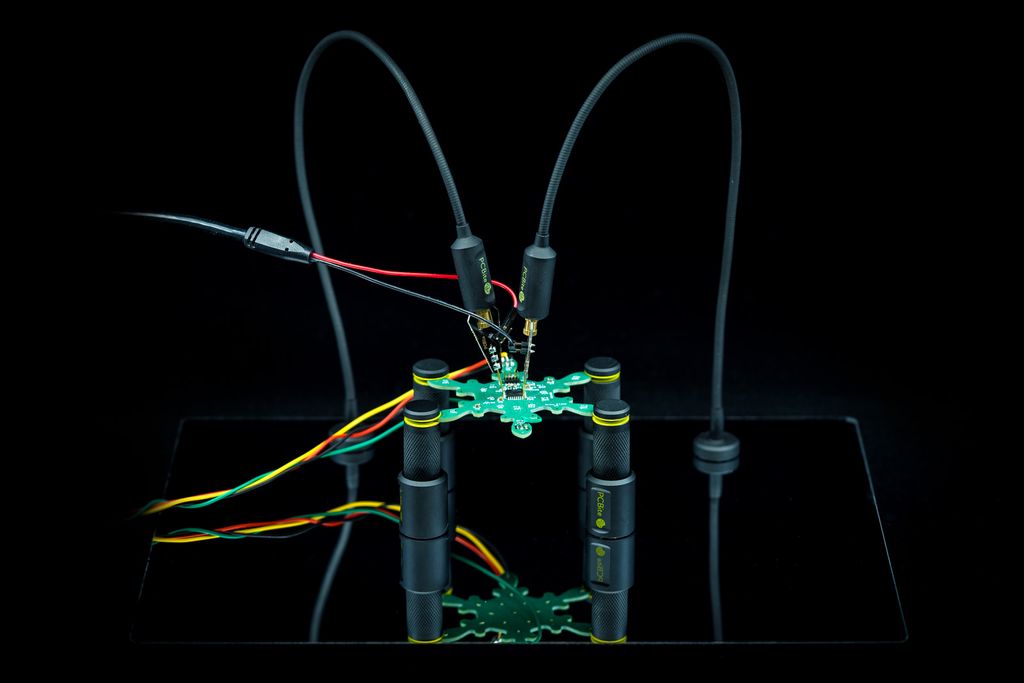
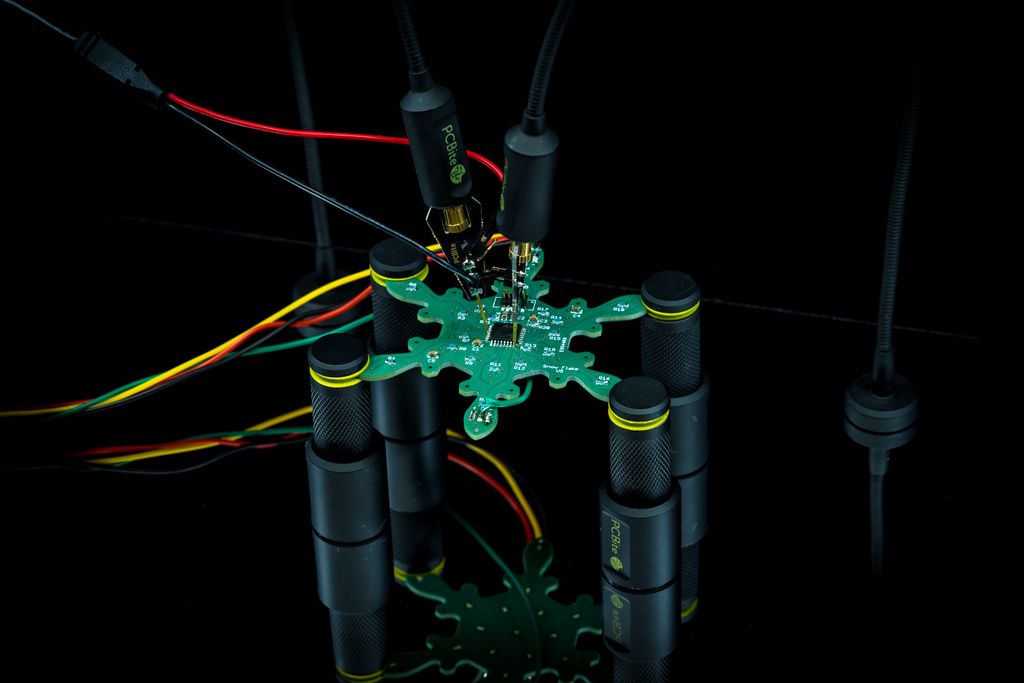
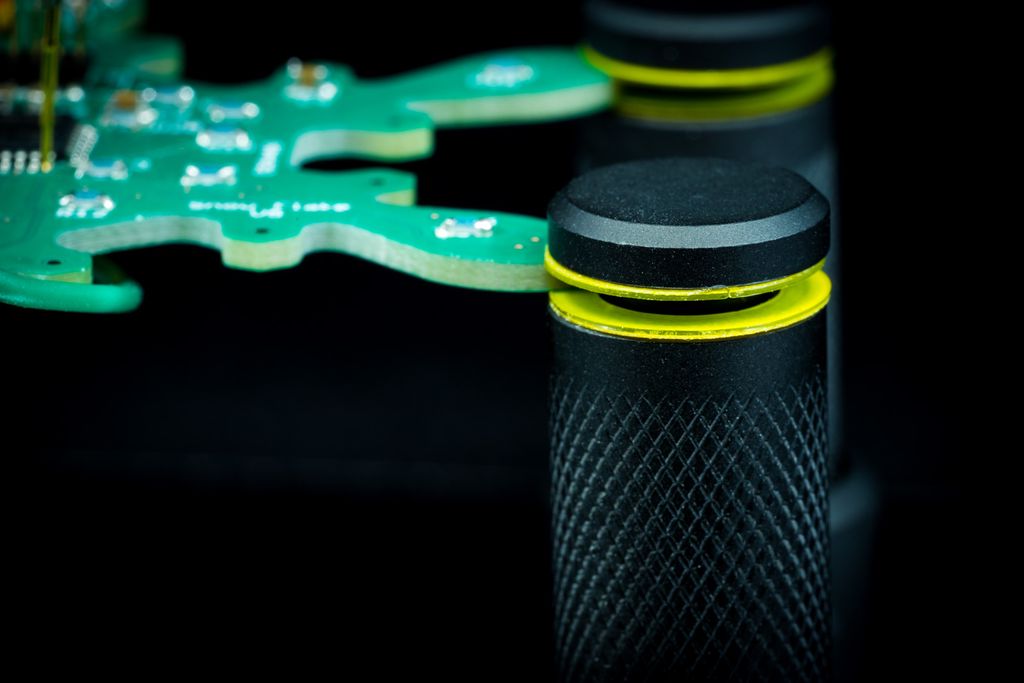
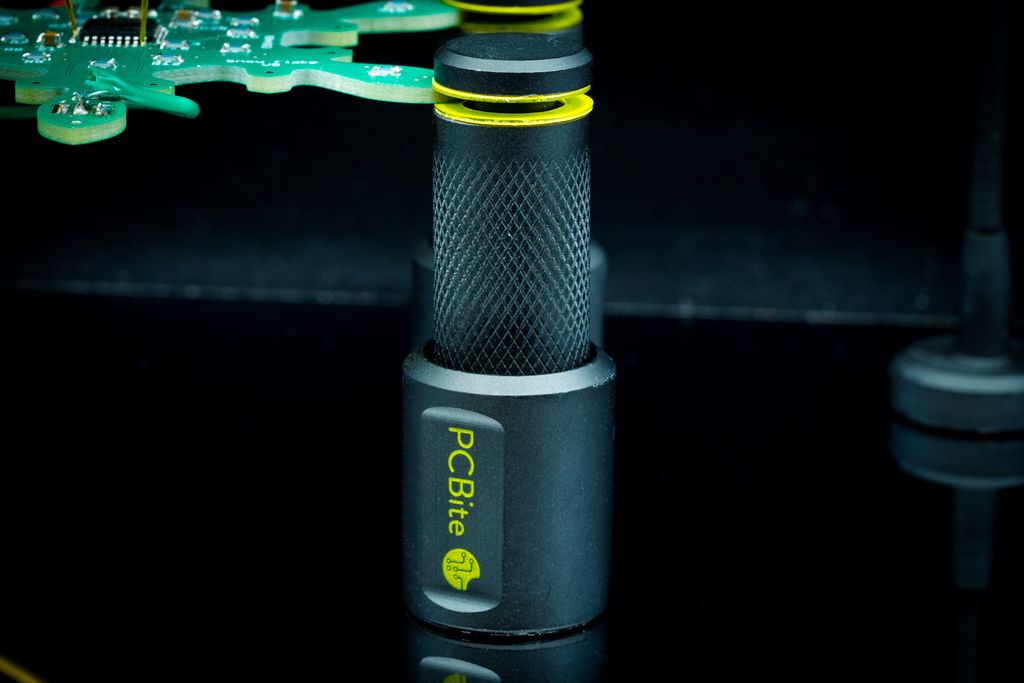
Last week the new PCBite Kit 2.0 from Sensepeek arrived. The new kit comes with the great PCBite holder from the previous version, which are very useful to fasten a PCB for soldering, rework or analysis. New to this kit are the handy probes, which also can be magnetically attached to the mirror board.
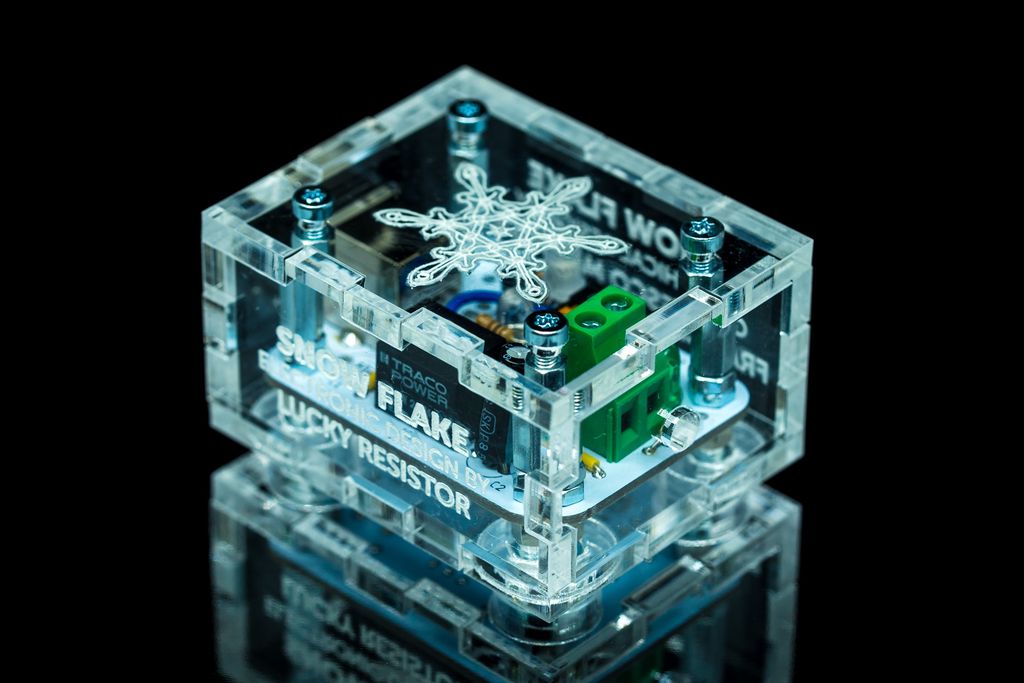
The mirror finish of the board let you keep the bottom side of the board in sight while you are working on the top side. It is a very useful feature, like in the example shown in my photos where I analyse the communication of the snow flake board and can see the LEDs on the bottom side.
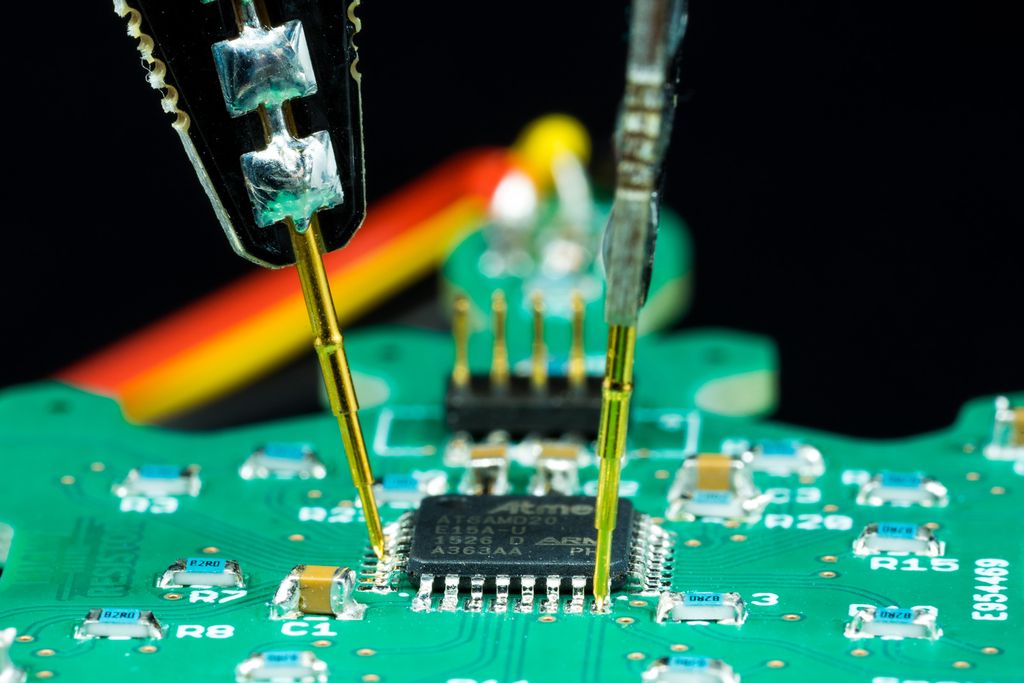
The probes have a nice weight and come with a very precise gold needle tip. You can easily place them on even the finest pin or trace. The tip contains a spring like a pogo pin, therefore it keeps an equal amount of pressure on the board and does not move if there are vibrations or if you carefully move the board around.
With each probe, there is also a different needle with a crown tip. This alternative tip is more like a really tiny fork to be placed on small wires and pins.
There are two pin headers attached to the probe, which makes it very easy to connect them to any kind of equipment. In the kit from Kickstarter, there were also a number of jumper cables including two with banana jacks.
This is really a solution I was waiting for. It is very easy to setup and flexible how to use it. If you have no test points for a signal on the board, you can easily place the probe on any exposed surface and it will stay in place.
You can buy the probes, boards, PCBites and everything else described in this article in the shop directly from Sensepeek. The prices are reasonable for this high quality products and they offer free shipping for all kits.
If you have questions, miss some information or just have any feedback, feel free to add a comment below.
I built a simple USB-to-3.3V power converter for my snowflake decoration using a Traco TSR2-2433 and a laser-cut acrylic case with glow-in-the-dark engravings. I'll walk through the board, Fusion360/Eagle workflow, laser cutting and painting - read on if you want the files and build notes.
Posted on 2019-08-01— C++, Improve your Code, Learn
I walk through practical techniques I use to make firmware error handling clearer and more consistent in modern C++. From enum classes and a shared SimpleStatus to StatusResult templates and helpers like isSuccessful, I present readable patterns and code examples you can adopt. Read the full post for details and examples.
Posted on 2019-07-14— C++, Improve your Code, Learn
I wrote a concise guide for embedded developers to refactor Arduino/C++ firmware into clean, modular components. I walk you through creating Display, Buttons, and Animation modules, testing and committing small changes, and improving maintainability. If you'd like practical steps and examples, please read the full article.
I’ll walk you through creating custom patterns for your snowflake decoration, covering double-buffering, frame-sync, non-linear PWM, fixed-point math and the scene interface in C++. If you can solder and use an SWD programmer, read on for practical examples and a ready-to-edit User scene template.
I experimented with embedding whole PCBs, batteries and coils inside 3D prints to seal electronics invisibly in PETG parts. I explain pausing prints to insert components, then resuming, and share pros, cons and practical tips. Read the full post if you'd like step-by-step ideas and precautions.
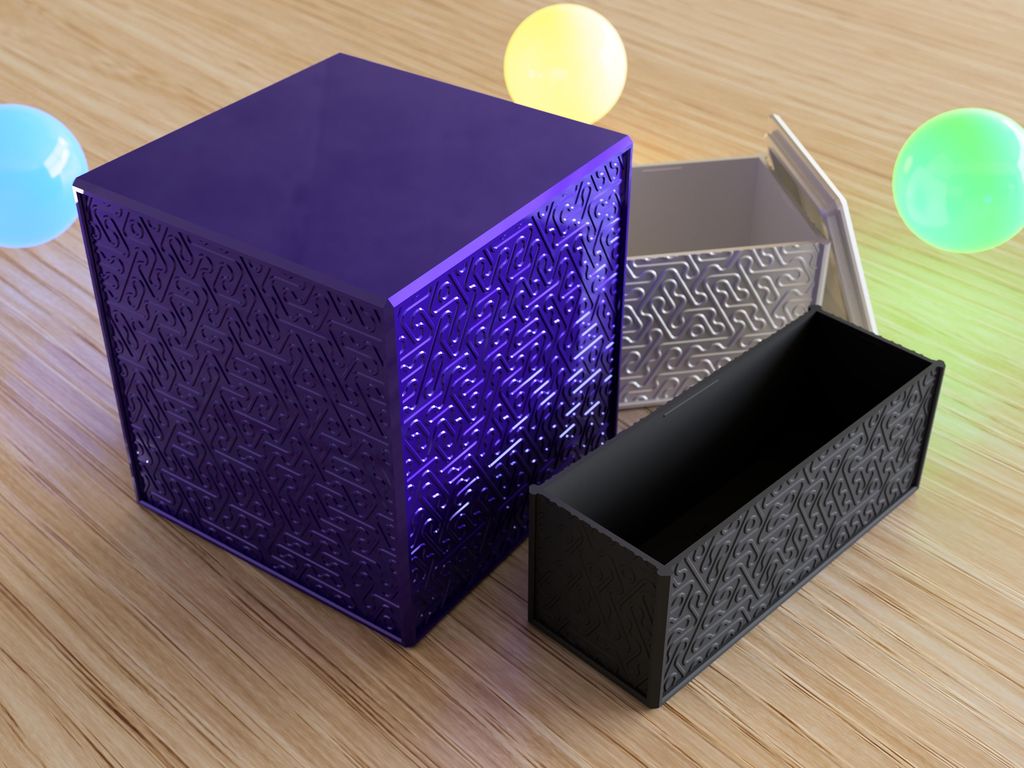
I created a set of 500 printable boxes with a random line pattern—each box unique, sized 35–120 mm with two lid fits per size. I cover part naming, printing tips, and where to download the STLs. If you use 3D printing, please read the full post for files and guidance.