published: February 11, 2018 —
last modified: October 23, 2025
SeedStudio offered me a coupon to evaluate their PCB service “Fusion”. I am currently working on a new project, so I gave this service a try. I used the following options ordering the two boards:
PCB Dimensions
68mm*108mm
Impedance Control
No
Surface Finish
HASL Lead Free
Minimum Solder Mask Dam
0.4mm↑
Copper Weight
1oz.
Plated Half-holes / Castellated Holes
No
Minimum Drill Hole Size
0.3mm
PCB Color
Blue
Base Material
FR-4 TG130
No. of Layers
2 layers
PCB Quantity
5
Blind or Buried Vias
No
PCB Thickness
1.6
Trace Width / Spacing
6/6 mil
I payed $27.40 for five boards with the option shown above and there were additional $20 shipping costs.
My board design has a very low quality class B4: Minimum drill size is 0.35mm, minimum trace size and spacing is 0.2mm.
Ordering and Shipping
The order process was very simple. The website provides an assistant with all possible options and calculates a quote in real time. I just noticed these minor things:
The shipping cost is not displayed in this quote.
The dimensions were not correctly extracted from my Gerber files.
The production of the boards and the shipping was quite fast, the whole process only took 10 days until the packet with the boards arrived.
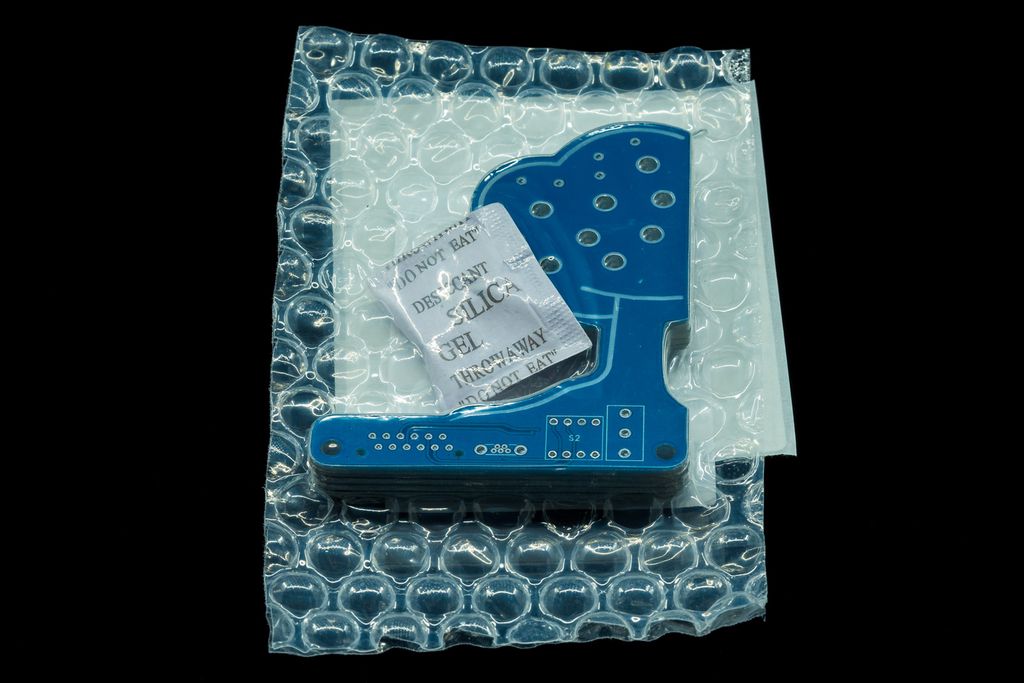
The boards were well protected in the package, so there were no scratches from the shipping of the boards.
Quality
The boards have a good quality for the chosen options and the price. The alignment of the layers is not perfect, but everything is in an acceptable range.
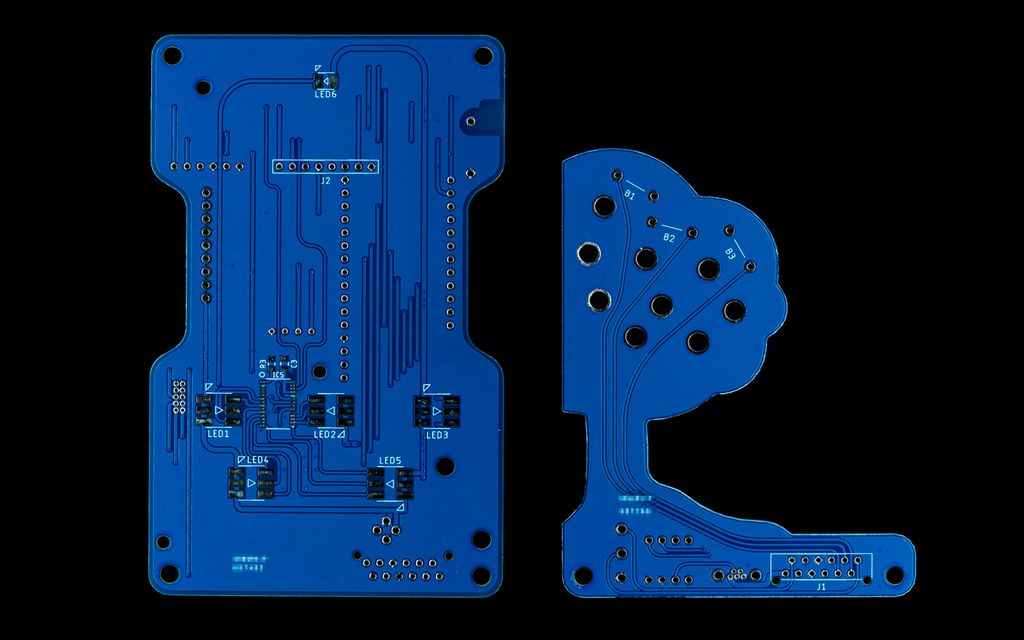
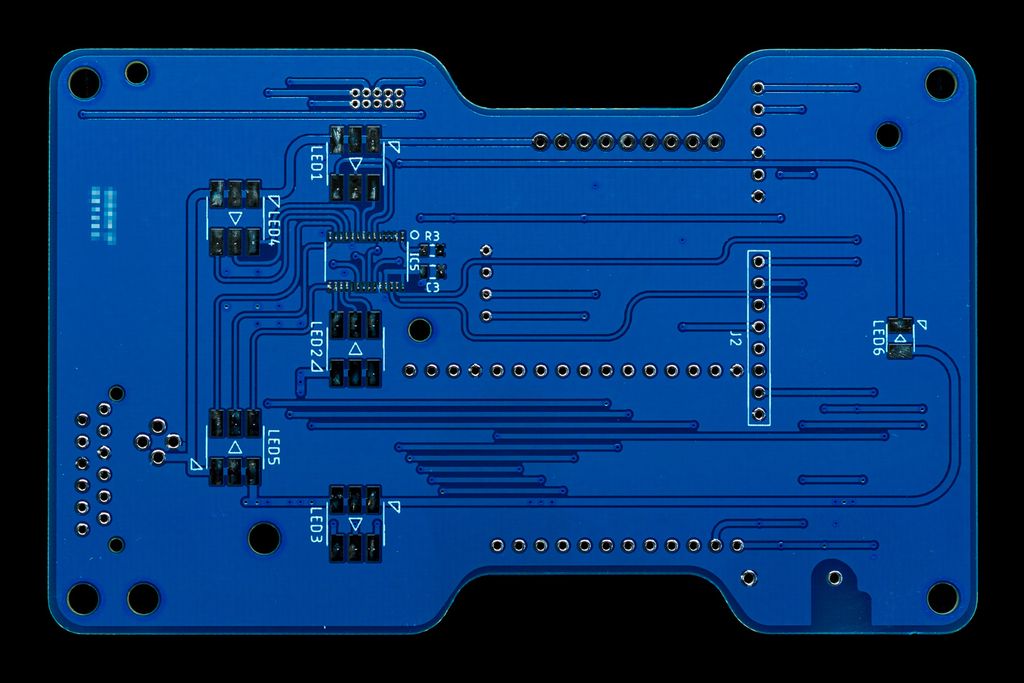
The front side of the two boards.
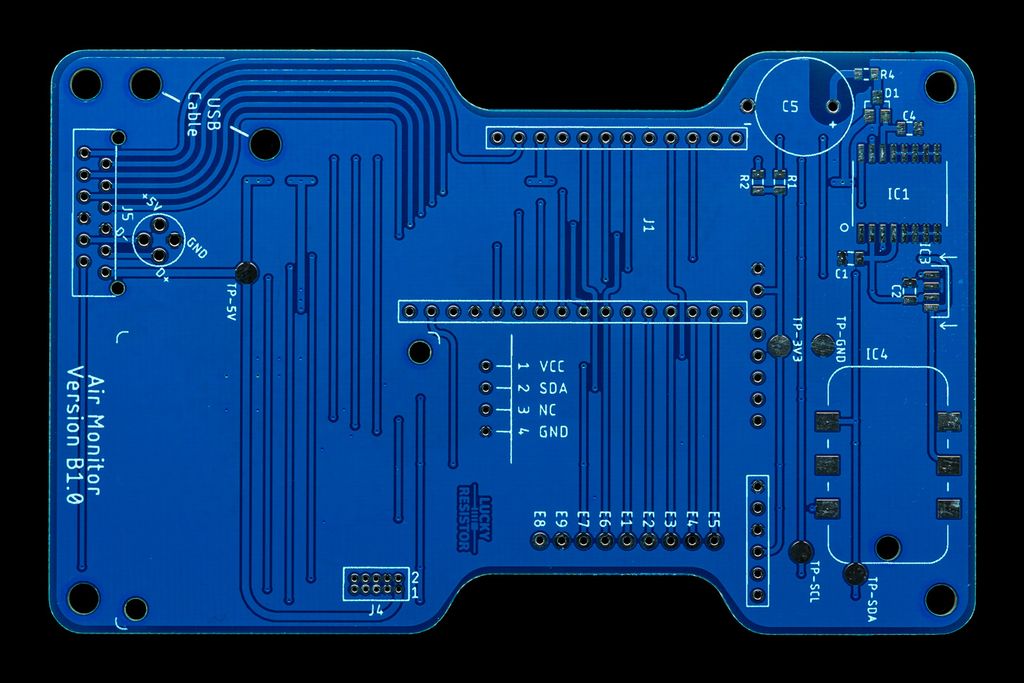
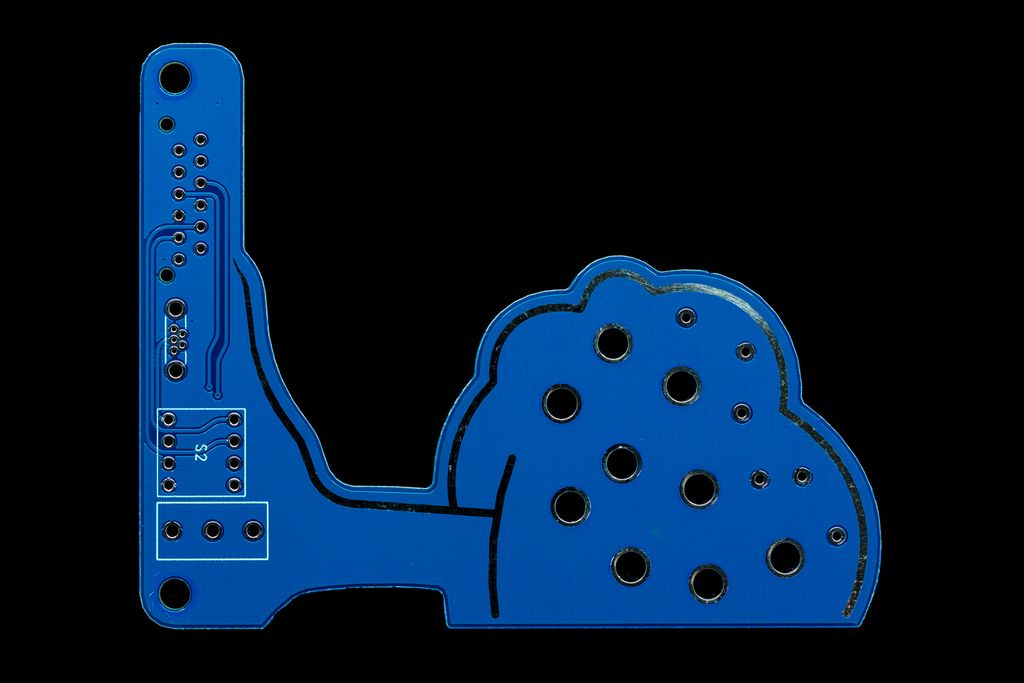
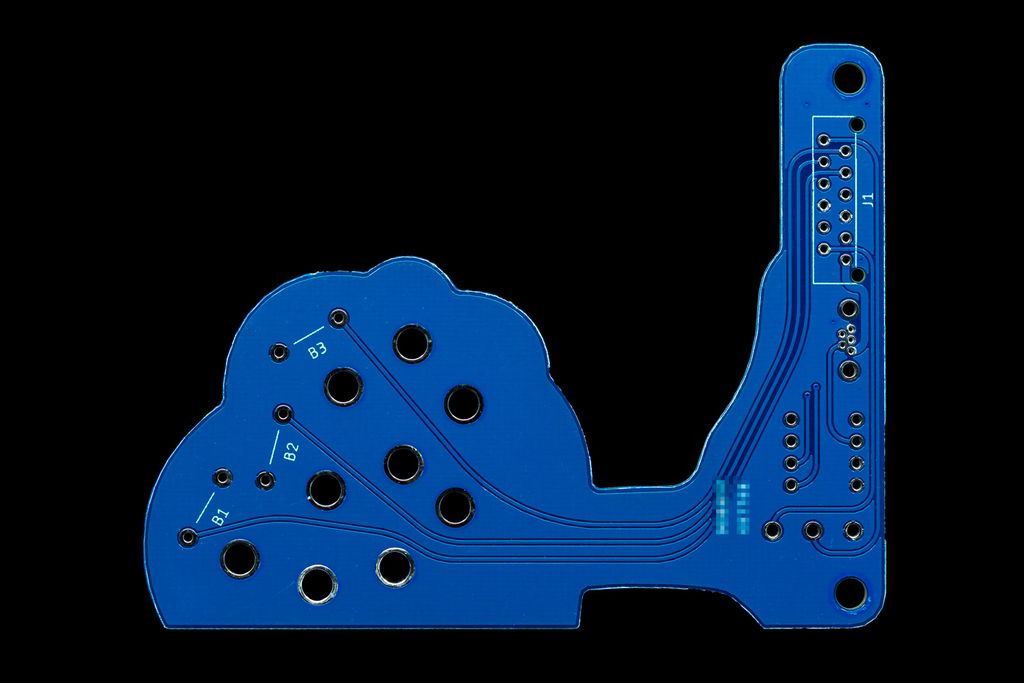
The back side of the two boards.
Closer Inspection
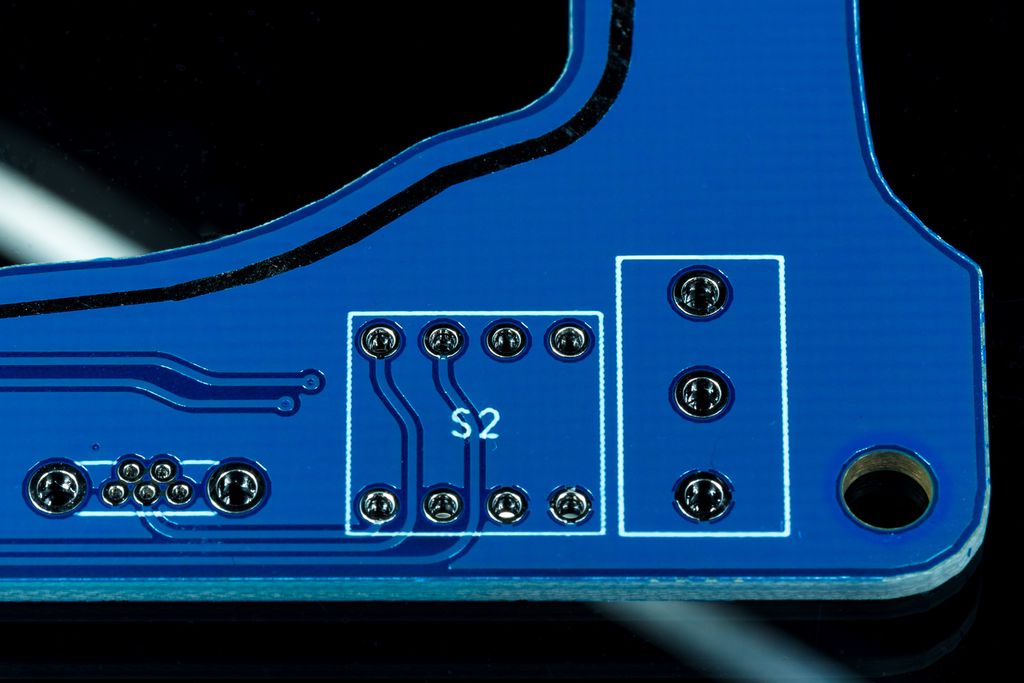
The silk screen has a good resolution, straight lines are looking good on the board and small text (1mm) is well readable.
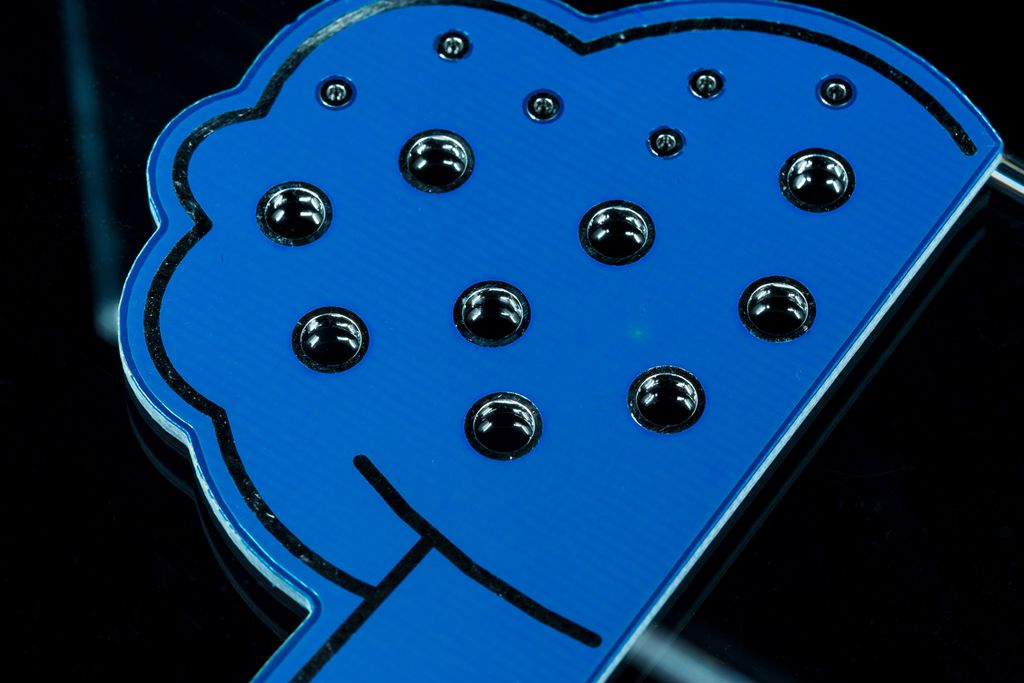
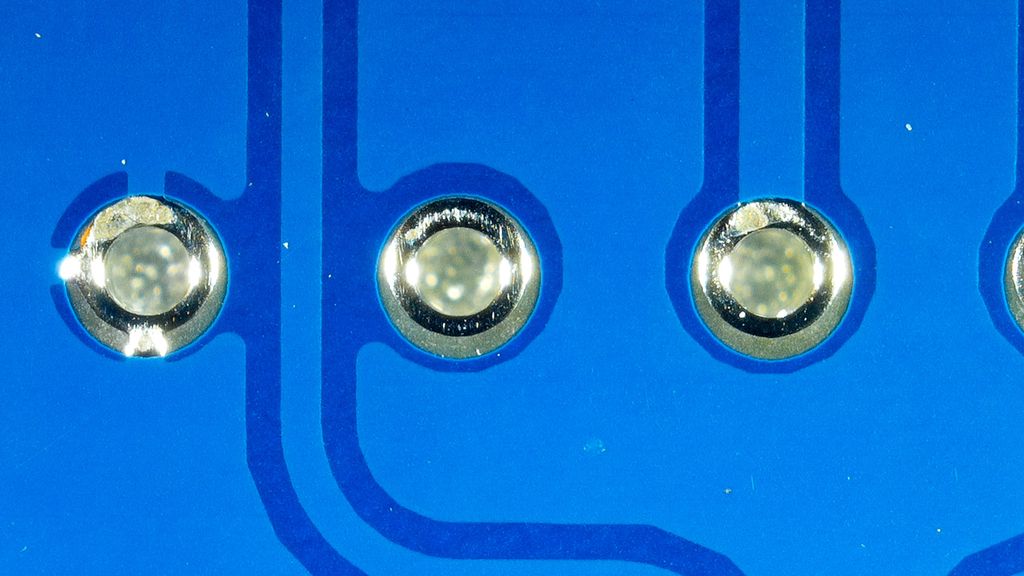
The graphical solder mask gaps are looking good, also the large plated 3mm holes. The tolerances of the holes are well in specification.
The HASL looks very shiny. I ordered a lead free HASL, so I will check the composition of this layer later.
Update 2018-02-15: I tested the used HASL and I can conform it is lead free (below 0.2% lead).
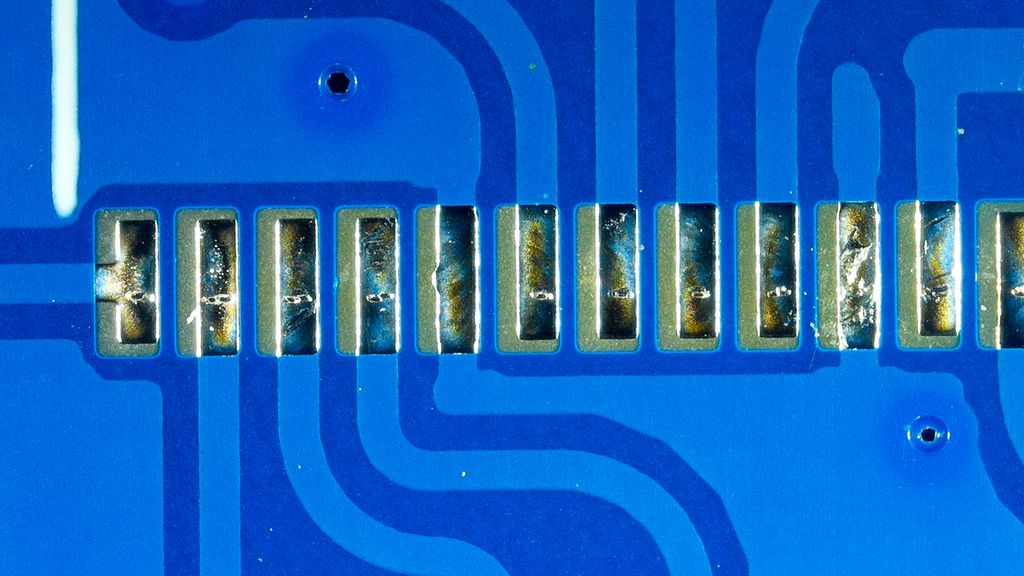
The next image shows a TSSOP landing pattern.
Even Closer
There is a noticeable misalignment between the solder mask and the copper layer. This misalignment is in the range of the additional solder mask gap they applied to the design, so I had no problem with soldering.
The alignment of the holes with the copper layer is almost perfect.
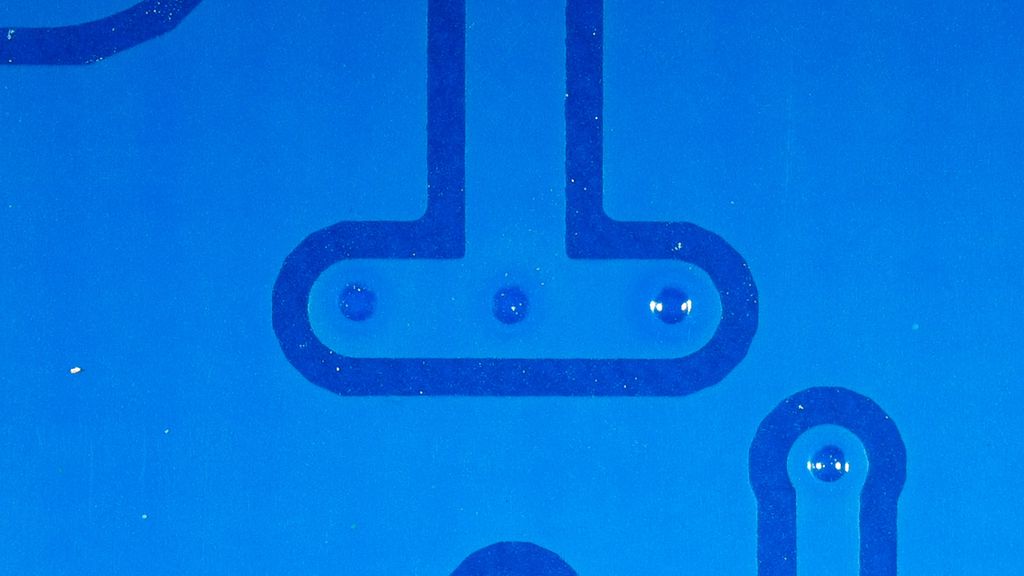
I also like the look of the tented vias. These via holes are specified as 0.35mm holes in the design and most of them are perfectly covered with the solder mask.
Conclusion
I think SeeedStudio Fusion is a good PCB manufacturer, producing a good quality of boards for prototypes. I already assembled and used the boards in my prototypes successfully and found no issues with them.
The costs for the production of this boards was quite low. Here are comparison with quotes for the same board inclusive shipping:
This is no competitive comparison, these were just the services I compared. One of my requirements was to have the boards blue, purple or red. This is one reason why Eurocircuits is very expensive here.
I hope I could give a good impression of the quality produced by SeeedStudio Fusion. If you have questions, miss some information or just have any feedback, feel free to add a comment below.
I designed a 3D-printable bottle opener to help seniors and people with limited grip turn 26–30mm plastic caps. The tapered 72-tooth socket adapts ±1mm and the handle has finger notches — print in PETG. Download the STL files and read the full post for print settings and tweaks.
I walk you through assembling the gearbox for my 3D-printed cat feeder, step by step. I cover inserting insets, bearings, grub screws, and fitting the NEMA17 motor so the turntable runs smoothly. If you printed the parts from Part 1, follow along — read the full post for photos and testing tips.
I've been developing software for over 20 years and share how my language preferences shifted—from assembler and C to Python, Swift, C++, Go and Rust. I outline use-cases and trade-offs in a personal, practical way; if you're deciding what to learn, please read the full post for detailed guidance.
Posted on 2019-07-05— C++, Improve your Code, Learn
I walk through a practical, minimal event-based approach to firmware using Arduino examples. Step by step I refactor blink sketches into modular events, introduce a millisecond timer, prevent skipped events, and encapsulate logic into classes and modules. Read on to follow the examples and apply them to your projects.
I tested 13 SMD LEDs for my plant-watering sensor project, soldering them to a small board and driving them from an Arduino Zero Pro to compare brightness and flash styles. I share photos, part numbers and a short demo video — read on if you’d like the full results and notes.
I received prototype boards from Eurocircuits and was impressed by their outstanding build quality—sharp solder-mask edges, precise alignment, and a subtle shine on the traces. I share close-up photos and brief thoughts about vias and finishes; read on if you appreciate careful PCB craftsmanship.