published: January 11, 2018 —
last modified: October 23, 2025
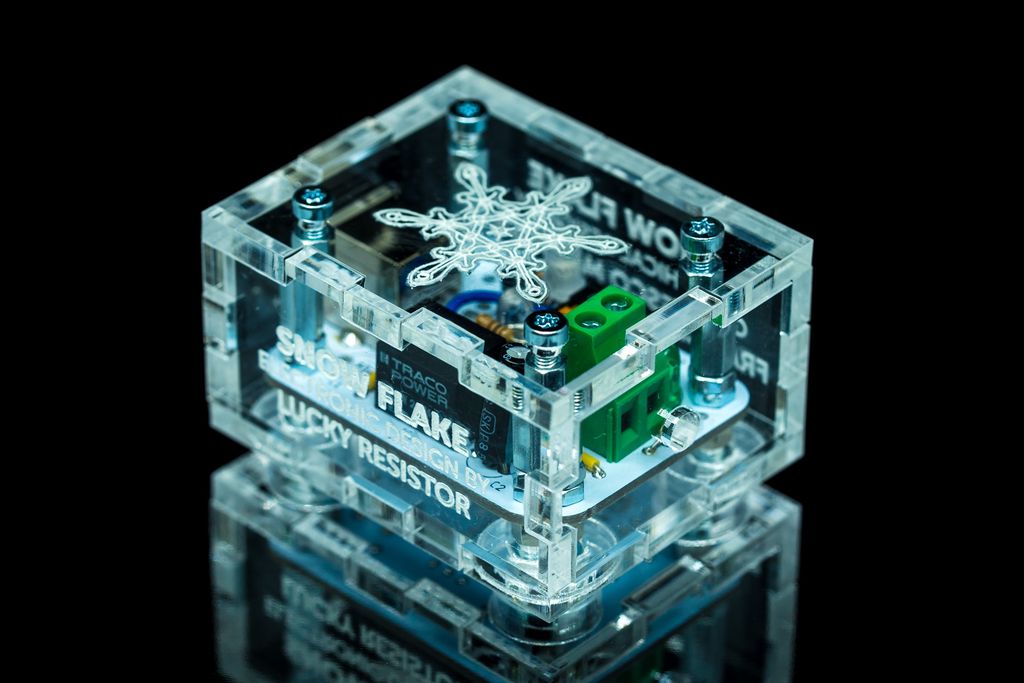
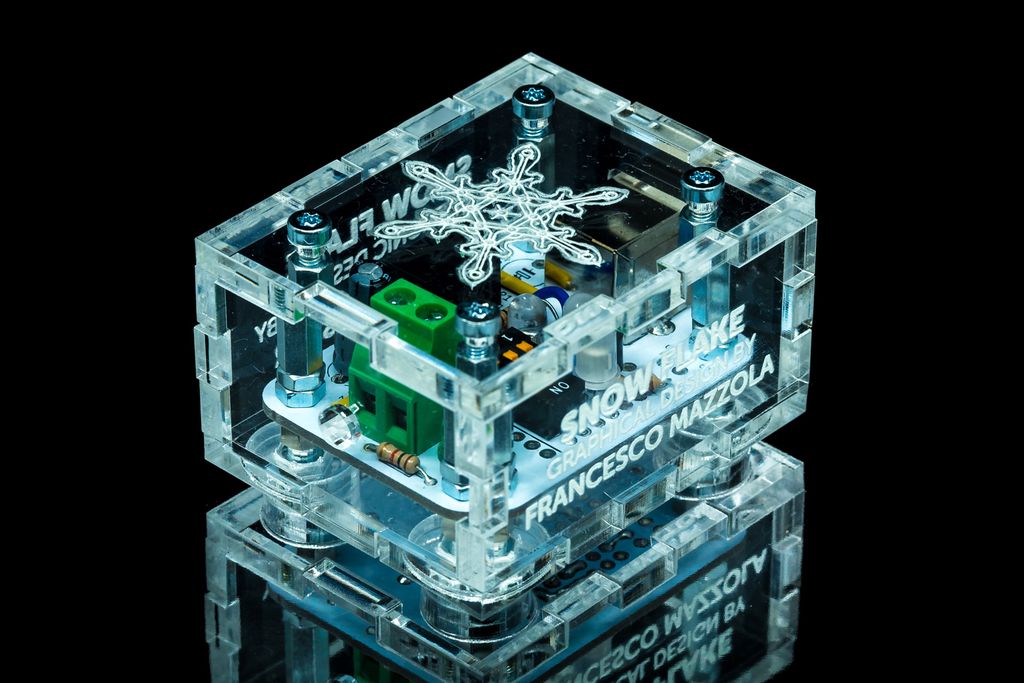
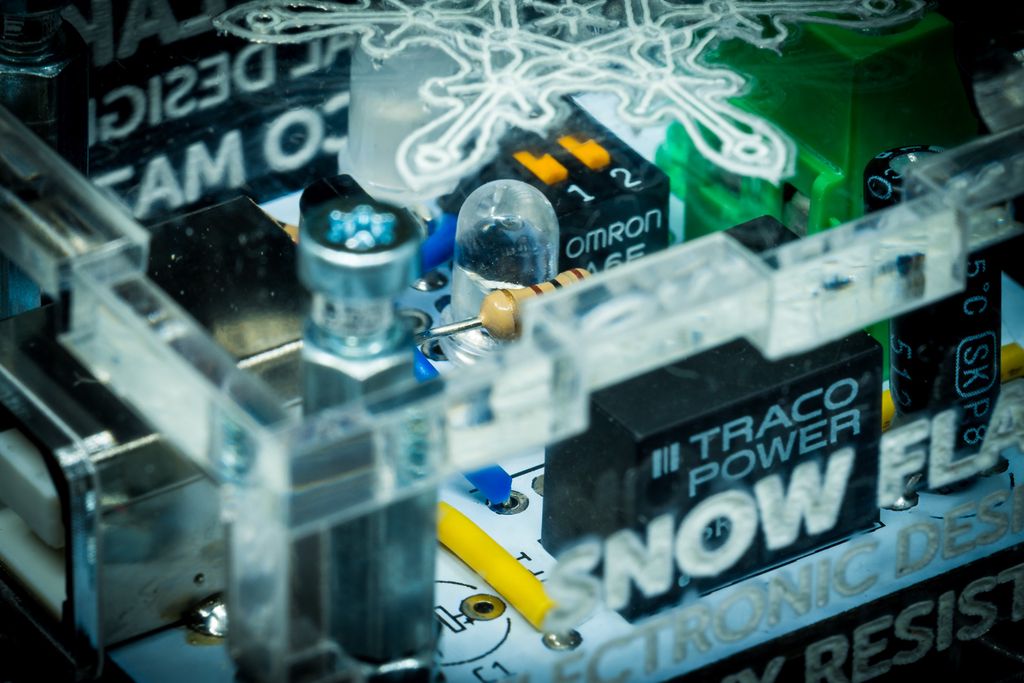
I designed a very simple power converter for the snow flake decoration. The snow flake boards require 3.3V, a voltage which is not commonly available in a household. Therefore the power converter takes 5V USB power and convert it into the required 3.3V.
There is no fancy circuit inside of this box, lazily I simple used a Traco Power TSR2-2433 DC/DC power converter. It is a single component containing everything required. No external components like capacitors or resistors needed.
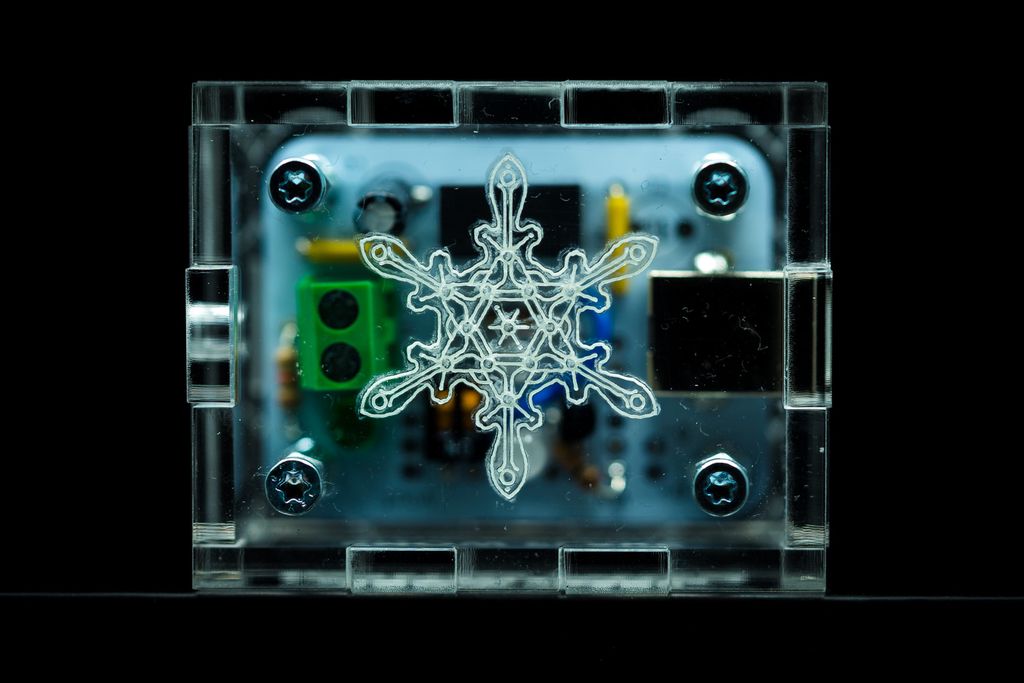
All other components you can see in the photo, I just added to make it more interesting. It is a simple circuit with a photo transistor and MOSFET which turns on the LED in darkness.
The functional aspect of this power converter is minimal. Like the snow flake decoration, it is more a piece of art than anything else.
Case Design
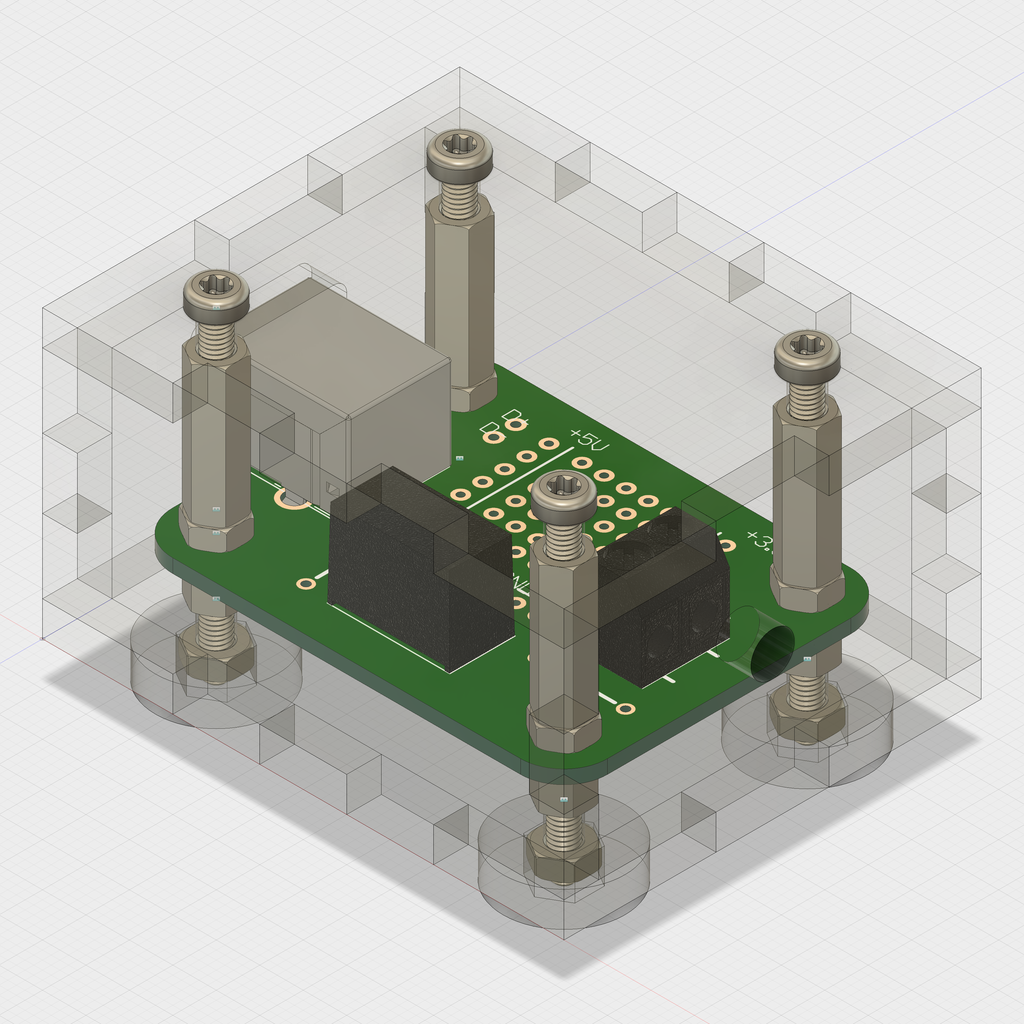
I used this simple board to do another test of the link between Autodesk Eagle and Autodesk Fusion360. For very simple projects like this, it already worked ok – still there is room for improvements. I used the board from Eagle as base, exporting it into Fusion360. There I created the case around the board as shown in the next image.
The idea was to create a laser cut case from 4mm transparent acrylic glass which is fastened by the spacer which also hold the board.
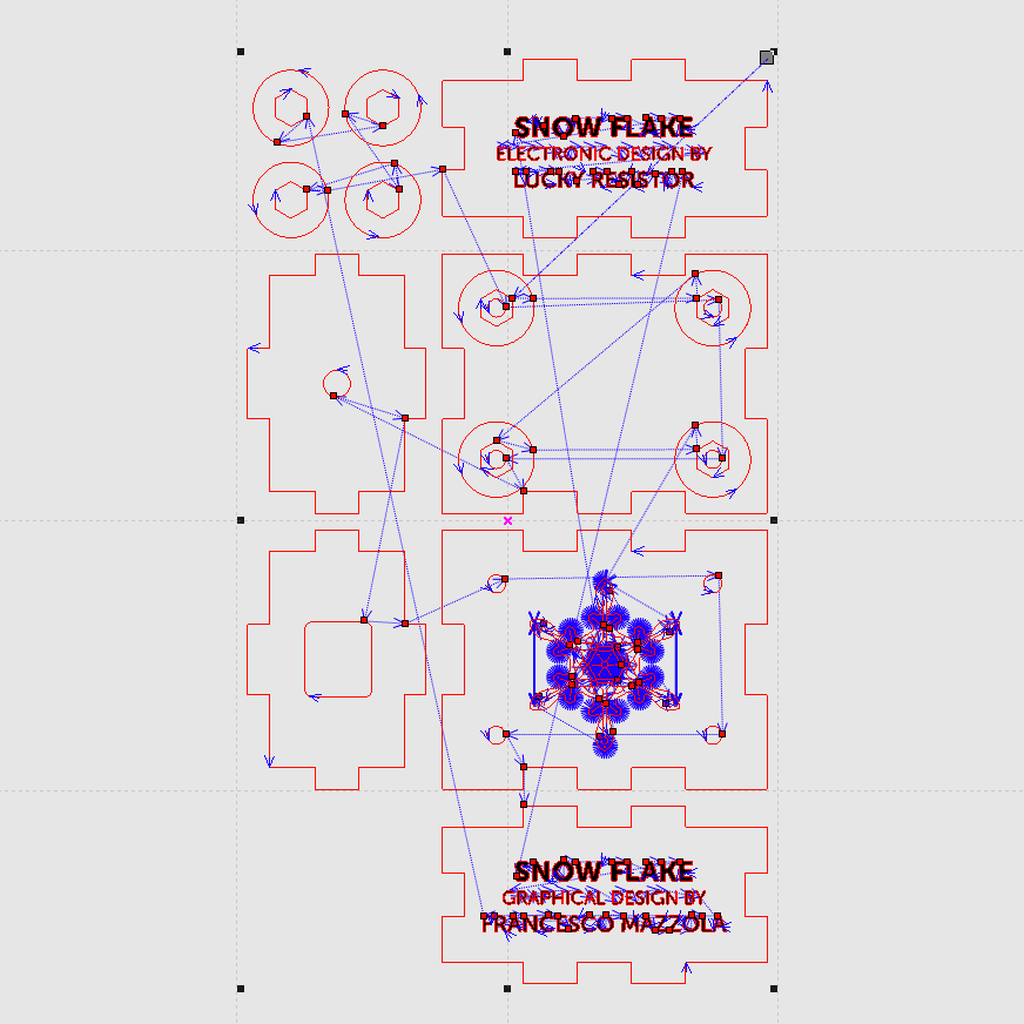
After this design process, I copied the outlines of all required elements into a own sketch in Fusion360 and arranged them there in an efficient way to the laser cutter. From there I exported all lines into a DXF file.
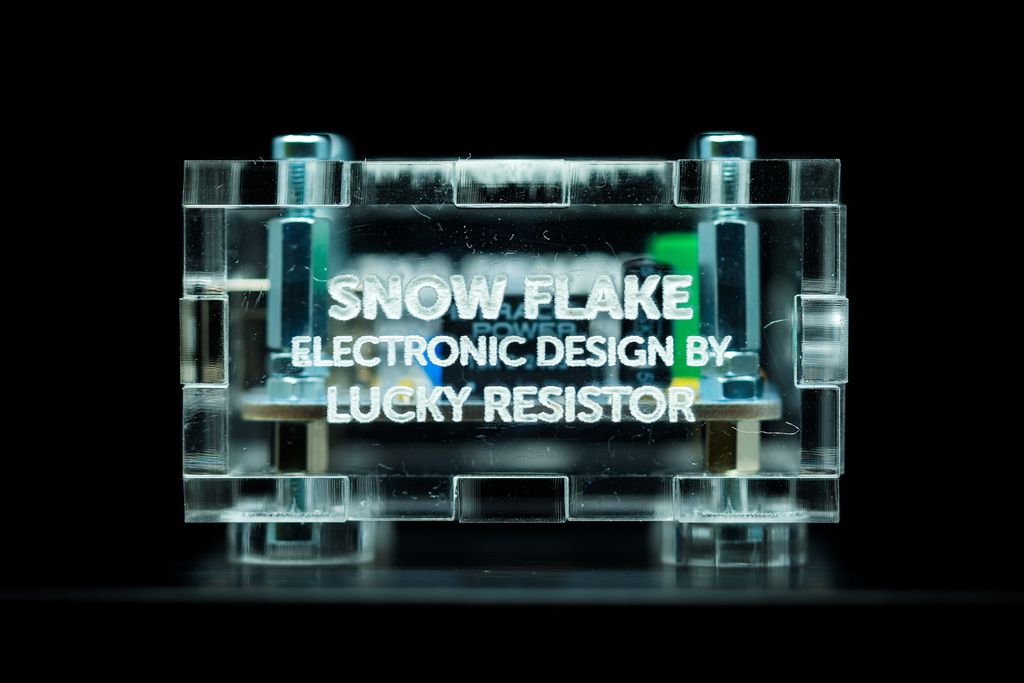
The engravings I created using Adobe Illustrator. In this program I could optimise the typography and lines for the laser cutter. Again I exported this elements as DXF.
All the DXF files were imported into the software for the laser cutter and combined. I just manually added the engravings to the sides. There was anyway no simpler method, because I had to adjust the parameter for cutting and engraving and mark the different elements for the job.
This software also automatically optimises the paths and order for the job, inner elements are cut before outer elements.
Glowing in the Dark
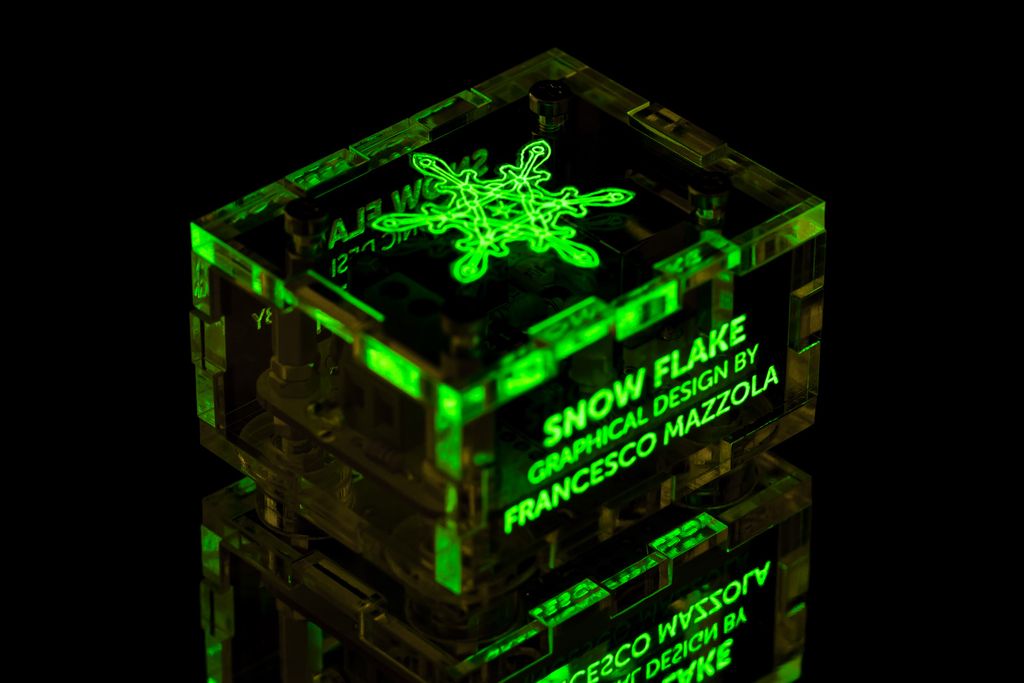
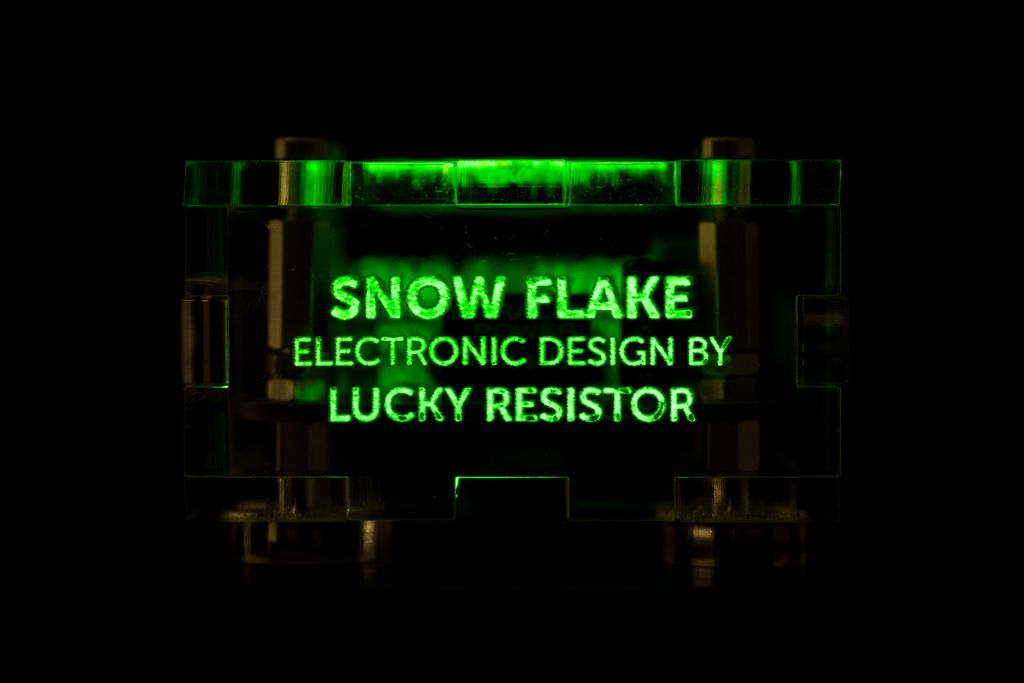
After cutting the elements, I used an acrylic paint base and mixed it with luminescent pigments. I filled the engravings with this paint and removed all excess paint from the flat surface.
Using this technique, the engravings glow in the dark, which is a very nice effect. On the daylight, the paint does not look different from a regular engraving. It has the same surface and colour.
This case and power converter are completely over-designed, but it gives the project a nice finish. It was an interesting practice to test some features of Fusion360 and Eagle.
The snowflake project was a pleasant art project I enjoyed really much. With the help of a number of Boldport Club members, I could keep the costs for the boards relatively low by creating a number of kits, which increased the batch size. While there are no kits available for the public, all files are open-sourced and available on GitHub. The repository contains Gerber files for the boards, a bill of materials and a full-featured firmware. So everybody can create his own snowflake decoration.
If you have questions, miss some information or just have any feedback, feel free to add a comment below.
Posted on 2019-07-05— C++, Improve your Code, Learn
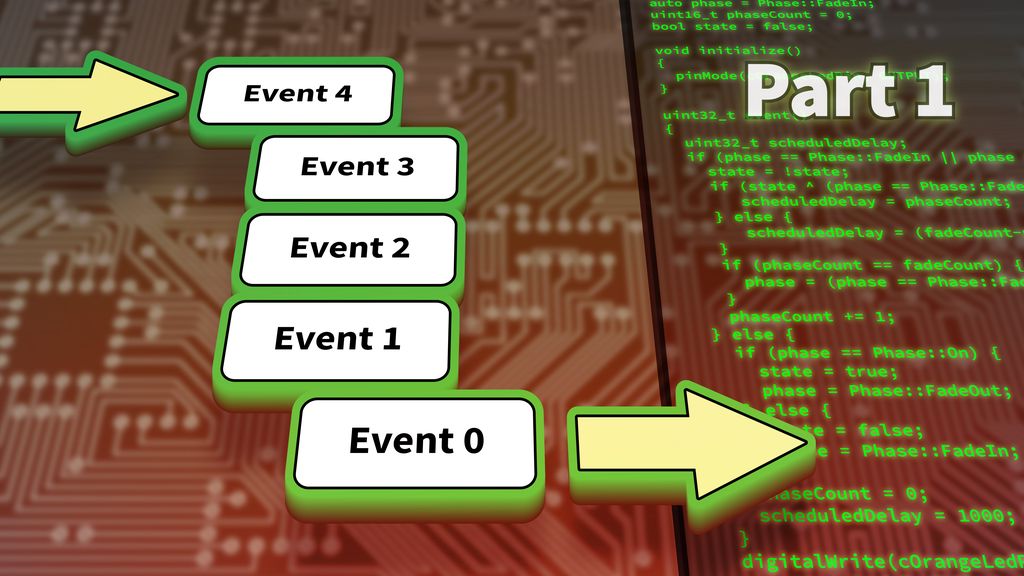
I walk through a practical, minimal event-based approach to firmware using Arduino examples. Step by step I refactor blink sketches into modular events, introduce a millisecond timer, prevent skipped events, and encapsulate logic into classes and modules. Read on to follow the examples and apply them to your projects.
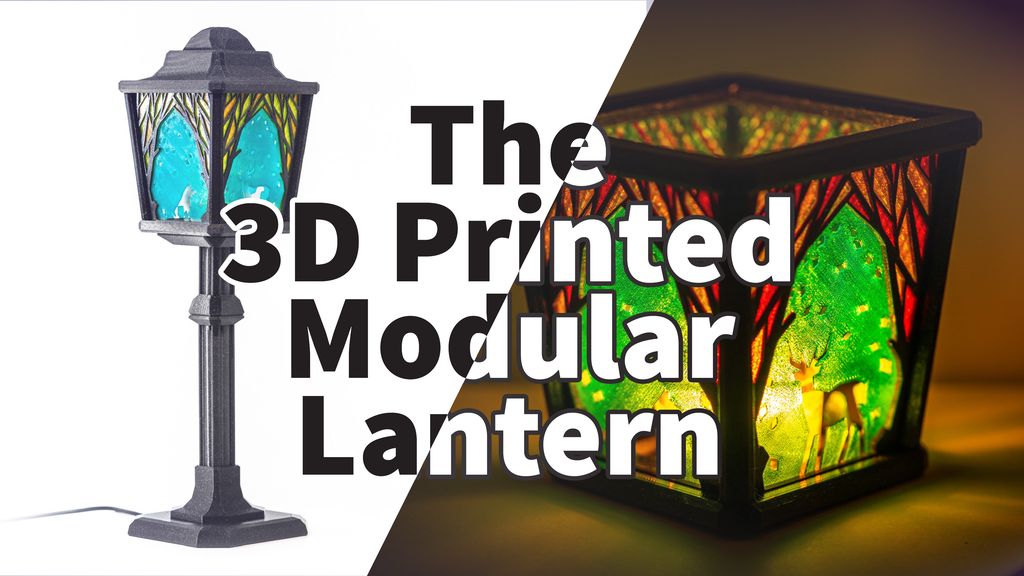
I designed a modular 19th‑century‑style lantern you can 3D print as a candlelight or expand into an LED street‑lamp stand. Read on for my glue‑free assembly, colour‑layer printing tips, and stand options — or jump to the Printables page for downloads and print instructions.
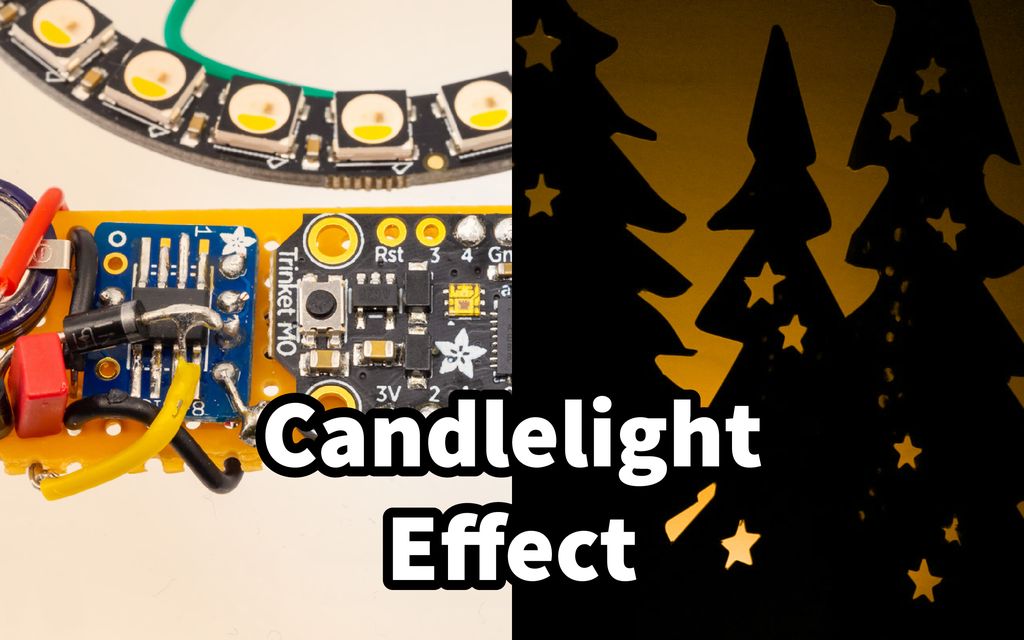
I built a compact Neopixel-based candlelight decoration with a DS3231 RTC and share the schematic, firmware, and build tips here. It's best placed behind a screen or in a jar. Read the full post for parts, assembly photos, and configuration notes to recreate it yourself.
I've released a small update to my LR2052 storage boxes: new split models (LR2052-300C-S), an extensive clickable PDF catalogue, more free models on Printables, and a new download area for buyers. I invite you to read the post for full details and download links if these designs help you.
Posted on 2023-01-29— 3D Printing, Build, Projects
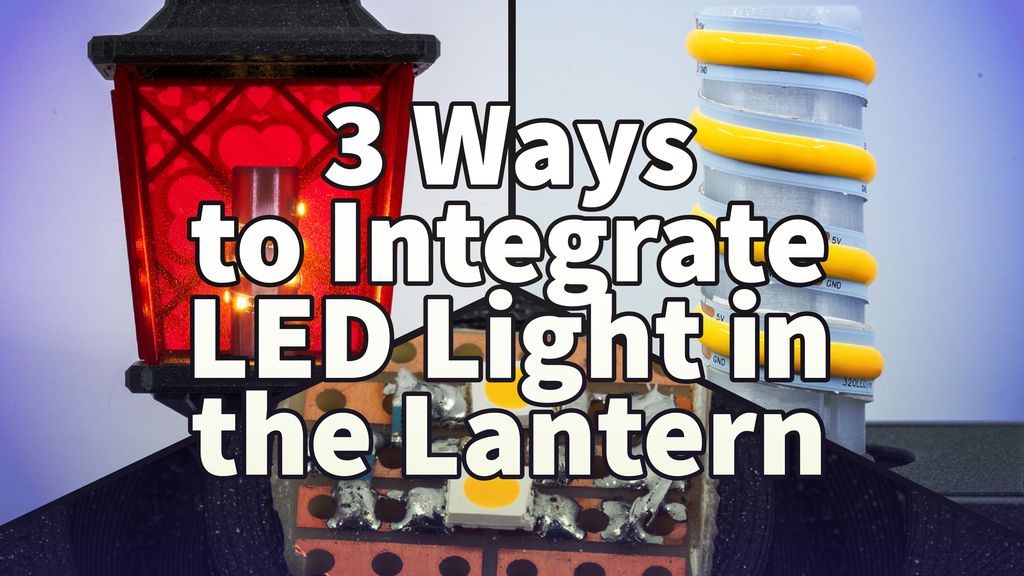
I tested three inexpensive, easy methods to add LED lighting to my modular 3D‑printed lantern using USB power: reused LED modules, short 5V strips, and WS2812B RGB with a microcontroller. I share parts lists, soldering tips, diffuser advice, and firmware steps—read on for step‑by‑step instructions and printable models.
Posted on 2019-07-10— C++, Improve your Code, Learn
I walk you through how real-time counters work, why integer overflow is usually harmless when you treat time as relative, and practical, Arduino-ready comparisons and code examples to avoid timing mistakes. If you want concrete patterns and simple tests, read the full post.