Outmoded Sequencer Part 2 Ready

published: October 9, 2016 — last modified: October 23, 2025

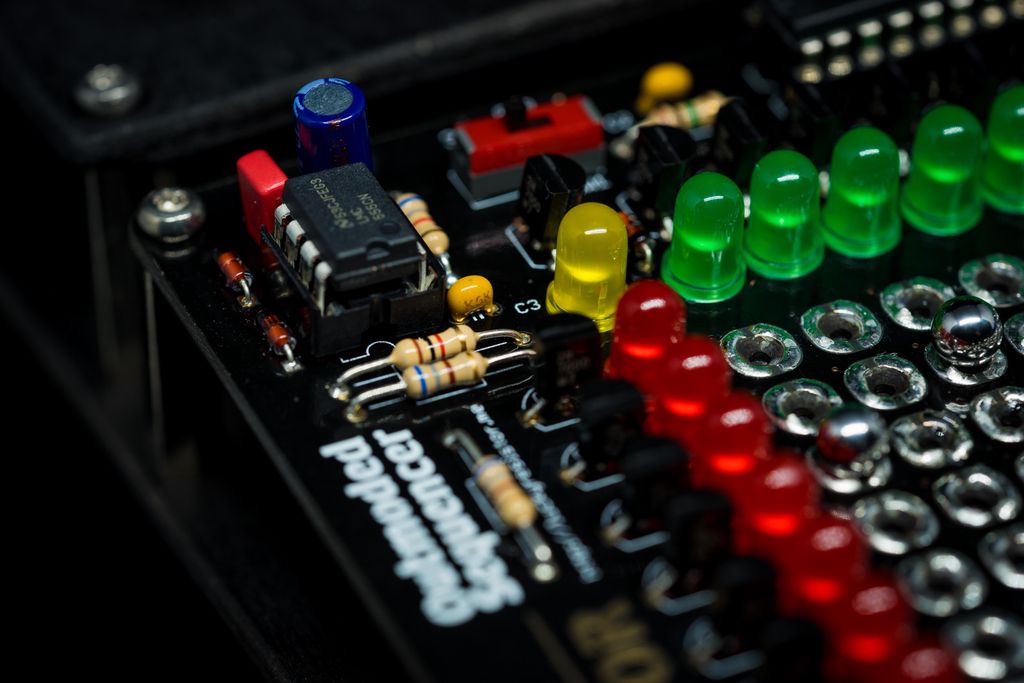
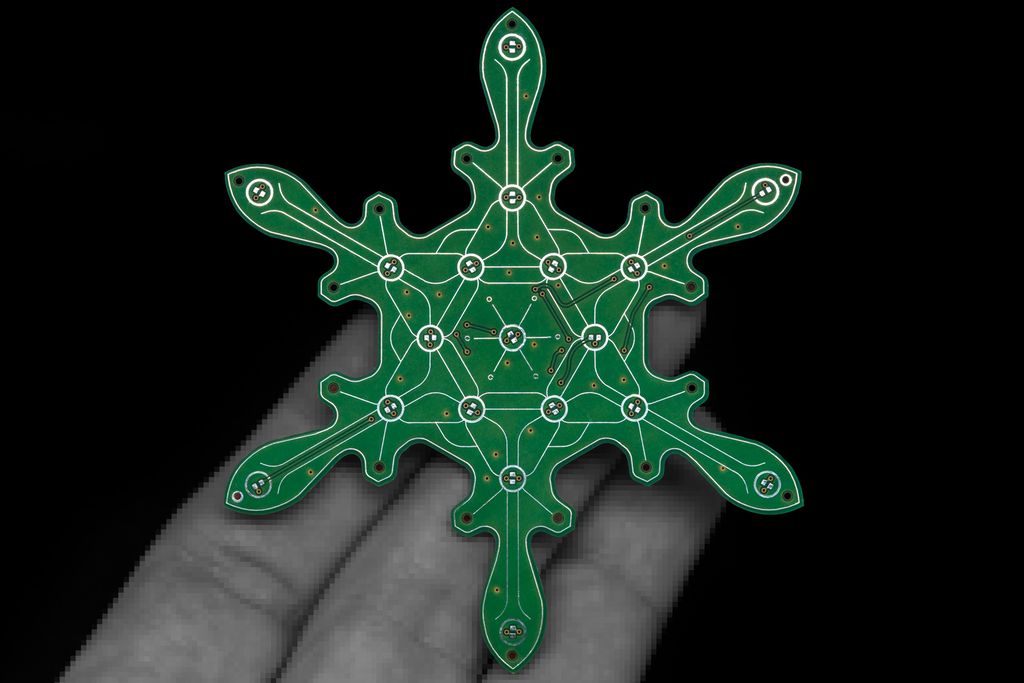
I just finished part 2 of the project description for the Outmoded Sequencer. In this second part I describe the steps from the prototype to the final device. I copied the preface from the page after this link .

Outmoded Sequencer Part 2

(Preface from the project page)

Building the Outmoded Sequencer was a really interesting project where I learned a lot. It was the first project with a custom designed PCB. Usually I just solder everything onto stripe boards, because I only produce one single device. The complexity of this device with the matrix forced me to design a proper PCB, soldering everything on a stripe board is feasible but requires more space and a different approach for the matrix.

Not everything turned out as well as expected. First there was the idea with the matrix using steel balls as switches: Even with the magnets generating a certain force to the pads, the steel balls do not connect as reliable as I would like they do. As you can see in the demonstration video, it is still possible to have a lot of fun playing with the sequencer – however better connections would make the experience even better.

Should you build your work Outmoded Sequencer? Yes, absolutely! But you should definitely use a different approach for the matrix. Best first only experiment with the matrix part until you have a working solution there before you add the other parts around.

Should you use the provided PCBs? No, better design your own board especially implement the matrix in a different way.

Should you use the circuit design as provided? Yes, definitely! The design is, in my opinion, a very good start and should give you a reliable and working device with minimal effort. Keep in mind: This is a minimal design and there and many ways how to improve certain aspects of the circuit. So feel free to address the problems if you have components left, to spend on this project.

Continue on the project page

More Posts

Huge Storage Boxes Update

Posted on 2021-11-16— 3D Printing, Projects

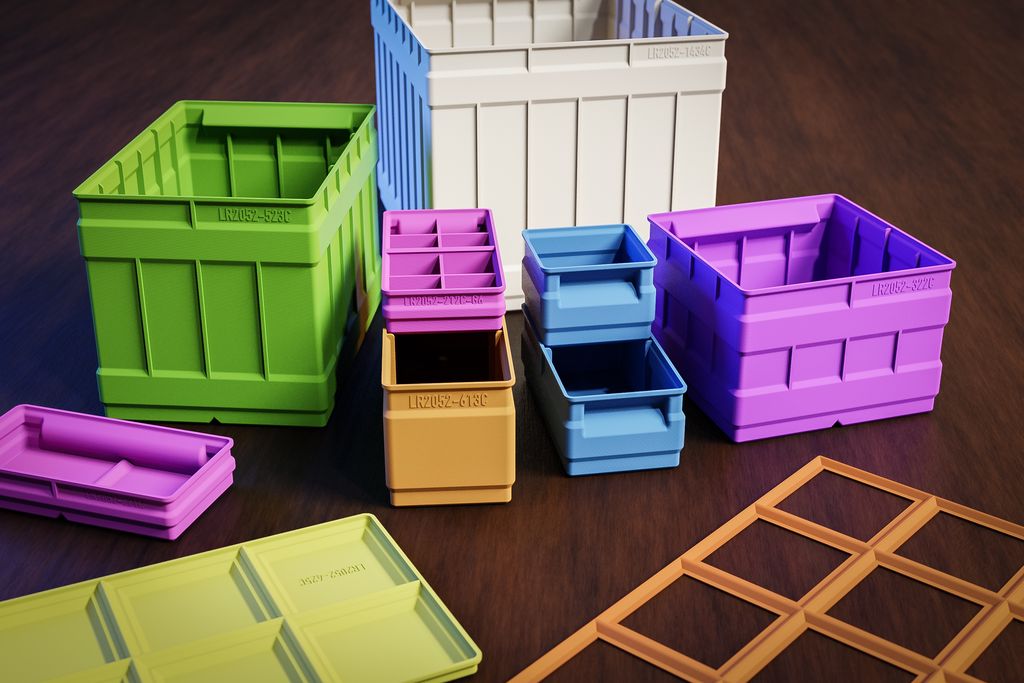
I’ve released a major update to my 3D-print storage box system: expanded sizes (up to 6x6 and 9x9 split), improved geometries, 3MF files, JPEG previews, and more dividers. If you use my boxes or print them yourself, read the full post for download links, compatibility notes, and printing tips.

Read this post

Convert Bitmap Fonts for LCD Displays with Style

Posted on 2015-09-04— Software

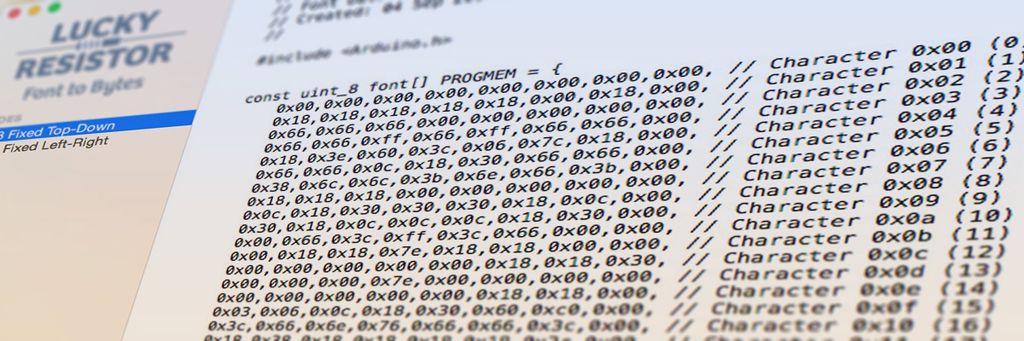
I created a small macOS app that converts bitmap 8×8 fonts into byte arrays for text-only LCD displays. It accepts PNGs, validates the layout, and outputs source code you can save or copy. I also provide an example font, a Photoshop template, and the source—read on for download and usage.

Read this post

The Importance of Wall Profiles in 3D Printing

Posted on 2023-02-12— 3D Printing, Learn

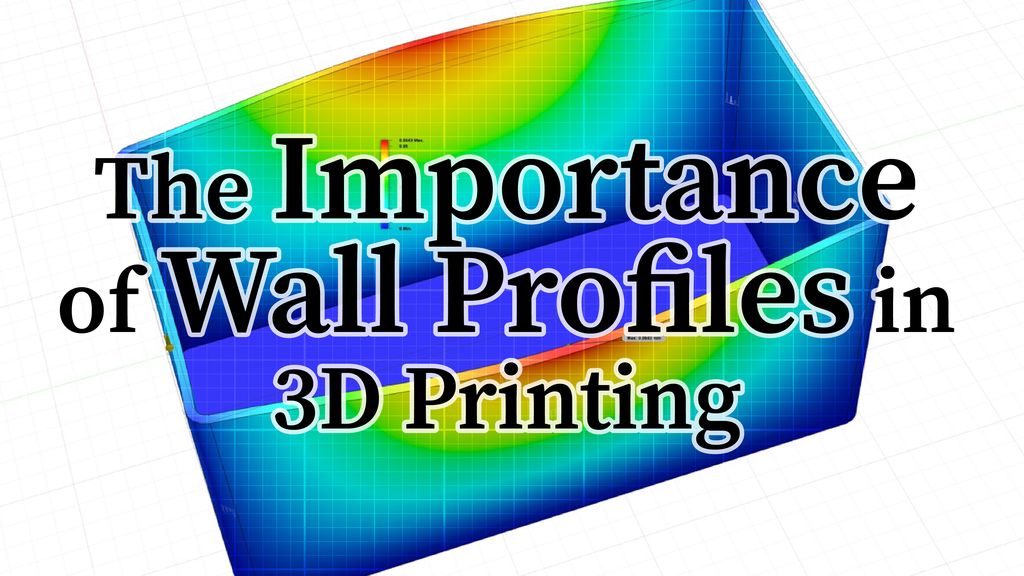
I'm not a 3D‑printing expert, but I show how simple wall profiles — correct XY/Z thickness, chamfers, and internal recesses — make printed boxes stronger and lighter. I share CAD steps, simulations, and common mistakes in plain terms. Read the full post for practical tips to improve your prints.

Read this post

Perfect Prototype Boards from Eurocircuits

Posted on 2017-10-02— Projects

I received prototype boards from Eurocircuits and was impressed by their outstanding build quality—sharp solder-mask edges, precise alignment, and a subtle shine on the traces. I share close-up photos and brief thoughts about vias and finishes; read on if you appreciate careful PCB craftsmanship.

Read this post

Split Storage Boxes Update

Posted on 2021-04-10— 3D Printing, Projects

I recently updated my storage-boxes system to include split boxes so you can print larger containers or use small printer beds. I tested glued joints with PLA and PETG and added 12 new STL parts. Read the full post to see part numbers, joining tips, and where to download them.

Read this post