published: August 31, 2016 —
last modified: October 23, 2025
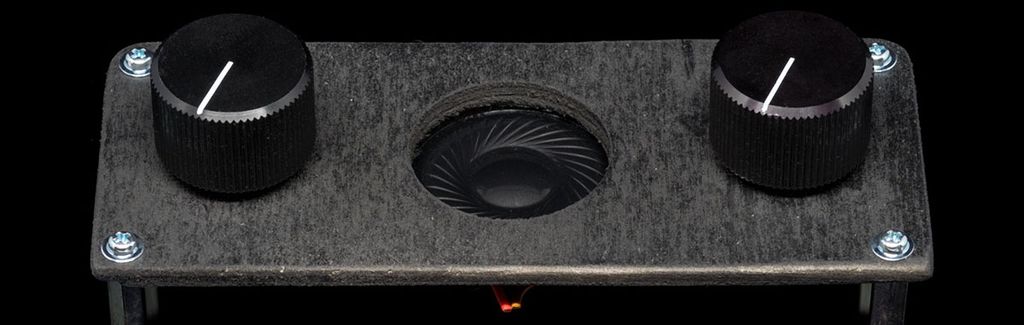
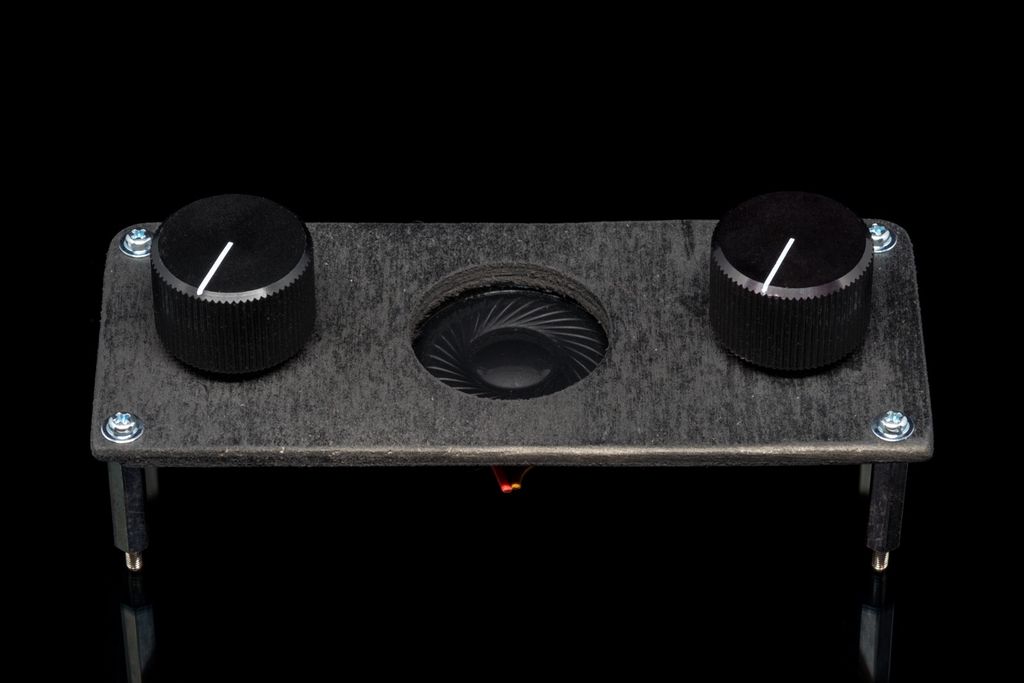
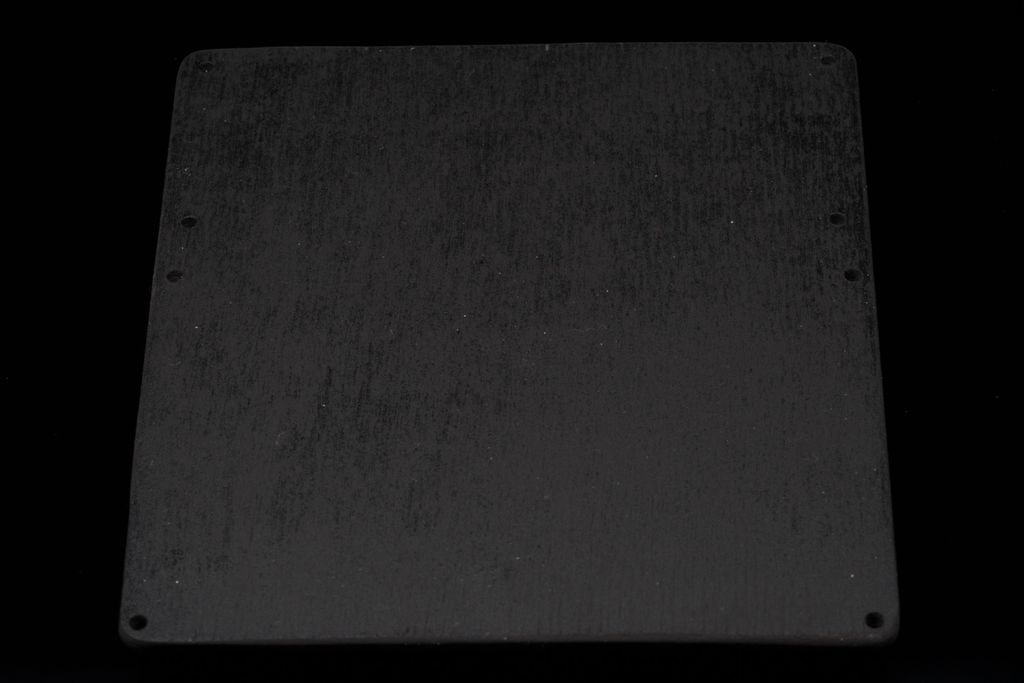
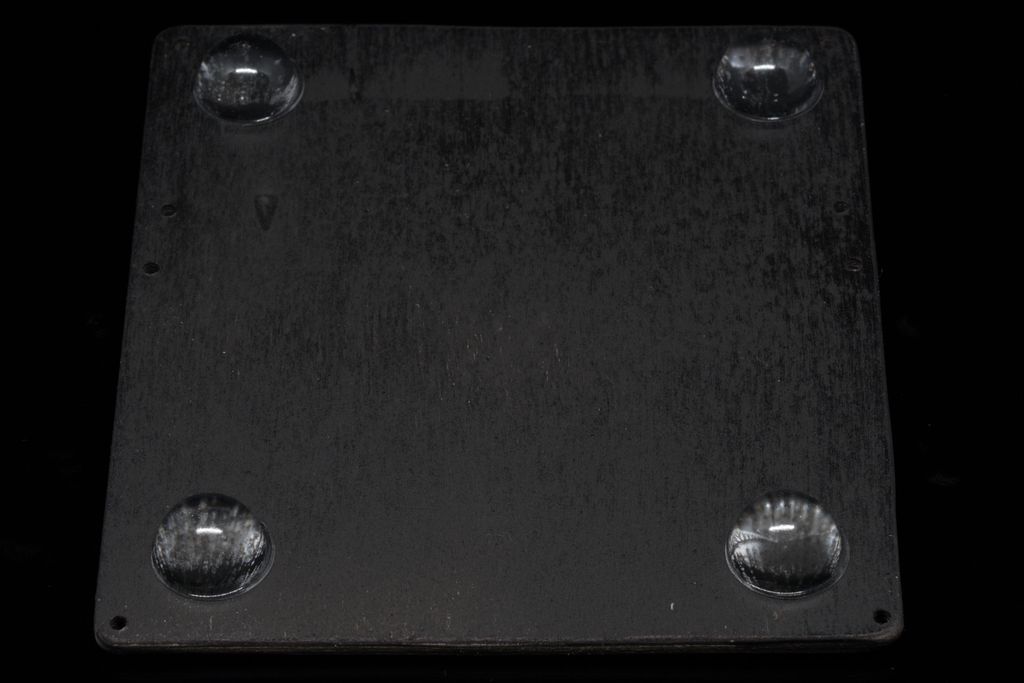
Today I worked on the case for the Outmoded Sequencer project. Originally I planed to use acrylic glass and laser cut it, but I did not found a service where I could cut a single piece cheap. So I am using wood, cut it to the right size using a Dremel tool, then sand it and spray painted it black. The color is a really deep black, which is not perfectly visible on the photos because of the black background.
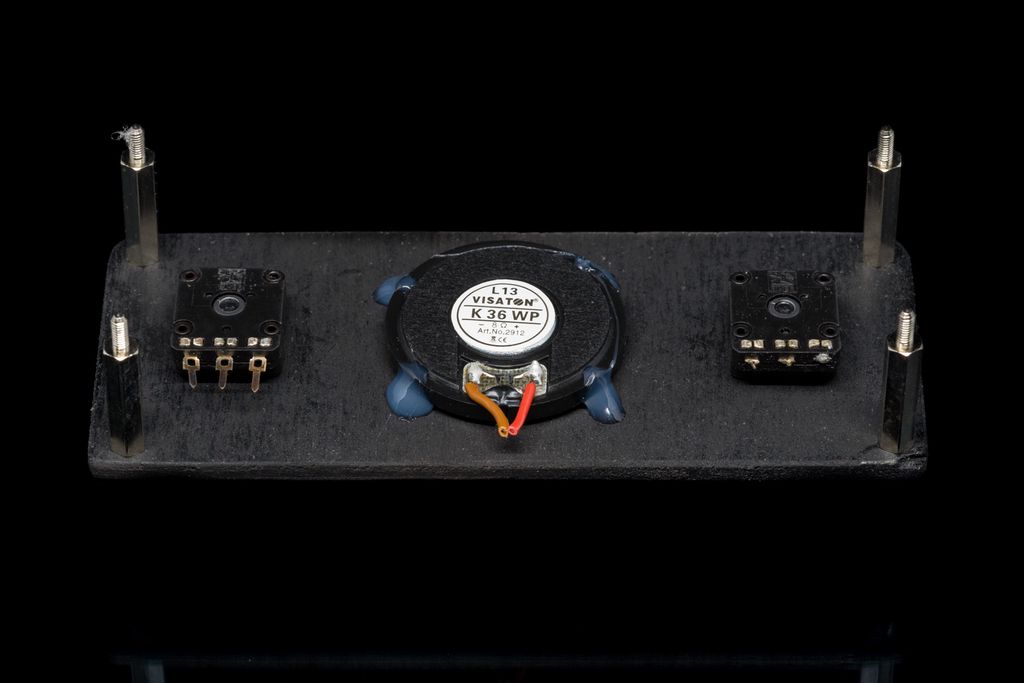
You see a smaller panel with the two knobs and the speaker, which will be mounted on the top area of the larger base. If you look closely you can see the holes where the top panel will be fastened using the distant bolts.
I am using M2.5 threads with 2.8mm holes and distant bolts of 20mm length. Sadly there were no black distant bolts in this size, there were only M3 ones.
The PCB will be mounted on the lower part of the base plate, also using distant bolts. I am not yet sure if I will use 20mm or 15mm length distant bolts. The color of the PCB will also be black with gold contacts.
Meanwhile I also optimised the design of the circuit. Here a PDF with the latest circuit diagram:
Outmoded Sequencer v1.0 Circuit Diagram
I did a few changes:
Renumbered the parts, so they do not match the description on the project page.
Added a few capacitors to stabilise and reduce unwanted noise.
Added a line out jack which automatically silences the built-in speaker.
I also completely redesigned the board. As soon the new boards arrive, I will do another post about the changes there.
Posted on 2019-07-14— C++, Improve your Code, Learn
I wrote a concise guide for embedded developers to refactor Arduino/C++ firmware into clean, modular components. I walk you through creating Display, Buttons, and Animation modules, testing and committing small changes, and improving maintainability. If you'd like practical steps and examples, please read the full article.
I explain why I add small guide bridges to tricky gaps in my 3D prints and how they help PETG bridging. I show the settings I use and demonstrate results in my modular lantern model. Read the full post to see images and step-by-step tips to apply this to your designs.
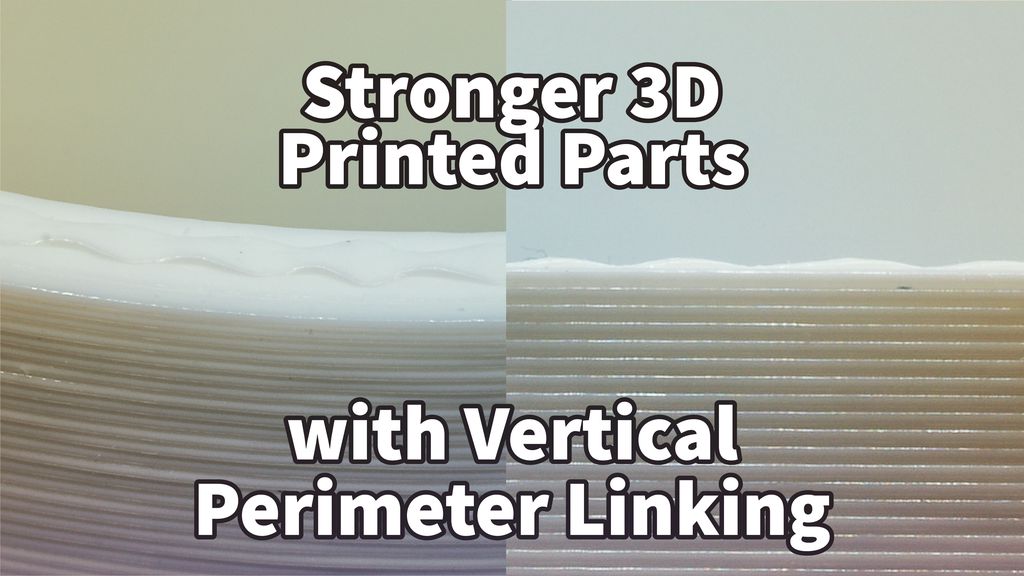
I tested a simple technique to strengthen FFF prints by adding a zig-zag vertical link between the outer and inner perimeter. My demo gcode and findings show how peaks fuse layers and slow crack propagation. If you print regularly, read the full post to see my method and limitations.
I've created a collection of 3D-printable flower pots—geometric, Roman-vase inspired, striped and spiral—optimized for practical printing on machines like the Prusa XL. I share lessons on wall thickness, corner radii, nozzle sizes and model files. Read on for design details and downloads.
I'm happy to share you can now buy an assembled Snowflake Decoration from Pimoroni with worldwide shipping. The panels arrive pre-soldered, use 5V power and flat cables so no soldering is needed. If you'd like details on the updates and compatibility, please read the full post.
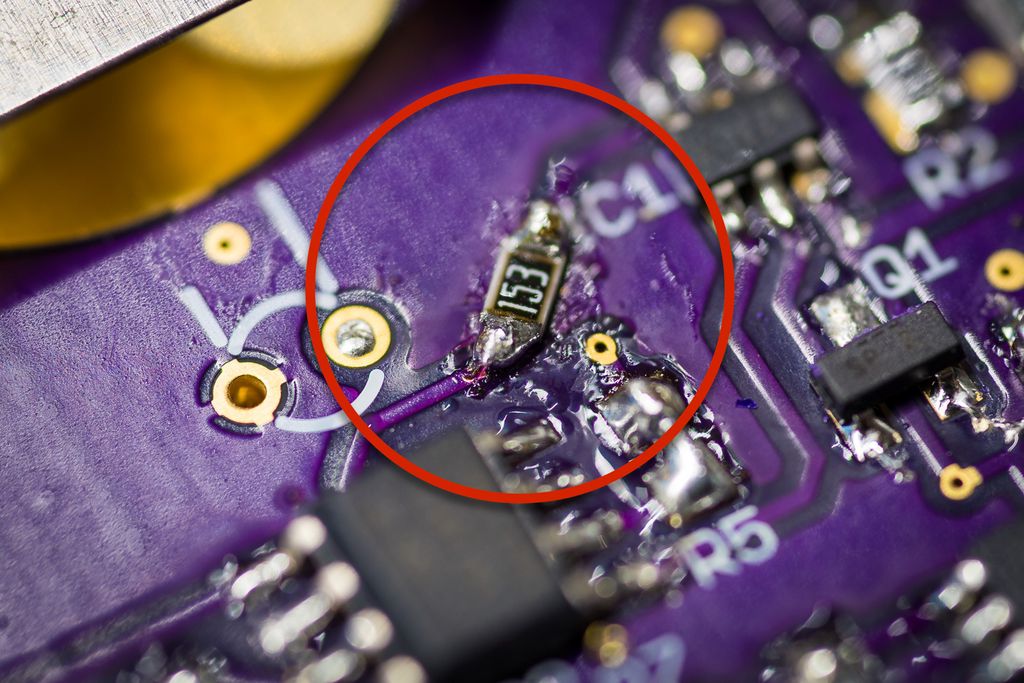
I guide you through writing a near-final firmware for my cheap plant watering sensor, describing module structure, incremental development, and practical tests. I cover ADC sampling, oscillator checks, EEPROM settings and a prototype fix for the push-button. If you’re building a similar device, I invite you to read the full post.