published: September 4, 2015 —
last modified: October 23, 2025
Update 2015-09-05: Added a example font and Adobe Photoshop template.
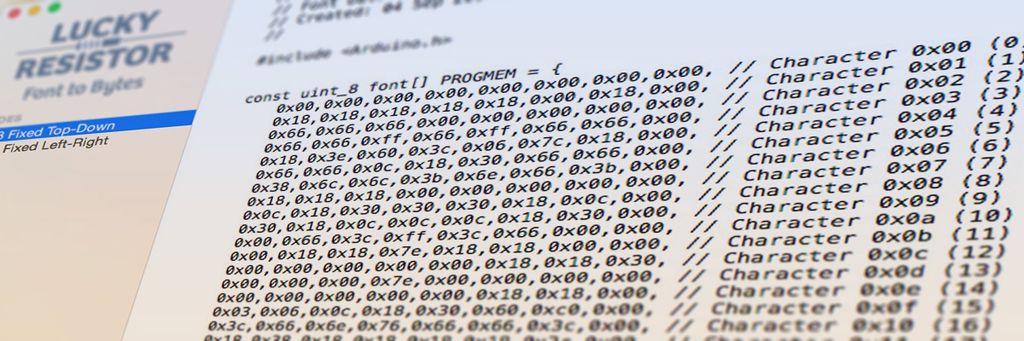
Currently I am working on the deluxe version of the data logger. This version has a LCD screen and capacitive buttons to control the software. The Adafruit library for the display is quite large and almost uses the whole RAM, because it is a pixel oriented library. My own implementation is a text only library using 8×8 pixel characters. This simplify everything and reduces the RAM costs.
Usage
To convert the bitmap font into bytes, I wrote a small application for OS X (minimum version 10.10). It accepts a PNG image with the characters in it and converts it into bytes with the correct bits set.
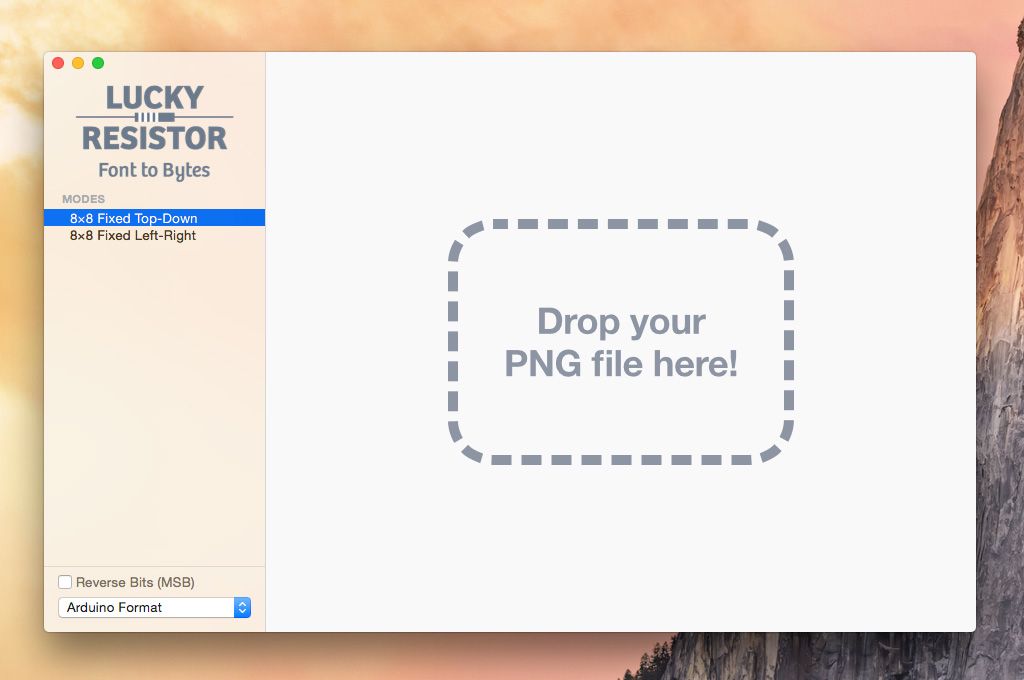
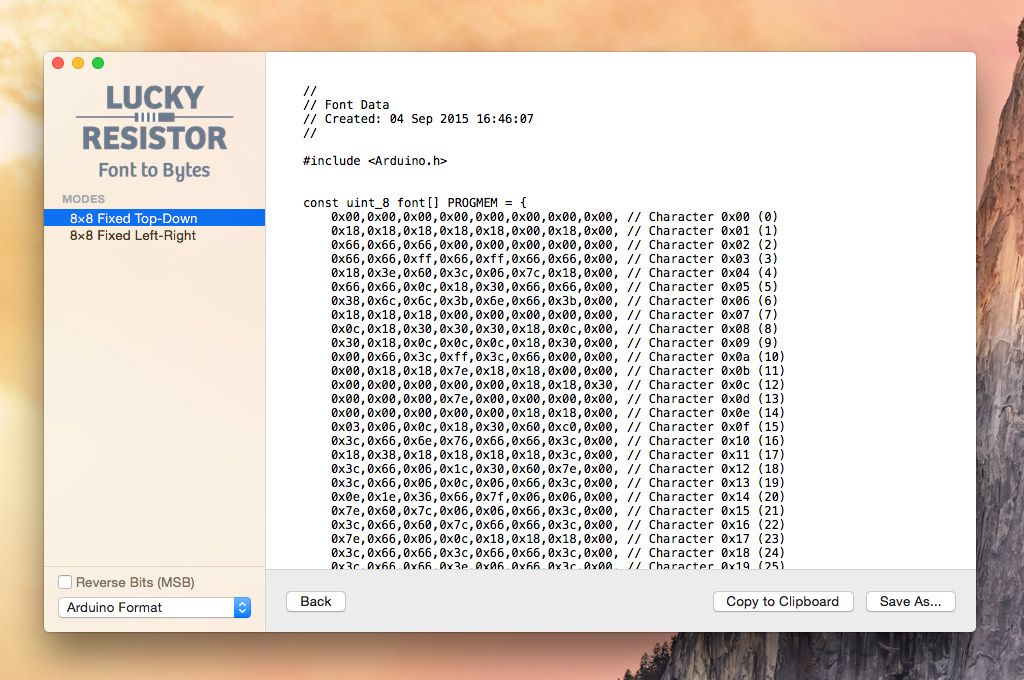
First you select the mode on the left side of the application window. In this example the mode is set to “8×8 Fixed Top-Down”. Select the output format in the bottom left corner of the window.
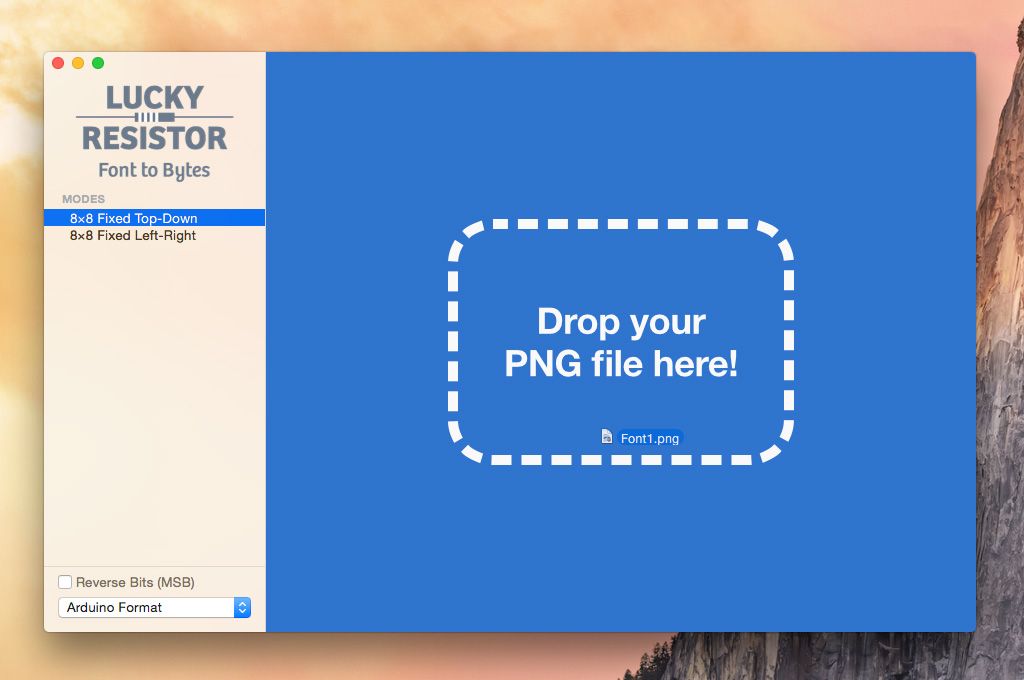
Now drag your font file onto the area on the right side. If the dragged file is accepted, the window turns blue.
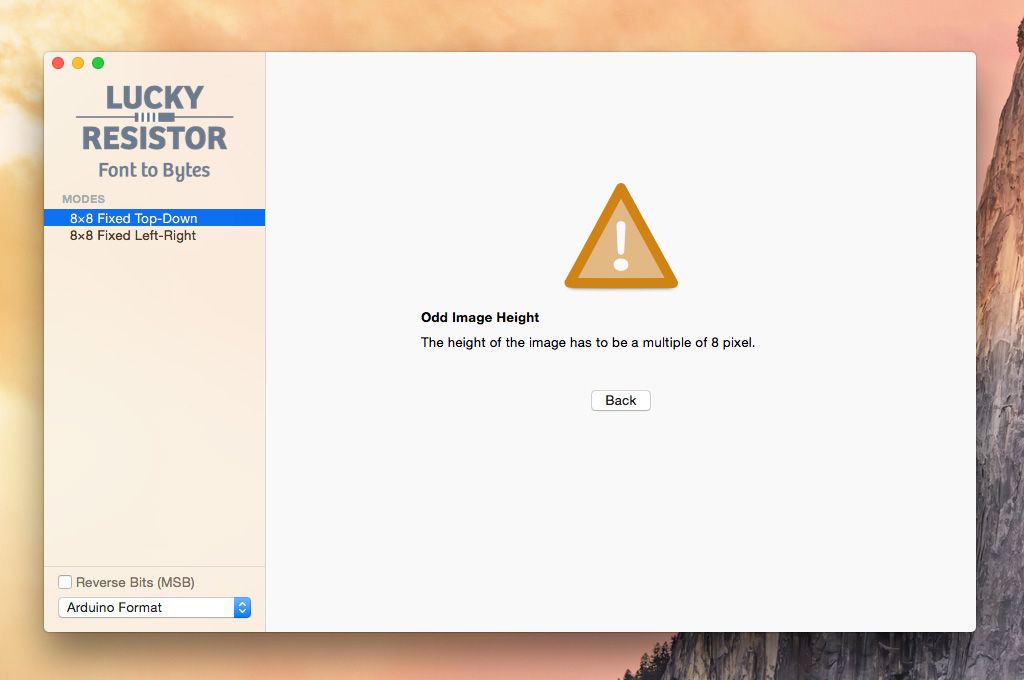
If there is any problem with your bitmap file for the selected mode, an error message with a description of the problem is displayed.
Click on the “Back” button to go back to the welcome screen and try again with your fixed bitmap file.
If the file is successfully converted, the resulting code is presented to you. At the bottom of the window are a number of buttons with further actions.
Click on “Save As…” to save the code into a source file. If you click the “Copy to Clipboard” button, a copy of the code is sent to the clipboard and you can paste it into a open file in your favourite code editor.
Example Font
Here an example 8×8 pixel font file for the converter. The font converter ignores any transparent and light values. So you can use them on a second layer as a grid for the font.
You can use this font template for Adobe Photoshop if you plan to deign a own font. The template uses a grid on one layer, so you can draw the font information on the second layer.
Download
You can download the application here. You need Mac OS X version 10.10 or newer to run this application.
After download, extract the ZIP (double click on it) and move the application into your “Applications” folder. To uninstall the application, just delete it.
License and Source Code
The software is licensed under the GNU general public license version 2. You can find the source code for the application here:
The software is written in Swift 2 and is using many of the new features of this language. The code is extensible and you can easily add own converter and output formats. If you created useful additions, please let me know.
Posted on 2019-07-23— C++, Improve your Code, Learn
I explore replacing unsafe bit macros with lightweight C++ templates to make embedded bit operations safer and clearer. I show templates for one-bit extraction, set/clear helpers, and compiled firmware size for Arduino Uno. Read the full post to see examples, exercises, and practical benefits.
Posted on 2019-07-29— C++, Improve your Code, Learn
I explain C++11 enum class: why it prevents name conflicts, how it compares to traditional enums and common workarounds, with practical Arduino-friendly examples. If you want clearer, safer enum usage in your interfaces, read the full post for code samples and simple best-practice guidance.
I’ll walk you through creating custom patterns for your snowflake decoration, covering double-buffering, frame-sync, non-linear PWM, fixed-point math and the scene interface in C++. If you can solder and use an SWD programmer, read on for practical examples and a ready-to-edit User scene template.
I updated my pet-feeder's drive with a TMC2209 SilentStepStick and a 17HS19 stepper to get near‑silent operation and run from 5V. I built a simple Pico-based controller, adjusted gearing for speed, and tested sensors. Read the full update for photos, choices and test notes.
I walked through designing and 3D-printing a 70 cm PETG planter for my deep-rooted Ctenanthe. I share the tests, design choices, and practical fixes for warping, filament, split parts, and assembly. If you’re curious about large-scale prints or want the model files and tips, please read the full post.
I walk through creating custom wiring for the snowflake decoration, covering layouts, cable choices, current and voltage-drop math, and a simple power supply board for Pimoroni kits. If you want practical tips and diagrams to wire your own design, please read the full guide.