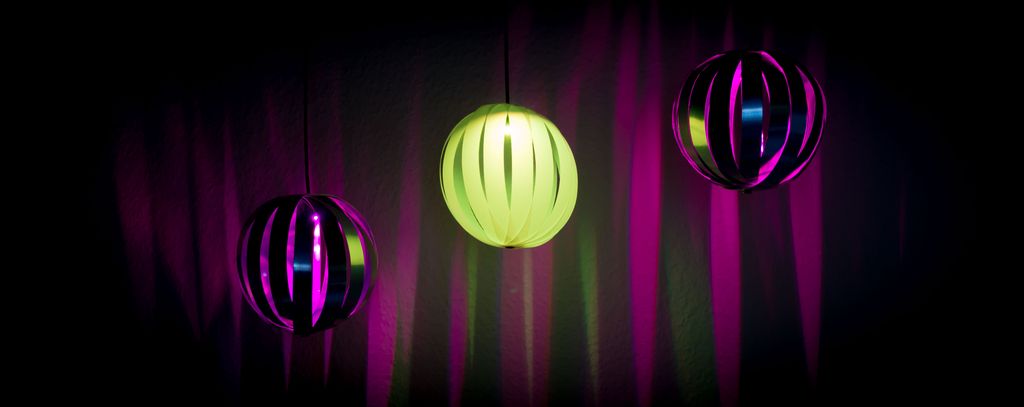
The days are getting shorter. You do not have to fear the dark, this is the right time to create a fancy color changing Xmas decoration. This is a very simple project and is quickly done.
Required Parts
“Silver” laminated paper and/or half transparent paper.
NeoPixels from Adafruit (Flora RGB smart Neo Pixel version 2). (Flora RGB smart Neo Pixel version 2).
Thin multi conductor cable with 4 wires, or 3 wires plus shield.
Eyelets and screws with nuts
Create the Spheres
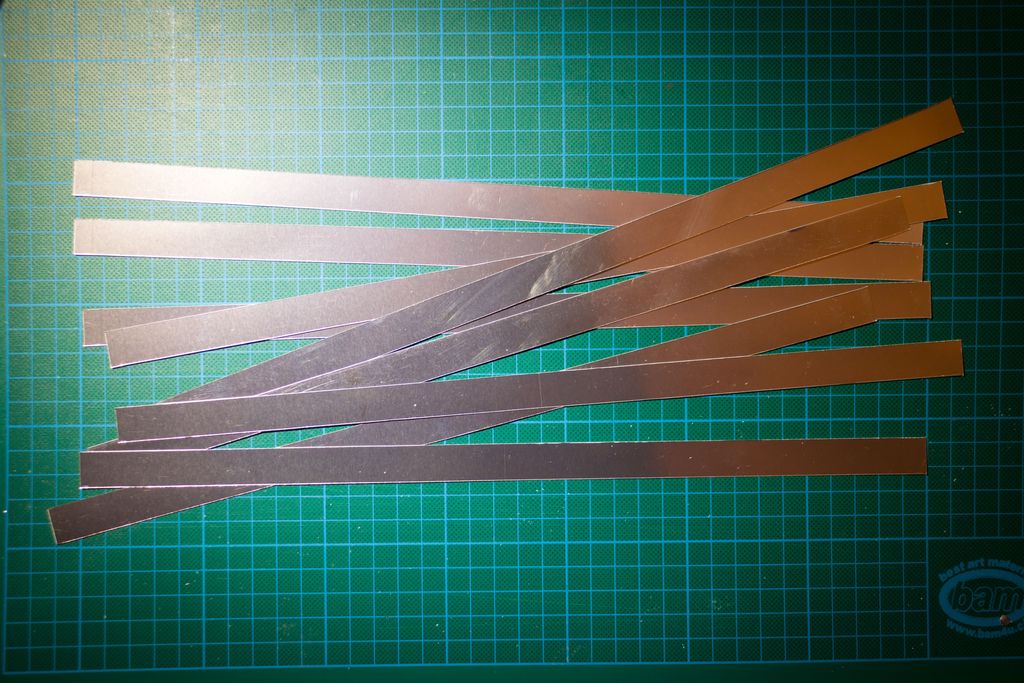
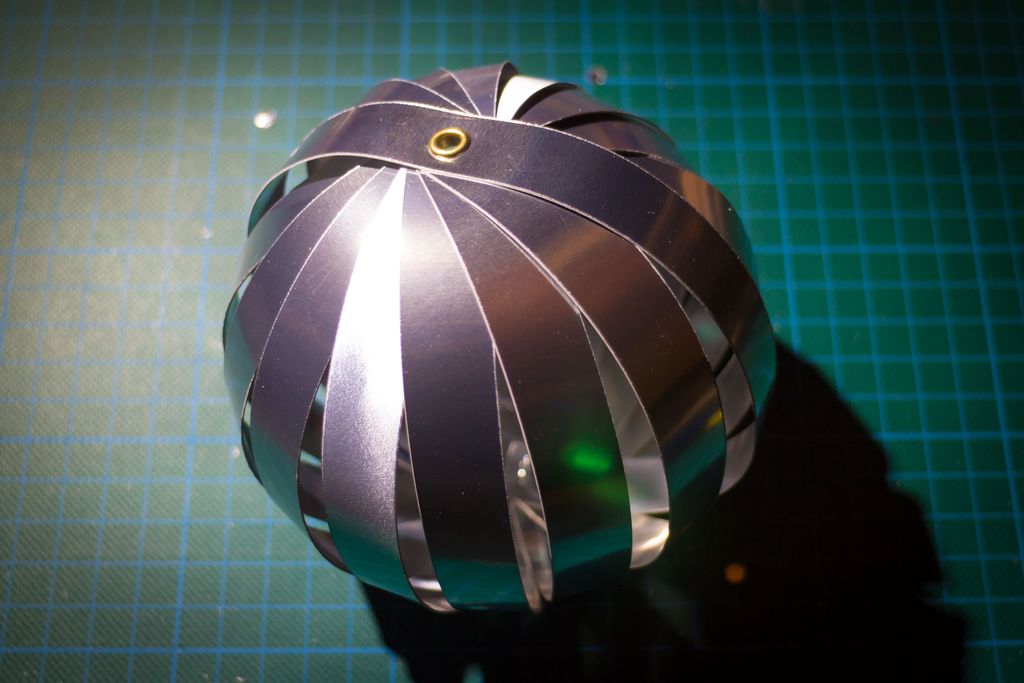
To create the spheres, first cut a number of stripes with equal length and width. I personally used stripes 35cm long and 1.5cm wide.
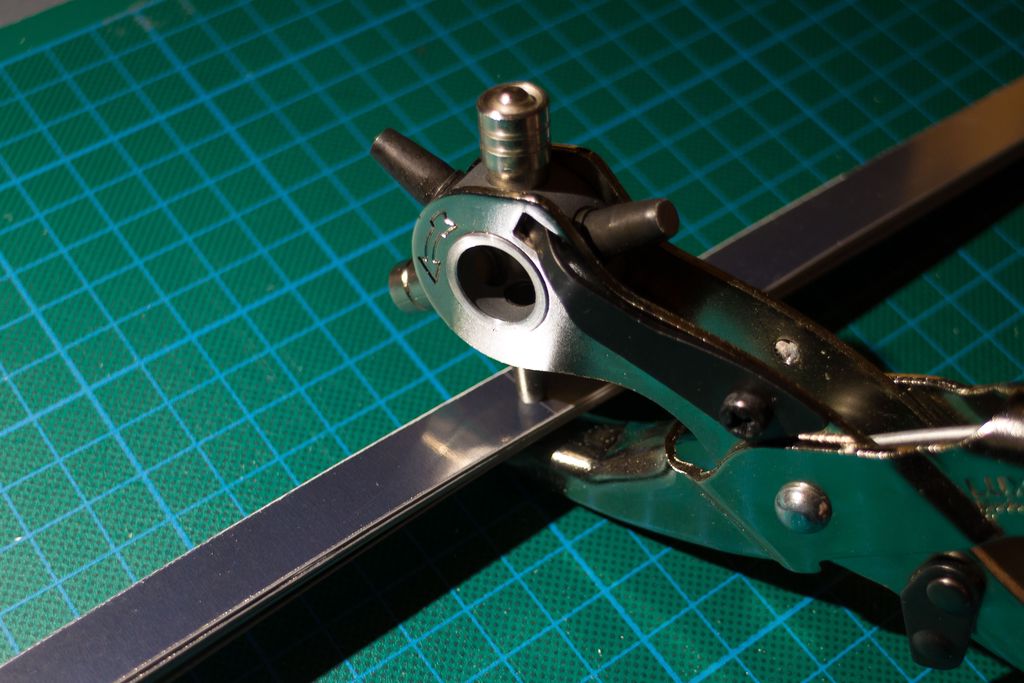
Stack 8 stripes and put a hole in the middle of the stripes and two holes at the end of the stripes.
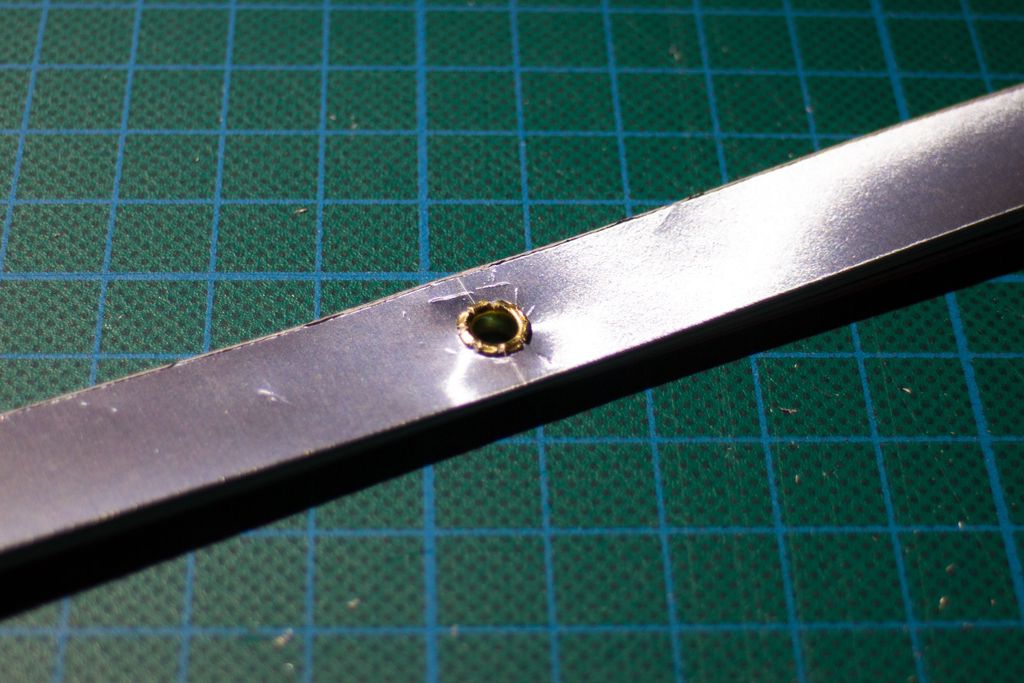
Next I put an eyelet into the middle and assemble all stripes using the eyelet.
Next I rotate the stripes until all are evenly distributed and have the same angle. Then I bend them up, starting with the top one and use another eyelet to connect the stripes using the holes at the sides of the stripes.
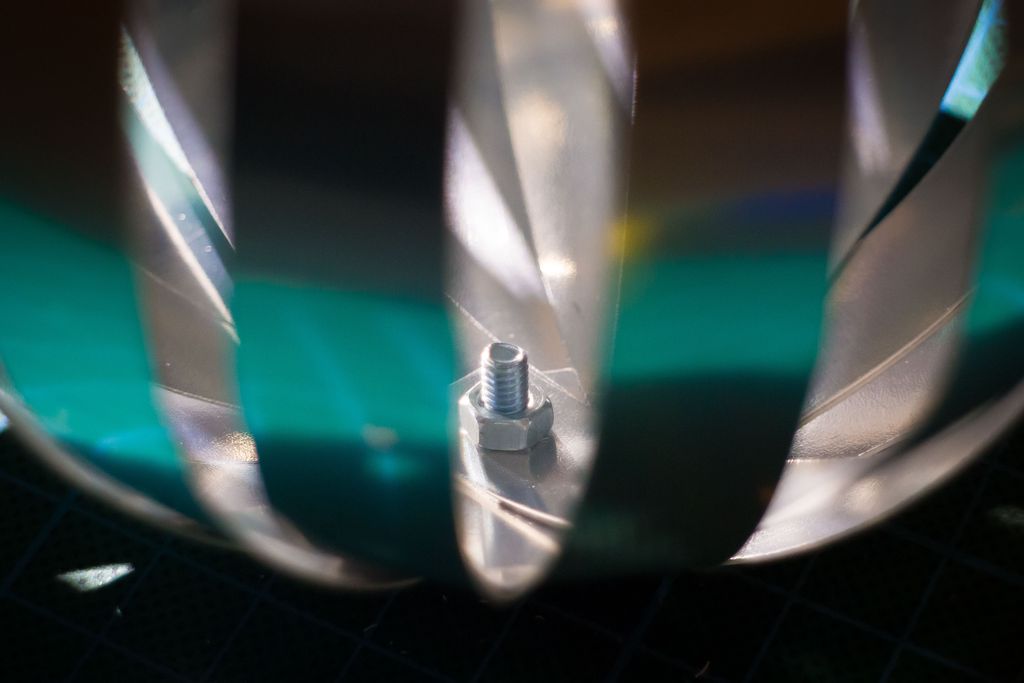
In the case the eyelet is too short, I simple use a screw with a nut to fasten the stripes.
The Light
I use the wire to connect all NeoPixels. They need power and have one input and one output line. I solder the NeoPixels to the wire, connect the input and output lines.
The COntroller
As controller I use an Arduino Uno and connect the power of the NeoPixels to the VIN and GND pins and the input of the first NeoPixel to I/O pin seven.
Software
I first created a class Color for all color calculations.
#pragma once
#include ⟨Arduino.h⟩
#include ⟨Adafruit_NeoPixel.h⟩
classColor{public:Color():_r(0.0f),_g(0.0f),_b(0.0f){}Color(floatr,floatg,floatb):_r(r),_g(g),_b(b){checkLimits();}Color(floath)// hue
{constintp=h*3.0f;constfloatm=(h*3.0f)-((float)(p));switch(p){case0:_r=1.0f-m;_g=m;_b=0.0f;break;case1:_r=0.0f;_g=1.0f-m;_b=m;break;case2:_r=m;_g=0.0f;_b=1.0f-m;break;}checkLimits();}ColorblendWith(constColor&other,floatfactor){returnColor(((_r*(1.0f-factor))+(other._r*factor)),((_g*(1.0f-factor))+(other._g*factor)),((_b*(1.0f-factor))+(other._b*factor)));}uint32_tgetColor()const{constuint8_tr=(uint8_t)(255.0f*_r);constuint8_tg=(uint8_t)(255.0f*_g);constuint8_tb=(uint8_t)(255.0f*_b);return((uint32_t)r<<16)|((uint32_t)g<<8)|b;}private:voidcheckLimits(){if(_r⟨0.0f)_r=0.0f;if(_r⟩1.0f)_r=1.0f;if(_g⟨0.0f)_g=0.0f;if(_g⟩1.0f)_g=1.0f;if(_b⟨0.0f)_b=0.0f;if(_b⟩1.0f)_b=1.0f;}private:float_r;float_g;float_b;};
Then I created a very simple controller code which changes the color very smoothly every two minutes.
#include ⟨Adafruit_NeoPixel.h⟩
#include "Color.h"
Adafruit_NeoPixelstrip=Adafruit_NeoPixel(3,7,NEO_GRB+NEO_KHZ800);voidsetup(){strip.begin();strip.show();// Initialize all pixels to 'off'
randomSeed(analogRead(0)|(((uint32_t)analogRead(1))<<8)|(((uint32_t)analogRead(2))<<16));pinMode(13,OUTPUT);}Colorc1;Colorc2;Colorc3;voidloop(){Colornew1;Colornew2;Colornew3;getRandomColor(&new1,&new2,&new3);// blend the colors
for(floati=0.0f;i<1.0f;i+=0.001){strip.setPixelColor(0,c1.blendWith(new1,i).getColor());strip.setPixelColor(1,c2.blendWith(new2,i).getColor());strip.setPixelColor(2,c3.blendWith(new3,i).getColor());strip.show();delay(20);}// this are the new colors
c1=new1;c2=new2;c3=new3;strip.setPixelColor(0,c1.getColor());strip.setPixelColor(1,c2.getColor());strip.setPixelColor(2,c3.getColor());strip.show();// Show the colors for 5 minutes
for(inti=0;i<120;++i){delay(1000);digitalWrite(13,((i&1)==0)?HIGH:LOW);}}uint8_tgetHueShift(Color*c1,Color*c2,Color*c3,floats1,floats2){floath1=(float)(random(1024))/1024.0f;floath2=h1+s1;floath3=h1+s2;while(h2>1.0)h2-=1.0;while(h3>1.0)h3-=1.0;while(h2<0.0)h2+=1.0;while(h3<0.0)h3+=1.0;*c1=Color(h1);*c2=Color(h2);*c3=Color(h3);}voidgetRandomColor(Color*c1,Color*c2,Color*c3){uint8_tmode=random(12);switch(mode){case0:default:*c1=Color(1.0,1.0,1.0);*c2=Color(0.8,0.8,0.8);*c3=Color(0.6,0.6,0.6);break;case1:getHueShift(c1,c2,c3,0.0,0.0);break;case2:getHueShift(c1,c2,c3,0.333,0.666);break;case3:getHueShift(c1,c2,c3,0.5,0.0);break;case4:getHueShift(c1,c2,c3,0.2,0.4);break;case5:getHueShift(c1,c2,c3,0.1,0.2);break;case6:getHueShift(c1,c2,c3,-0.2,-0.4);break;case7:getHueShift(c1,c2,c3,-0.1,-0.2);break;case8:getHueShift(c1,c2,c3,0.2,0.0);break;case9:getHueShift(c1,c2,c3,0.4,0.0);break;case10:getHueShift(c1,c2,c3,-0.2,0.0);break;case11:getHueShift(c1,c2,c3,-0.4,0.0);break;}}
Note I am using float for the calculations. Usually this is a bad idea, but the controller is most of the time idle and has plenty of RAM left, so there is no big impact because of this.
I recently updated my storage-boxes system to include split boxes so you can print larger containers or use small printer beds. I tested glued joints with PLA and PETG and added 12 new STL parts. Read the full post to see part numbers, joining tips, and where to download them.
I published a detailed update to my stackable storage boxes project that adds new rail grid series, larger sizes up to 9×9, and improved catalogues. I outline design reasoning, alternative part-number placement, image and archive changes. If this sounds useful, please read the full post for downloads and printing notes.
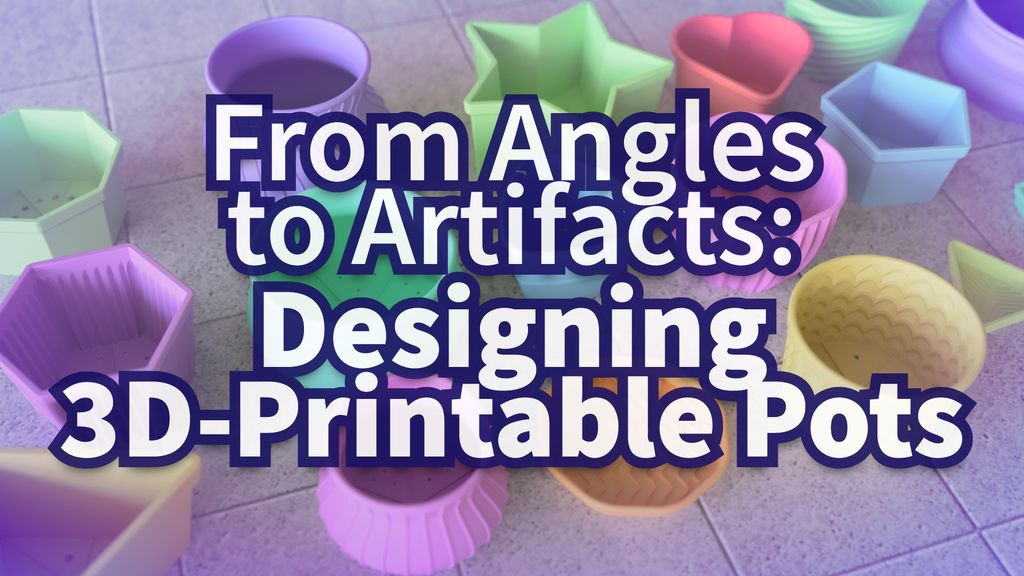
I've created a collection of 3D-printable flower pots—geometric, Roman-vase inspired, striped and spiral—optimized for practical printing on machines like the Prusa XL. I share lessons on wall thickness, corner radii, nozzle sizes and model files. Read on for design details and downloads.
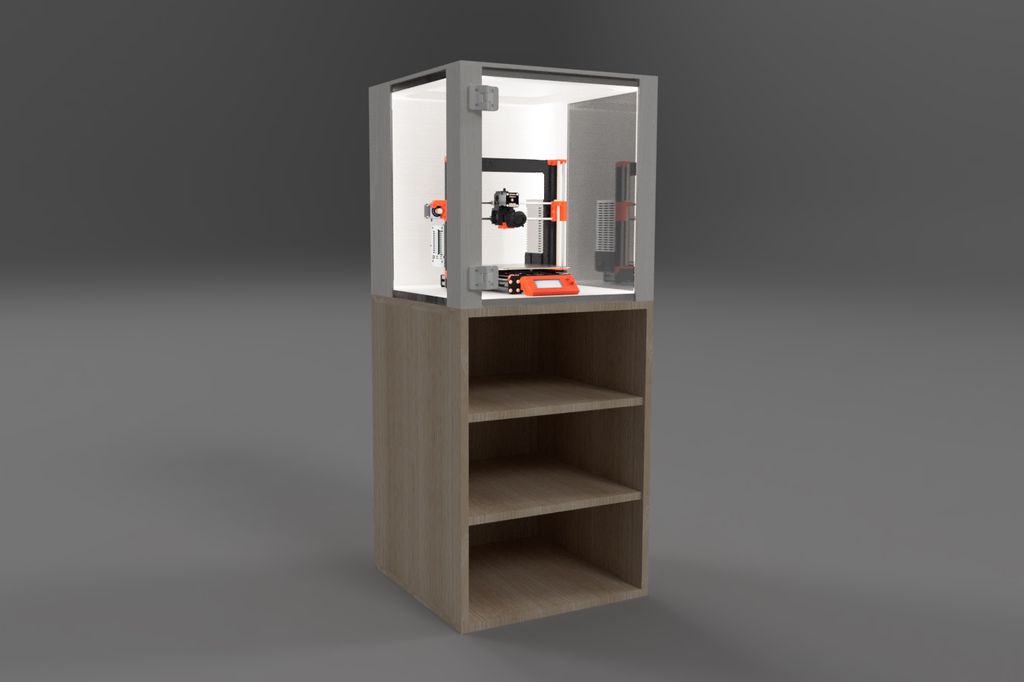
I’ll walk you through my parametric, heavy wood-and-acrylic 3D-printer enclosure — from choosing boards and adjusting the Fusion 360 model to cutting parts, assembly, and 3D-printed hinges. If you want a stable, customizable enclosure for your printer, read the full tutorial for measurements, photos, and tips.
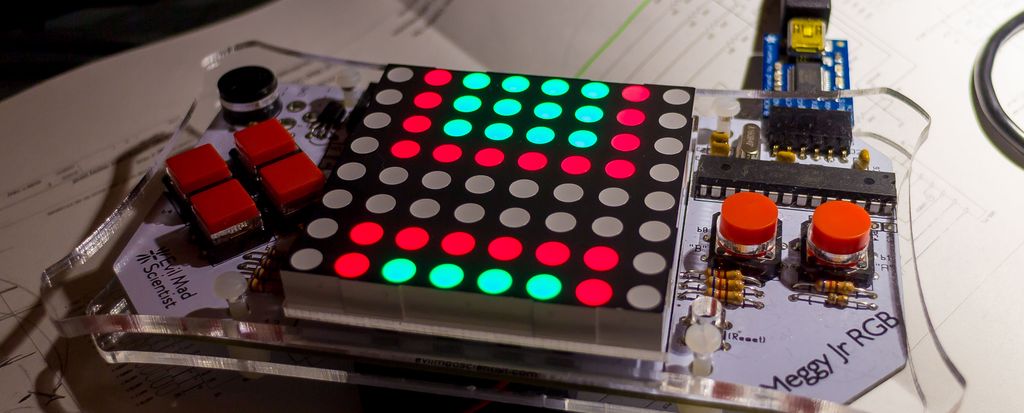
I rebuilt the Meggy Jr RGB library from scratch to make game development simpler on the ATmega328P. I focused on low memory use, frame‑synchronized loops with a back buffer, clear color handling, fast pixel operations, reliable button input and a background sound player. Read the post for examples and the GitHub release.
I uncovered an ancient stone with a mysterious multiplexed display — five inputs and six outputs. In this puzzle I explore what the display likely represents and invite you to find the longest continuous sequence of numbers it can show. Try the interactive panel and read the full post to solve it.