How to Debug Time Critical Code using an Oscilloscope
published: November 13, 2014 —
last modified: October 23, 2025
From time to time you have to debug time critical code. If you are using interrupts, you are interested in the actual performance on the code. This is especially true, if you are using timed interrupts.
In this cases, using the serial interface is impossible. If you write to the serial interface, the whole timing of your application changes and you will get no usable results.
If you own an oscilloscope, there is a really simple way to debug many applications. I used this technique many times, for example with projects featured on these pages: For the timing of the sound output of the cat protector, or the timing of the display interrupt of the Meggy Jr library.
This technique is obvious ans simple. Nevertheless I hope this article will give some inspiration to help solving timing problems.
Find an Output
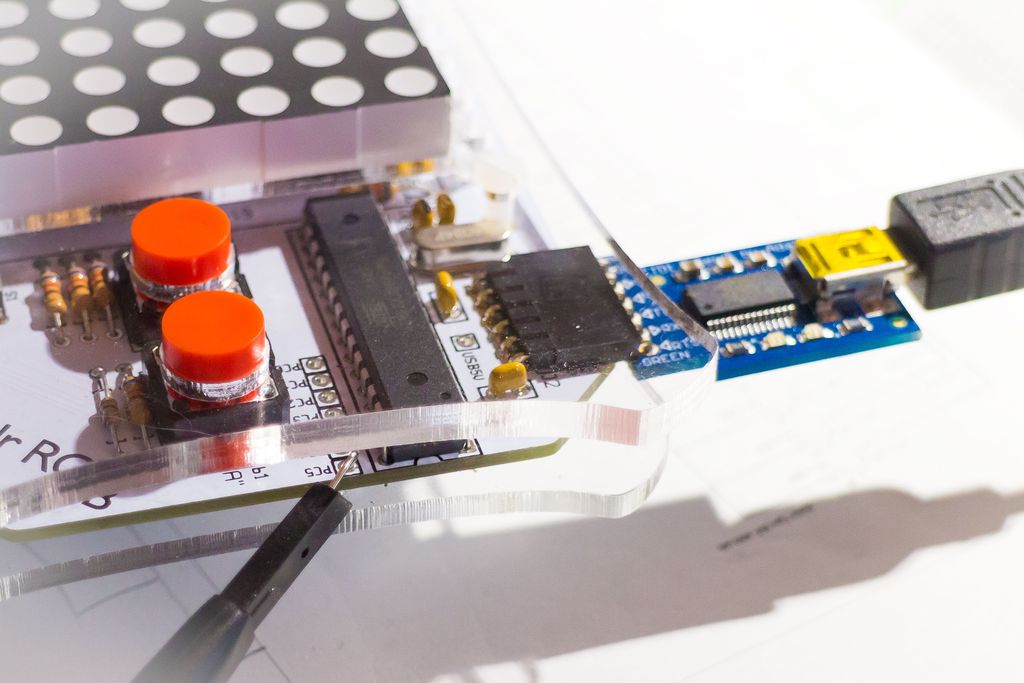
First you need an output somewhere. Any output will do and sometimes you can alter the functions of your project just to create an output. For example you can use an attached buzzer, or change an input into an output. In the picture below, you can see the how I attached the probe of the oscilloscope to a handy connector which is actually meant as input.
Alter your Code
Next you simple add a signal manually to your code. Set the line you used to output and surround the critical code segment with a simple pulse signal. See below an example of the interrupt for the Meggy Jr library. I added the two lines PORTC |= _BV(5); and PORTC &= ~(_BV(5));.
Start the device and setup the oscilloscope. In my case I trigger on a raising edge.
Think! Analyze the Results
Analyzing the results is the actual work which has to be done. First you have to think what you expect from the signal and how it should look like. If you do not get any signal at all, it could be possible your interrupt is never triggered — or you did not set the output and signal right. Always think about all possibilities why things went wrong.
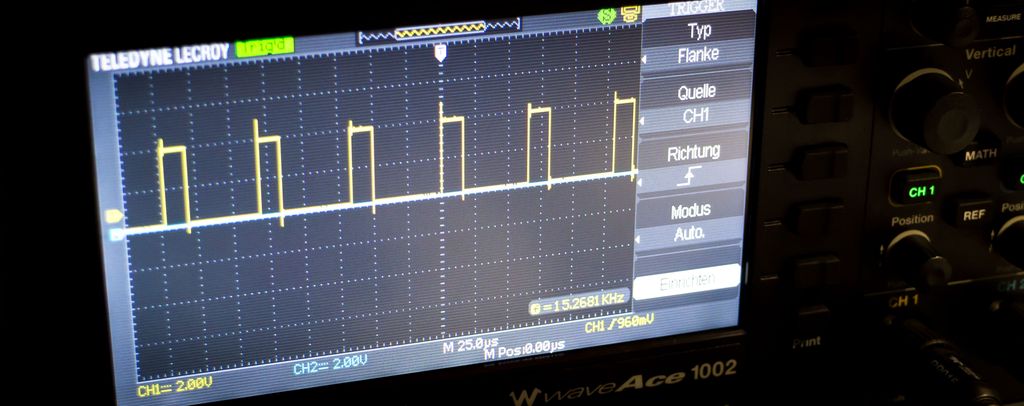
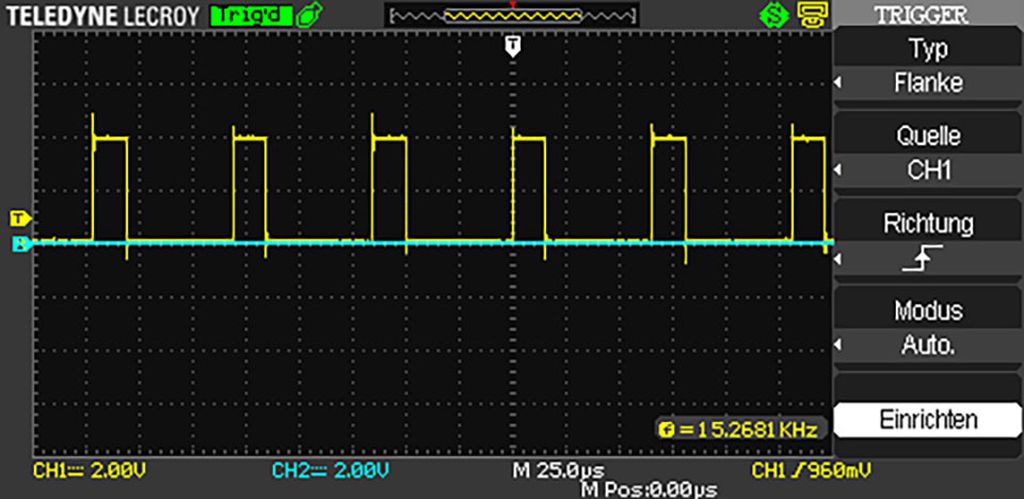
If you are measuring the performance of code executed in a timed interrupt, you will probably get a signal as shown below.
First modern oscilloscopes show you the frequency of the signal. Here you can verify if your code is called in the right intervals. If your code is too slow, you will see a lower frequency as intended. Next you see the ratio: Signal high means interrupt code is executed, signal low means there is time for normal code to be executed.
Conclusion
Sometimes the simplest methods provide the fastest results. Using multiple signals you can for example compare the speed of two code parts or use one as synchronization and the second to mark the code.
I've finished testing a new set of tall storage boxes designed for 3D printing. They're stackable with my flat and regular boxes, with reinforced walls and improved corners for cleaner prints. Download the free sample set or read the project page and catalog for full designs.
I wanted my winter decoration to switch on at dusk without constant adjustments, so I built a simple low-voltage controller using a P-channel MOSFET, a microcontroller and an ambient light sensor. I walk through my design choices, sealing for outdoor use and programming tips—read on if you'd like to build one too.
I'm happy to share you can now buy an assembled Snowflake Decoration from Pimoroni with worldwide shipping. The panels arrive pre-soldered, use 5V power and flat cables so no soldering is needed. If you'd like details on the updates and compatibility, please read the full post.
I tried parametric design and published a set of heart-decorated 3D-print boxes in 500 sizes (35–120 mm). I explain part numbering, two lid fits, and printing tips, and I've shared the STLs on GitHub. Read the full post to find the exact size and download files for your printer.
Posted on 2019-07-12— C++, Improve your Code, Learn
I walk through practical ways I use C++11's auto keyword to reduce repetitive declarations, simplify range-based for loops, lambdas and register access, and make Arduino and embedded code easier to refactor. Read the full post for examples and tips you can apply to your projects.
Posted on 2019-08-01— C++, Improve your Code, Learn
I walk through practical techniques I use to make firmware error handling clearer and more consistent in modern C++. From enum classes and a shared SimpleStatus to StatusResult templates and helpers like isSuccessful, I present readable patterns and code examples you can adopt. Read the full post for details and examples.